Sneak Peek: Summer Borders + Summer Fun
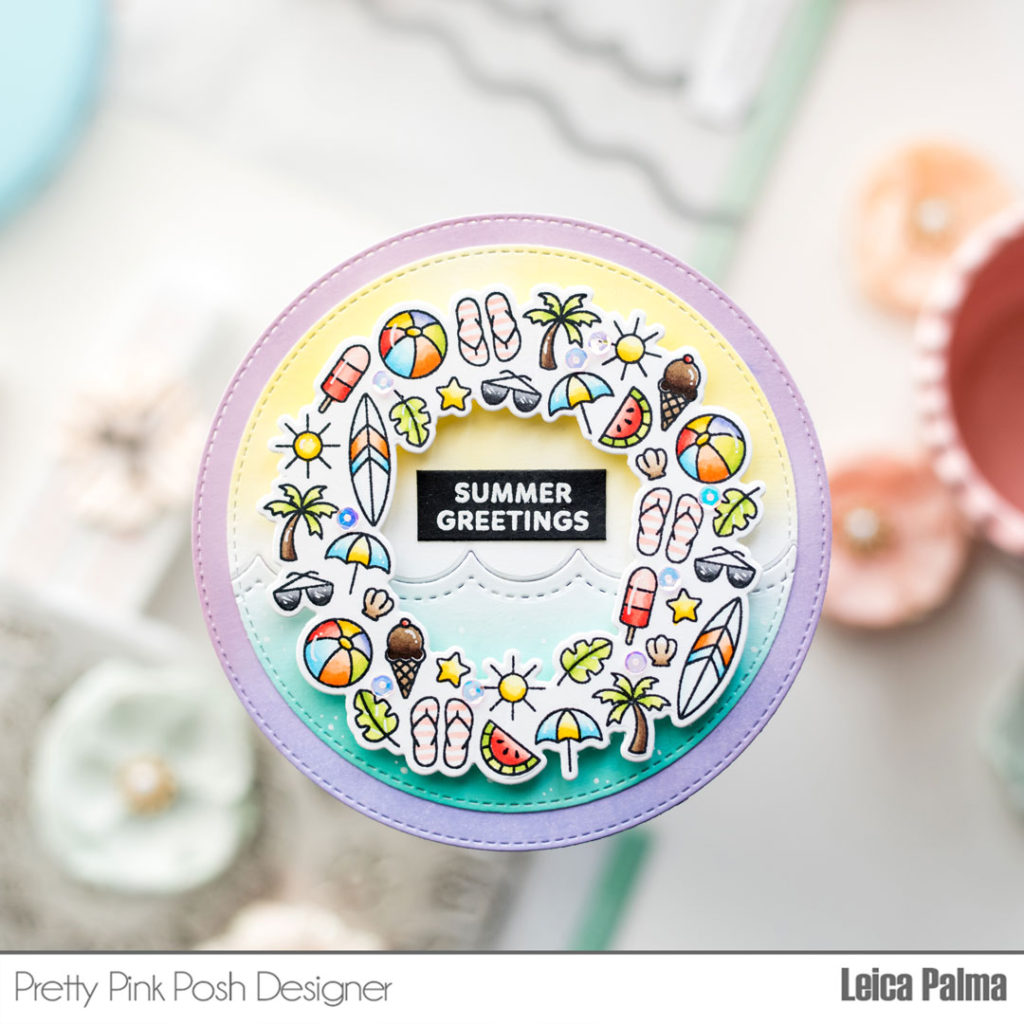
Hello friends! Get ready for another fun sneak peek of our June 14th release! It’s Leica here today with a Summer card featuring the new Summer Fun stamp set and Summer Borders stamp set.
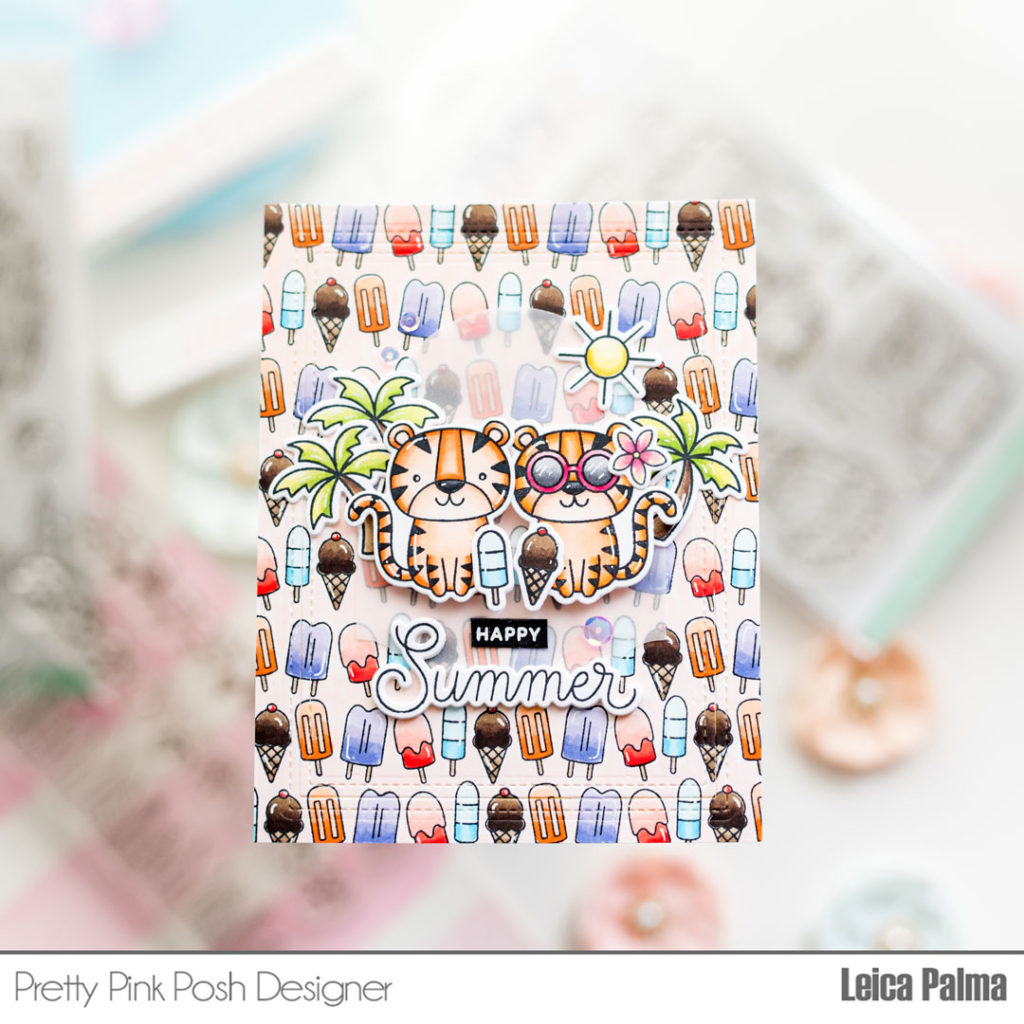
I think this is the most coloring I’ve ever done in one card, but I enjoyed the process and my daughter said it turned out so cute. Let’s get started!
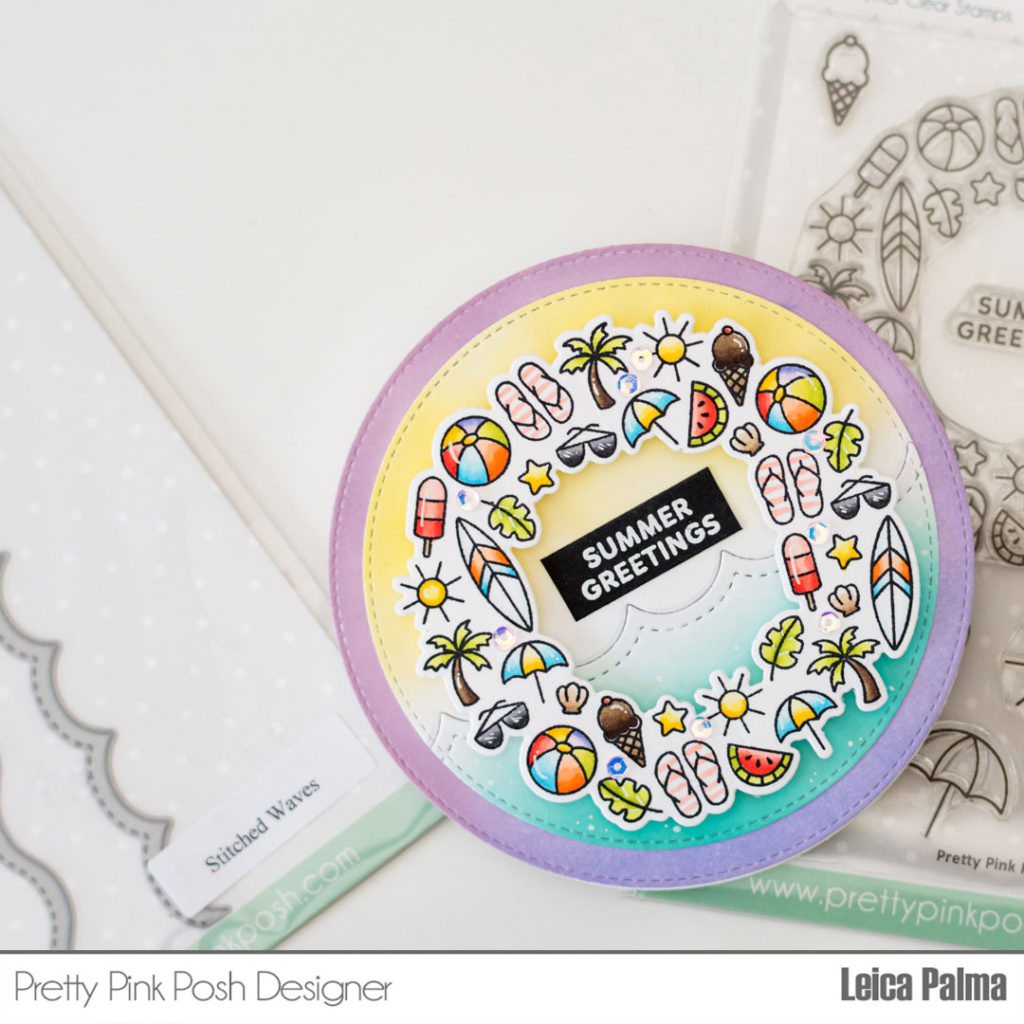
To begin, I cut an A2 size panel in white cardstock and made the background by stamping the ice cream and popsicle stamp from the Summer Borders stamp set. I colored with Copic markers in B0000/00/02, BV000/00/02, E42/43/44/47, R20/22/24, YR000/00/02/04. I then decided to color the entire panel with Copic R00. I could have definitely skipped this step by starting out with a light pink cardstock. For the stitching details, I ran the panel through my die cut machine using the Stitched Notes Die.
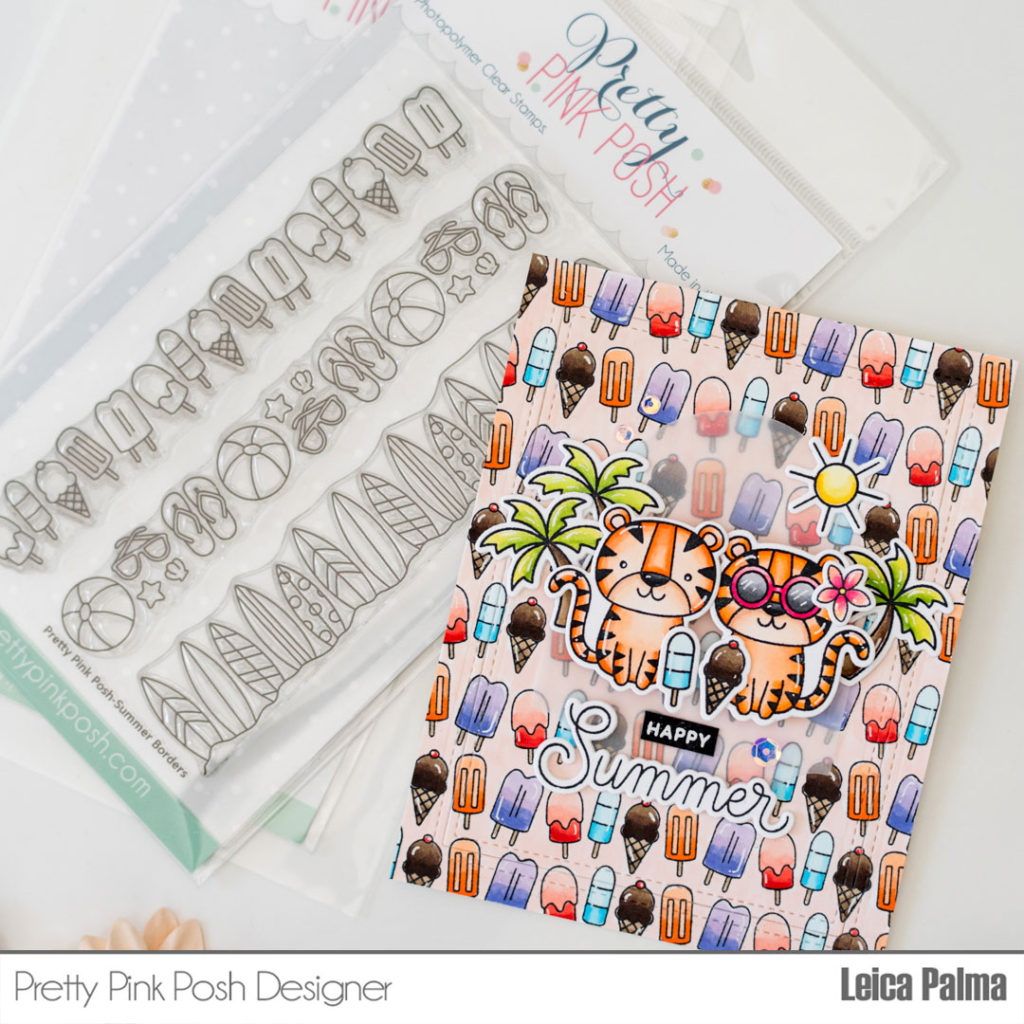
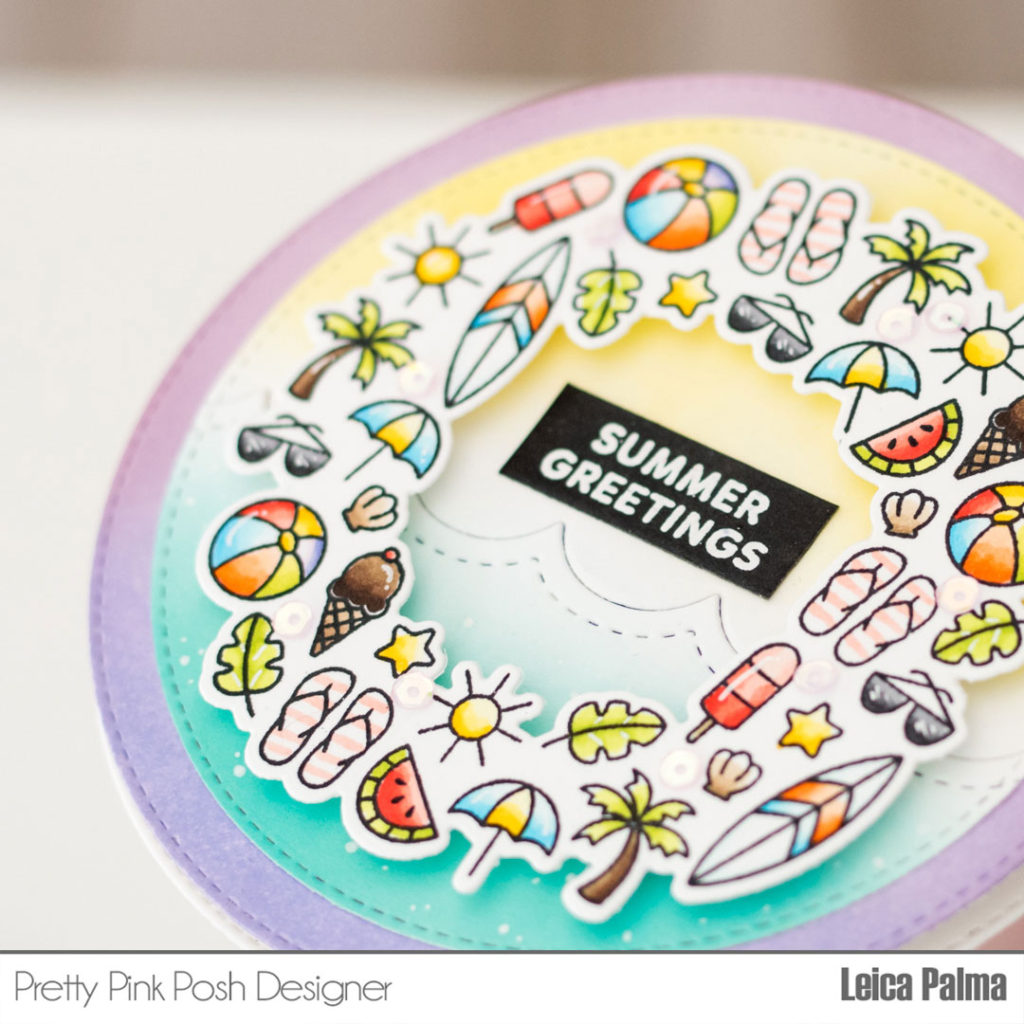
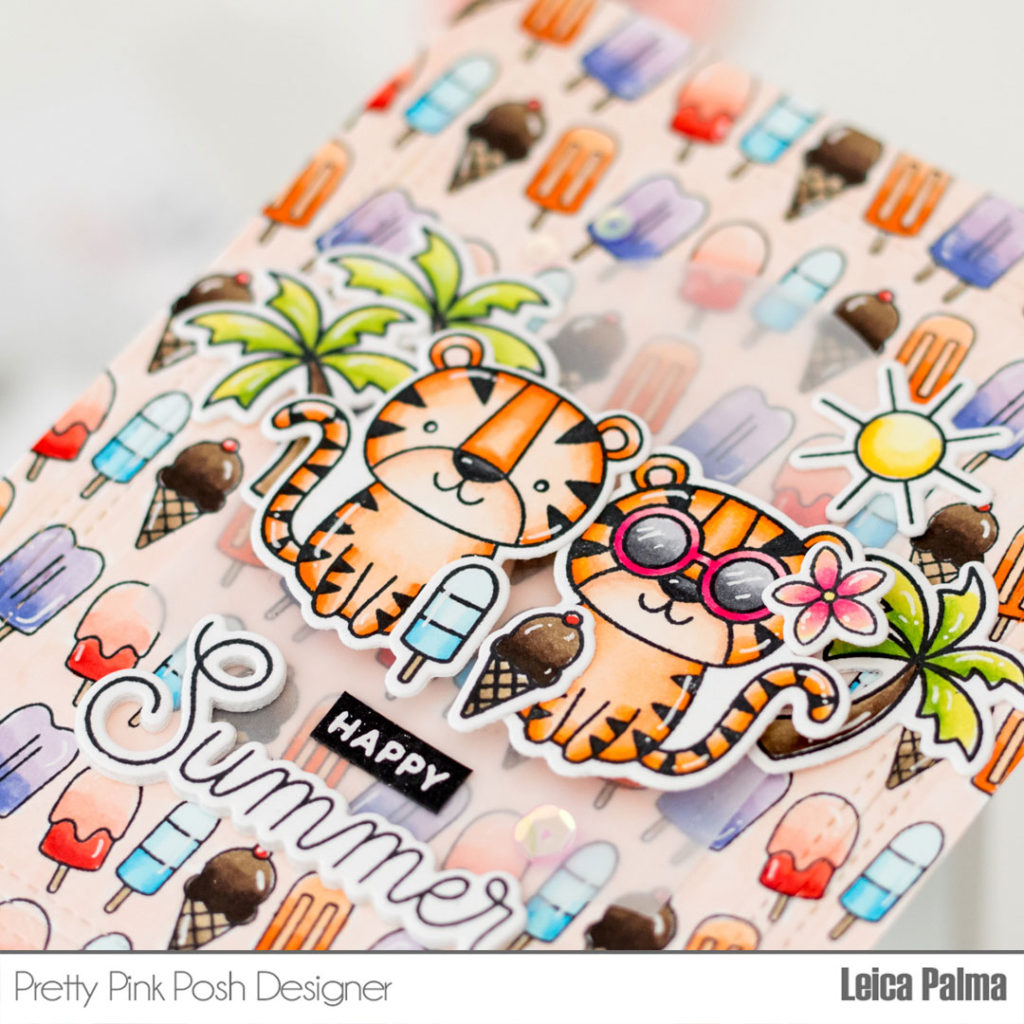
Next, I stamped the adorable tiger from the new Summer Fun Stamp Set. I also stamped the tiger from the Jungle Friends stamp set. I wanted to add more, my husband says it’s because “I’m so extra,” so I added the little trees, sun, ice cream and popsicle from the Summer Wreath stamp set.
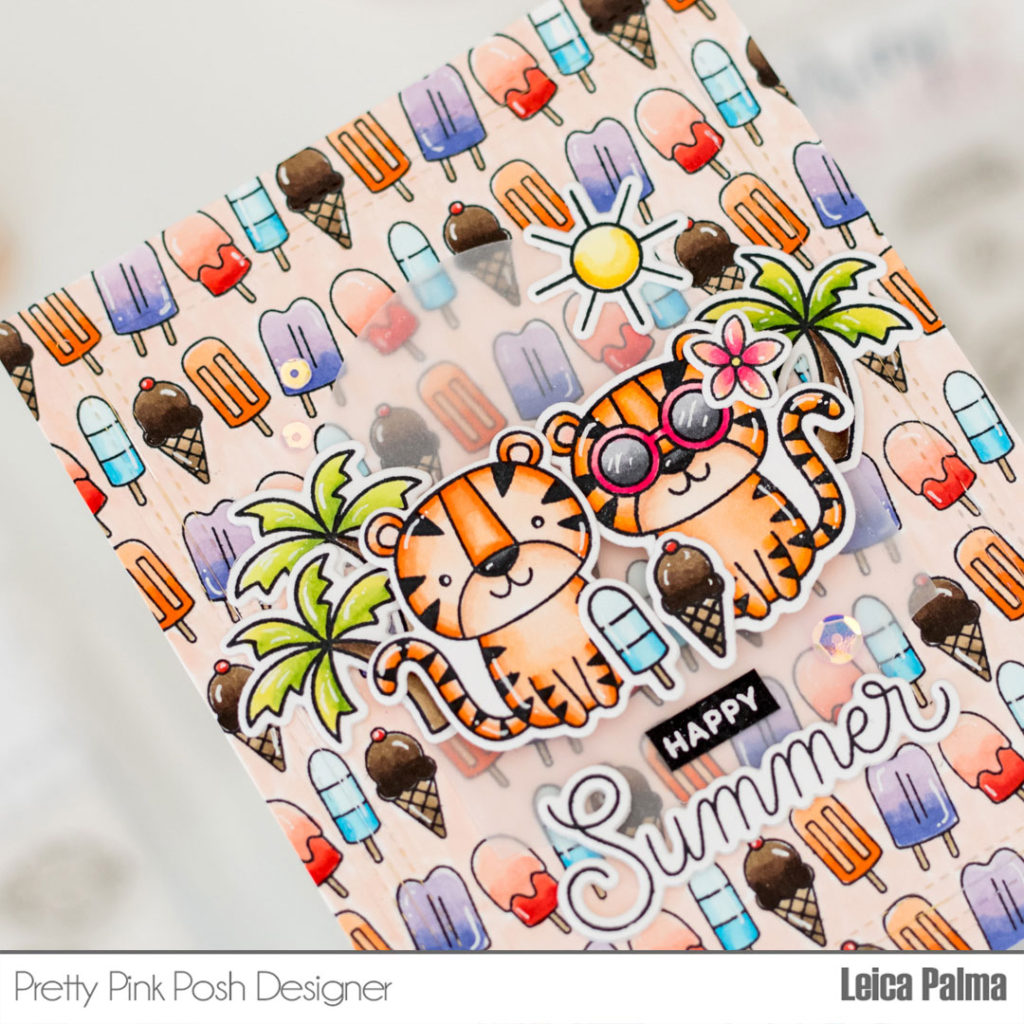
For the images to pop out more against the busy background, I added vellum that I cut using the tag from the Spring Circles Dies. I adhered all the elements onto my panel and lastly, onto a card base.
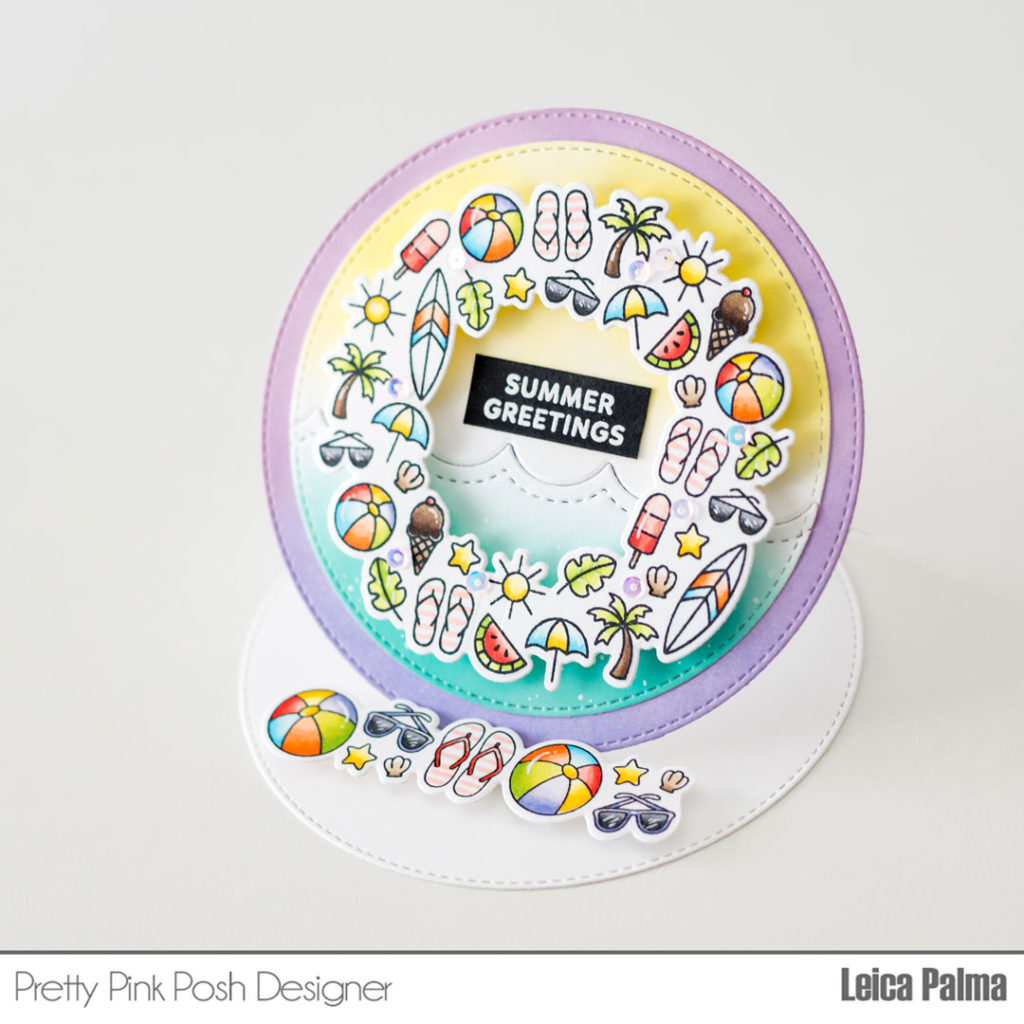
I hope you are excited for the new release! There are other adorable critters included in the Summer Fun stamp set that I know you are going to love!
Thanks for stopping by today. Join us tomorrow for more sneak peeks!