Blog Hop

| | |

Day 1: Blog Hop + Spring Release Now Available

Pretty Pink Posh: Blog Hop + Spring Release Now Available

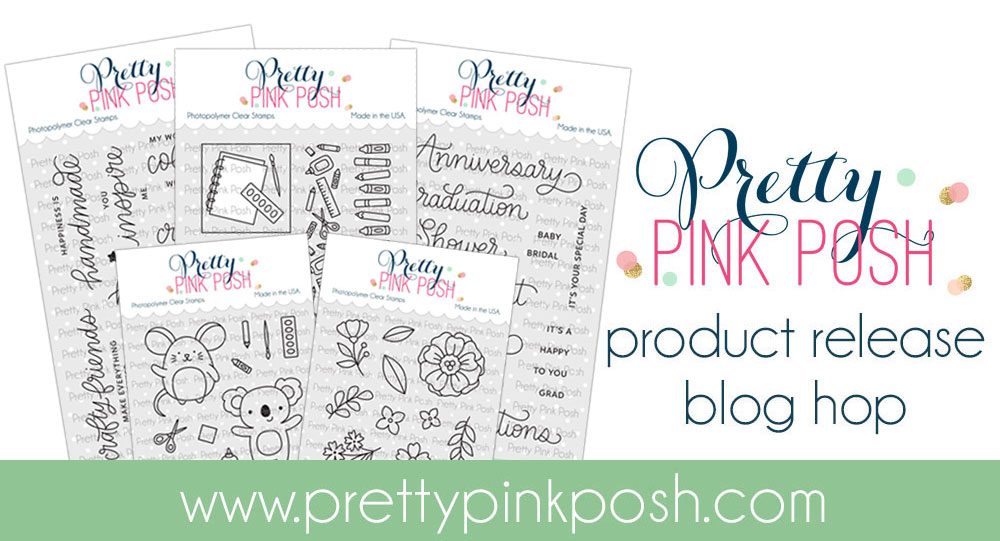
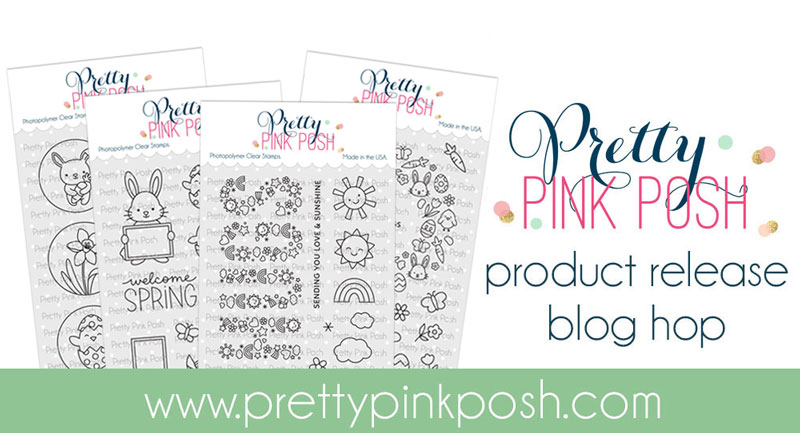
The March 2022 Release is now available in the Pretty Pink Posh Shop and select retailers that carry our products. If you missed our post yesterday, we revealed all of the products in picture form, but if you would like to see them in a video, Heather has that for you today!

Watch the video above  I  Watch the video in HD on YouTube

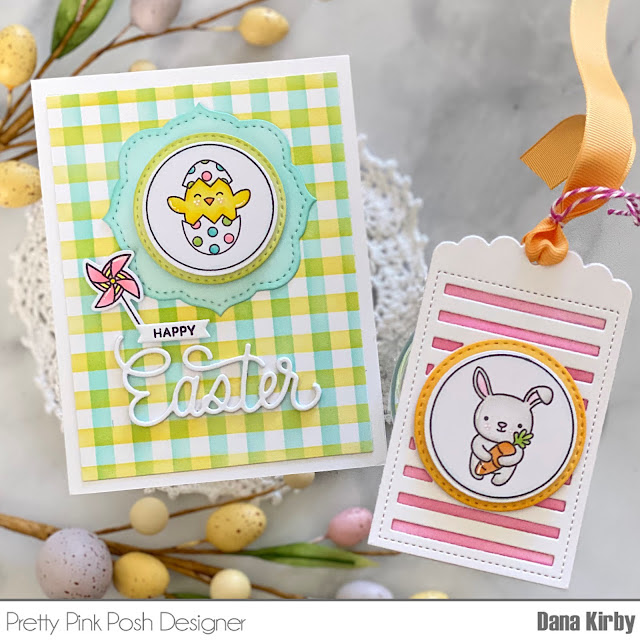
Hi friends! It’s Dana here today sharing a fun Easter card and gift tag. For my projects, I am using the Easter Circles stamp set. I just love the images in this set. They are so adorable and perfect for all of your spring and Easter crafting.

Pretty Pink Posh: Blog Hop + Spring Release Now Available

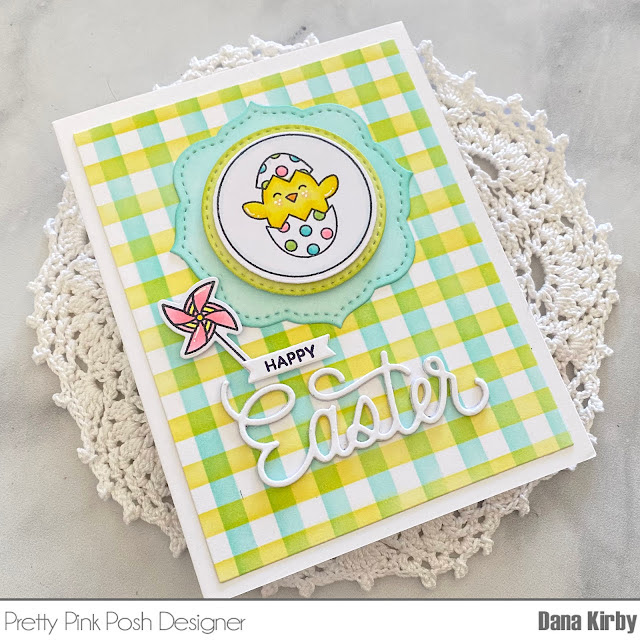
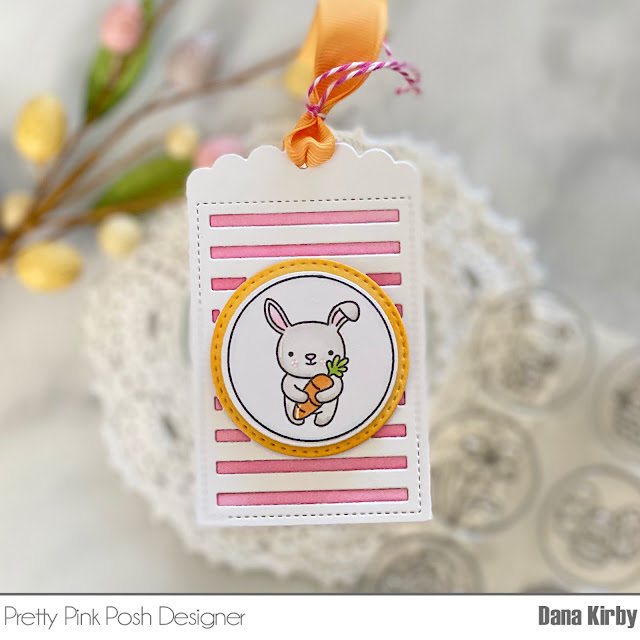
I started my projects by stamping my images with the Easter Circles stamp set and the Easter Signs set (pinwheel). I colored the images with Copic markers (RV13/11/10 C17/15/13, YG13/03, BG 23/11, YR14/12 W22/1/0) and used the Easter Circles dies and Easter Sign dies to cut them out. Next, I added dye ink to the Easter Circles dies in coordinating colors. I love how these dies include the stitching detail, so sweet!

Pretty Pink Posh: Blog Hop + Spring Release Now Available

For my card panel, I used the Wide Stripe stencil. I placed the stencil on my panel vertically and added aqua ink. I then turned the stencil horizontal and added yellow ink to create a plaid design. 

To finish my card I used the Hoppy Easter Script die to die cut my sentiment. I then used the Birthday Scripts stamp set to stamp the word Happy onto a white banner. Lastly, I attached all of my images to the card panel with liquid glue and foam adhesive.

Pretty Pink Posh: Blog Hop + Spring Release Now Available

For my tag, I used the bunny from the Easter Circles stamp set. I mounted the circle onto a tag that was created with the Birthday Circles tag die. I love how all of the circle sets and dies can be mixed and matched. It gives you so many possibilities. I can’t wait to tie this tag onto some Easter treats!

Pretty Pink Posh: Blog Hop + Spring Release Now Available

PRIZES: be sure to leave comments on each stop. We are giving away 3 $25 gift certificates to three random comments (1 winner each day) left before March 20, 2022 at 11:59 PM PST. I’ll be announcing the winners next week, so be sure to return and see if you are one of the winners.

Pretty Pink Posh blog << you are here
Caly Person
Tina Smith
Ashley Ebben
Leica Palma
Jeannie Lieu
Gemma Campbell

Thanks so much for stopping by today, we hope to see you again tomorrow for another day of inspiration!

| |

Day 3: Birthday Blog Hop

Pretty Pink Posh- Day 3: Birthday Blog Hop

If you missed Day 1 CLICK HERE //  If you missed Day 2 CLICK HERE

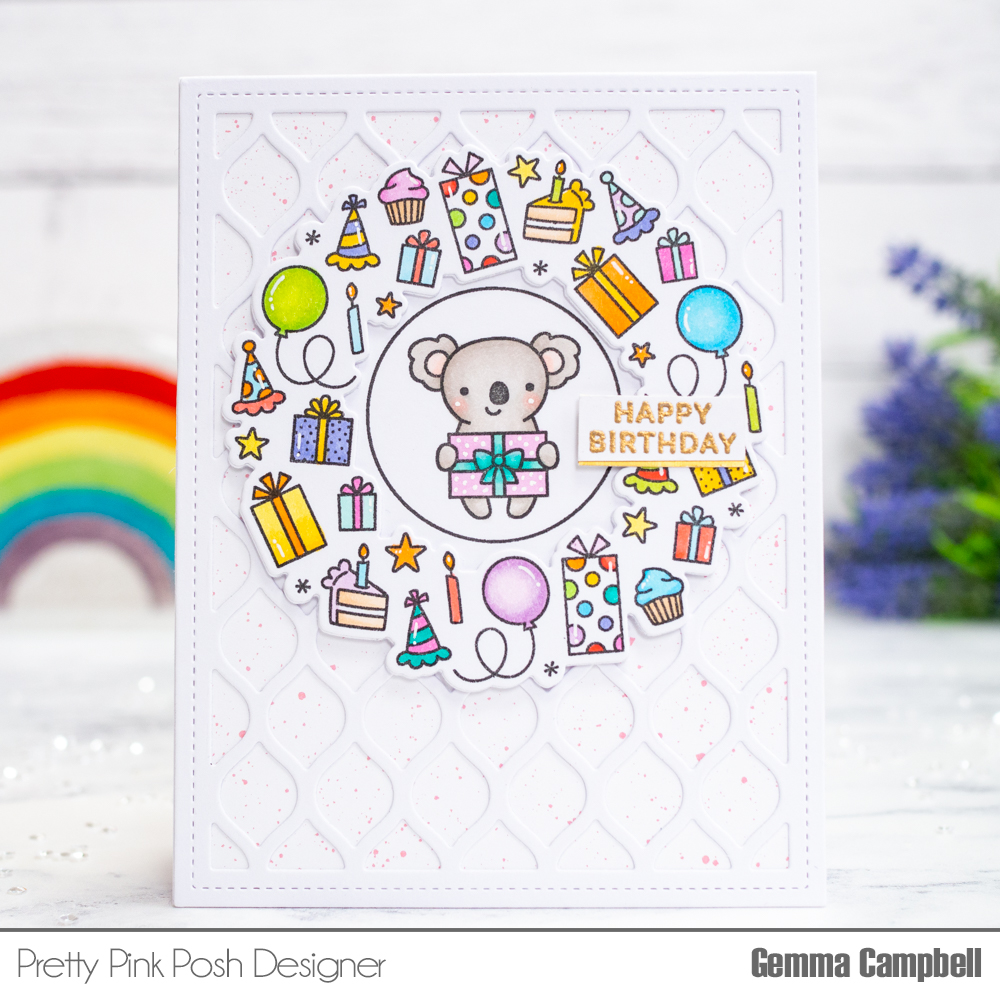
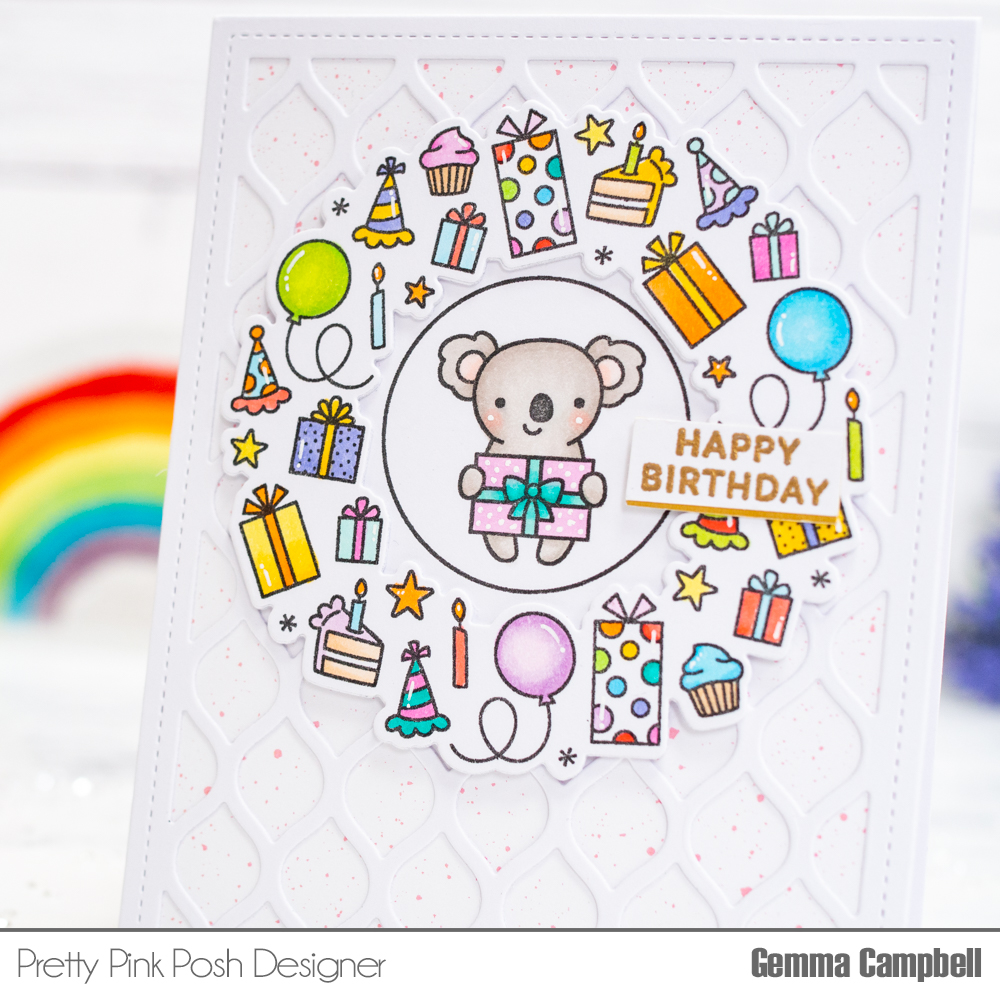
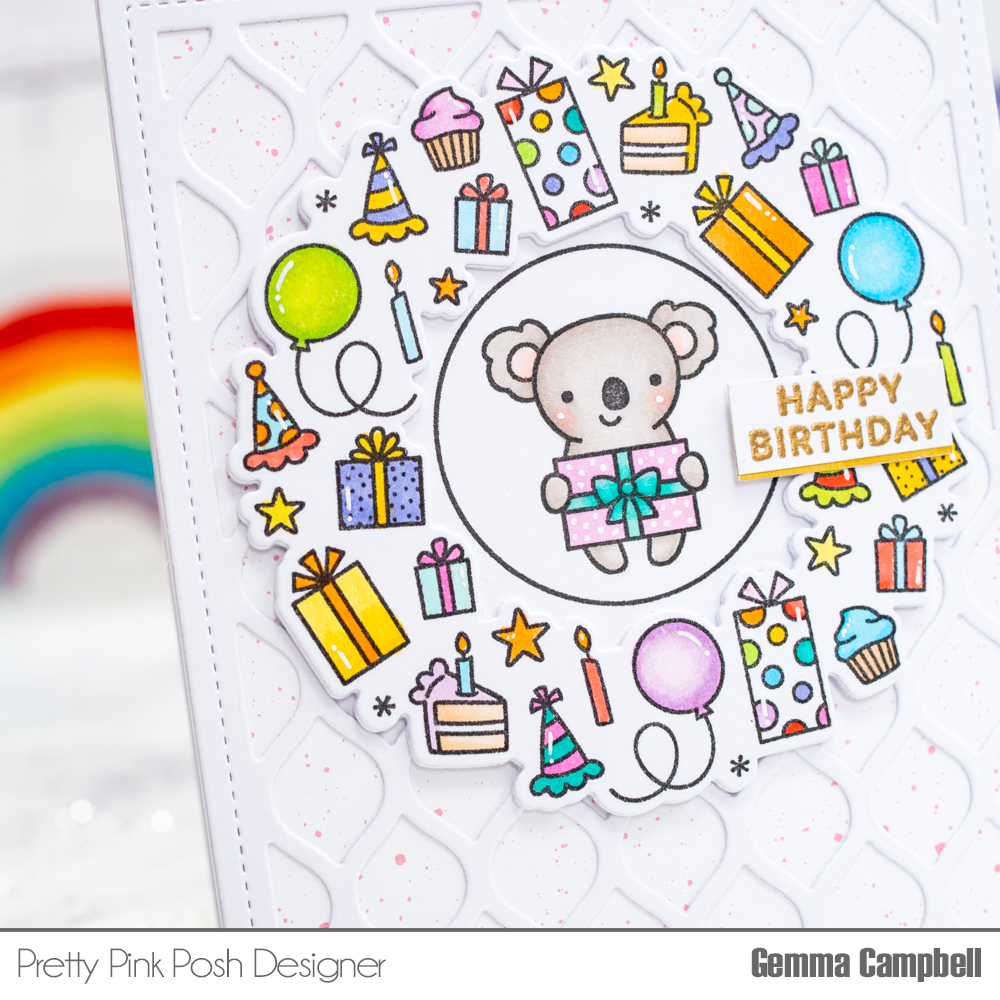
Hello, Gemma here today with a card featuring the new Birthday Wreath and Birthday Circles stamp sets. I thought it would be fun to add a circle image inside the wreath. They go together so well!

Pretty Pink Posh- Day 3: Birthday Blog Hop

I stamped the wreath and circle, then coloured the images with copic markers. I die cut the wreath with the coordinating die, along with an extra die cut layer to add dimension. I cut out the circle image with extra space around the edges, so it could be adhered behind the wreath image.

Copic marker colours

Koala: W0-3, R20 R30 Present: BG11-15, RV52 Birthday Wreath: R22-24, YR14-16, Y13-15, YG01-05, BG11-15, B00-02, BV02, V000 V01 V12, RV52-55, E51-53

Pretty Pink Posh- Day 3: Birthday Blog Hop

Next, I worked on the background. I die cut the Pretty Petals Background from white card. I popped out the pieces and adhered it over some patterned paper. I then added this to an A2 card base. This CAS background complements the wreath and circle images beautifully.

Pretty Pink Posh- Day 3: Birthday Blog Hop

I adhered the circle wreath images on the card, then finished by adding a gold heat embossed sentiment, using a stamp from the Simple Sentiments stamp set. I layered it over some satin gold mirror card.

No party would be complete without guests, gifts and a party favor, right? During the celebration, save 10% off your order using the coupon code provided below.

For the celebration, I brought along some very special guests to celebrate with us. Be sure to leave them lots of comments on their blogs and check out their amazing projects!

Pretty Pink Posh blog << you are here
Caly Person
Wanda Guess
Carly Minner
Channin Pelletier
Ashley Ebben
Lisa Mears
Dana Kirby
Yoonsun Hur

Thank you for celebrating with us. We are looking forward to the upcoming year and bringing you new products and inspiration. Have a great weekend!

| |

Day 2: Birthday Blog Hop

Pretty Pink Posh- Day 2: Birthday Blog Hop

If you missed Day 1 CLICK HERE

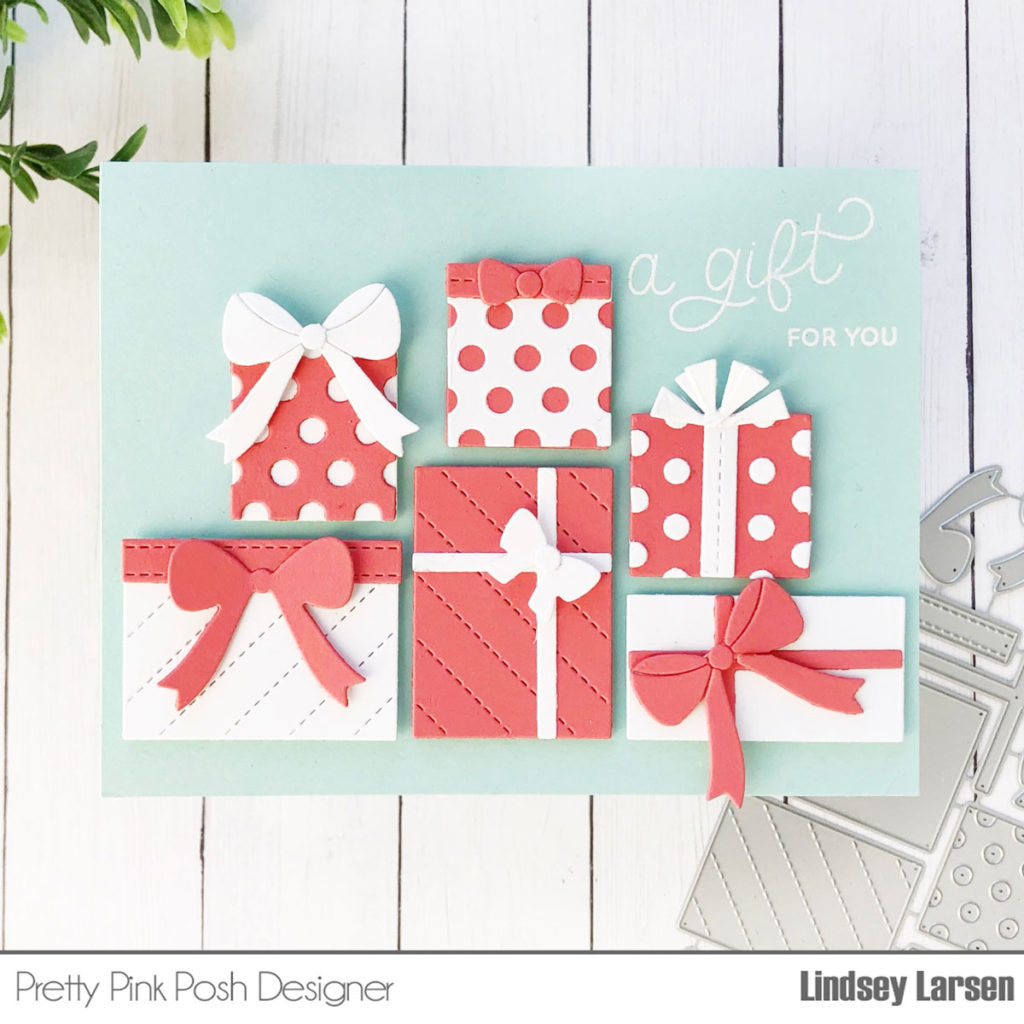
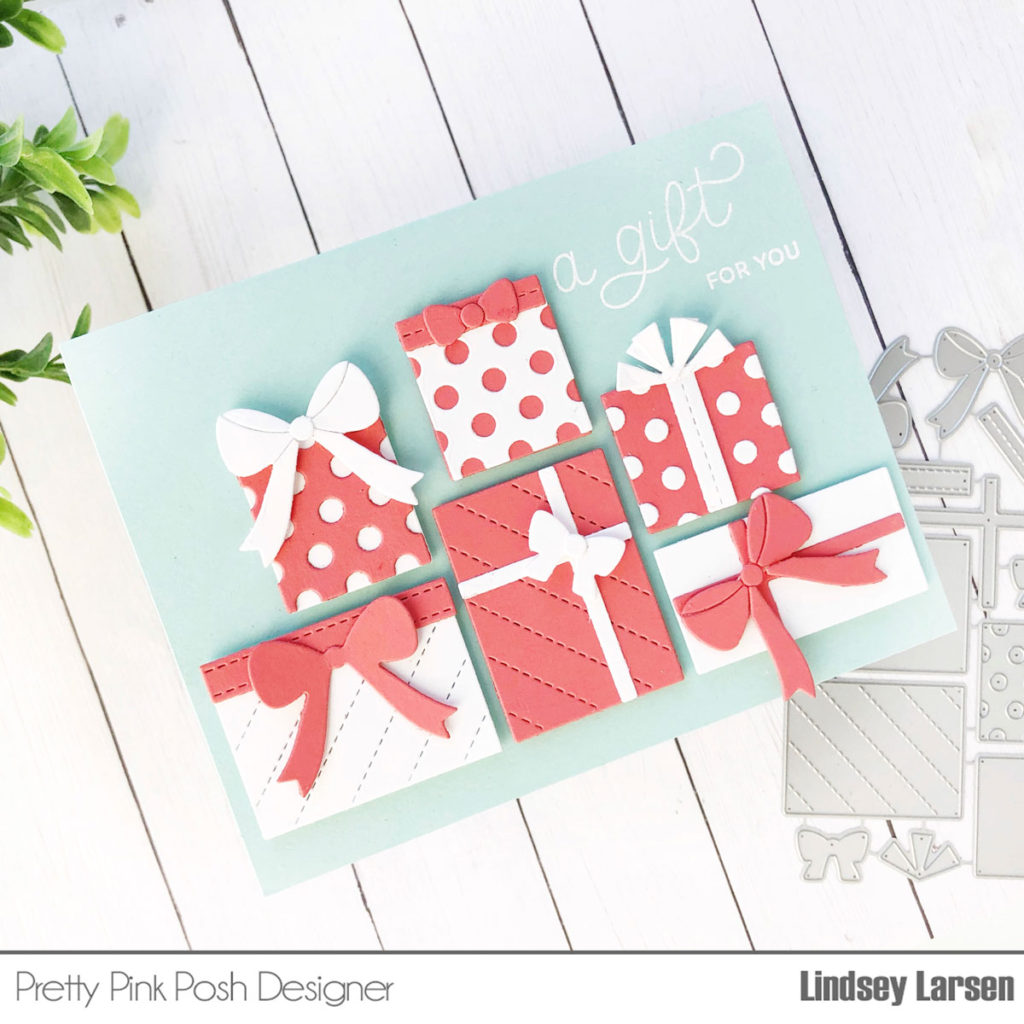
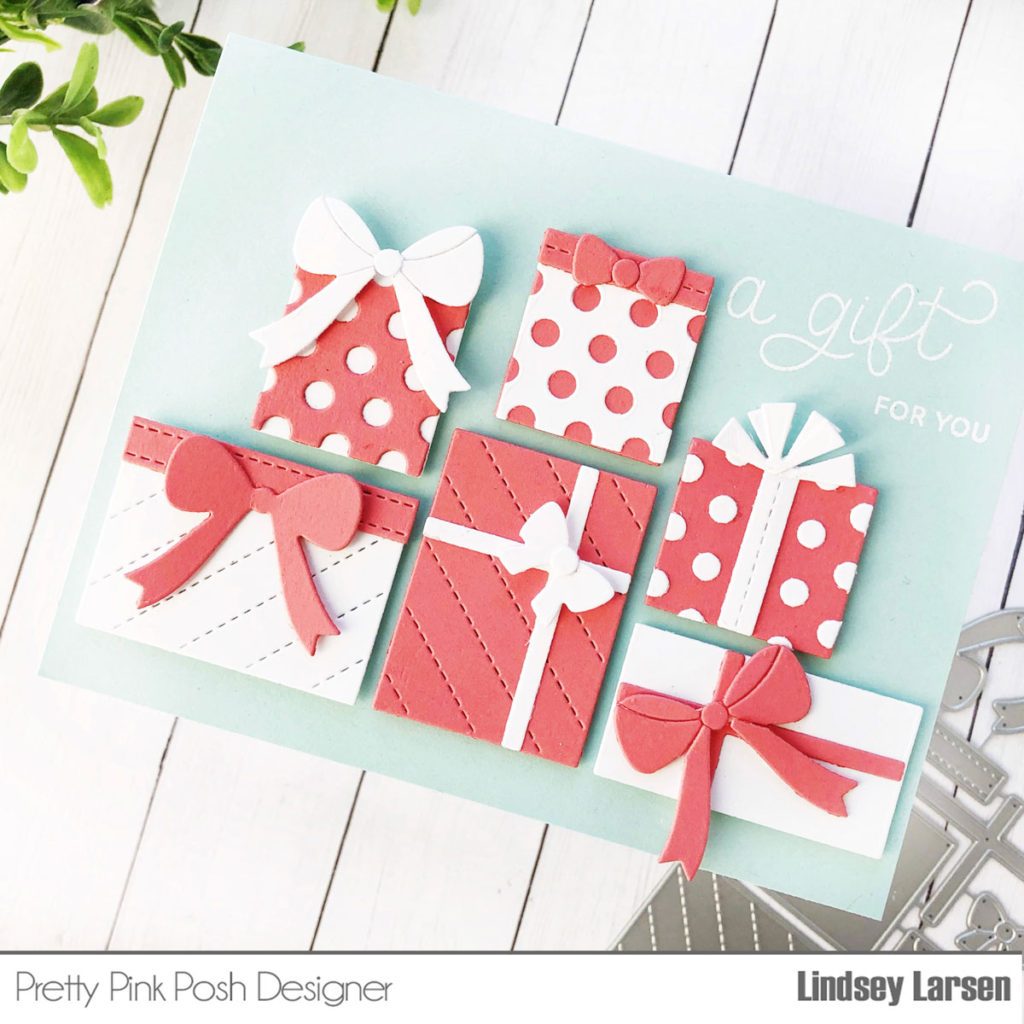
Hello! It’s Lindsey here, and I had a blast making today’s card.  Have you seen the new Build A Gift dies? They are fantastic! These dies are perfect for birthdays but also lots of other celebrations. I’m thinking weddings, graduations, and Christmas to name a few. Lots of possibilities here! 

Pretty Pink Posh- Day 2: Birthday Blog Hop

I stuck with a simple color scheme of white, light aqua, and pink sorbet. I ran all the dies through the die machine and cut a set of pink and white, and then mixed and matched until I had a pile of gifts. It was loads of fun!  

Pretty Pink Posh- Day 2: Birthday Blog Hop

I wanted each gift to be unique, so I used the tails on some bows but not on others. I also used the negative and positive polka dot cuts. Even a simple change like vertical vs. horizontal orientation added to the variety.

When all my gifts were completed, I popped them up with dimensional foam tape on my aqua card base and embossed a sentiment from Birthday Scripts in white to finish off the card.  

Pretty Pink Posh- Day 2: Birthday Blog Hop

The Build A Gift dies are so much fun! This is definitely a set you will want to add to your collection. I know I will be using mine lots!

We are having a special free gift offer to celebrate our birthday month, while supplies last. During the celebration, save 10% off your order using the coupon code provided below.

Pretty Pink Posh- Day 2: Birthday Blog Hop

PRIZES: be sure to leave comments on each stop. We are giving away 3 $50 gift certificates to three random comments (1 winner each day) left before February 16, 2022 at 11:59 PM PST. I’ll be announcing the winners next week, so be sure to return and see if you are one of the winners!

We have lots of amazing designers in today’s blog hop sharing new inspiration. Be sure to leave them lots of love!

Pretty Pink Posh blog << you are here
Cathy Zielske
Laura Bassen
Mona Toth
Raquel Arribas
Heather Hoffman
Tina Smith
Gemma Campbell

Thank you for celebrating with us today and for all the love! We hope to see you bright and early tomorrow for day #3 of the birthday celebration.

| |

Day 1: Birthday Blog Hop

Pretty Pink Posh- Day 1: Birthday Blog Hop

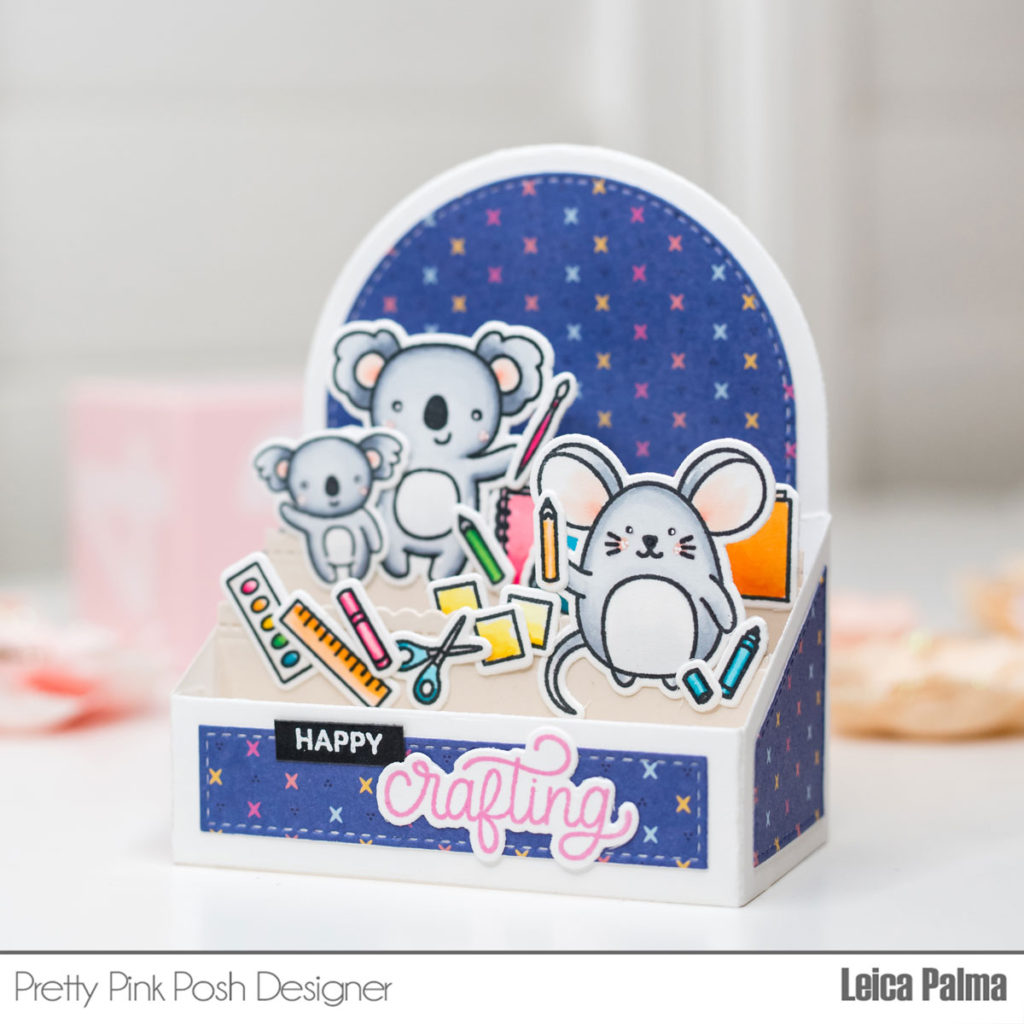
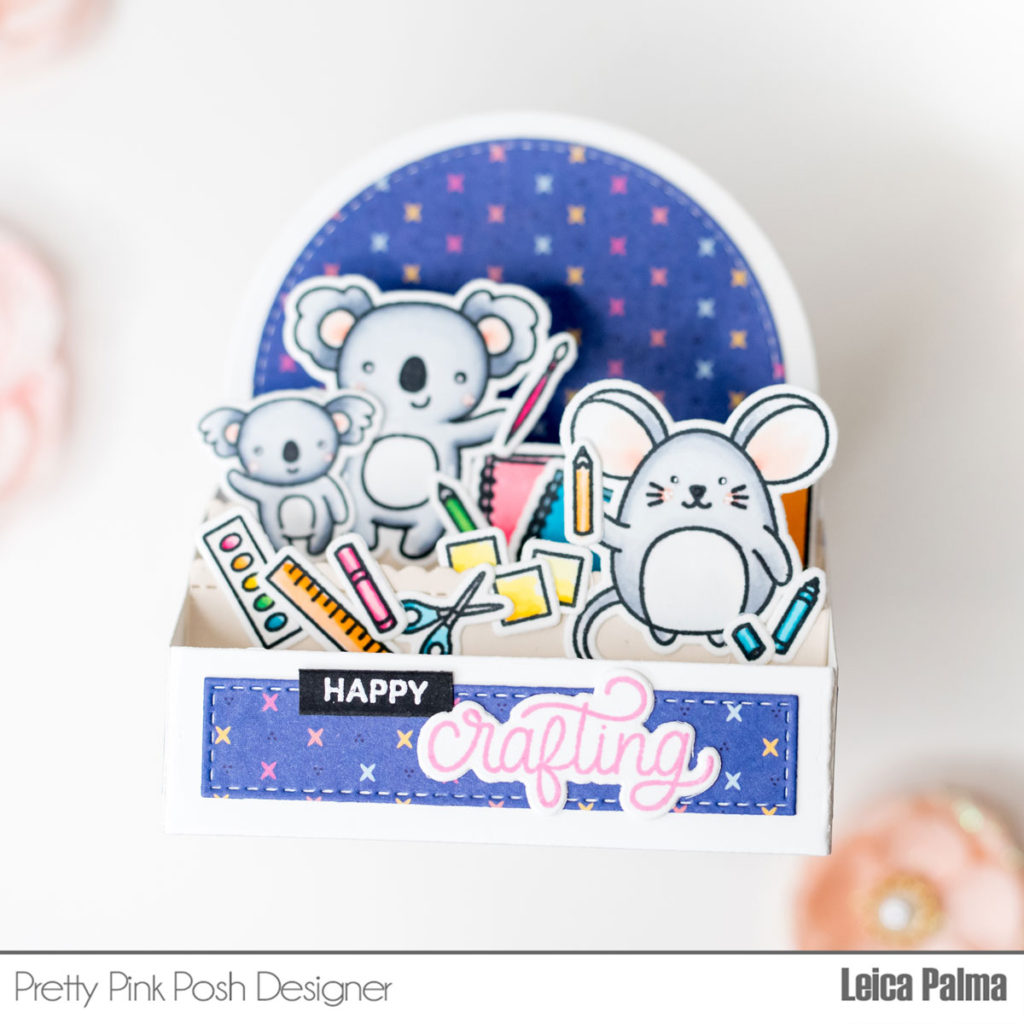
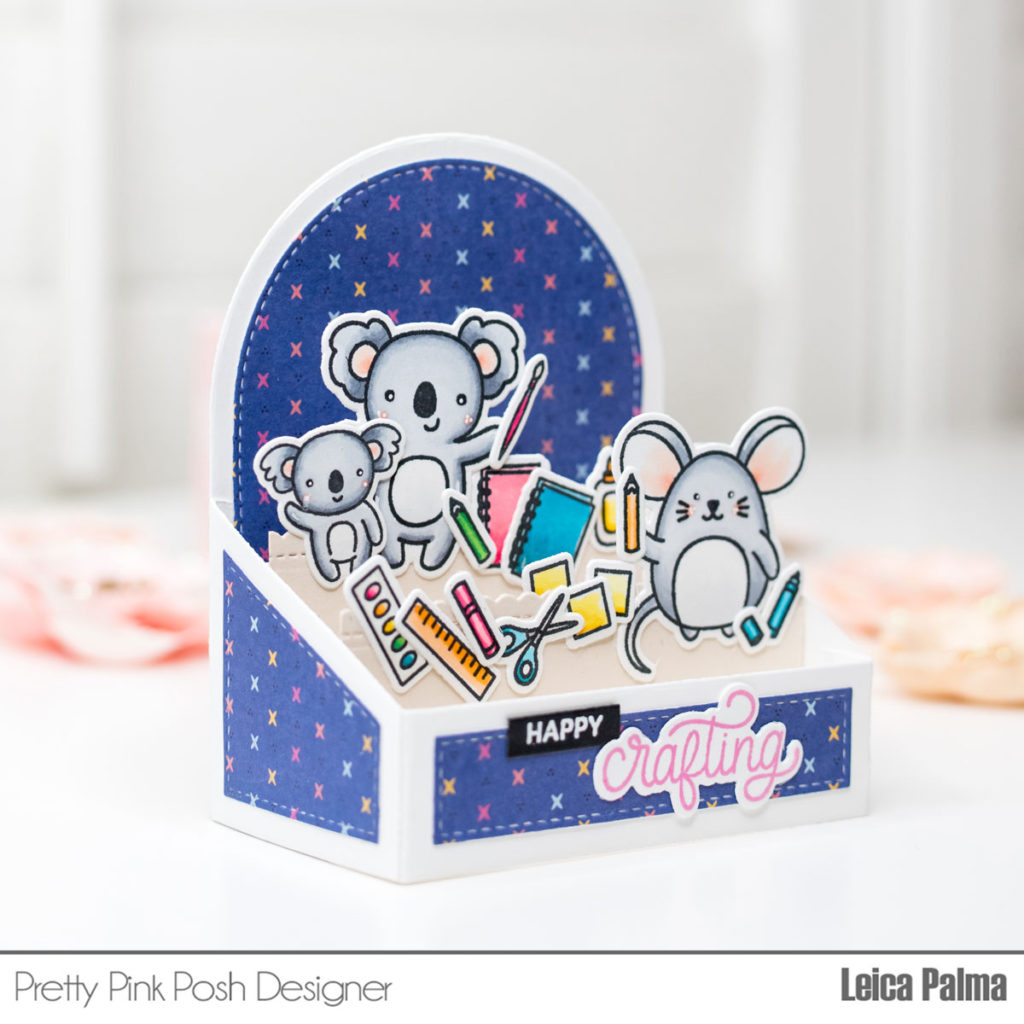
Hello friends, welcome to day 1 of the birthday celebration blog hop. Leica here today and I have a box card to share with you all. For my card, I used the Crafty Critters stamp set and coordinating dies, which are free gifts with qualifying purchases this month in honor of Pretty Pink Posh turning 8 (details later in this post). Hooray for more adorable critters and craft-related stamps!

Pretty Pink Posh- Day 1: Birthday Blog Hop

To begin, I assembled the MFT Outside the Box Level Up die in white cardstock. For the panels, I covered them with patterned paper. I added 2 inserts in the box and filled it with the cutest images – all from the Crafty Critters stamp set. I used Copic markers in B04/02/00, C5/3/1/0, G 19/16/14, RV25/23/21, Y18/13/11, YR04/02/00.

Pretty Pink Posh- Day 1: Birthday Blog Hop

For the sentiment, I white heat embossed “happy” on a strip of black cardstock and stamped “crafting” with pink ink, then cut with the coordinating die. Lastly, I adhered all the stamped elements onto the card front and inserts. 

Pretty Pink Posh- Day 1: Birthday Blog Hop

No party would be complete without guests, gifts and a party favor, right? During the celebration, save 10% off your order using the coupon code provided below.

Pretty Pink Posh- Day 1: Birthday Blog Hop

We have lots of amazing designers in today’s blog hop sharing new inspiration. Be sure to leave them lots of love!

Pretty Pink Posh blog << you are here
Jennifer McGuire
Rachel Alvarado
Nichol Spohr
Tammy Stark
Leica Palma
Jeanne Jachna
Elaine Wakeling

PRIZES: be sure to leave comments on each stop. We are giving away 3 $50 gift certificates to three random comments (1 winner each day) left before February 16, 2022 at 11:59 PM PST. I’ll be announcing the winners next week, so be sure to return and see if you are one of the winners!

We hope that you get inspired by inspiration from the team and guests. Stop by tomorrow for another day filled with birthday inspiration!
|

January Blog Hop Winners

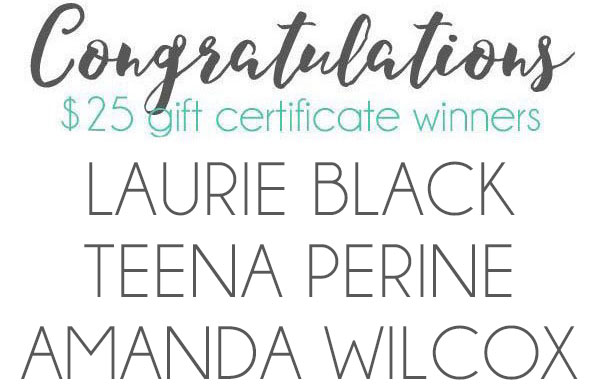
Hello! It’s time to announce the three lucky winners of the Product Release Blog Hop posts HERE and HERE. Here are the lucky winners…

Pretty Pink Posh: January Blog Hop Winners

Thank you to all who hopped along in this blog hop. Stay tuned, we’ll be sharing all new Valentine inspiration next week!

| |

Day 2: Valentine Blog Hop

Pretty Pink Posh- Day 2: Valentine Blog Hop

If you missed Day 1 CLICK HERE 

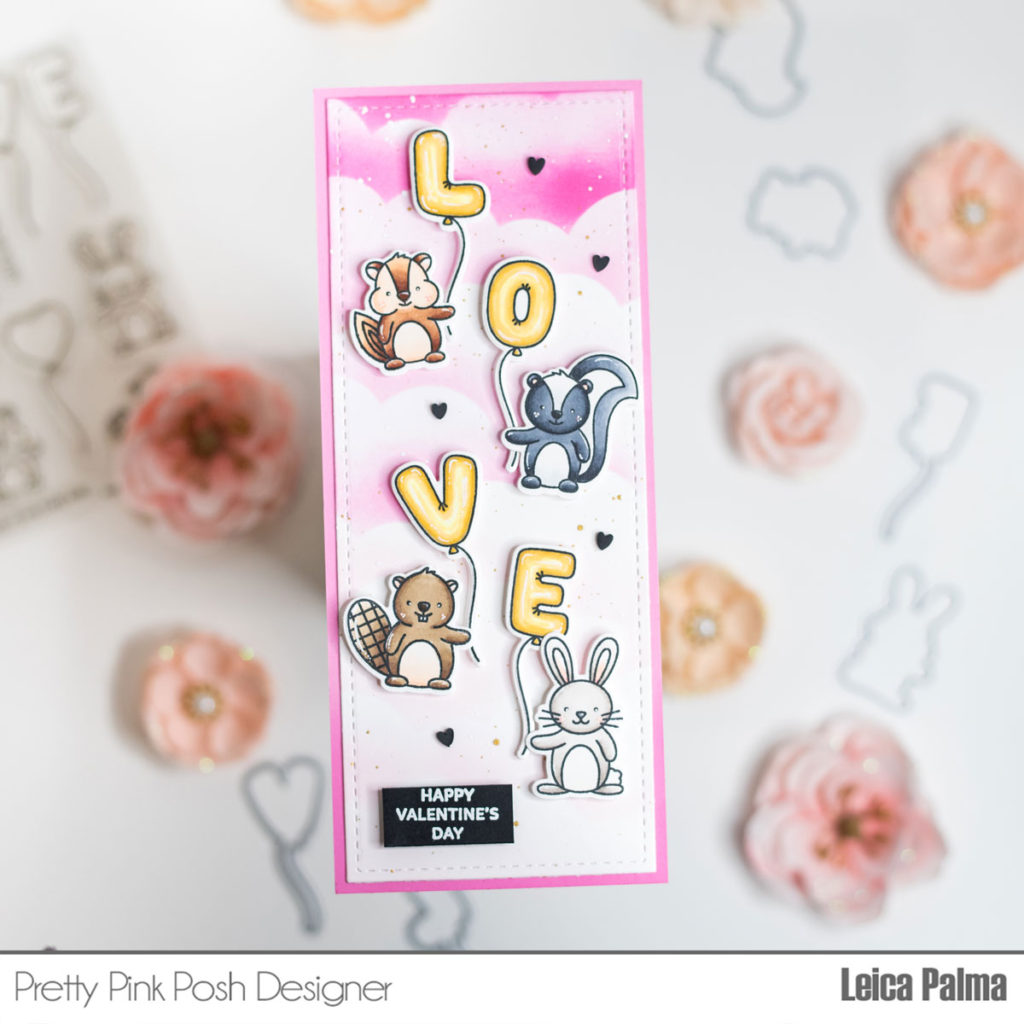
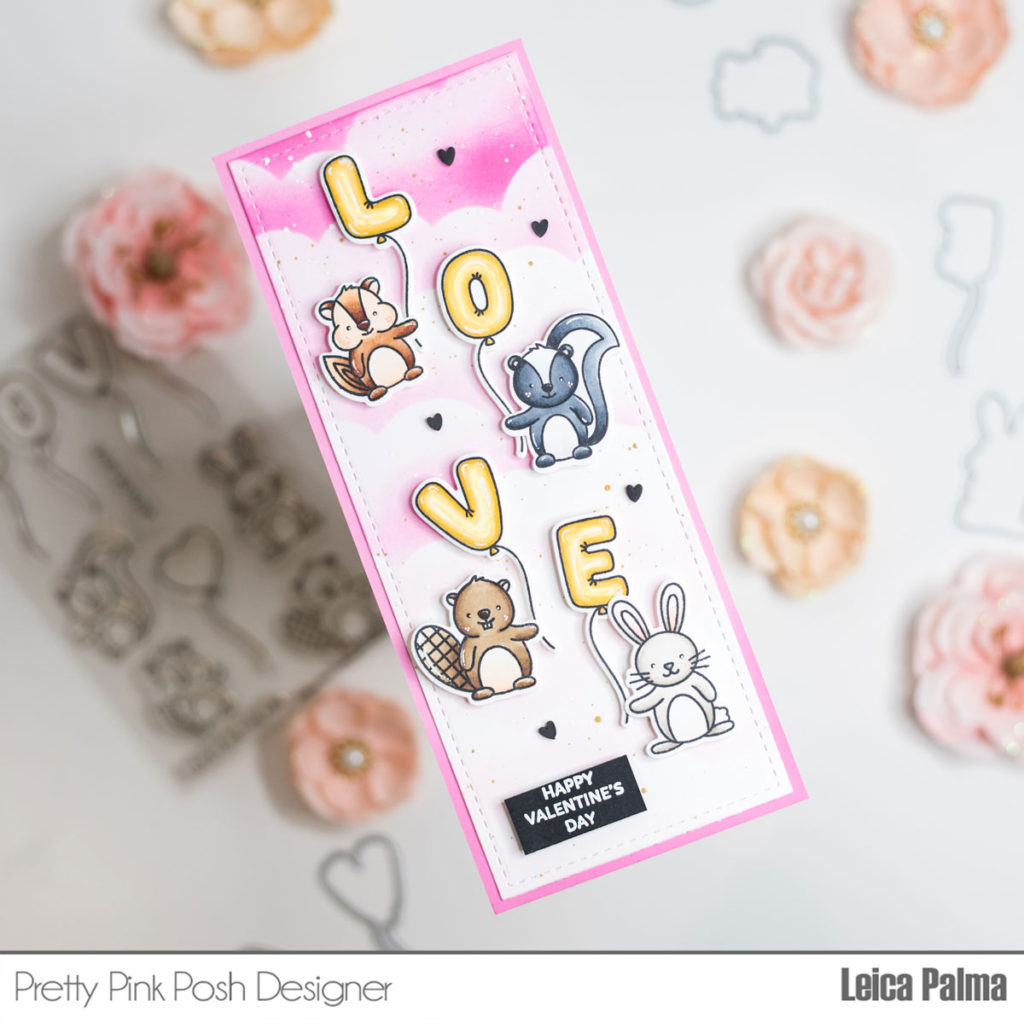
Hello friends! It’s Leica here today with a slimline card using the new Love Balloons stamp set. This set has some adorable critters, plus alpha balloons that spell LOVE. I know you will love this set as much as I do!

Pretty Pink Posh- Day 2: Valentine Blog Hop

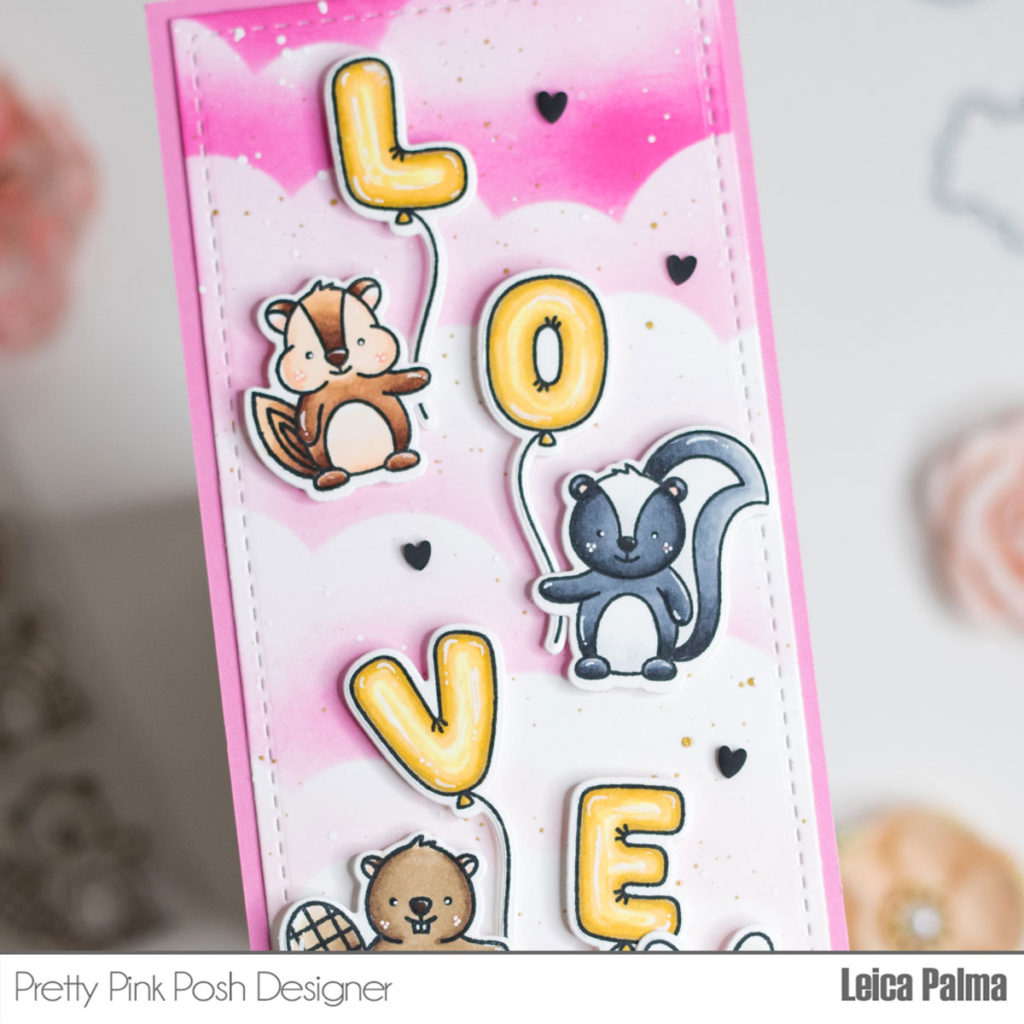
For my card, I started by cutting the large rectangle panel from the Slimline: Peekaboo Window Dies in white cardstock. I then made a cloud stencil by cutting a cloud piece from the Nature Essentials Die. With the cloud, I ink blended the panel with Picked Raspberry, Kitsch Flamingo, and Spun Sugar Distress Oxide Inks. I then splattered gold and white acrylic paints onto the panel. 

Pretty Pink Posh- Day 2: Valentine Blog Hop

Next, I stamped, colored, and cut the images from the Love Balloons stamp set and coordinating dies.

I used the following Copic markers:
Beaver – E47/44/43/42
Bunny – W5/3/1
Chipmunk – E29/27/25/23/21
Skunk – C7/5/3/1/0

For the sentiment, I white heat embossed the “Happy Valentine’s Day” stamp from the Valentine Wreath stamp. I foam mounted all the elements onto the card panel. Before adhering to a card base, I added a layer of pink cardstock for more color. 

Pretty Pink Posh- Day 2: Valentine Blog Hop

PRIZES: be sure to leave comments on each stop. We are giving away 2 $25 gift certificates to three random comments (1 winner each day) left before January 16, 2022 at 11:59 PM PST. I’ll be announcing the winners next week, so be sure to return and see if you are one of the winners!

Pretty Pink Posh blog << you are here
Tammy Stark
Jeanne Jachna
Yoonsun Hur
Dana Kirby
Heather Hoffman

That’s all for this Valentine’s Day card. I hope that you like it and that I’ve inspired you to craft with this new set. Have a great day!

| | | |

Day 1: Valentine Blog Hop

Pretty Pink Posh- Day 1: Valentine Blog Hop

Hello crafty friends. It’s Lisa Mears here. I love to make shaker cards and today I’m sharing a shaker card that I made using the Love Hearts die. This die measures 4 1/4” x 5 1/2” and is perfect for the front of an A2 size card. 

Pretty Pink Posh- Day 1: Valentine Blog Hop

If you would like to watch how I made this card, then watch my video here.

Watch the video above  I  Watch the video in HD on YouTube

I started by die cutting the Love Hearts die using Bristol Smooth cardstock and applied various distress oxide inks to the die cut panel. The ink colors I used are Cracked Pistachio, Picked Raspberry, and Shaded Lilac. After the die cut panel was colored, I set it aside. This will be the top panel for my card.

Pretty Pink Posh- Day 1: Valentine Blog Hop

Next, I started to work on the shaker. To create the shaker, I die cut four pieces of white 110 lb. cardstock. I used these four pieces of cardstock to build up the walls for my shaker card by gluing each of the white die cut pieces together. Next, I glued the stack of white die cuts to an A2 size white card base which measures 4 1/4” x 5 1/2”.

I cut a piece of acetate to measure 4 1/4” x 5 1/2” and added it to the back of the colored die cut panel and set it aside.

Pretty Pink Posh- Day 1: Valentine Blog Hop

Next, I added the Sweet Love Clay Confetti shaker pieces to the center of the white hearts on the stack of four die cut panels. Finally, I added glue to the back of the acetate of the colored panel and attached it to the top of the stacked white panels. 

To finish off my card, I die cut the Hugs Script Die with black cardstock and adhered it to the front of the card. Next, I added the Pink Blush Pearls to the center of all of the flowers on the front of the card panel.

Pretty Pink Posh- Day 1: Valentine Blog Hop

PRIZES: be sure to leave comments on each stop. We are giving away 2 $25 gift certificates to three random comments (1 winner each day) left before January 16, 2022 at 11:59 PM PST. I’ll be announcing the winners next week, so be sure to return and see if you are one of the winners!

Pretty Pink Posh blog << you are here
Gemma Campbell
Ashley Ebben
Raquel Arribas
Leica Palma

I hope my card inspired you to make a shaker card. Be sure to check out all of the fun new products in the Pretty Pink Posh Valentine’s Day release.

|

October Blog Hop Winners

Hello! It’s time to announce the three lucky winners of the Product Release Blog Hop posts HEREHERE and HERE. Here are the lucky winners…

Winners, email me within 7 days and I’ll send over the gift certificates so you can shop!

Thank you to all who hopped along in this blog hop. If you would like even more inspiration with the new release and are on Instagram, we’ll have a three day Instagram hop starting TOMORROW with three more chances to win a gift certificate!

| |

Day 3: Blog Hop + Holiday Release Now Available

If you missed Day 1 CLICK HERE //  If you missed Day 2 CLICK HERE

Hey friends! Elaine here today from @pinkpeppermint cards. A new Pretty Pink Posh release is here and I have a super fun and festive project to share with you. Go ahead and grab a coffee and join us for a fun blog hop showcasing lots of fun inspiration using the new release plus a chance to win a prize!

To start my project I took 4 pieces of heavyweight white card cut to 6”x6”.  Taking the Layered Holly Stencil I took stencil B and ink blended on the holly leaves in a green, teal shade all over each of the card panels. I then used stencil C to blend a slightly heavier layer of the same ink through the apertures to create the spines of the holly leaves.  Lastly, took stencil A to apply a red ink through the holes to add berries to the panel.  Before removing the stencil, I applied Nuvo Glimmer Paste in Sceptre Red to give some sparkle and added dimension.  To add a little more interest to my card panels and add extra sparkle I splattered on some gold metallic paint over the top of the stencil pattern.  I set all 4 panels aside to dry and thoroughly cleaned my stencils and paint brush.

While the panels were drying, I prepared my tags and sentiments.  Firstly I die cut some tags from white card stock using the Stitched Essentials 1 die set.  I used a border die from the Stitched Borders 1 die set and cut away the bottom half of each tag.  For the tags, I added sentiments using the beautiful new Holiday Scripts stamp set in a black pigment ink.  I also prepared the sentiments for my cards while my card panels were drying.  I stamped the words ‘Merry’ and ‘Holidays’ on to white cardstock with a black pigment ink and used the Holiday Scripts coordinating dies to cut out the words.  I also white heat embossed the words ‘Christmas’ and ‘Happy’ on to black cardstock and trimmed into thin strips. 

Using a guillotine, I trimmed 2 of my holly stencilled panels down to 4.5” x 4.5”.  I wrapped a strip of vellum around each card panel and adhered each end to the back with double sided adhesive.  I put foam tape on the back of each panel and adhered each one to a white 5”x 5” side folding card base.  I applied my pre prepared sentiments on to the vellum strip with liquid adhesive. 

Taking the Stitched Essentials 1 die set again, I cut tags from the remaining holly blended panels.  I adhered the stamped tag pieces over the top of the stencilled tags with liquid adhesive.  I used a hole punch to add some holes to the tags and popped some red thread through the openings.   

As a final embellishment on both the cards and tags I added some new Metallic Gold Pearls in various sizes using some liquid adhesive.

Did you hear the news? We’re giving away this not-yet-released 4 layer stencil called Layered Plaid with qualifying orders over $125. This is while supplies last and will automatically be included with orders.

Pretty Pink Posh- Day 2: Blog Hop + Holiday Release Now Available

PRIZES: be sure to leave comments on each stop. We are giving away 3 $25 gift certificates to three random comments (1 winner each day) left before October 19, 2021 at 11:59 PM PST. I’ll be announcing the winners next week, so be sure to return and see if you are one of the winners

Pretty Pink Posh blog << you are here
Mona Toth
Mindy Eggen
Melody Rupple
Ashley Ebben
Leica Palma

I hope you are inspired to create cards with the new products and were inspired by this three day blog hop! Thank you for hopping with us!

| |

Day 2: Blog Hop + Holiday Release Now Available

Pretty Pink Posh- Day 2: Blog Hop + Holiday Release Now Available

If you missed Day 1 CLICK HERE 

Hello, Gemma here and I have a jolly Christmas card to share, using the new October release using a bright and bold colour scheme of red and blue.

Pretty Pink Posh- Day 2: Blog Hop + Holiday Release Now Available

I stamped images from Snowman Friends and Village Additions and coloured them with my copic markers. I then die cut the images with the coordinating dies.

Next, I worked on the background. I adhered a panel of patterned paper to a 5.25 inch square card base, then added a piece of white card for the snowy ground.

Pretty Pink Posh- Day 2: Blog Hop + Holiday Release Now Available

Copic marker colours

Snowmen: B00, B000; YR14; E74, Clothes: B63, B66, B69; R22, R24, R27
Trees: E74; G14, G07, G28

Pretty Pink Posh- Day 2: Blog Hop + Holiday Release Now Available

I arranged the images in the scene, adhering them directly on the card, apart from the smaller snowman who is popped up with foam tape.

For the main sentiment, I used the fabulous Holiday Scripts stamp set, which is a must-have. I love having the coordinating dies for the large words, which offer lots of possibilities. My favourite way to use this set is to heat emboss the words in white on coloured card stock, then die cut with the coordinating dies. I added a couple of die cut layers behind the Merry word for dimension.

Pretty Pink Posh- Day 2: Blog Hop + Holiday Release Now Available

I embossed the second sentiment on a strip of red cardstock, then adhered both at the base of the card. For a fun extra sentiment, I decided to give the snowmen a speech bubble sentiment. I used the previously released Stitched Speech Bubbles die set, cutting one from white card and another from red.

Pretty Pink Posh- Day 2: Blog Hop + Holiday Release Now Available

I stamped the sentiment from Snowman Friends in blue ink, to match the colour scheme, then offset layered the speech bubbles together on the card to finish.

Did you hear the news? We’re giving away this not-yet-released 4 layer stencil called Layered Plaid with qualifying orders over $125. This is while supplies last and will automatically be included with orders.

Pretty Pink Posh- Day 2: Blog Hop + Holiday Release Now Available

PRIZES: be sure to leave comments on each stop. We are giving away 3 $25 gift certificates to three random comments (1 winner each day) left before October 19, 2021 at 11:59 PM PST. I’ll be announcing the winners next week, so be sure to return and see if you are one of the winners

Pretty Pink Posh blog << you are here
Caly Person
Thi Lam
Mindy Baxter
Dana Kirby
Jeanne Jachna

Be sure to leave comments on all the stops- we’ll be randomly picking comments to win gift certificates. Thanks for joining us!