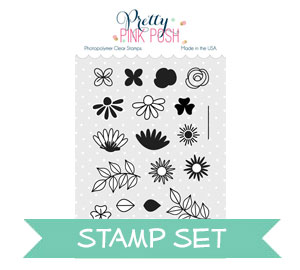
Pretty Pink Posh Shop

| |

One Stamp Set // Five Summer Cards + Video
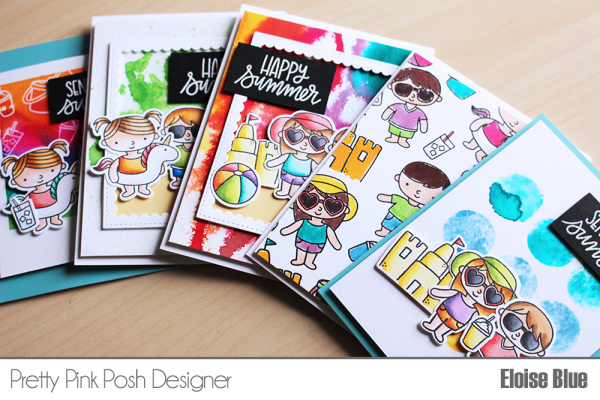
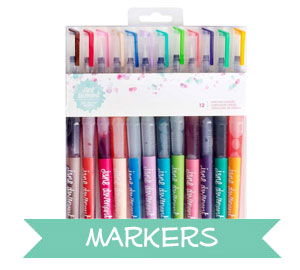
Hello everyone, Eloise here today and for today’s cards and video I decided to try out the new Jane Davenport Mermaid Markers along with using the Summer Friends stamp set from the brand new release! This new release is so much fun, I love everything so so much and there really is something for everyone here. So in addition to using the new stamps I decided to use my new Jane Davenport Mermaid Markers. I just received these in the mail and could not wait to try them out. Watercolour is one of my most favourite things and I’m so excited to use these markers in five ways today to make five very different, but yet coordinating cards at the same time.
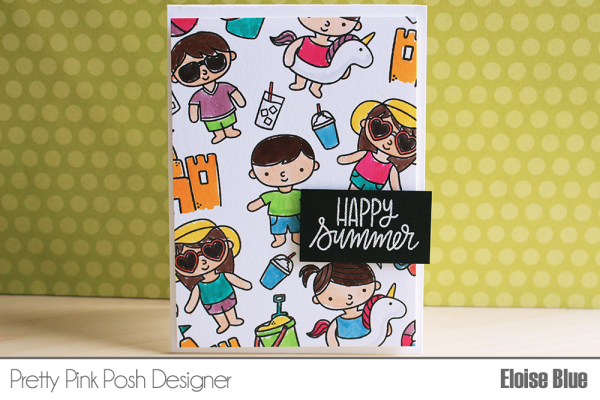
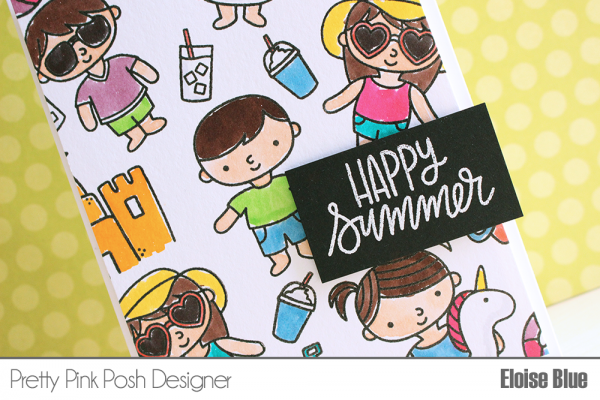
For my first card, I decided to just use the markers for simple water colouring – which is the most obvious way to use them. But to get the full use from the markers, I decided to make my own patterned paper with the Summer Friends stamp set. I first stamped all my images and the water coloured them in with the markers. These markers are already in liquid form, so I used no water with them at all. I love how the colours moved and honestly, to colour this entire background was so super fast and took no time at all. My colouring isn’t perfect, but I love how vibrant and fun this background is!
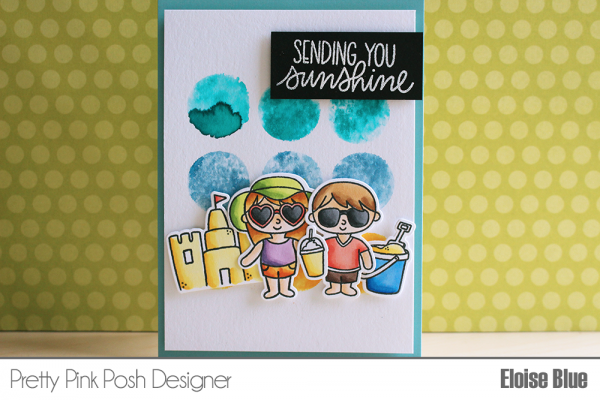
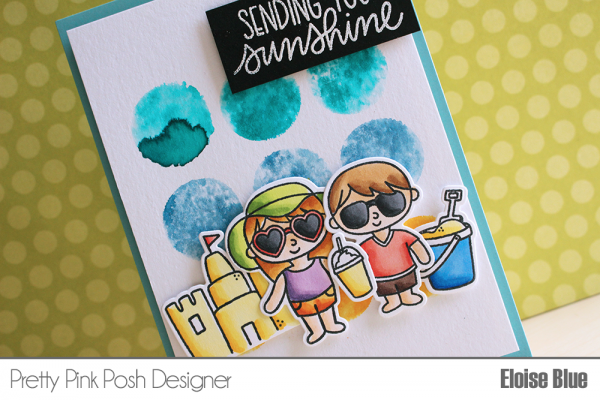
For my next card, I decided to do some stamping with these markers. I took the ball image from the Summer Fun stamp set, flipped it upside down on my block so the lined part is adhered to the block and then coloured on some of the marker onto the stamp, spritzed it with water and stamped down onto my paper. I used two blues and a yellow to resemble the sky and sand and I loved stamping with these markers. You get a different look every time with how the watercolour dries, I love all the harsh lines you get when a pool of water dries next to a less wet part of the image, it looks so fun – I love this.
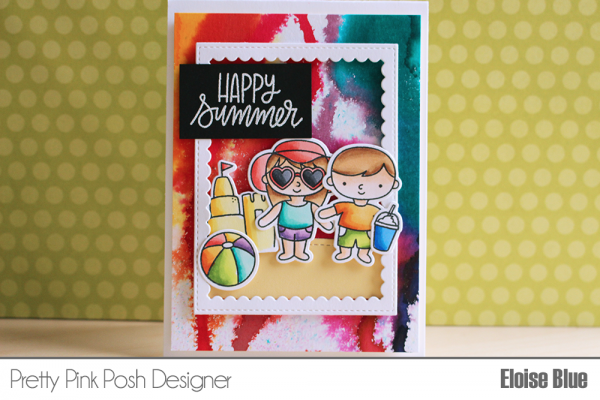
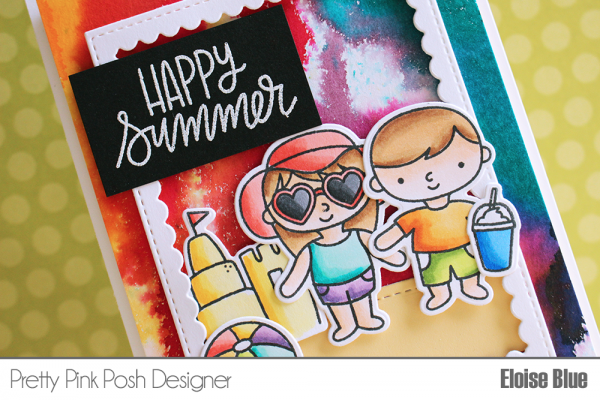
Next up for my third card, I decided to try the dripping watercolour. I was completely inspired by the melting crayon art for this, but tried to replicate it with watercolours. I tilted my paper on the side, pressed on the marker to let the colour drip down the panel. This for sure didn’t work the way I pictured it at all, so I helped the colour move with spritzing on a little bit of water and this worked, but it also made the colour spread around like spider veins, which in the end, once I repeated all the colours I wanted to use actually looked pretty cool. I did like how this turned out in the end, but perhaps it would have worked better if I sprayed the entire panel first and then let the colours do their thing.
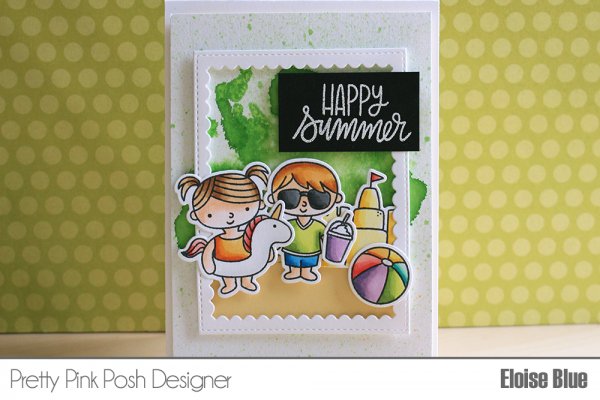
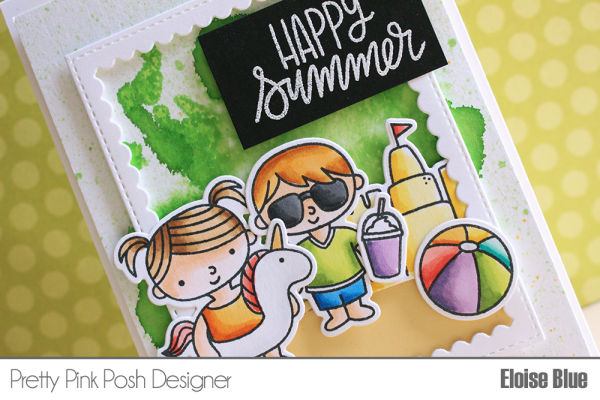
For my fourth idea, I decided to try watercolour with alcohol. I’ve never tried to use alcohol with watercolours before, but I thought the reaction would be fun. I first took a piece of watercolour cardstock and dripped some of the green marker on top. I then added a little water to help the colour move and spread around and then began to spritz it with rubbing alcohol solution. You could also have used Copic blender re-inker if you didn’t have rubbing alcohol. I loved how this looked, the bleached look you get in the centre of your concentrated colour and then the small green splatter that you get from the pressure of the spritz on your paper looks so amazing! Moving watercolour with alcohol gives a whole different look rather than just regular water and I will definitely be doing this again.
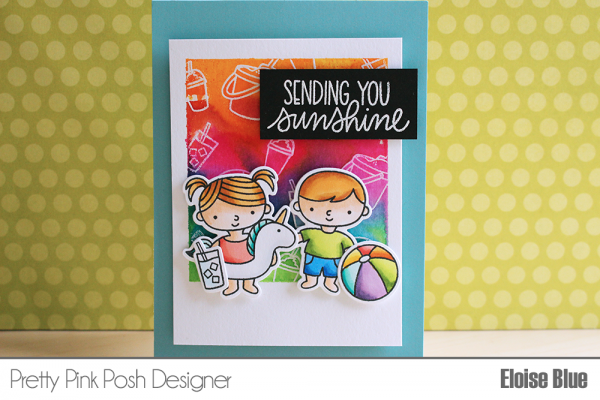
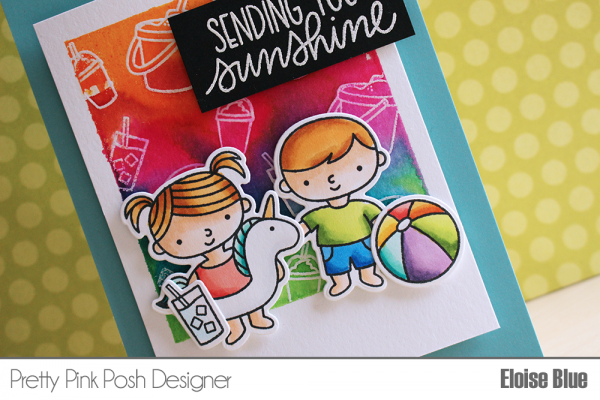
For my final way of using these watercolour markers I decided to do a simple watercolour resist. I love the look of watercolour resist, so I decided to make my own patterned paper again, masking off a square first with painter’s tape, stamping out the ball, drinks and bucket images all over with Versamark ink and then clear heat embossing the images. I then proceeded to take the different colours of markers and paint over the background. The colours blended seamlessly between each other and created a nice blended background overtop of those images peeking through. A simple resist is sometimes all you need to create a fun subtle background.

Watch the video above   I  Watch the video in HD on YouTube
border
To finish up the cards I just used various dies from Pretty Pink Posh, the Stitched Borders 1 Dies and Scallop Frames Dies also to create different layouts on my cards. I also stamped and coloured all the images from Summer Friends with Copic Markers and cut them out using the coordinating dies. I arranged them all on my different cards and then to finish them up I used the sentiments in the stamp set to white heat emboss them on black cardstock and then adhered them to the cards accordingly.

I really hope you enjoyed my cards and video today. I loved playing with these markers, they are a lot of fun. I also sort of created a five cards with one stamp video for you too, which I didn’t plan it just worked out this way!
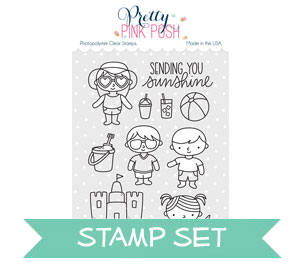
Thanks so much for watching and stopping by today. Make sure you check out the brand new release if you haven’t already and I’ll catch you all next time!

Eloise

| |

Tutorial: Stretching Your Dies

Hello everyone, Joni here sharing another tip of looking at your dies on a different way.

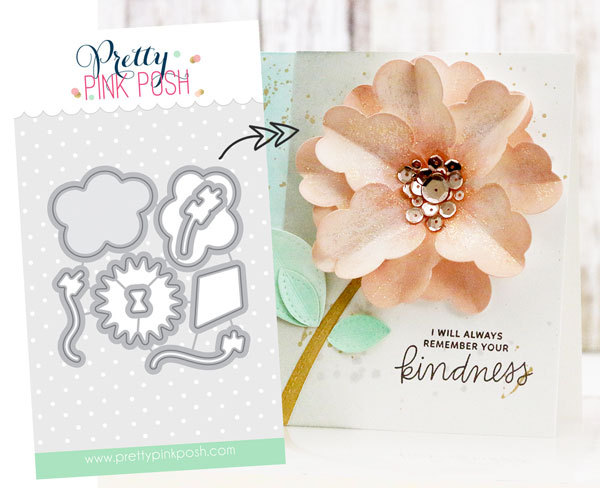
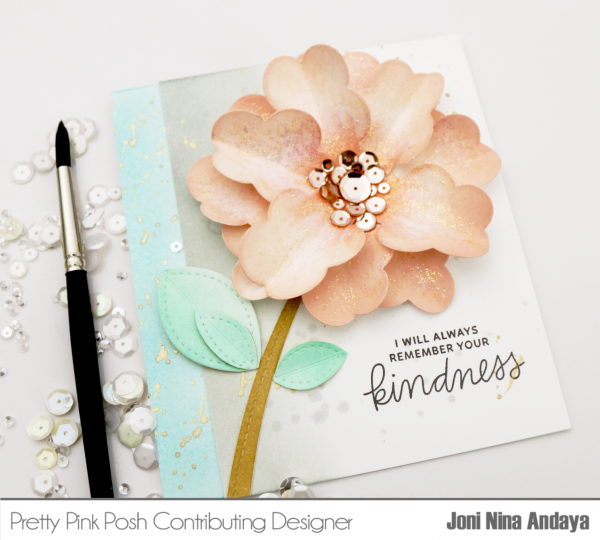
For the main focal of this project are the clouds from the new July released Fly a Kite Coordinating dies.

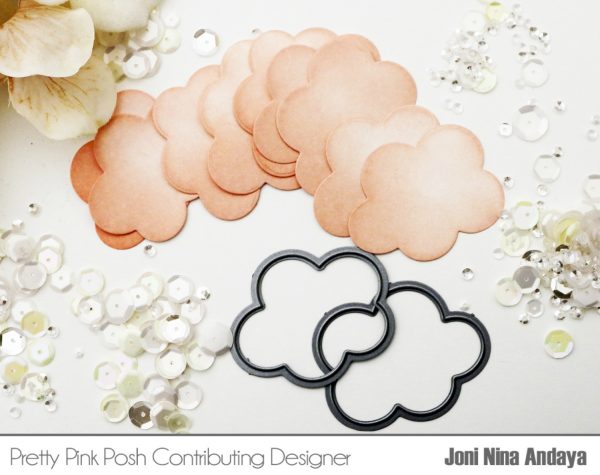
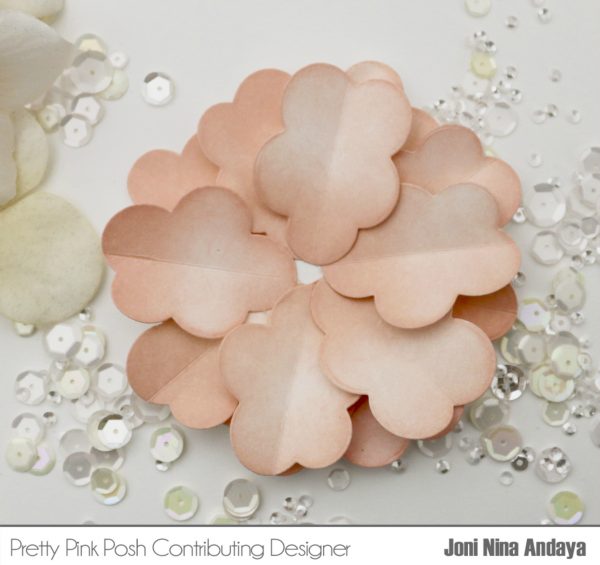
To begin, I first die-cut the clouds on a white cardstock using the Neenah white 80lb. Then distressed each one, using Tim Holtz Tattered Rose Distress Ink pad. I also scored each cloud for dimension.

Next, I cut a 1 ½   circle for the center where I adhered the petals on top. For the first layer, I did 9 clouds and for the top I adhered 5. To adhered each petals, I used Multi Medium Matte.

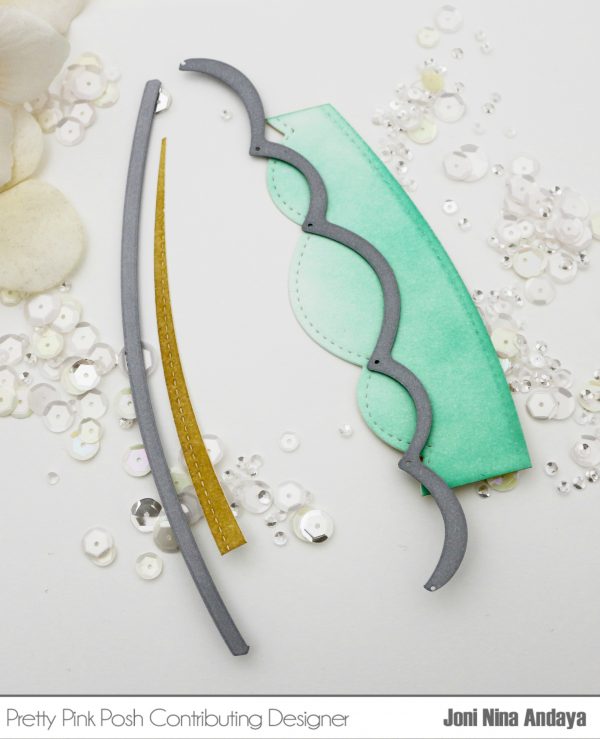
Next, I needed a stem and leaves for my flower. The scallop die from Stitched Borders 2 Dies is perfect for making the leaves, the leaves were also scored. For the stem, the stitched curved die from Stitched Borders 1 Dies worked perfectly.

For the card base the measurement I used 121/2   X 14 centimeters, almost a square card. But, for the top panel is just regular A2 size. I also distressed splattered it with gold watercolor paint from Gansai Tambi Starry Colors. The sentiment I used was from Thoughtful Greetings stamp set.

For this project I adhered every piece of for the flower (petals, leaves, stem) using Multi Medium Matte. For the sequins I used the Metallic Rose Gold in all 3 sizes.

I hope I have inspired you. Until next time. Have a wonderful day!

| | |

Creating A Watercolor Kite Card + Video

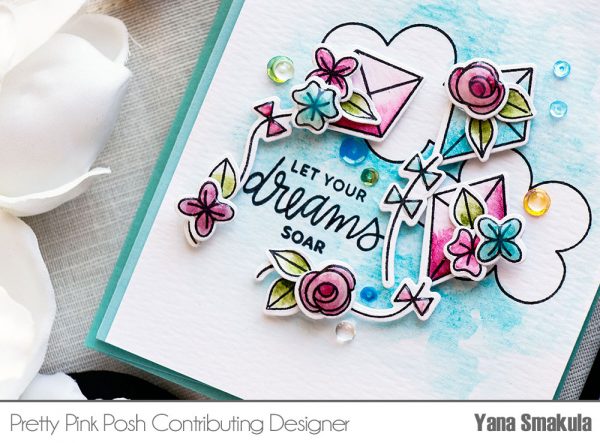
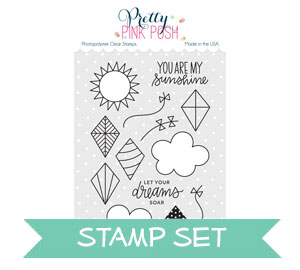
Hello, Pretty Pink Posh fans! This is Yana and today I am sharing a video tutorial showing how create a dreamy watercolor scene using stamps from the new Fly A Kite set.

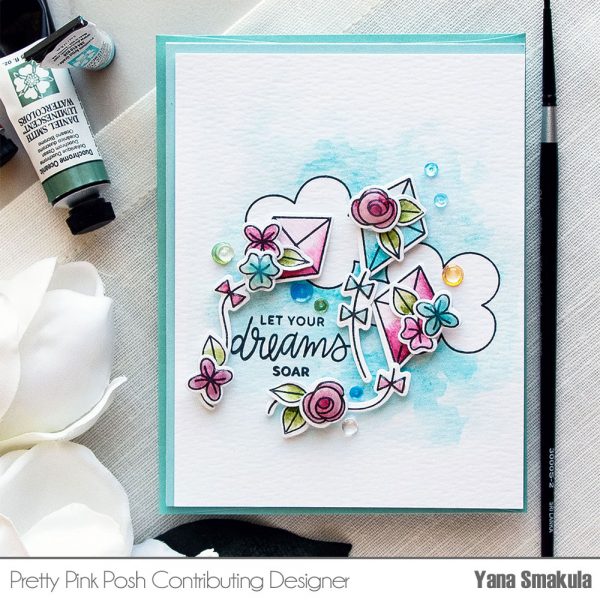
I started working on my card by stamping 2 clouds and a sentiment from the Fly A Kite stamp set in Versafine Onyx Black Ink onto Distress Watercolor Paper (in my video I am using Arches Hot Pressed Paper). Next, I stamped 3 kites and kite strings as well as a number of tiny florals and leaves from the Bold Blooms stamp set onto a separate panel.

Watch my video tutorial below to learn how I made this card.

Watch the video above  I  Watch the video in HD on YouTube  
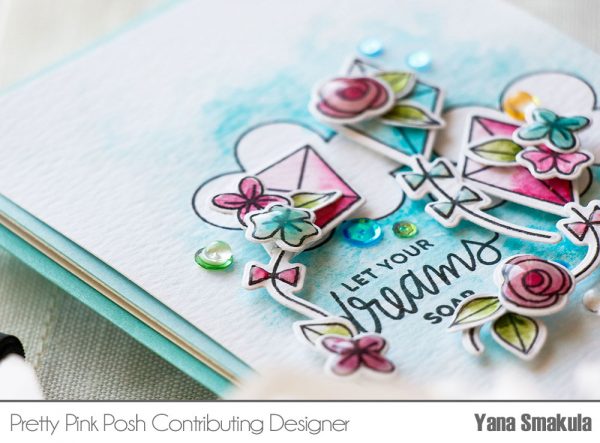
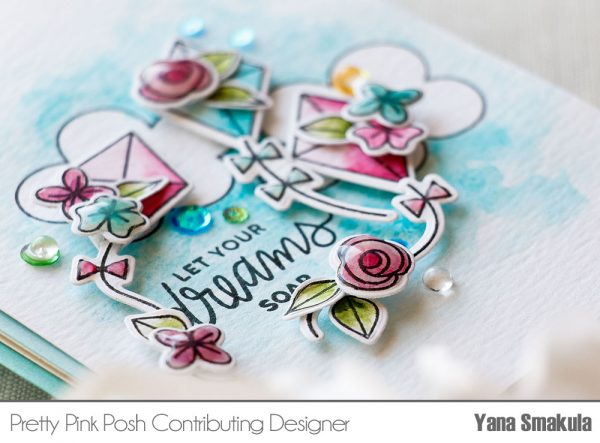
I’ve been slowly growing my Daniel Smith watercolor collection and I was anxious to play with new colors so I used them to color this card. I went with Cobalt Teal Blue to watercolor the sky as well as one of the kites and some flowers. I also used Quinacridone Rose and Magenta colors to color the two other kites and the rest of the flowers and finally Sap Green to color the leaves. For this card I used the Silver Black Velvet Brush Size 8.

I did my coloring a several layers – after I had applied the first, light, wash of color I intensified the areas I wanted to appear darker. After my coloring was done I used coordinating dies and cut these images out in my Platinum 6 die cutting machine.

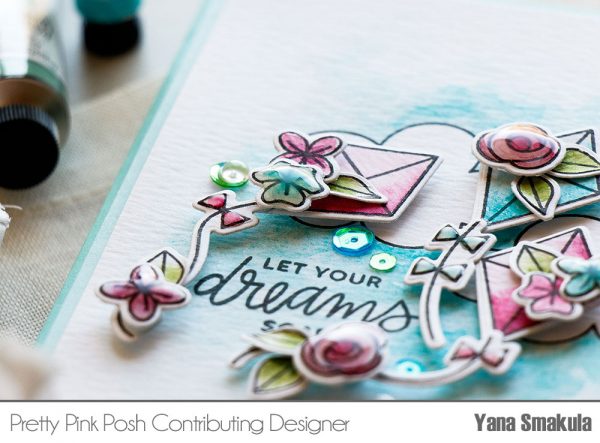
I used a lot of foam adhesive and also a bit of glue to adhere my die cuts onto the card. I foam mounted the kites and flowers and used glue to adhere the leaves.

To add a bit of sparkle and shine I used sequins from the Mermaid Sequin Mix and adhered them onto my card. Lastly, I coated several flowers with Wink Of Stella glitter pen and Nuvo Crystal Glaze to make them dimensional and shiny.

Happy cardmaking! I hope you enjoyed today’s video and post.

|

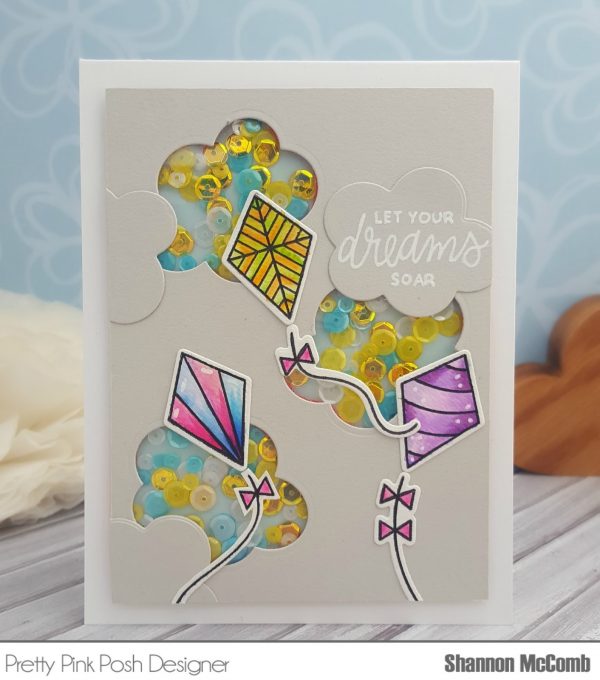
Cloud Shaker Card

Hi Pretty Pink Posh friends! Shannon here with you today!

So happy to join you and share a fun shaker card featuring the lovely new Fly a Kite stamp set and coordinating dies.

I decided some shaker clouds would be fun so I started my creating my main panel with my shaker elements.

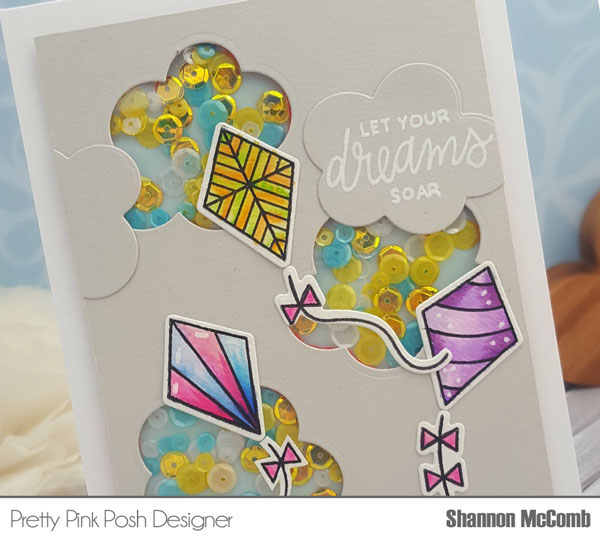
I used a piece of Fog cardstock and used the the cloud dies to cut the clouds out of my background. I then adhered acetate onto the back and used some thin foam tape around my clouds to create the dimension for the shaker elements. If you don’t have skinnier foam tape you could always cut in half length wise, I found it much easier to manipulate around the cloud area.

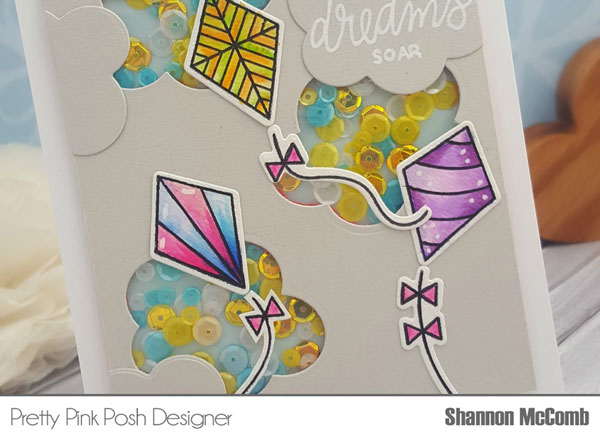
I then filled my shaker clouds with the Sunny Days Sequin Mix. I kept my clouds that were cut out of my background an decided to use them for added in interest. I adhered them slightly over my shaker clouds and trimmed off any excess hanging over the sides and decided to stamp my sentient onto the middle cloud. I adhered this panel onto an A2 sized card base.

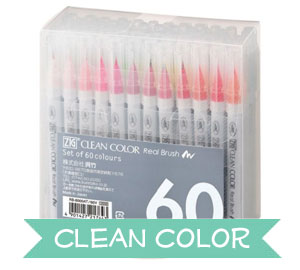
For my kites, I stamped them on watercolor paper and colored in with Zig real brush markers and cut all the pieces out with the coordinating dies and adhered them onto my card!

That finishes my card off! Hope you enjoyed this cloud shaker!

| |

July Product Release Blog Hop- Day 2

If you missed yesterday’s blog hop post, click here.

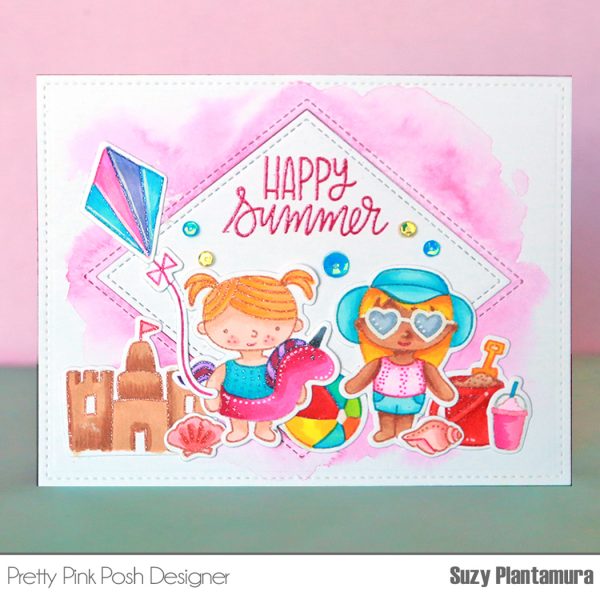
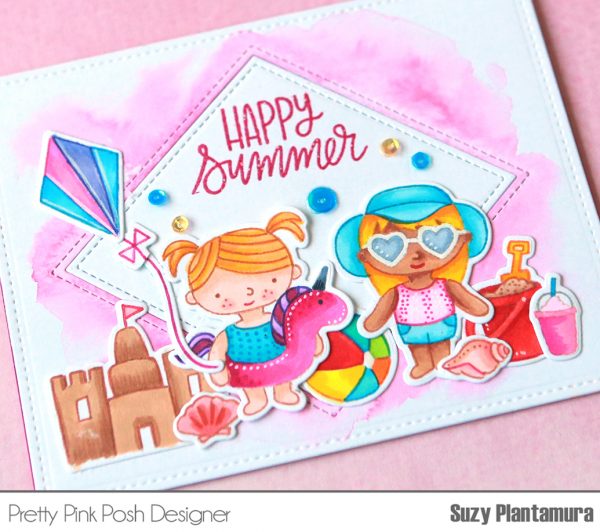
Suzy here with you today and we have a brand new batch of inspiration. One of the things I love the most about Pretty Pink Posh stamp sets is how they all go so well together! Today I have a card to share with you that uses three of the new sets to form a beach scene.

To make the background for this card, I started with a stitched rectangle (full card size) die-cut from watercolor paper. I then die-cut the new largest Stitched Diamond die from the center of this piece. I used a wet on wet technique to add pink watercolor just around the outside edges of the diamond. I embossed the sentiment from the Summer Friends stamp set on the top of the inside rectangle. I attached both pieces to a pink card base.

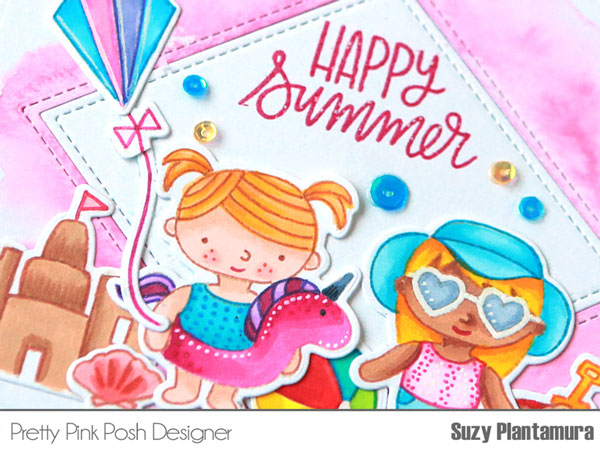
Next was the fun part – creating a little beach scene on this background. I stamped images from three stamp sets – Summer Friends, Sea Friends, and Fly A Kite – on white cardstock with a natural color ink. I colored all of the images in with Copic markers and used glitter pens to outline them and add details. I love the look of no-line coloring, but I always end up adding outlines after I’m done coloring them!

I arranged all of the images onto the card background overlapping them to fit them all on. I added some sequins from the Mermaid Sequin Mix around the images to finish the card.

Ready to hop along and see LOTS more fabulous inspiration with this release?

PRIZES: be sure to leave comments on each stop. I’m giving away 4 $25 gift certificates to four random comments (2 winners each day) left before July 18, 2017 at 11:59 PM PST. I’ll be announcing the winners next week, so be sure to return and see if you are one of the winners!

Pretty Pink Posh blog << you are here

I hope you enjoyed this card today. I can’t stop creating with all of the new PPP products. Each release is even better than the last! Thanks so much for visiting the blog today!

Suzy

| |

July Product Release Blog Hop- Day 1

Hopped along in Day 1? Be sure to hop along HERE for Day 2!

Hello, Pretty Pink Posh sweet friends!

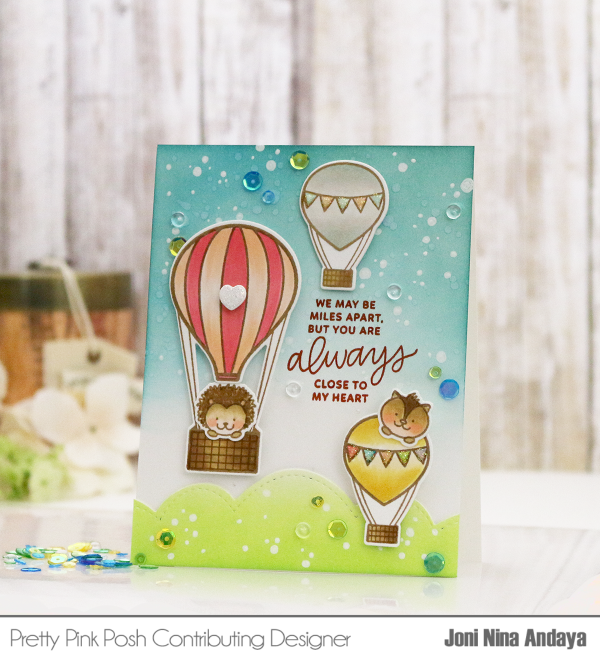
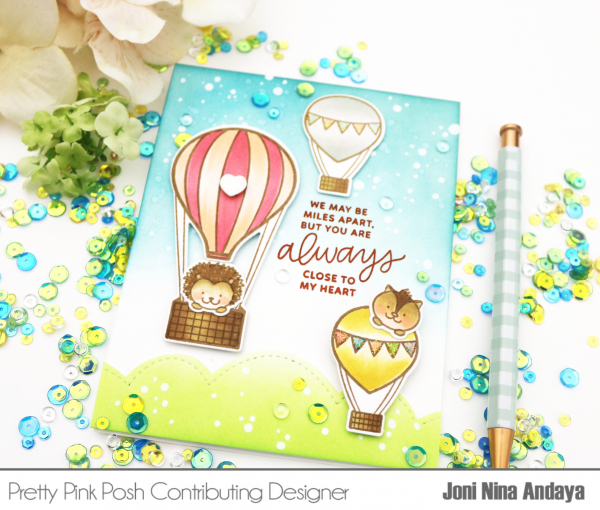
It’s time to start our two day Product Release Blog Hop for the July 2017 release. Many of you have already placed orders, but for those who were waiting for more inspiration, today and tomorrow the design team and special guests have all sorts of inspiration to share. Today we have Joni sharing a sweet card using the Fly Away Friends stamp set and Fly Away Friends Coordinating Dies.

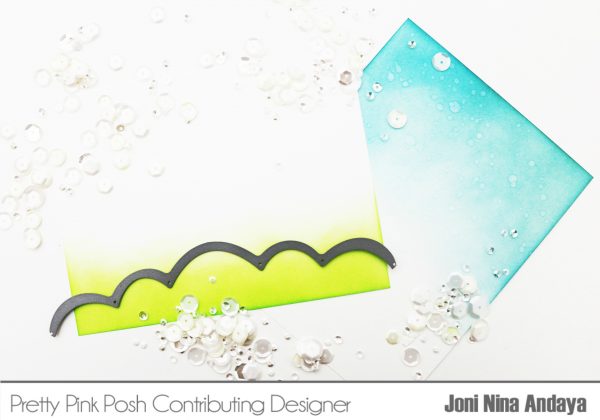
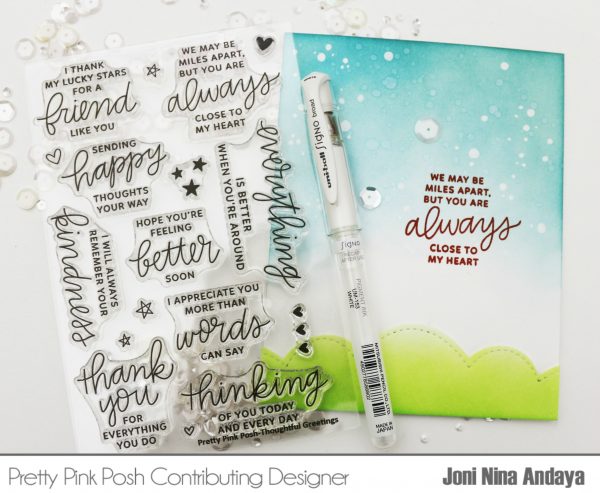
To begin, I first distressed to white card panel with Tim Holtz Distress inks in Twisted Citron and Peacock Feathers. Then die-cut the Twisted Citron distressed panel using the scalloped die from the Stitched Borders 2 Dies. For the second panel after distressing it with Tim Holtz Peacock Feathers. I then splattered it with water for added interest and let it dry.

For more added background effect I used the Uni-Ball Signo Broad White pen to create some white background dots. This helps if you don’t have white watercolor paint in your stash to use for splattering. Next, I stamped the sentiment using the Thoughtful Greetings stamp set.

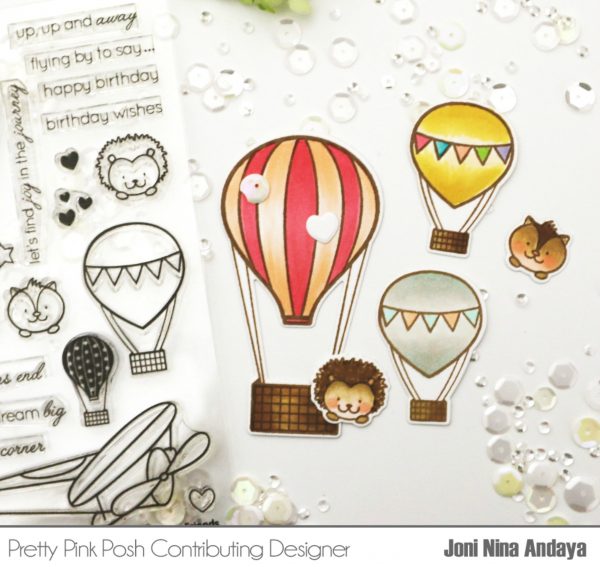
For the images, I stamped with a brown ink and colored the images with Copic Marker. Then die-cut with its coordinating die-set.

Here’s just the close-up. I adhered my image and scallop piece with foam tape for dimensions. I also added some new upcoming Mermaid Sequins Mix to finish off the card.

Ready to hop along and see LOTS more fabulous inspiration with this release?

PRIZES: be sure to leave comments on each stop. I’m giving away 4 $25 gift certificates to four random comments (2 winners each day) left before July 18, 2017 at 11:59 PM PST. I’ll be announcing the winners next week, so be sure to return and see if you are one of the winners!

Pretty Pink Posh blog << you are here

I truly hope you enjoyed today’s blog hop. Stop by tomorrow for a whole new batch of inspiration and designers!

July 2017 Release Now Available!

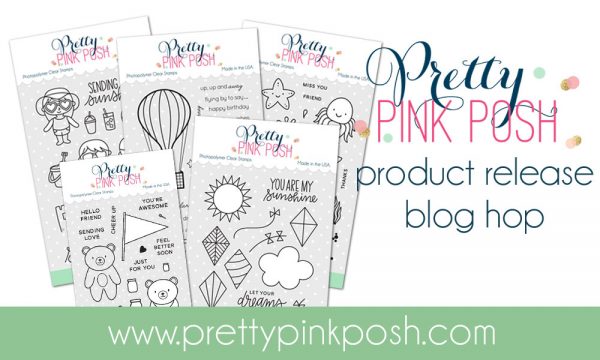
The July 2017 Release is now available in the Pretty Pink Posh Shop and select retailers that carry our products. If you missed our post yesterday, we revealed all of the products in picture form, but if you would like to see them also in a video, Eloise has one for you today!

Watch the video above   I   Watch the video in HD on YouTube  
We’ll have lots of posts and videos coming soon with the new products. Plus, we’ll have a two day blog hop later this week with the design team and guests with even more inspiration!

Thank you to everyone who continues to support my dream. I’m so grateful for each of you!


July 2017 Product Reveal + Release Bundles

I hope that you have enjoyed all the sneak peeks leading up to our July release. We are so excited about these new products and this week I’ve been getting all of these items stocked up so they are ready for your orders!

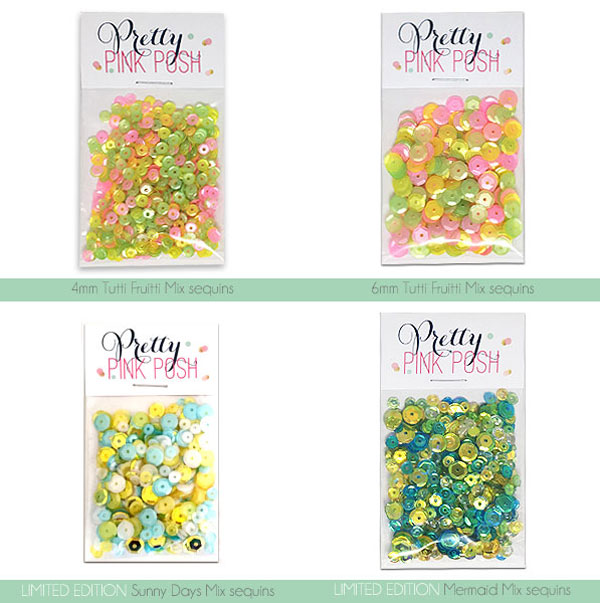
This month I’ve put together four fun summer mixes that are sure to brighten up your projects (or look pretty in your craft stash).

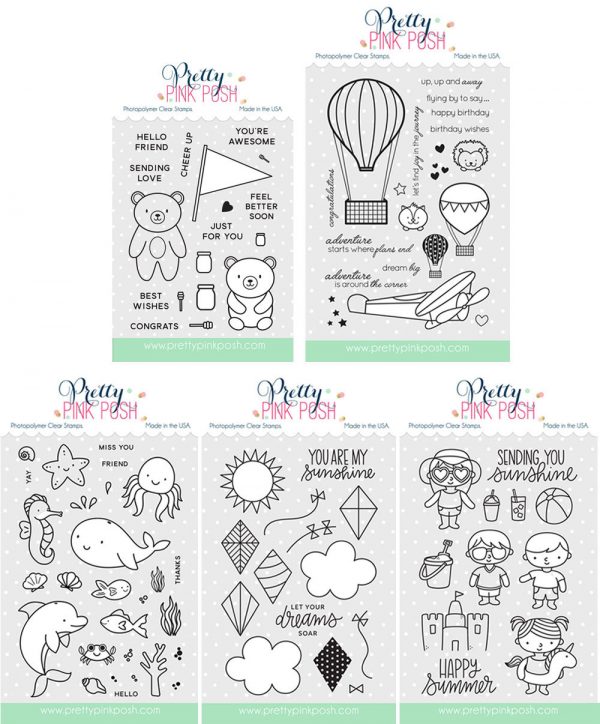
Here’s a look at the six new stamp sets that will be available for purchase-Bear Hugs, Fly Away Friends, Sea Friends, Fly A Kite and Summer Friends.

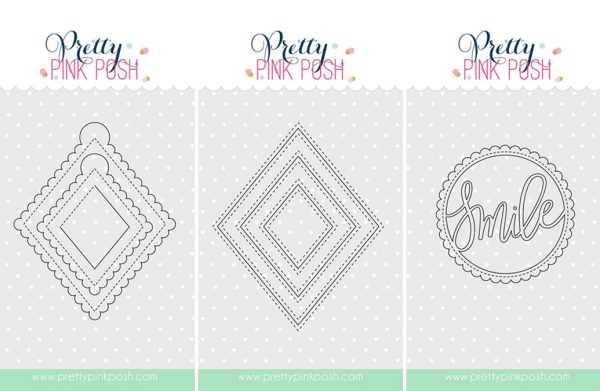
Here are the three new individual die sets that will be available- Scallop Diamond Tags, Stitched Diamonds and our Smile Shaker die.

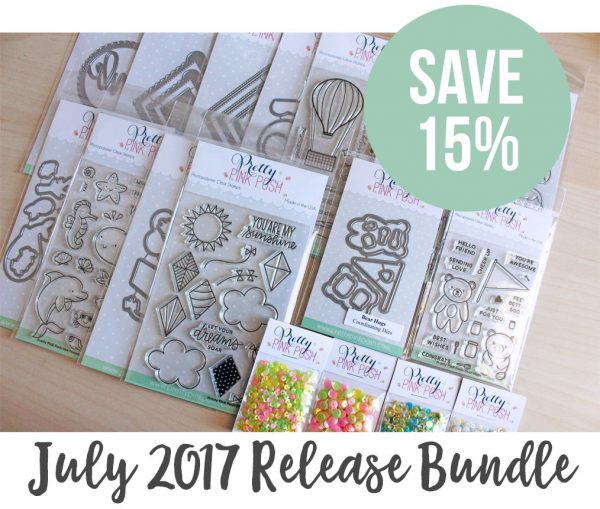
Based on requests from this release, I have a limited amount of bundles available where you can buy the whole collection in one easy click. Plus, you’ll get 15% off! These are in the shop NOW!

We will see you tomorrow as we show you the new products in a video and the individual products go live in the shop!


|

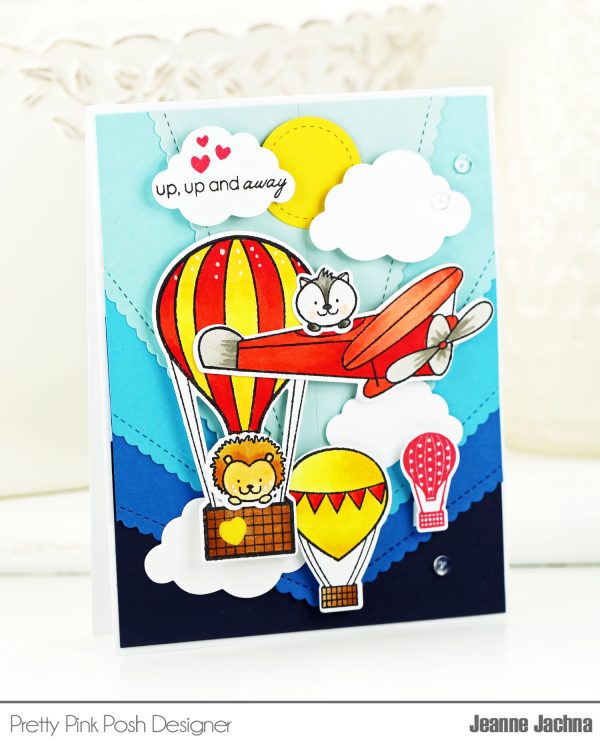
Sneak Peek: Fly Away Friends

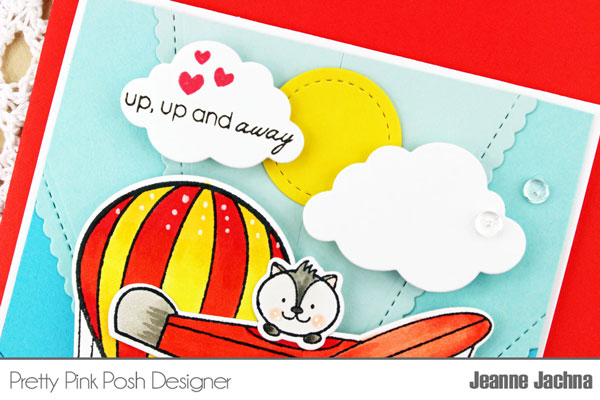
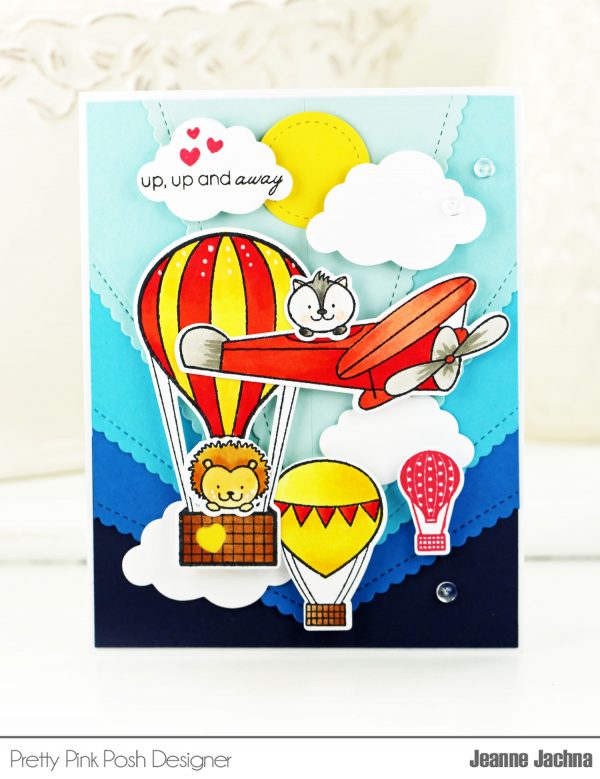
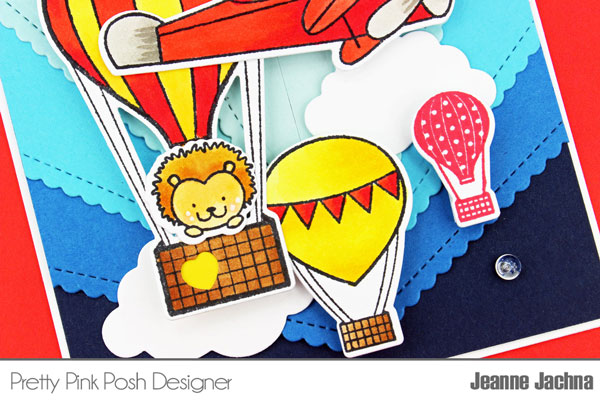
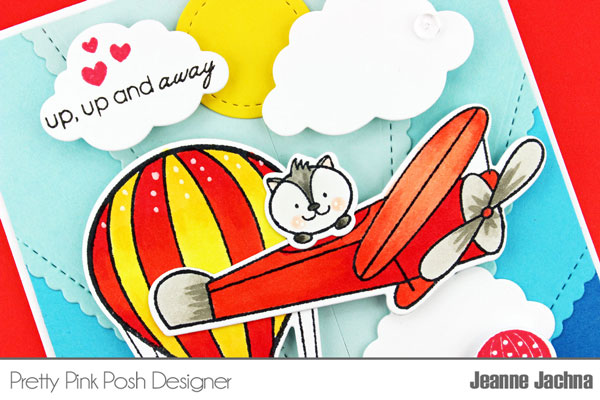
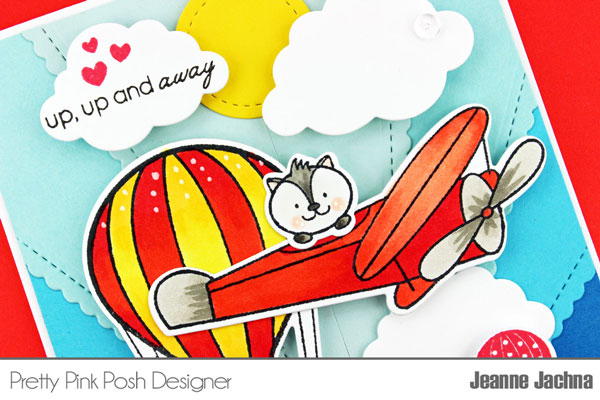
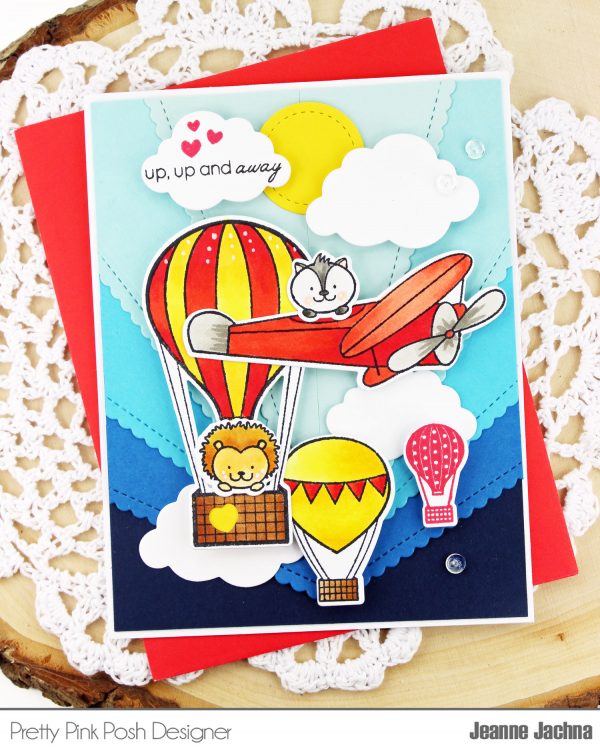
Ready for the new Fly Away Friends stamp set that releases on July 10th?  You’re going to flip when you see these cuties!  The set includes two little critters ready to take off on an aerial adventure!  And of course there is a coordinating die set to make arranging scenes easy as pie!

I stamped the images in Memento Tuxedo Black ink and colored them with Copic Markers.   

The hot air balloons and airplane scream for a sunny sky!  I created a cardstock color block background using the straight die from the Scallop Borders 1 die set.  I cut the scallop borders from ombre shades of blue card stock.  Next I trimmed the strips to 5 x 1 ¾”.  Then I cut the strips diagonally corner to corner.   I arranged the triangles in a fan shape before trimming them to fit the front of my A2 size card.

I added some die cut clouds from the Rainy Days die set and a stitched circle sun from Stitched Essentials 1.


One of the clouds makes the perfect place to add a sentiment!

The finishing touches included some accents added with a white gel pen, and a few Clear Droplets.


These stamps are sure to make you smile! Be sure to join us tomorrow as we reveal all of the new products.

|

Sneak Peek: Sea Friends

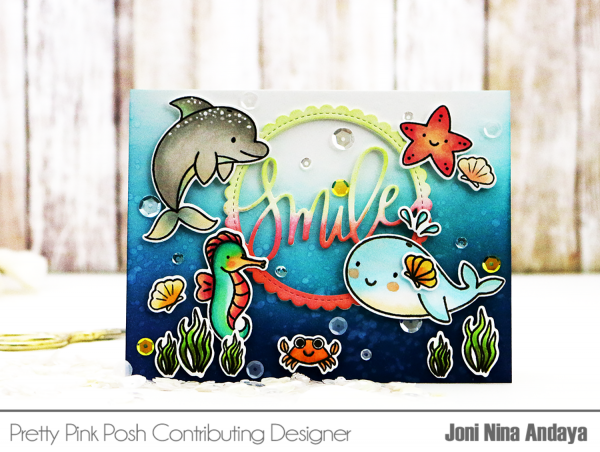
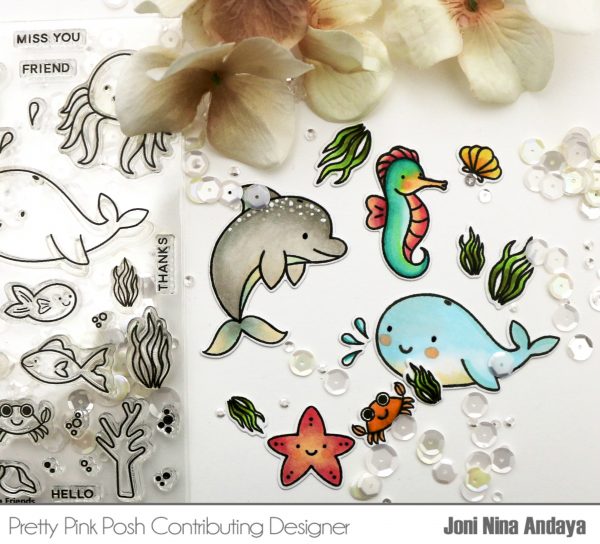
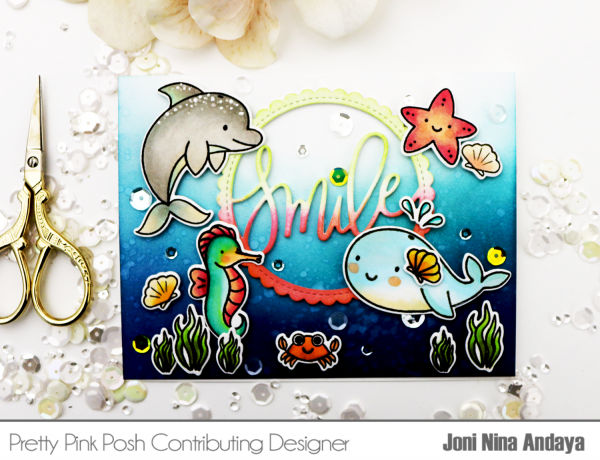
Hello Everyone, Joni here sharing another cute project with you using the new upcoming Sea Friends stamp set, Sea Friends Coordinating Dies, and Smile Shaker Die. I am sure you are going to love these adorable sea creatures.

To begin, I first stamped my images on a white cardstock and colored them with Copic markers. Then die-cut using the coordinating dies.

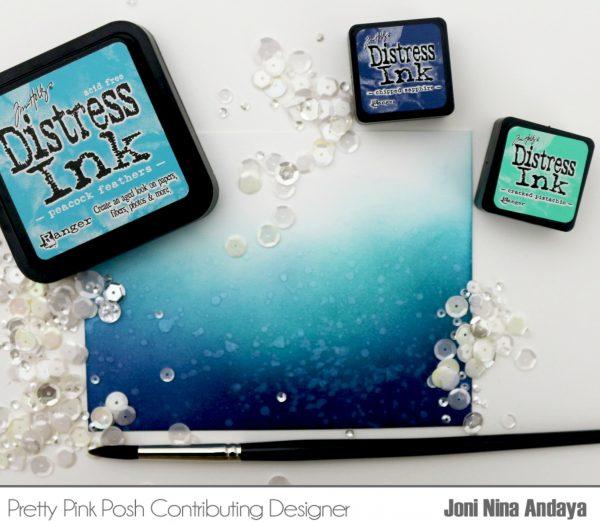
Next, I created my under the sea background. I used the Distress Ink in Chipped Sapphire at the very bottom of my white card base. Next I used the Peacock Feather and a little of the Cracked Pistachio on the top. Then, I splattered the card base with water using my paint brush and let it dry.

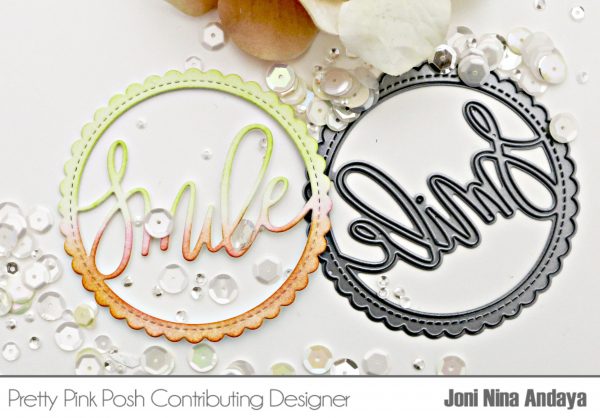
Next, I die-cut the Smile Shaker die 4 times and distressed the top portion. Then adhered with Multi Medium Matte.

Then, I adhered all the images with foam tape for dimensions. I added some Sparkling Clear sequins and the new upcoming sequins as well called Sunny Days Sequins Mix.

I hope enjoyed these cute previews of what’s coming your way! Have a wonderful week!