Easter Theme Week: Day 7
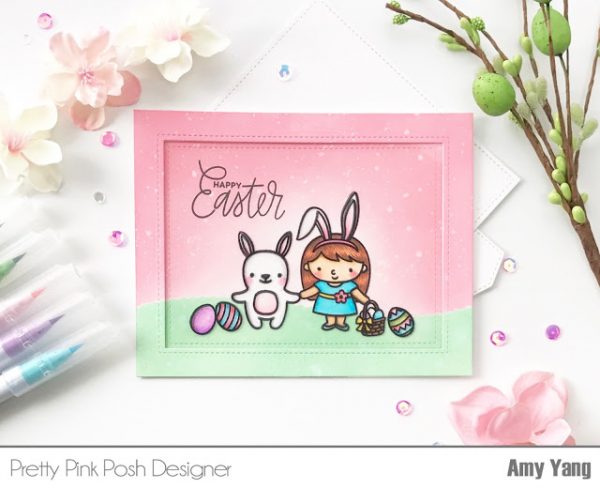
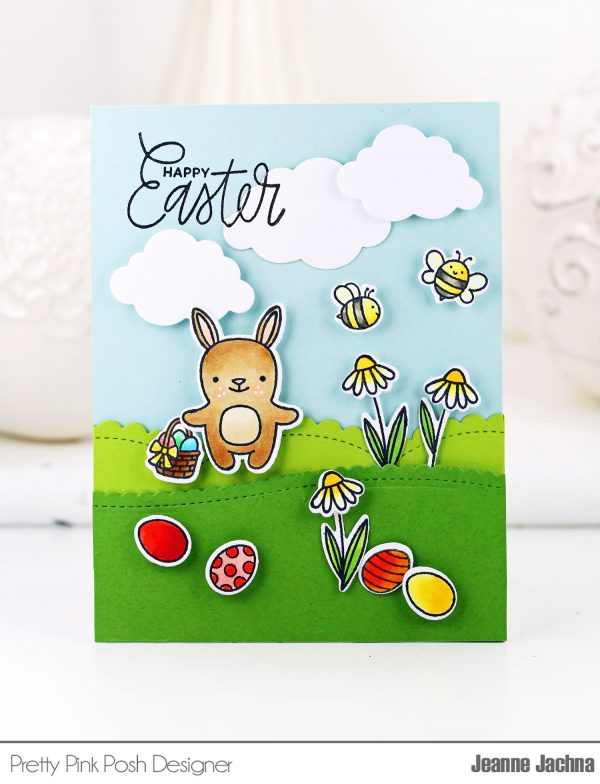
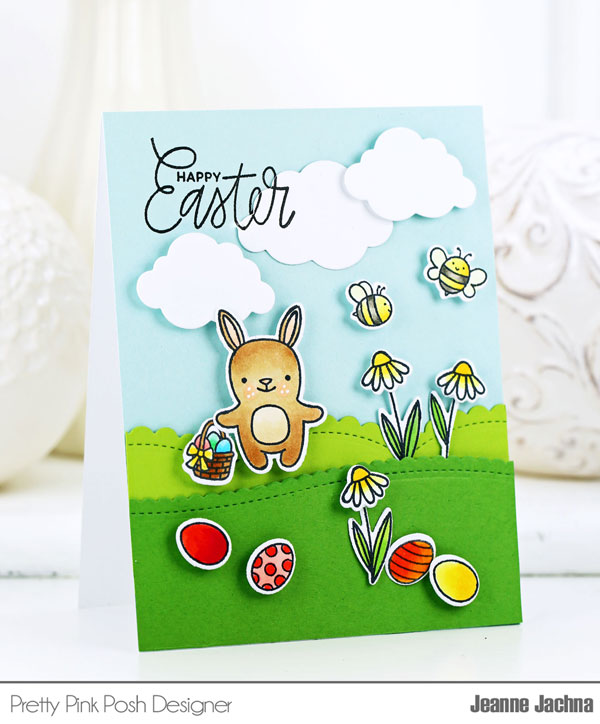
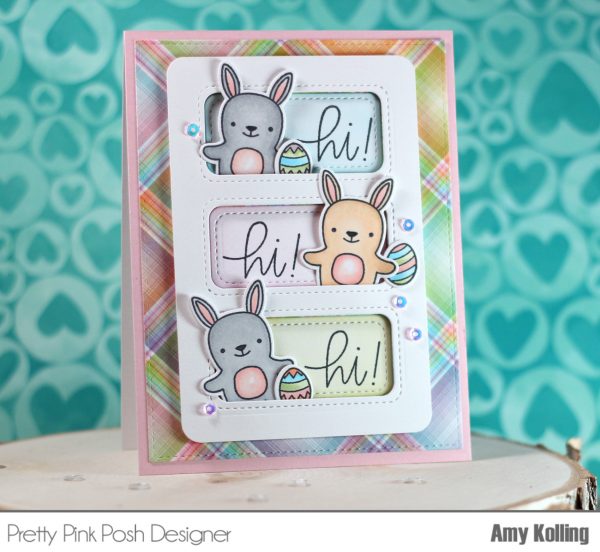
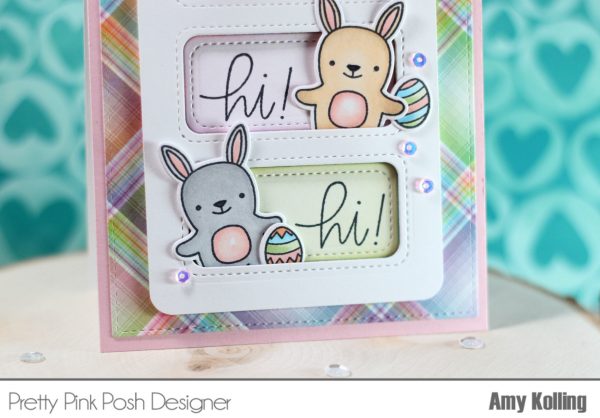
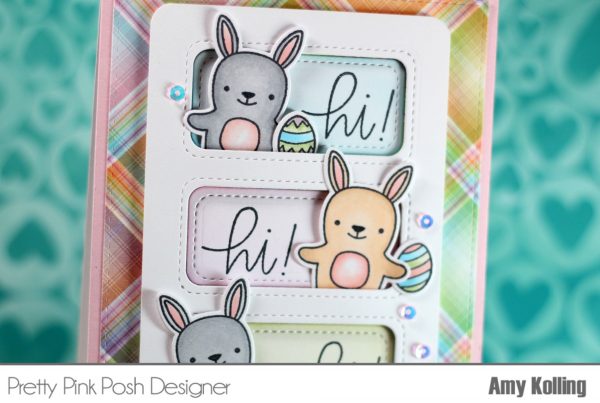
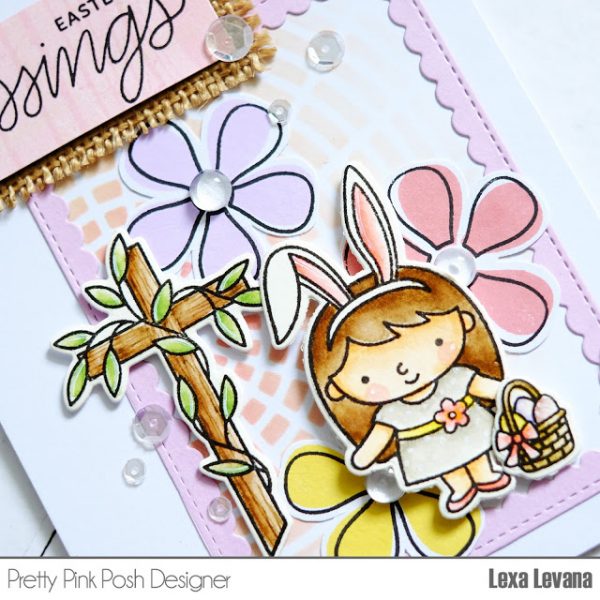
Hello, Pretty Pink Posh fans! Amy here to share my project for the Easter Theme Week. I created a Magic Slider card using the adorable Easter Friends set and the versatile Stitched Notes Dies.
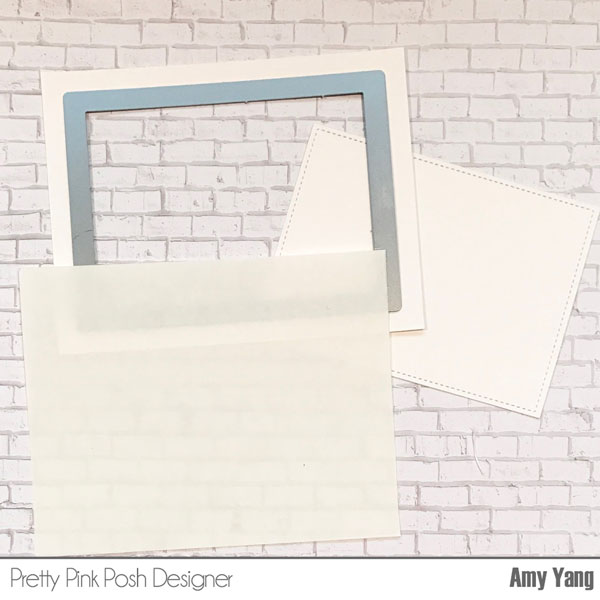
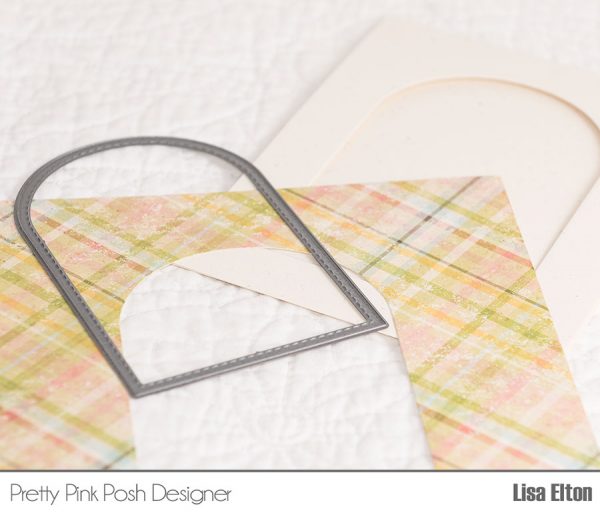
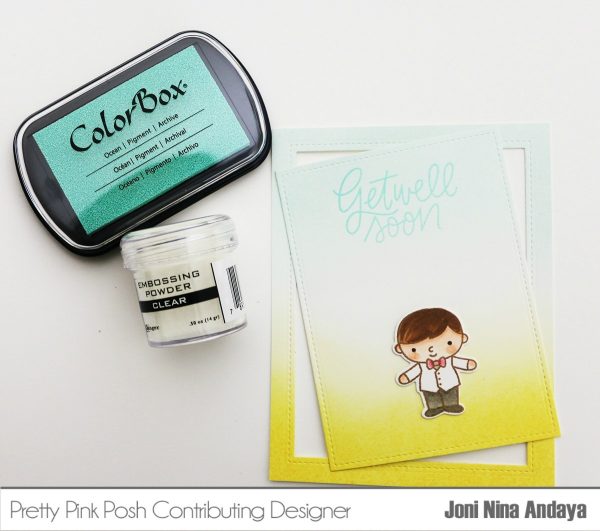
This card required three layers, so I trimmed three white cardstocks and one acetate to 4.5 X 5.5. Then, I used the Stitched Notes Dies to die-cut the white cardstocks (see picture below).
Next, using the Misti tool, I took turns stamping the images on one of the die-cut papers (using versafine black ink) and on acetate (using stazon black ink).
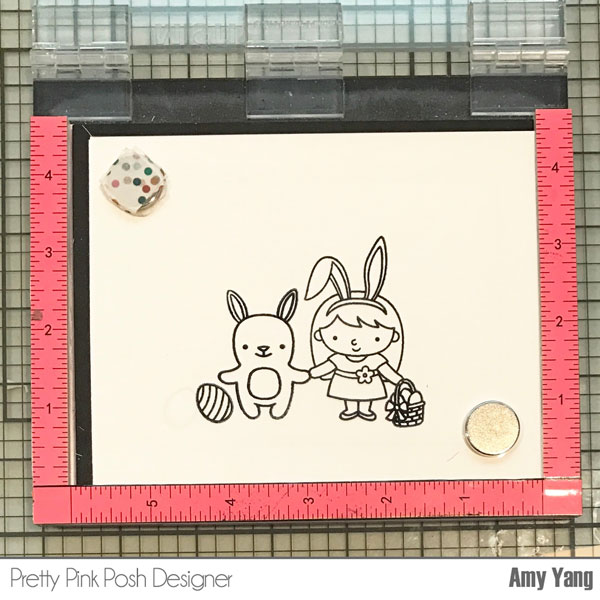
Once I was done stamping, I covered up the images using a Molotow masking pen in preparation for distressing the background.
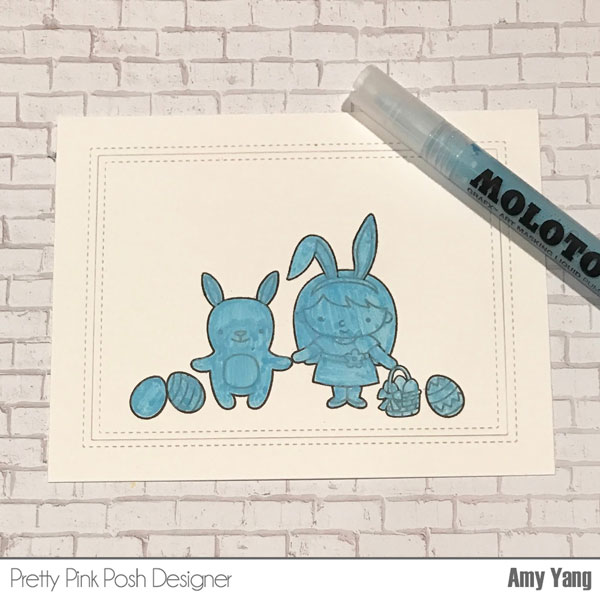
I used wavy Scallop Borders to die cut stamping mask paper to create the ground for the images and to separate the colors. I distressed the stamped card stock using Cracked Pistachio and Worn Lipstick Distress Ozide inks using the blending tool.
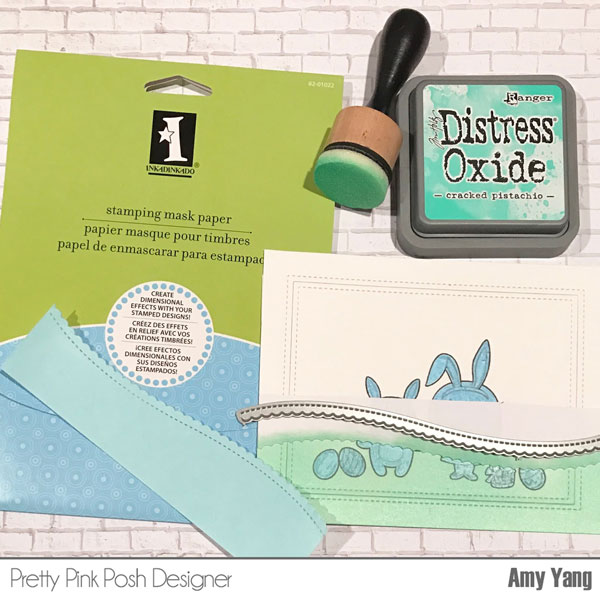
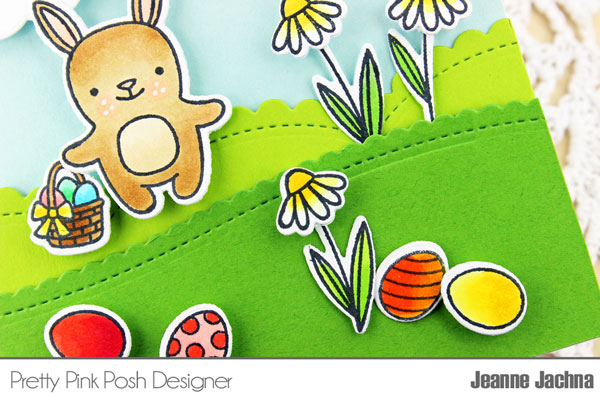
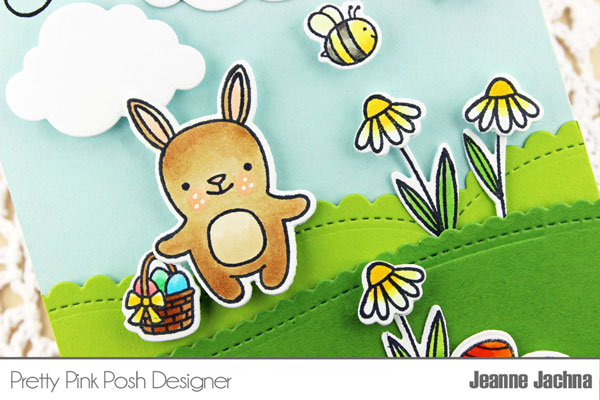
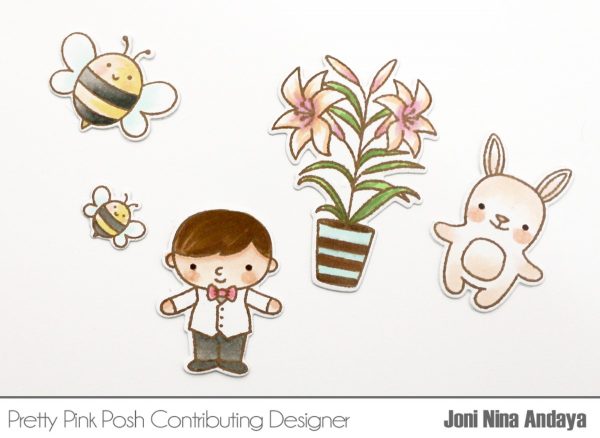
Once I removed the masking fluid with a rubber cement eraser, I colored the images using Zig Clean Color Real Brush 60 Pack.

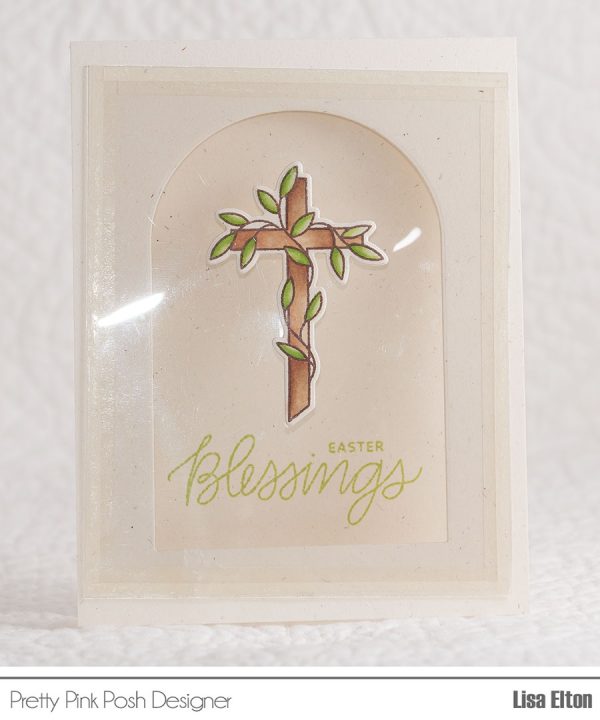
Remember, I mentioned this card has three layers (plus a card base). The bottom layer consists of the colored cardstock with a white border (at this point I adhered the bottom layer to the card base). The second layer has a white border that was trimmed to a sideways U shape and adhered to the top of the bottom layer (this is the channel for the slider). For the sliding cardstock, I took the die-cut paper and glued on the largest tab from the Stitched Notes Dies. The white cardstock hides the colored image behind it. When you pull the tab, the cardstock slides away and the colored image is revealed. For the front layer, I adhered the stamped acetate behind the colored border and taped that to the top of the second layer. Voilà! Now we have a fun magic slider card.
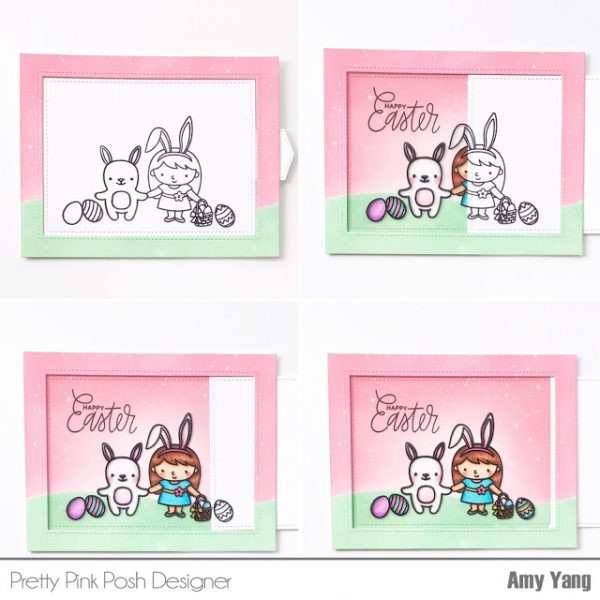
I hope you enjoyed today’s card and our Easter Theme Week. Thank you for stopping by!



 The
The 