
Adding Details to Images + Video
 Hello, Pretty Pink Posh fans! This is Yana and today I wanted to share a quick technique video to show you how easy it is to add details to colored images.

I started working on my card by stamping and coloring 3 images from the Friends Forever stamp set. I used Simon Says Stamp Intense Black ink for stamping and double stamped images using MISTI stamp positioner to have the blackest black outline possible.
There are coordinating dies available for this set so I cut my images out and quickly colored them using Copics. I used E79, E37 and E33 to color hair; E00 and E000 to color skin; R20 to add blush. To color outfits I used RV14, RV13 and RV10 for pinks; B05, B02 and B000 for blues; YG67, YG17 and YG03 for greens.

While my images looked great as is I decided to add little details to make them unique and a bit more personal. Think about it this way – in real life we all wear fabrics with different patterns. So I wanted to translate some of those patterns onto these images. There are a number of ways this can be done, some are simple, some not so much, I used the most simple and easy way – a white gel pen.

If you don’t have a white gel pen – you can also use a black pen or you can even use a Copic colorless blender to add detail. If you have a colorless blender in a bottle you can look for a piece of fabric with some texture, say burlap, wet that fabric with colorless blender and use it to stamp over the outfits of these images – that will transfer the texture of the fabric onto the image and will create same looking texture on your images.

I used a white gel pen and added little dots, vertical and horizontal stripes. You want to make sure to wait for your Copic coloring to dry, especially if you have really saturated paper with the marker as it (the marker) might eat up your white pen, I’ve had that happen in the past, so before adding the white detail – make sure image is dry.

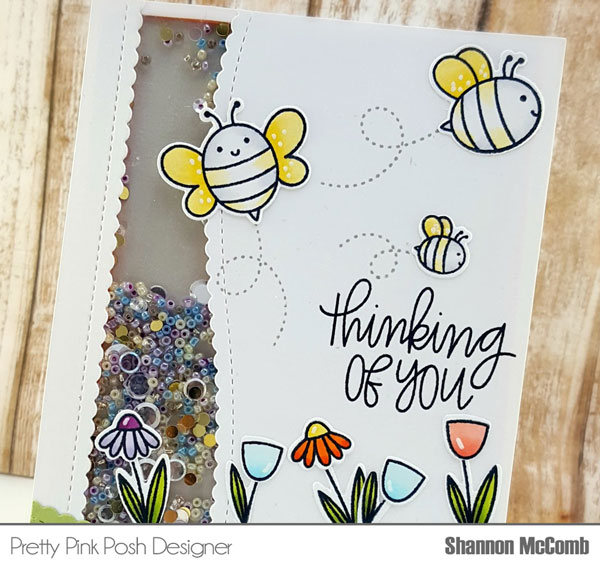
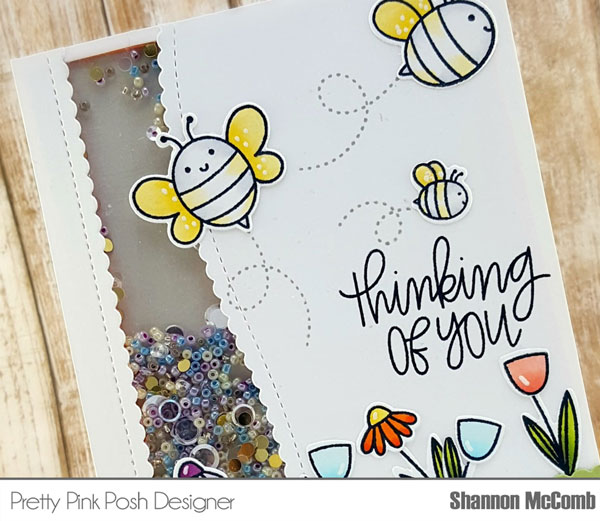
I ink blended a hill to create a scene and foam mounted my friends on top. I also added little bees from the Bee Friends stamp set I adhered several sequins from the Sparkling Clear Mix and I also added clear droplets on top. I love to combine the two together as this way I feel my droplets look even more dimensional.

Watch my video tutorial below to learn how I made this card.


 I decided I wanted to create a little scene with these pretty flowers so I thought the


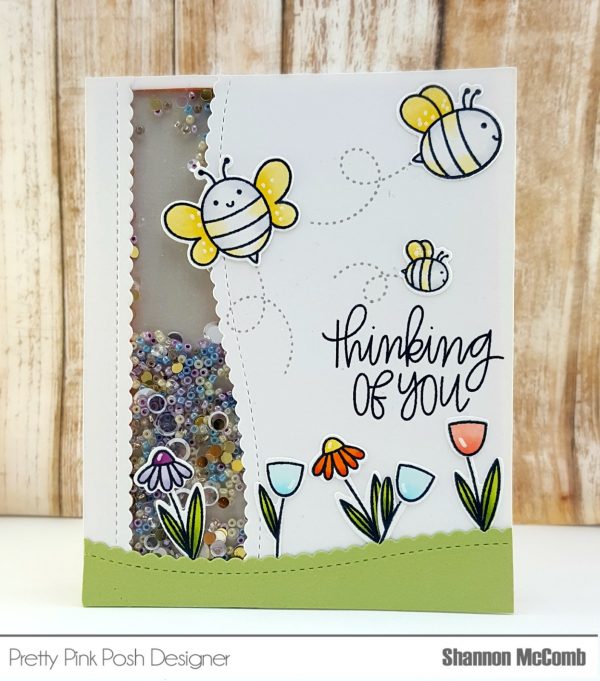
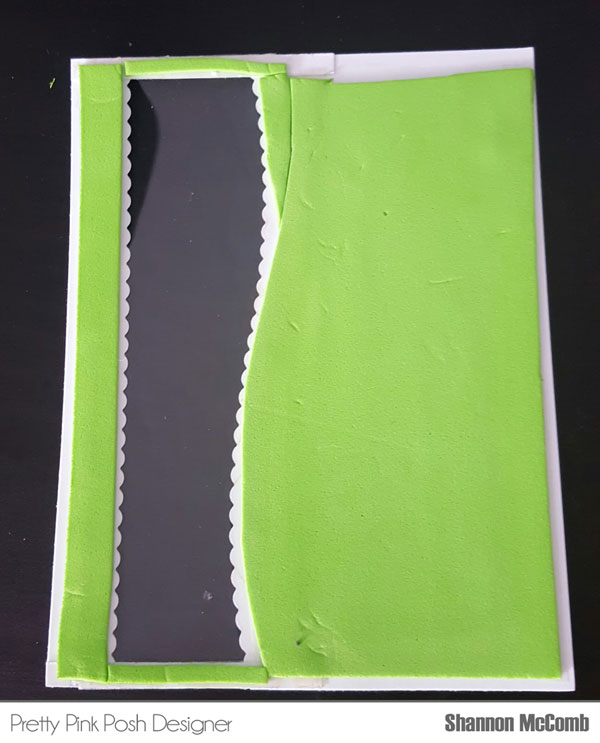
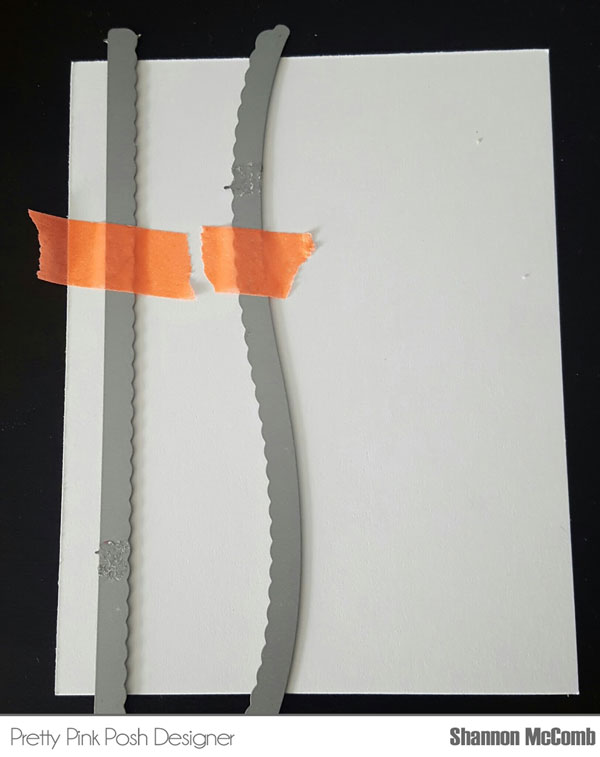 Now I want to adhere these pieces together to make it my shaker window. I did this by laying both pieces over an A2 card base so that I knew exactly the spacing needed before I added strips of card stock to connect the 2 pieces together. I cut two thin strips of paper and adhered one on the top and one on the bottom to create my shaker window area.
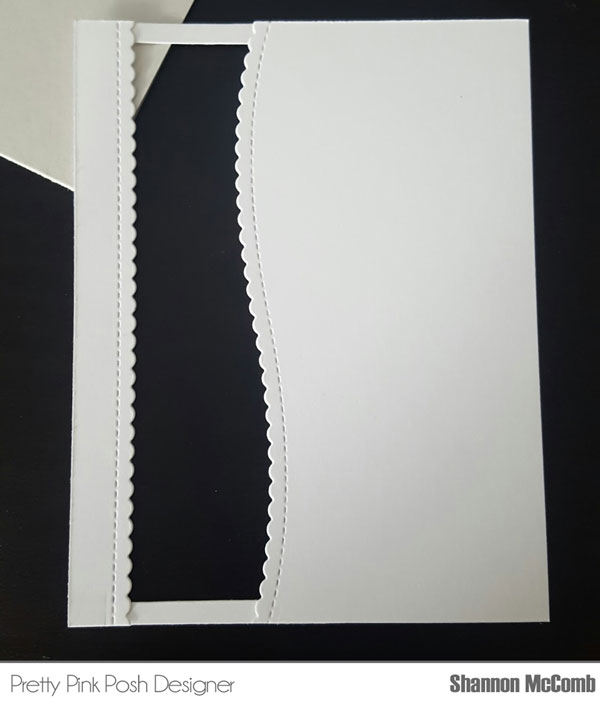

 Since I love to stamp my own patterns I wanted to show you how you can use critters and create a partial stamped pattern for a simple card.
 After my coloring was done I foam mounted my colored panel onto an A2 top folding card base made out of white cardstock and embellished my card using beads. I wanted my hedgehogs to carry something on theirs backs, but I didn’t want to add any additional stamped and colored images (you can add mushrooms, apples and even leaves to their backs), I decided I would add beads in red, green and cream colors.
 We hope you’ve been enjoying all the sneak peeks of the new sets. Join us tomorrow as we reveal all of the new products that will be available on May 1st.


