Cards

|

Christmas Theme Week- Day 3
Welcome everyone to Christmas Theme week with Pretty Pink Posh! I hope you are enjoying all of the inspiration the team is showing.

Don’t forget to take advantage of the 15% discount on the Christmas Items in the store! Great way to stock up!
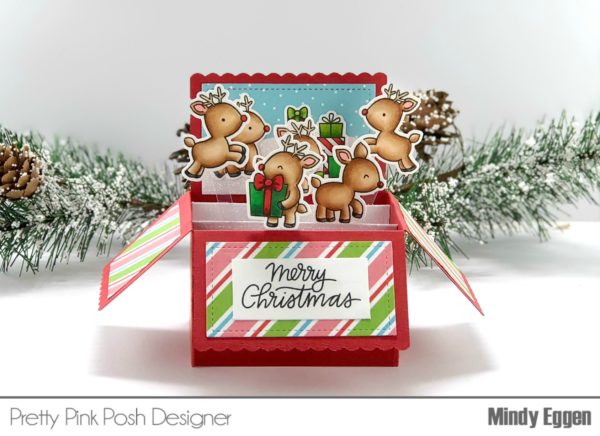
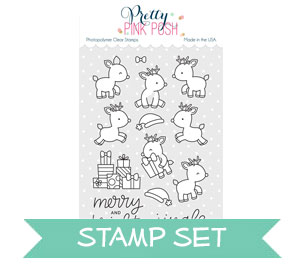
My project today is creating a Scalloped Box Pop up card with the Reindeer Friends stamp set. The critters over at Pretty Pink Posh are always so adorable but I have been in love with these reindeer since they were released.
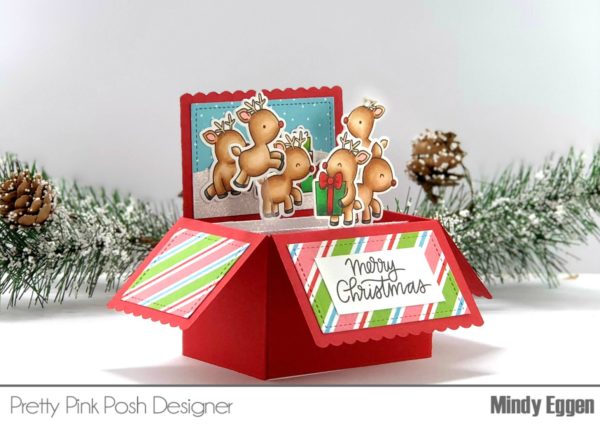
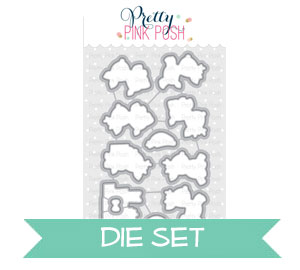
I stamped my reindeer onto Neenah Solar White cardstock with MFT Extreme Black Ink. Then colored with my copic markers and used the coordinating die to cut them out. My box is created using the Scallop Box Pop Up card die with Chili Red cardstock. I decorated the panels with patterned paper from the Jolly paper pack from Pink & Main.

To adhere my reindeer I attached them to strips of acetate. That way I wasn’t hiding any part of them and some even look like they are jumping through the air!
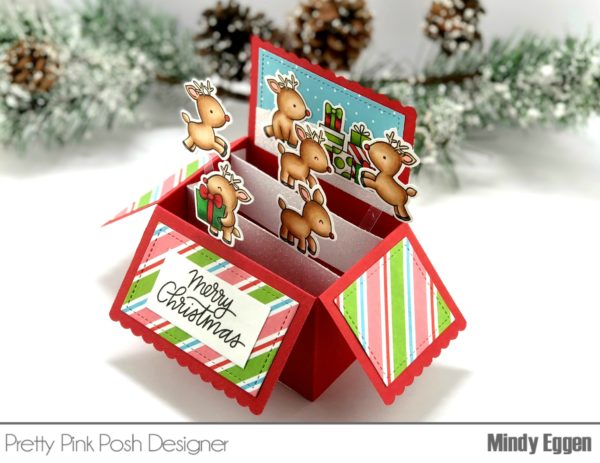
My sentiment comes from the Holiday Greetings stamp set which has such a great variety of beautiful sentiments! The Scallop Box card folds up perfectly to fit into an A2 size envelope. What a treat it’ll be when someone opens the envelope and this box card pops up with these adorable reindeer!
I hope you enjoyed today’s inspiration! Be sure to head to the Pretty Pink Posh website to start shopping!

|

Christmas Theme Week- Day 2

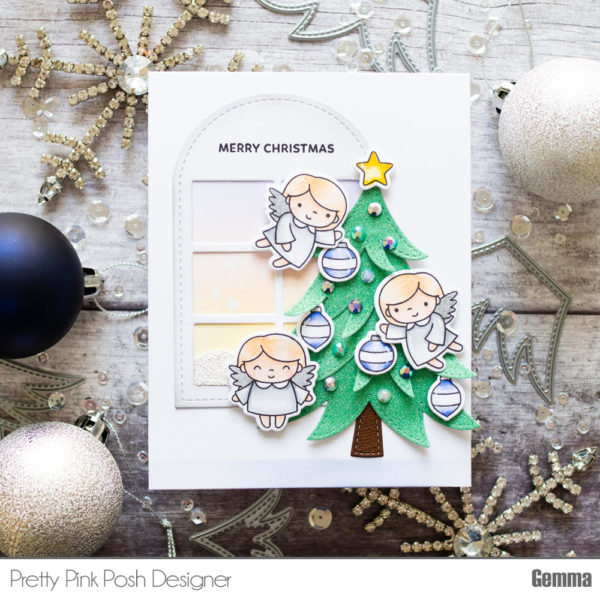
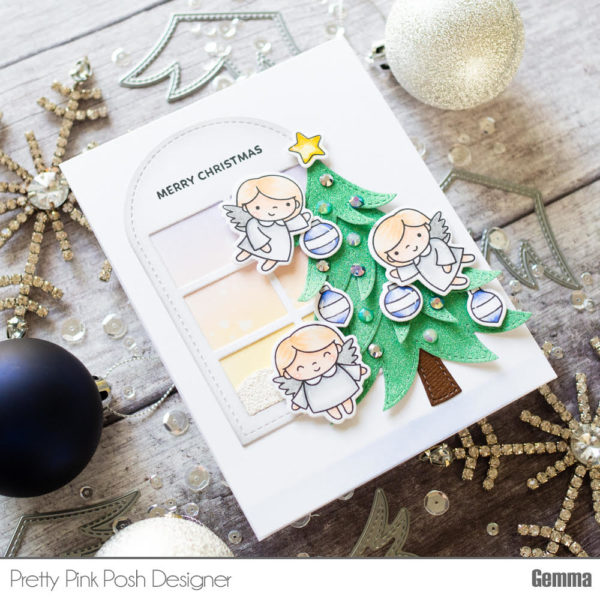
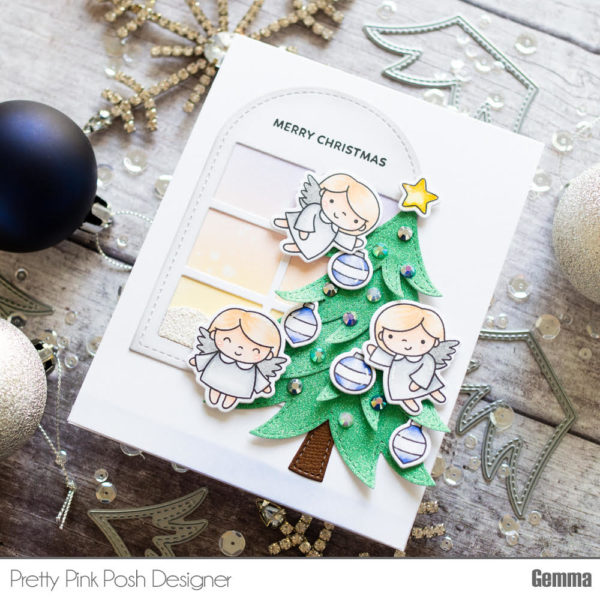
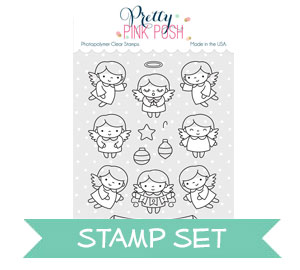
Hello, Gemma here. Today I’m combining new and older sets from Pretty Pink Posh on my card today. I love the new Layered Tree die set that was part of the November release. I thought it would be fun to have the angels from Angel Friends decorating a Christmas tree.

I began by stamping the angel images and colouring them with copic markers. I decided to use a colour scheme of blue, grey, and silver glitter. I die cut them with the coordinating dies. I then die cut the Layered Tree from green glitter paper, with brown card for the tree trunk, and used double sided tape to adhere the pieces together.

For the background, I die cut the Stitched Duo 3 die from white card. This has a look of a window so is perfect for my card. I added a very soft blend of Hickory Smoke distress oxide in to the window, then stamped one of the greetings from Angel Friends at the top.

On my card base, I masked off the area that will show through the window, then blended on some distress oxides in Squeezed Lemonade, Spun Sugar and Shaded Lilac. I flicked it with water to create the look of snow falling, then adhered the window on to the card base.

For an extra Christmassy touch, I cut down a couple of the rectangles from the window and added some WOW White Puff Twinkle embossing powder to them. I adhered them to the card to look like snow piled up on the window ledge.

Next, I added the layered tree to the card with double sided tape, and the angels and tree decorations with foam tape. I also decorated the tree with some of the new Starry Sky Jewels Mix.

As a finishing touch, I blended on some Faded Jeans distress oxide ink to the bottom of the card, to help ground the tree.

I hope you enjoyed this card. We’ll see you tomorrow for another day of Christmas Theme Week!

|

Christmas Theme Week- Day 1

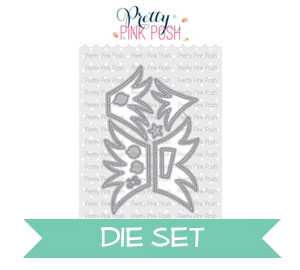
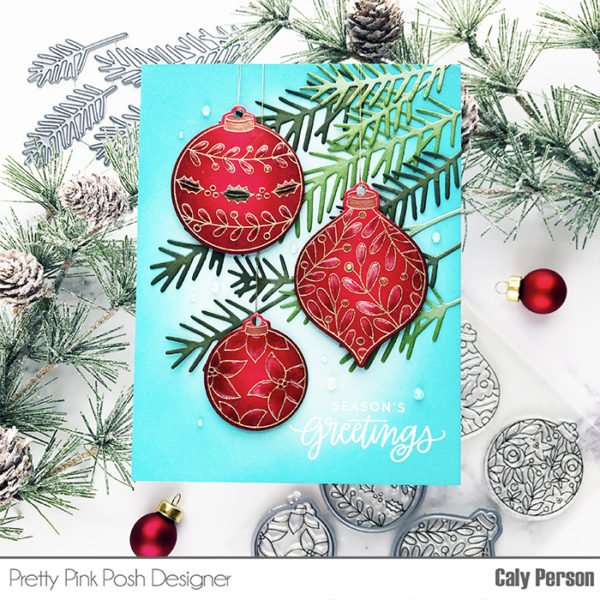
Hello There! This is Caly and I’m sharing a card today for Christmas Theme Week!  I honestly can’t believe we’re into December!  I can only make a few more holiday cards before the month is over and we switch gears to spring.  Today, I’m sharing a card using Decorative Ornaments and Pine Springs – all new from Pretty Pink Posh.
If you don’t own any of these sets yet you’re in luck!  Pretty Pink Posh has 15% off items in the Christmas section!
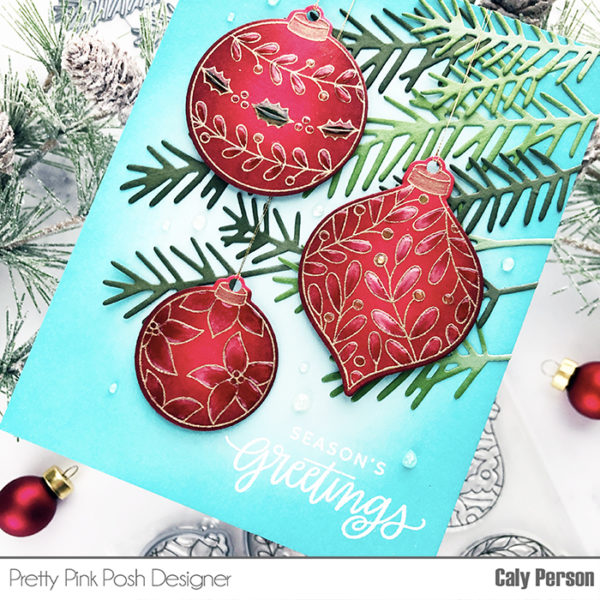
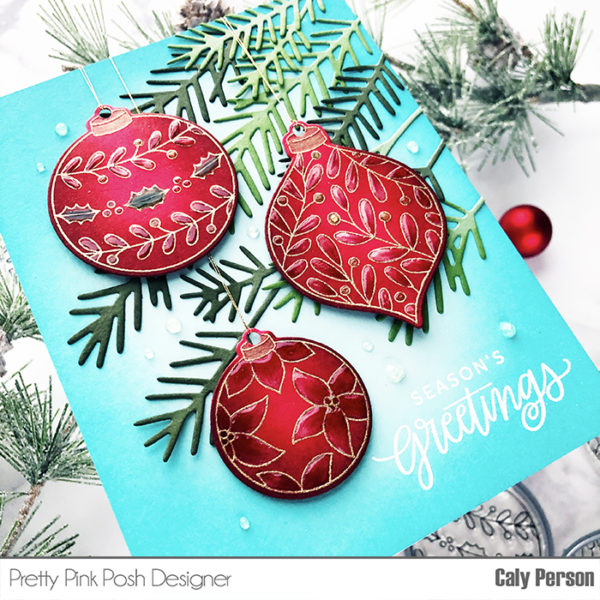
I started by stamping the images on red cardstock and embossing the image with gold embossing powder.  I knew I wanted to add shading and color with soft colored pencils – so after embossing and die-cutting the images, I ink-sponged some dark red ink around each ornament – giving it shading around the outer edges.

To give the ornaments some color, I used Faber-Castell Polychromos colored pencils Gold 250, Light Green 171, Pine Green 267, Dark Red 225, Ivory 103).  I went over the areas I wanted to color first with Ivory to lay a base – then used the other colors to add shading and depth in those smaller areas.

I die cut the Pine Springs using two shades of green cardstock and also ink-sponged the edges to give them some added depth.  For the background, I used a light blue cardstock and ink-blended around the card panel using Peacock Feathers Distress Oxide Ink.  I adhered the pine springs on the card panel first, then punch some holes in the ornaments and strung them with gold thread before adhering them to the card panel over the pine springs using foam adhesive.  The sentiment is from the same stamp sent and stamped and embossed using white embossing powder.  To give the card a final touch, I added a clear lacquer (Glossy Accents) over the colored areas and some drops all over.

I really hope you enjoyed that!  The glossy accents really is an invaluable tool and adds a wonderful element.  Have a fabulous day, everyone!

Caly

| | |

Christmas Card with Copics

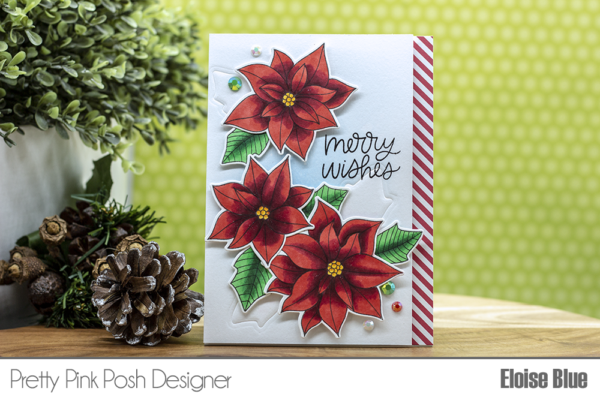
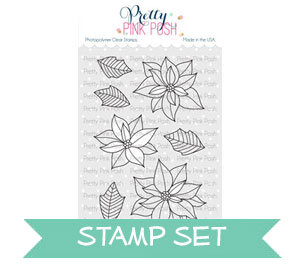
Hello friends, Eloise here and today I have a Christmas card to share with you all using the Poinsettias stamp set. I decided to also do a little dry embossing on the background for some added interest.

Watch the video above   I  Watch the video in HD on YouTube
 

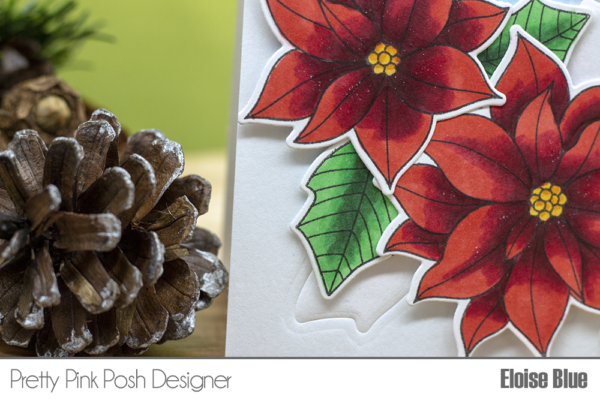
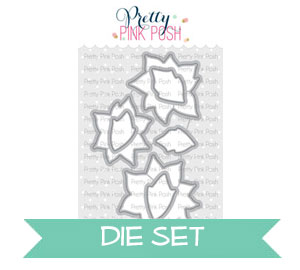
I started off with dry embossing my leaves. I took a piece of watercolour cardstock and ran through the coordinating leaves dies of the Poinsettias set. I used a thin tan embossing mat between two plates in my Big Shot Machine to get the effect. I then die cut the same leaves from some masking paper and adhered them over top. I then use Tumbled Glass and Salty Ocean Distress Inks for the background, I flicked on some water and dried it with a heat tool.

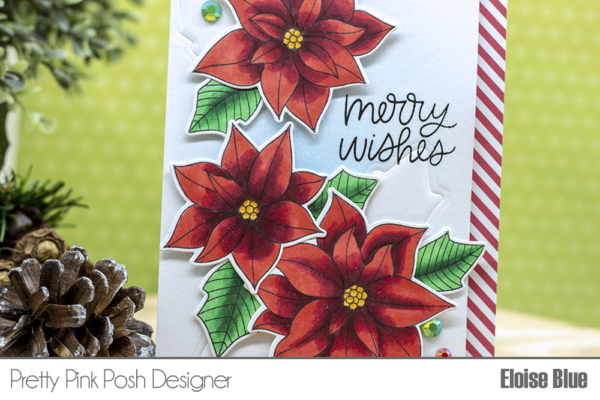
Next, I could colour my images in. I stamped out all the poinsettias and leaves and used Copic Markers to colour them in. I then cut them out using the coordinating dies and added foam tapes to the backs.

Copic Markers Used: R24, R29, R39, R89 / G03, G05, G16, G29 / Y35, YR12, YR24)

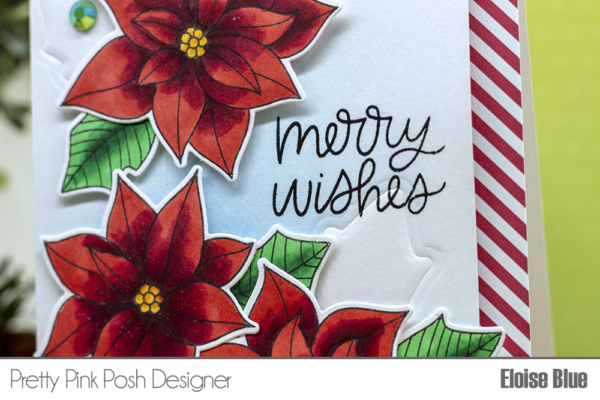
I then arranged all my images onto my background and adhered them down into place. I added Wink of Stella in clear for added interest as well. I also arranged the leaves around the dry embossed ones. I then stamped the ‘Merry Wishes’ sentiment from Penguin Pals onto the right-hand side of my panel as well as a piece of red and white striped patterned paper.

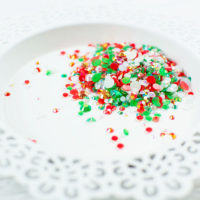
For a last finishing touch, I used some Holiday Jewel Mix and scattered them around my card and adhered them into place.

Thanks so much for stopping by today and I’ll see you all next time.

Eloise

|

Festive Penguins

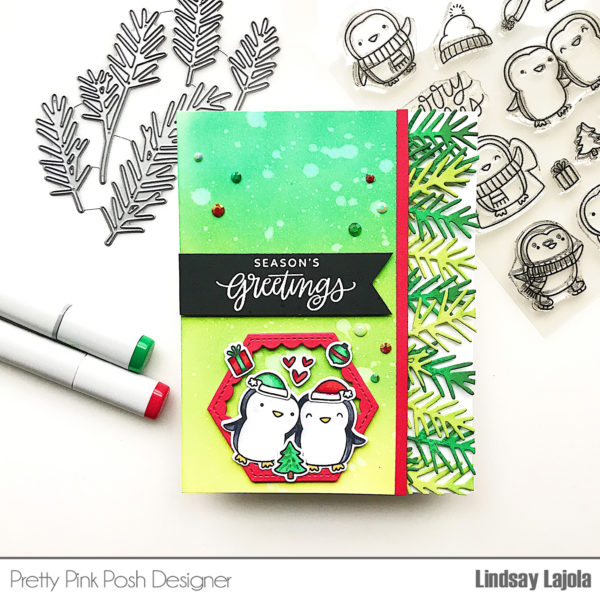
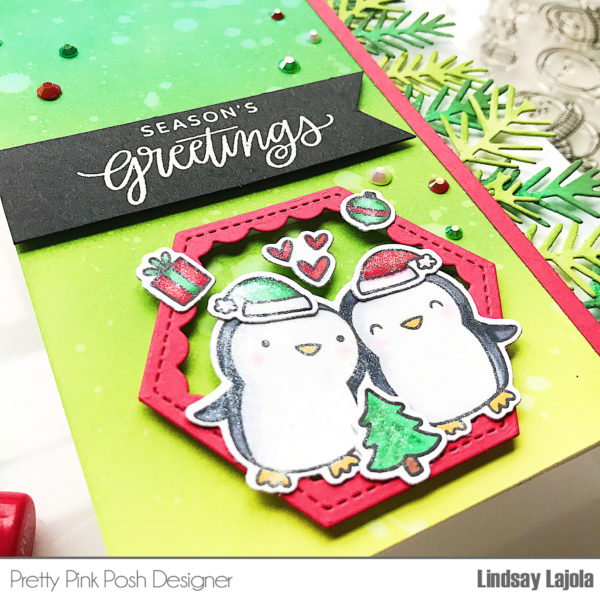
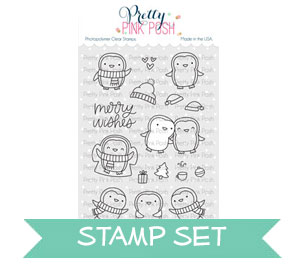
Hello! It’s Lindsay here on the Pretty Pink Posh blog. Today I’m sharing this classic red and green color themed Christmas card highlighting the new Penguin Pals Stamp and Coordinating Die Set and Pine Sprig Dies.

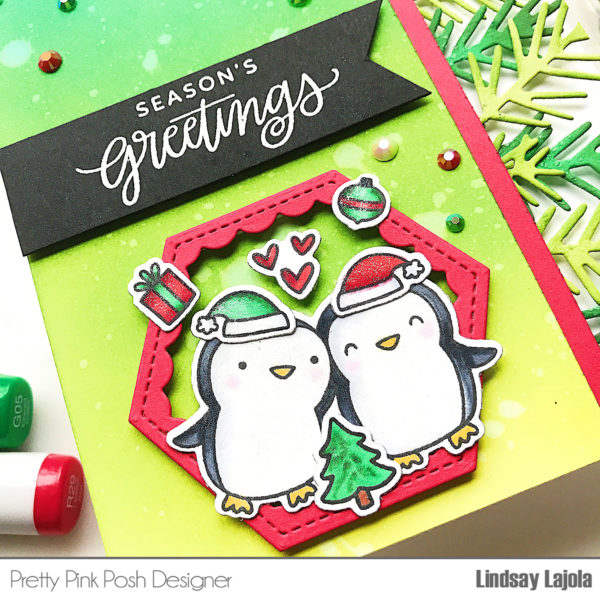
I started with stamping my penguin and accessory images with a copic friendly ink and then copic colored them in classic red and green colors using R24, R29, R39 and G02, G05, and G28. I die cut these out using the Penguin Pals Coordinating Dies.

I got to work on my ink blended background using Distress Oxide Inks in Twisted Citron, Mowed Lawn and Lucky Clover. I cut down the ink blended background piece to 3 ¼ inches by 5 ½ inches in order to leave room for a border of pine sprigs.

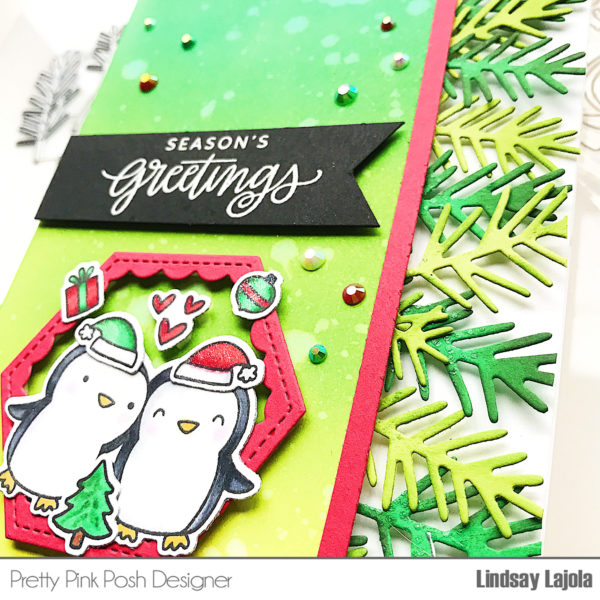
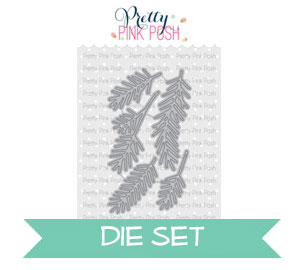
I die cut the Pine Sprigs using two different colors of green cardstock and used Distress Oxide Inks in Mowed Lawn to add some detail to the pine sprigs. I then adhered the sprigs to the back of the inked background to create a border on the right hand side of the card.

I thought I needed some additional red elements so I cut a frame for the critters using Scallop Hexagon Dies from red cardstock. I also added a small border of red cardstock to line the sprig border.

I then got to creating my sentiment. I used the Season’s Greetings sentiment from the Decorative Ornaments Stamp Set and white heat embossed it on to black cardstock. I cut a little flag end onto the sentiment strip.

Finally, it was time to assemble! I adhered the sentiment, frame, and penguin images with foam tape and finished off the card with some Holiday Mix Jewels.

Aloha,

Lindsay

| | |

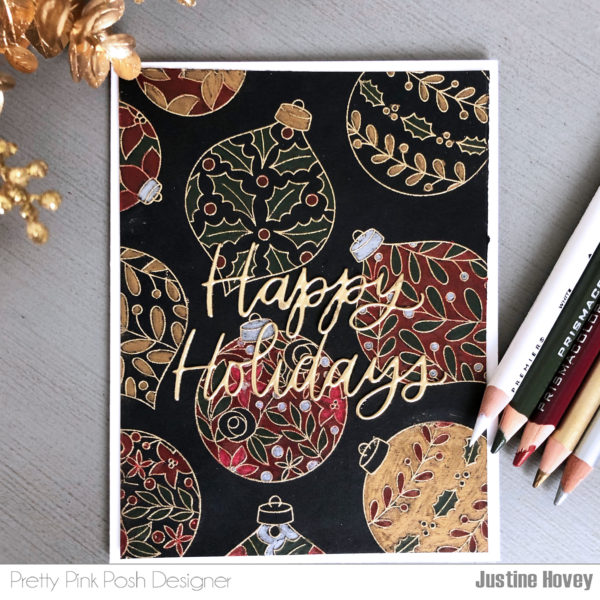
Colored Pencils Ornaments Card + Video

It’s Justine again with a new video process tutorial. Today I’m using my prismacolor pencils to colour on a dark background in order to make an elegant Christmas card. These coloured pencils are so highly pigmented that they showed up on black cardstock. If you would like a true colour from your pencil, colour in white first, then colour overtop with the colour of your choice.

Watch the video above   I  Watch the video in HD on YouTube

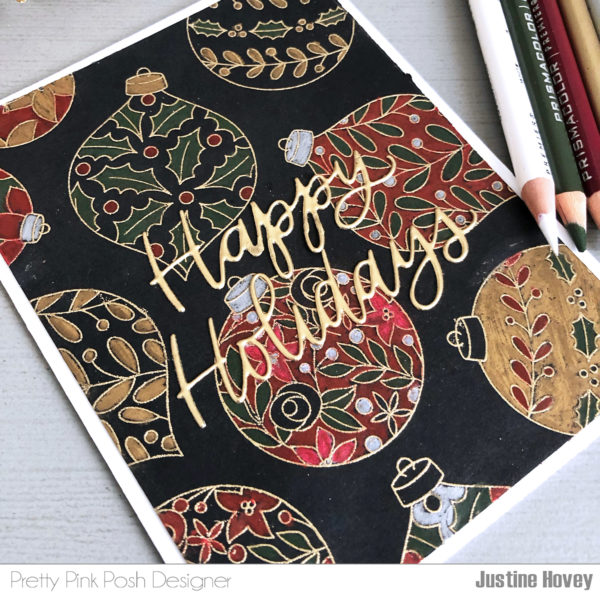
I used the Decorative Ornaments stamp all over the background and I embossed it using gold embossing powder. I coloured in all of the little elements. I tried my best to switch up the five colours on the background and I think leaving some in black really made the colours pop.

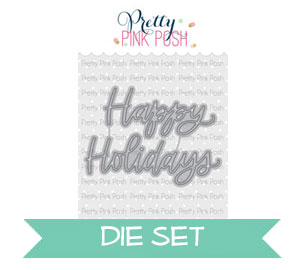
Lastly, I die cut the Happy Holidays Script die and embossed it three times in gold embossing powder to make it more like chipboard rather than a paper die. In such a busy background, I wanted to make sure the sentiment didn’t get lost nor take away from the background so this was a perfect choice.

I hope you enjoyed today’s video and technique. Thanks for stopping by and joining us today!

| | |

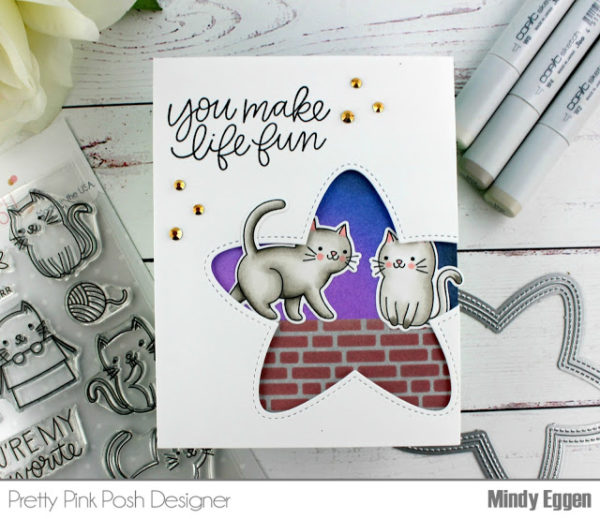
You Make Life Fun + Video

Welcome back everyone, it’s Mindy! Today I’m sharing a card and video using some fun products from Pretty Pink Posh.

Watch the video above   I  Watch the video in HD on YouTube
 

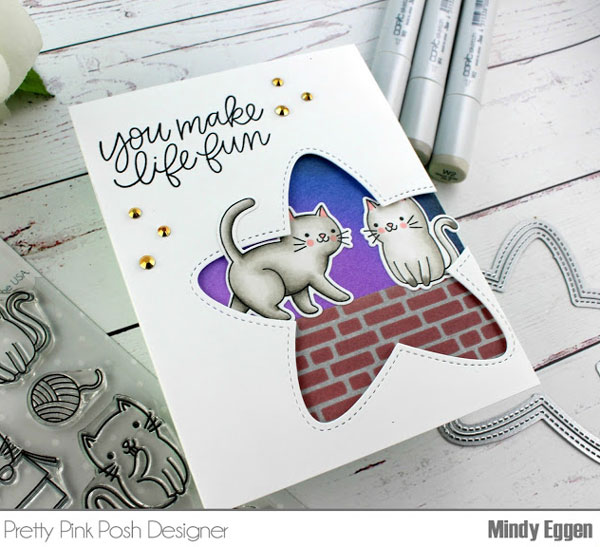
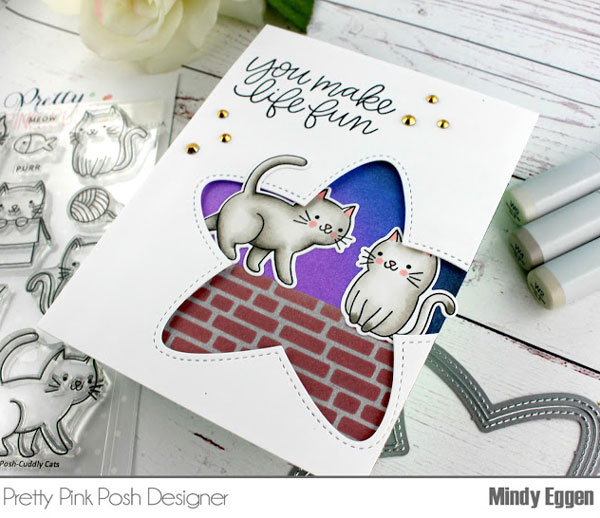
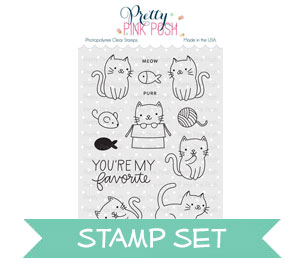
To start my card, I’m going to color up my images. I stamp two of the Cuddly Cats from the set onto Neenah Solar White cardstock 80 lbs with copic friendly ink. Then color with copic markers and use the coordinating die to die cut them out.

For my front panel, I’m die cutting a star from a piece of White cardstock using the Stitched Stars Die. This will leave a beautiful stitching around the shape that adds a little more interest to the front of the card. I’m also going to use the Simple Sayings: Life stamp set and stamp my sentiment with black ink. Be sure to check out my video for a great tip on making sure you stamp straight.

For my background panel, I used a piece of Bristol Smooth cardstock and add Aged Mahogany and Hickory Smoke Distress Oxide ink with the English Brick Wall Stencil. For the sky, I ink blended Wilted Violet, Blueprint Sketch and Black Soot Distress Oxide. My front panel is popped up with foam tape and added to the ink blended panel for some fun dimension. Then I could add my Cuddly Cats by tucking them in the Stitched Star Window.

You can’t make a card without adding some beautiful jewels! I used the Metallic Gold Jewels which reminded me of stars.

I hope you enjoyed today’s inspiration!

|

For You Anemones

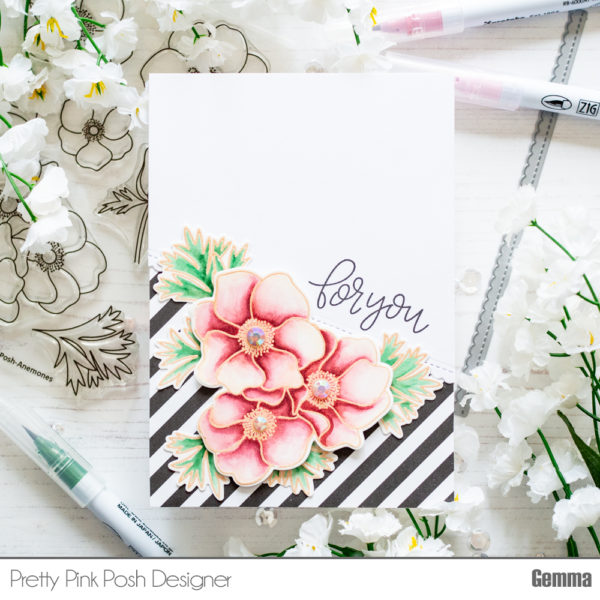
Hello, Gemma here today sharing a watercolour floral card featuring the Anemomes stamp set. I’ve been enjoying using my zig clean colour real brush pens recently, and the Pretty Pink Posh florals are perfect for watercolour techniques.

I began by heat embossing the images from the Anemones stamp set in pale gold onto Bristol Smooth card. I used some Zig clean colour real brush pens and a water brush to colour the images. These are the colours I used: 230 pale rose, 220 tea rose, and 44 dark green. Once dry, I die cut the images with the coordinating dies.
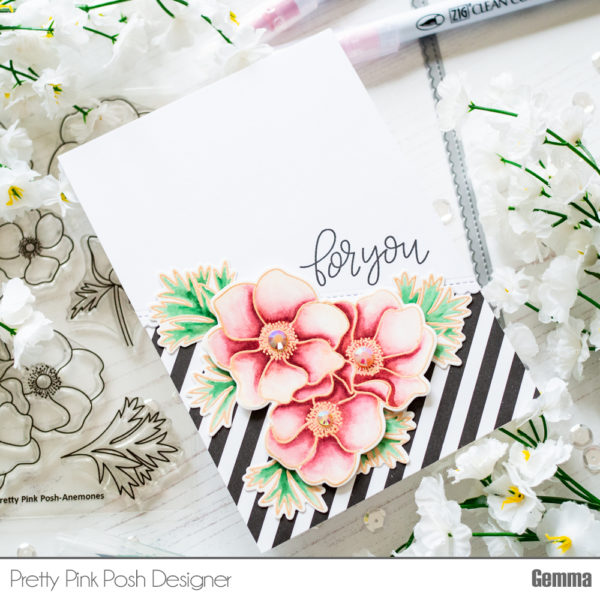
On a card base, I adhered a piece of black and white patterned paper. I took another piece of white card and used one of the dies from the Scallop Borders 1 die set to cut it down at an angle. I stamped a greeting from the Everyday Greetings stamp set, following the angle of the scalloped die cut edge.
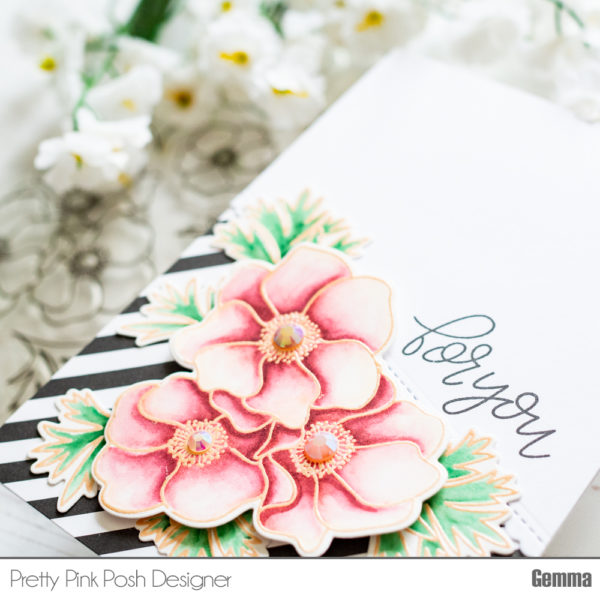
I adhered this panel to my card base with liquid glue, then placed the flowers and leaves onto the card, adhering with a mix of foam tape and liquid glue. As a pretty finishing touch, I added some Ivory jewels to the center of the flowers.
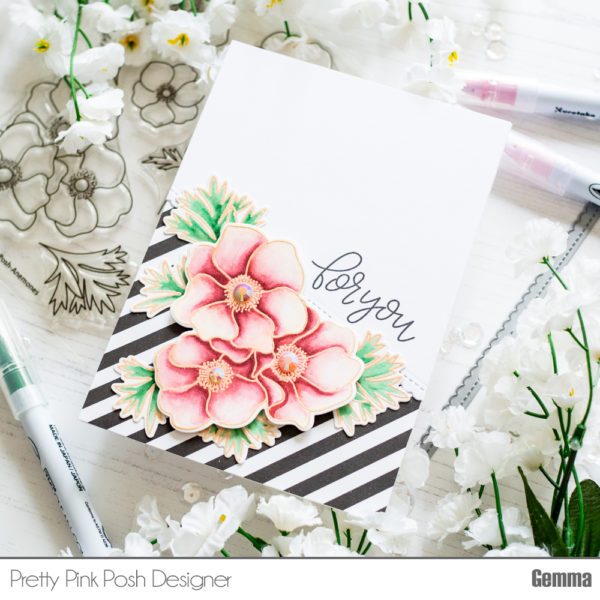
I hope you enjoyed this card. There are lots of possibilities with these stamp sets!

| |

November Product Release Blog Hop- Day 2

Check out Day 1 of the blog hop HERE

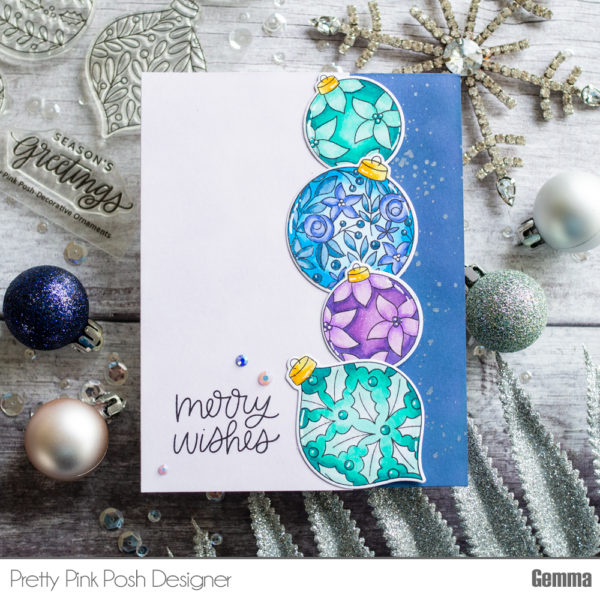
Hello, Gemma here today and I’m sharing a card featuring Decorative Ornaments– one of my favourite sets from the Pretty Pink Posh November release.

I’ve had fun trying different techniques with this set, including watercolour with zig pens, and embossing on vellum. I love to copic colour images, though, so decided to stamp some images with copic friendly black ink and colour that way. I kept to one colour family on each bauble, to keep the tones similar and let the patterns shine out. Once they were coloured in, I die cut them with the coordinating dies. Then I added some white gel pen and clear glitter pen details.
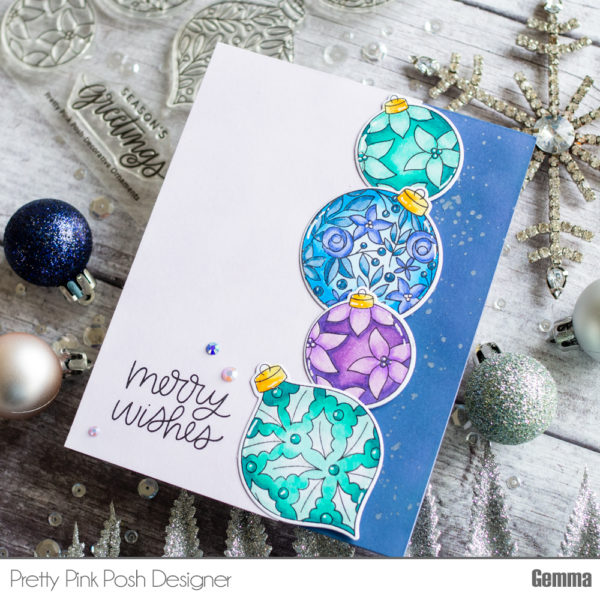
For this card, I thought it would be fun to revisit a design I made (HERE) with the Bunny Friends stamp set earlier this year. It’s still one of my favourite designs – I love the border of images with a bold colour behind. On the right side of a card base, I added a blend of Chipped Sapphire distress oxide ink, flicking it with some perfect pearls mix for shiny droplet details.
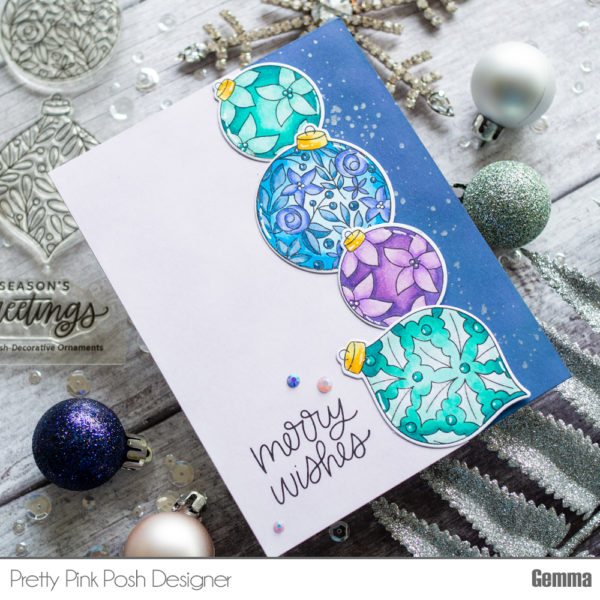
I took another piece of card, not as wide as my card base, and blended on Milled Lavender distress oxide ink. I stamped a greeting from the Penguin Pals stamp set with versafine black onyx ink. I find a pigment black ink is necessary for stamping sentiments over distress oxide ink, as dye ink seems to fade back too much.
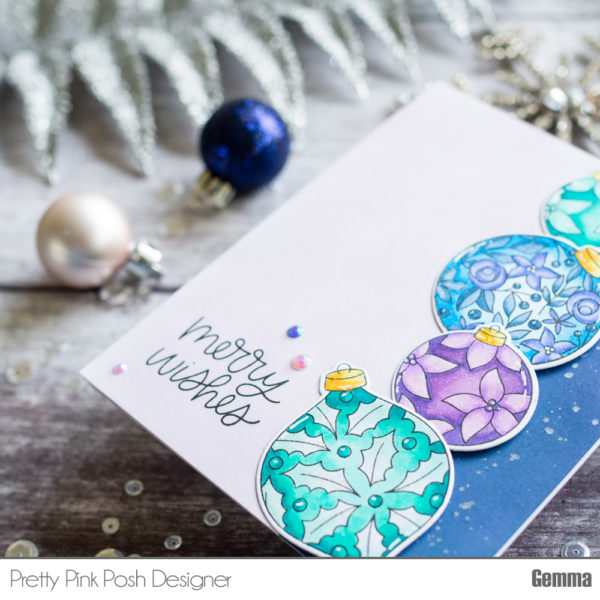
I added foam tape behind this panel, then adhered to my card base. I arranged the baubles on to the edge of the panel, using some purple tape to temporarily adhere them together. This makes it easier to add the adhesive in one go – foam tape for the right side where they overhang, and some liquid glue for where they sit directly on the panel. To finish the card, I added some jewels around the sentiment from the new Starry Sky Jewels Mix.

PRIZES: be sure to leave comments on each stop. I’m giving away 4 $25 gift certificates to four random comments (2 winners each day) left before November 20, 2018 at 11:59 PM PST. I’ll be announcing the winners next week, so be sure to return and see if you are one of the winners!

We hope that you enjoyed the blog hop these last two days. Thank you for all the sweet comments, love and support!

| |

November Product Release Blog Hop- Day 1

Check out Day 2 of the blog hop HERE

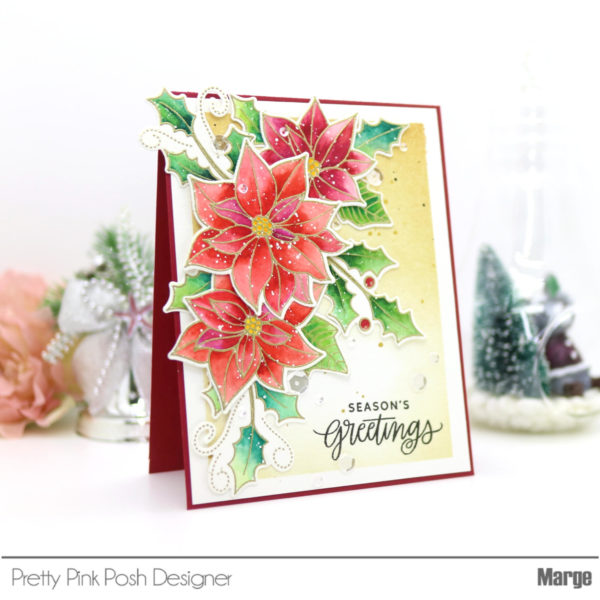
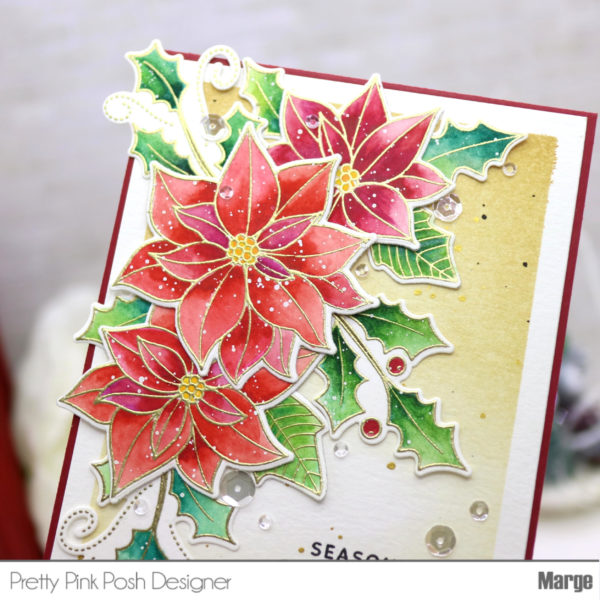
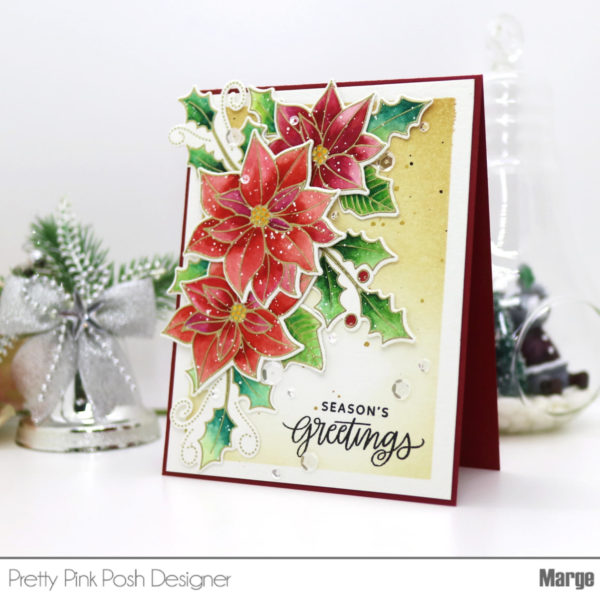
Hi, everyone! It’s Marge here with you today and I’m going to share a watercolor poinsettia card featuring the New Release Products.

I started my card by stamping Poinsettias and Elegant Holly onto 140lb cold press watercolor paper using embossing ink, then heat embossed them in gold. I watercolored the images in red and green, then I die cut them all using Poinsettias Coordinating Dies and Elegant Holly Coordinating Dies. White acrylic ink was splattered onto the images to express snow.

To make a panel, I prepared A2 sized watercolor paper, masked four edges then I ink blended it using Distress Ink Antique Linen and Tea Dye. I splattered dark ink and metallic gold ink on the panel and let it dry. After I stamped a sentiment from Decorative Ornaments Stamp  on the lower part, I adhered my colored images using glue and foam tapes. Finally I foam mounted the panel onto red card base, then finished it off by adding some Sparkling Clear Sequins Mix and 3mm Sparkling Clear Sequins.

PRIZES: be sure to leave comments on each stop. I’m giving away 4 $25 gift certificates to four random comments (2 winners each day) left before November 20, 2018 at 11:59 PM PST. I’ll be announcing the winners next week, so be sure to return and see if you are one of the winners!

Pretty Pink Posh blog <<you are here

Be sure to leave comments on all the stops- we’ll be randomly picking comments to win gift certificates. See you tomorrow!