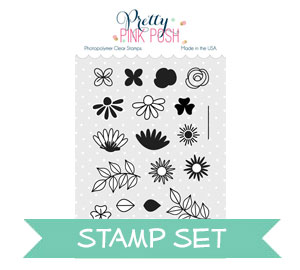
Hi Jeanne here today! Have you noticed all the flowers everywhere? Yes! Summer is on it’s way! I’m so excited about the Pretty Pink Posh Bold Blooms clear stamp set with coordinating dies.
The very first thing I did when I got this set was to cut lots of the dies and stamp them in different floral shades. The images are easy to align on the die cut shape without any stamping tool. I recommend stamping the outline image and then the solid image.
Next I arrange the flowers into different patterns that appeal to me. The combinations and colors are endless! I adhered this floral arrangement over a Stitched Duo 1 die. I wanted to mimic the appearance of a flower box. The frame on the die cut reminded me of a window.
To draw your eye along the length of the card I added a Stitched Border. Maybe it is a curtain inside the window?
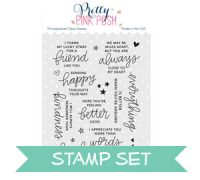
The beautiful script sentiment is from the Everyday Greetings stamp set! It fits perfectly on the top of the tag! Who doesn’t love flowers? I just know you’re going to love this stamp set!
I hope you enjoyed today’s post. Thanks for stopping by the Pretty Pink Posh blog!
I have been getting a lot of requests for a sale and thought this Memorial Day weekend would be the perfect opportunity for one. Save 15% off all stamps and dies in the Pretty Pink Posh Shop!
Please note that whenever I have a sale, there is a huge influx of orders, so processing takes longer than usual. I package each item by hand and appreciate your patience and understanding.
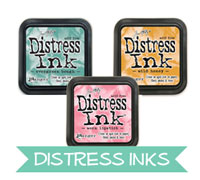
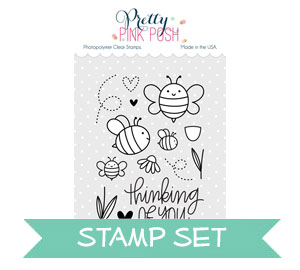
For my card today I’m going to be using the watercolour stamping technique with Distress Inks to create a fun wreath using the flowers in both of the new stamp sets.
To begin my card today I first stamped out all my outline images with Versafine Onyx Black Ink onto some watercolour paper. I stamped out a ton of images since my wreath that I’m going to be making is going to be super full. I then pulled some colours of Distress Inks out and began my watercolour stamping. I first found the coordinating solid stamp, pressed it down into the ink pad and then spritzed it with a little water to reactivate that ink and then stamped it down onto the coordinating image. I repeated this step until I had coloured all my images. I love this technique, it’s super fast and I love how it never looks the same. You get dark and light spots, spots that aren’t always covered completely, it’s really fun!
Now that all my images had been stamped and dried completely, I cut them out using both sets of coordinating dies and set them to the side for later. I then took a piece of watercolour cardstock, and die cut the edge of it using the rounded die in the Scallop Border 2 die set. The mini scallops are so cute!
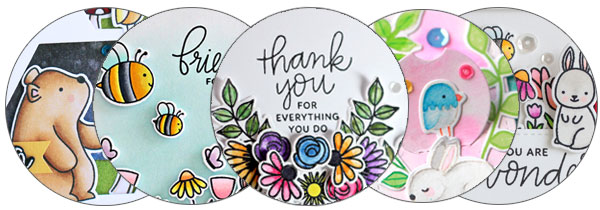
Now my panel was ready to assemble. I first traced around a circle (I used a bowl) with a pencil so it was easier to make my wreath circular. I then laid down all my images around the circle to make my wreath. When arranging all the images I worked in odd numbers and a triangle pattern, to make it appealing to the eye. It’s rule of thumb that things looks better in odd numbers and threes, so that’s what I went for. Once all my images were laid out around my wreath with all the colours spread out evenly, I could stamp my sentiment. I needed to lay down all my images first to see how much space I had left. I used the Thoughtful Greetings stamp set and used the sentiment ‘Thank You For Everything You Do’ and stamped it in the center of my wreath with Versafine Onyx Black Ink. Now my sentiment had been stamps, I could adhere down my images. For all my leaves I used liquid adhesive and then used the foam tape for the flowers.
Once everything was adhered down I took a piece of yellow patterned paper and adhered it to the bottom of my card base. I then took a piece of fun foam and adhered it down to my panel and then to my card base so it could have some dimension. To finish up my card completely I used some Wink of Stella in the clear and also some Clear Droplets in the 4mm and 6mm size.
Hello, Pretty Pink Posh fans! This is Yana and today I wanted to share a quick technique video to show you how easy it is to add details to colored images.
I started working on my card by stamping and coloring 3 images from the Friends Forever stamp set. I used Simon Says Stamp Intense Black ink for stamping and double stamped images using MISTI stamp positioner to have the blackest black outline possible.
There are coordinating dies available for this set so I cut my images out and quickly colored them using Copics. I used E79, E37 and E33 to color hair; E00 and E000 to color skin; R20 to add blush. To color outfits I used RV14, RV13 and RV10 for pinks; B05, B02 and B000 for blues; YG67, YG17 and YG03 for greens.
While my images looked great as is I decided to add little details to make them unique and a bit more personal. Think about it this way – in real life we all wear fabrics with different patterns. So I wanted to translate some of those patterns onto these images. There are a number of ways this can be done, some are simple, some not so much, I used the most simple and easy way – a white gel pen.
If you don’t have a white gel pen – you can also use a black pen or you can even use a Copic colorless blender to add detail. If you have a colorless blender in a bottle you can look for a piece of fabric with some texture, say burlap, wet that fabric with colorless blender and use it to stamp over the outfits of these images – that will transfer the texture of the fabric onto the image and will create same looking texture on your images.
I used a white gel pen and added little dots, vertical and horizontal stripes. You want to make sure to wait for your Copic coloring to dry, especially if you have really saturated paper with the marker as it (the marker) might eat up your white pen, I’ve had that happen in the past, so before adding the white detail – make sure image is dry.
I ink blended a hill to create a scene and foam mounted my friends on top. I also added little bees from the Bee Friends stamp set I adhered several sequins from the Sparkling Clear Mix and I also added clear droplets on top. I love to combine the two together as this way I feel my droplets look even more dimensional.
Watch my video tutorial below to learn how I made this card.
If you missed yesterday’s blog hop post, click here.
I hope you enjoyed yesterday’s amazing hop and are ready for day 2. Suzy here with you today and we have more talented designers and special guests for you, along with tons of inspiration.
I have a card using some of my favorite items from the new May product release. My very favorite set is Woodland Critters, but I love combining it with some of the other new sets as I have on this card.
To start this card, I die-cut a Window Frames Die from the center of a white card base. I rubbed light blue ink on the inside piece of the die before attaching it on the card front. This formed a sky or base for my little scene.
Next, I stamped all of the cute animal and flower images from Woodland Critters with a light color ink and colored them in with Copic markers for a no-line stamping look. I also used some of the leaves and flower pieces from the Bold Blooms and Build A Bloom stamp set to finish the scene. I stamped the sentiment from the Woodland Critters set with bright pink ink. I used some sequins from the Sparkling Clear Confetti Mix to finish it.
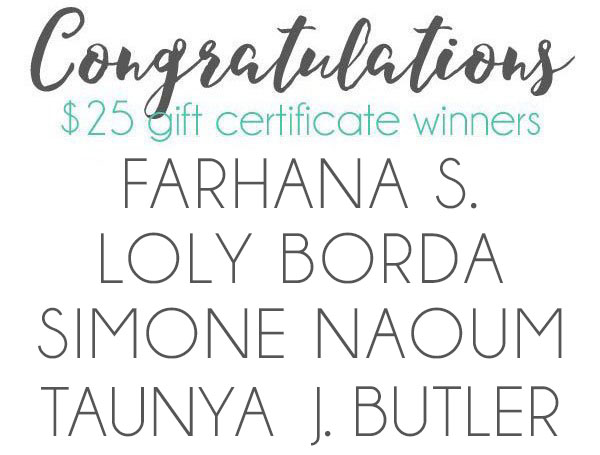
PRIZES: be sure to leave comments on each stop. I’m giving away 4 $25 gift certificates to four random comments (2 winners each day) left before May 17, 2017 at 11:59 PM PST. I’ll be announcing the winners next week, so be sure to return and see if you are one of the winners!
It’s time to start our two day Product Release Blog Hop for the May 2017 release. Many of you have already placed orders, but for those who were waiting for more inspiration, today and tomorrow the design team and special guests have all sorts of inspiration to share. Today we have Vera sharing two sweet cards, along with a video!
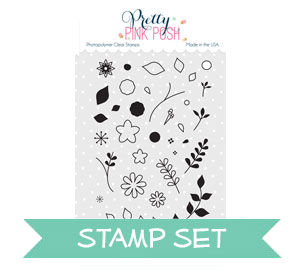
For today’s post I have projects to share with you featuring the Build A Bloom stamp set along with the coordinating dies. This beautiful stamp set caught my eye and I really want to create a post with it.
There are so many ways you can use with this flowers stamp set. Here, I combined it with the bear from Woodland Critters and the sentiment from the Thoughtful Greetings set. I colored with soft pastel colors with alcohol markers.
Watch my video tutorial below to learn how I made my cards.
Ready to hop along and see LOTS more fabulous inspiration with this release?
PRIZES: be sure to leave comments on each stop. I’m giving away 4 $25 gift certificates to four random comments (2 winners each day) left before May 17, 2017 at 11:59 PM PST. I’ll be announcing the winners next week, so be sure to return and see if you are one of the winners!
I started off with an A2 size of watercolor card stock and used a light blue Zig real brush water color marker and a water brush to make my sky background. I stamped my images from the Build a Bloom stamp set on a separate piece of white card stock , colored in with Copic markers and cut out using the coordinating dies.
I decided I wanted to create a little scene with these pretty flowers so I thought the Picket Fence die was the perfect set up for that. I cut the fence out of Neenah desert storm card stock and adhered to the bottom of my card panel. I didn’t put any adhesive closer to the top of the fence so that I could slide my flowers under.
I adhered my flowers on my scene sliding the stems under the fence. I added some interest on the flowers with a white gel pen and to finish off my card I stamped my sentiment from the new Thoughtful Greetings stamp set.
That’s it for me today! Hope you enjoyed and are enjoying the new release as much as I am. Have a lovely day!!

 The very first thing I did when I got this set was to cut lots of the dies and stamp them in different floral shades. The images are easy to align on the die cut shape without any stamping tool. I recommend stamping the outline image and then the solid image.
 Next I arrange the flowers into different patterns that appeal to me. The combinations and colors are endless!
 I adhered this floral arrangement over a Stitched Duo 1 die. I wanted to mimic the appearance of a flower box. The frame on the die cut reminded me of a window.
 The beautiful script sentiment is from the Everyday Greetings stamp set! It fits perfectly on the top of the tag! Who doesn’t love flowers? I just know you’re going to love this stamp set!


 Hello, Pretty Pink Posh fans! This is


 I decided I wanted to create a little scene with these pretty flowers so I thought the
