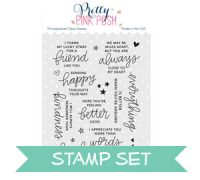
Hi Pretty Pink Posh friends! This is Amy K. here today sharing some “old” Pretty Pink Posh products paired with some of the last release for the mid-week inspiration for Halloween theme week! It’s definitely Halloween at my house. One of my favorite holidays to celebrate……something about the colors, decor, and cute trick or treaters!
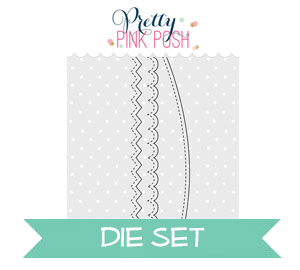
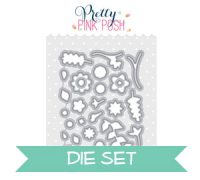
I started with the stitched chevron die from the new Stacked Edges 1 Die and die cut it out of dark purple, orange, and green cardstocks. I added each one on a top folding notecard until it was covered. Next, I went to work with the Storybook 2 Die and die cut it out of white and dark purple cardstock. I adhered all the pieces together by mounting them onto a smaller piece of scratch cardstock as this kept the panel flat because I knew I would be adding my cute Halloween elements with foam dimension. I white heat embossed the “trick or treat” sentiment from Halloween Friends onto the tall part of the Storybook 2 Die.
TIP: these dies are perfect for a starting point for “scene building”.
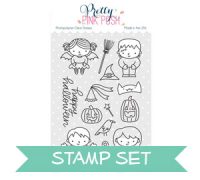
My cute images are from the Halloween Friends and Trick or Treat Friends stamp sets. They work so well together! I Copic colored all the images and die cut with the coordinating dies. I added most of my images with foam adhesive and as a final touch, adding some Amethyst sequins in both 6mm and 4mm.
If you have missed any of our other Halloween cards, click on the photos below to see the post from that day.
Thanks so much for sharing a part of your day with us!
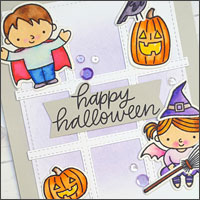
I cut my card panel using white card stock and the Stitched Notes die. I lightly ink blended some purple card ink in to the background and die the Tic-Tac-Toe die to adhere on top. I stamped my sentiment and cut out into a banner shape to adhere i the middle of my Tic-Tac-Toe area and adhered my images on as well.
Lastly I adhered my panel onto my card base and to finish off the card I scattered some 4mm and 6mm Sugar Plum sequins.
If you have missed any of our other Halloween cards, click on the photos below to see the post from that day.
That finishes my card for today! Thank you so much for joining me for Halloween theme week! Be sure to join us tomorrow for another fun post.
Hello Pretty Pink Posh fans! This is Yana and today I am sharing a video tutorial showing how to create a watercolor night sky/galaxy background for a Halloween card. Plus, we’re kicking off our Halloween theme week here on the blog.
I started working on my project by painting the galaxy first as it needed time to dry before I could heat emboss my sentiment. I used Arches Hot Pressed watercolor paper and wet on wet technique. I would suggest using Cold Pressed watercolor paper or even Rough as it is best suited for this technique; I only had Hot Pressed paper on hand, so I used that.
Watch my video tutorial below to learn how I made this card.
Once I was happy with my watercolor (be sure to watch the video above for detailed instructions using the Daniel Smith Watercolors) I set it aside to dry. I don’t like using my heat tool for these kind of paintings and much rather prefer them to air dry.
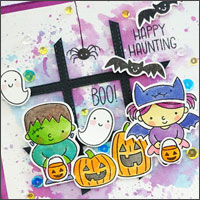
To create a scene for this card I stamped several images from the Trick or Treat Friends stamp set in alcohol marker friendly ink. I cut my images out using coordinating dies and colored them using Copic markers.
Copics used:
pumpkins// YR18, YR04, E15, Y17
broom// E37, E15, E79
hat// V17, V15, V12, C9 C7, C5
Once my painting was dry I heat embossed “Happy Halloween” sentiment in white embossing powder and foam mounted my stamped and die cut images on top. To finish it off, I added 4mm Navy and 6mm Navy sequins around the card front.
I originally planned to create an A2 card, but as I was working I trimmed my watercolor piece to a 4×4” and ended up making a 4 ¼” square project.
Hello everyone, Joni here sharing a card on how to stretch your die-cuts.
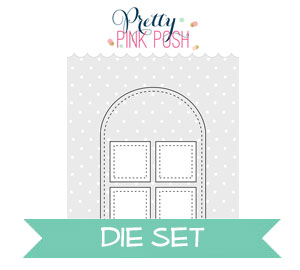
To begin first die-cut a white cardstock using Stitched Duo 3 Dies. Then die-cut the bottom using the Stitched Borders 1 Dies. Next, I added some blush on the die-cut using a round dauber.
I also added some Metallic Gold Confetti Mix for the background. The sentiment “happy halloween” was embossed with orange embossing powder and is from the Trick or Treat Friends stamp set as well as the witches’ hat. The ghost die-cut is adhered with foam tape for dimensions.
I hope I have inspired you. Thank you so much for stopping by!
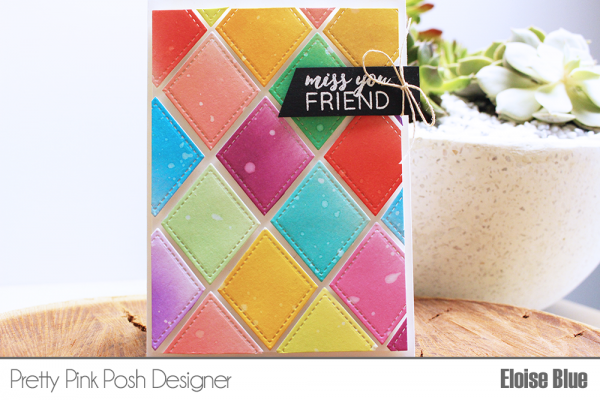
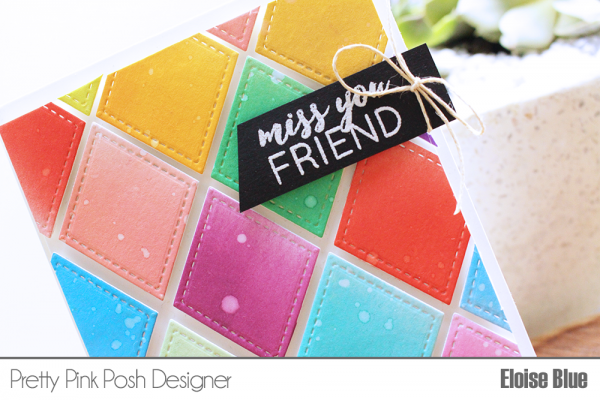
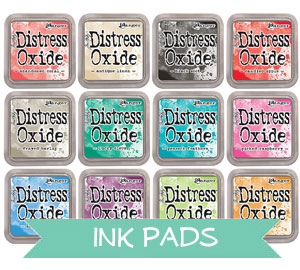
Hello everyone, Eloise here and today I have two ways to use the Stitched Diamond Dies along with Distress Oxide inks. These new colours are so yummy and I just had to use them today to make a rainbow card. I have a couple other examples to show you also.
First up, I pulled some watercolour paper out and cut it into fours. Making sure that the piece was wide and tall enough to accommodate the smallest diamond die. Once all the strips had been cut, I ink blended different colours of Distress Oxide inks onto each of the pieces. At the end of it I had 14 different colours used, to create a full rainbow, but with lots of different shades of the colours.
Once all had been coloured with the oxide inks, I used the smallest diamond die from the set and cut out three diamonds from each strip of cardstock, since the strip was sometimes a little short, some of the third diamonds were missing a little of their sides, but that wasn’t an issue, they just went on the edge of the panel where it was going to be cut off anyway.
I then added foam tape behind all the diamonds and adhered it onto a panel of white cardstock, just in a random order – making sure not two similar colours were next to each other. Once everything was adhered down I went ahead and trimmed off the excess on each side with my guillotine trimmer.
For my sentiment I pulled the Birdie Friends stamp set out and used the ‘Miss You Friend’ stamp to white heat emboss on a strip of black cardstock. I then heat set the sentiment, cut the black strip at an angle on one side and adhered it onto the right hand side of my card with more foam tape. I then added a hemp cord bow to the right side also to make it more balanced.
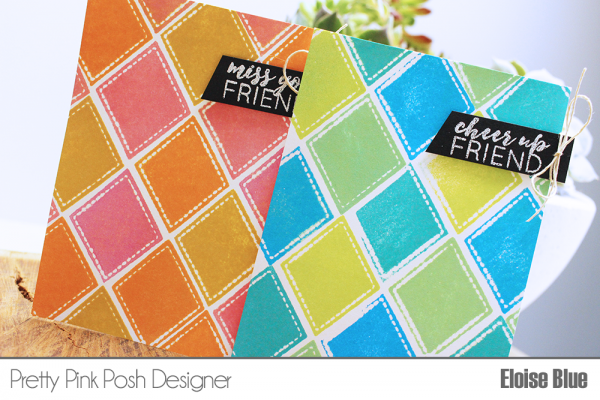
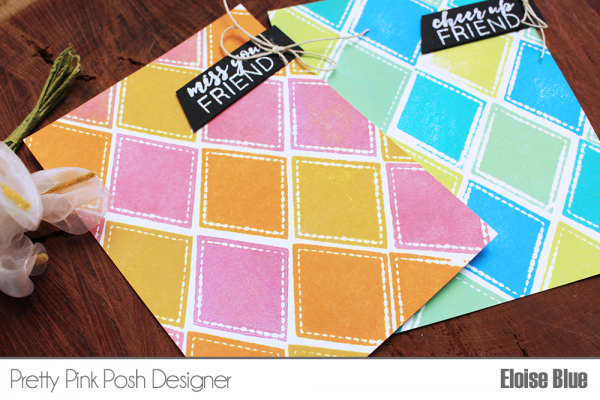
So that finished up the first way of using these dies with these inks, I then thought of a quicker way to make the same card and design, but with stamping.
I decided to go ahead and die cut two diamonds out of some fun foam first and then adhered them to an acrylic block with double sided tape. I then took a selection of the colours of Distress Oxide inks in a more masculine colour scheme for which I used green, blue and aqua/teal and also a feminine colour scheme for which I used orange, pink and yellow and then I could stamp out the diamonds.
I inked up the foam like I normally would any stamp and then stamped down onto the card panel. It doesn’t give a perfect impression, but I really love the way it looks. Because of the stitching around the diamond, sometimes it doesn’t stamp all the way, but in the end – I still like how it turns out. When stamping, I just made sure I didn’t stamp the same colour next to each other, for it to appear more random.
Then, to clean off the foam and move onto the next colour, I just used a stamp shammy that was damp, and wiped the surface of the foam and I could easily re-use it. This is such a great way to get more from your dies, especially with simple shapes like this, but also even sentiments, I think that would be super fun to try!
Once I finished stamping down both panels with the diamonds, I finished them off the same way I did for my other cards.
I hope you enjoyed my rainbow cards today, they turned out super fun and colourful! I love rainbow cards like this and with these shape dies, the possibilities are endless for card designs.
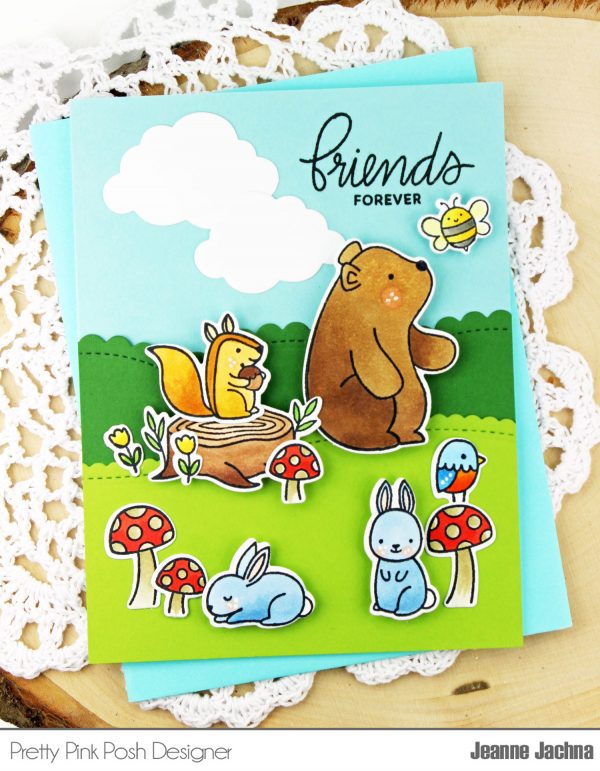
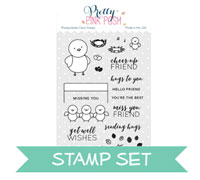
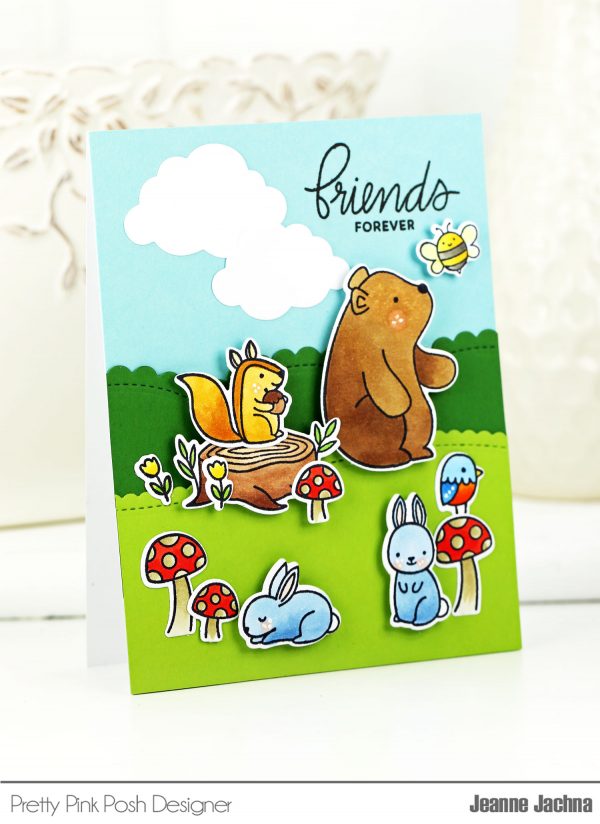
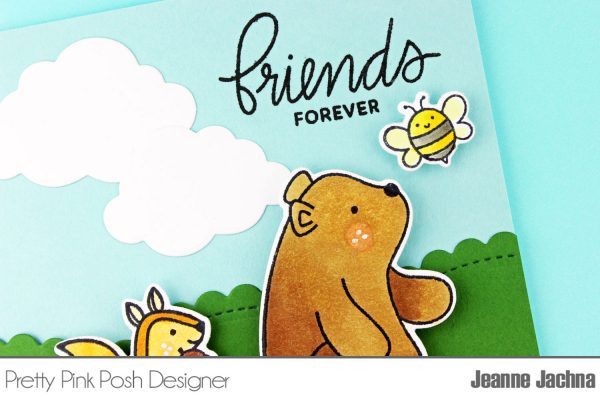
Hello, Jeanne here. Summer and Fall are our favorite times for a camping trip! It’s time to get away from all the electronics and spend time reconnecting. I love making scenes with stamped images and today I’m playing with the Woodland Critters stamp set. It brings back wonderful memories of good times in the great outdoors.
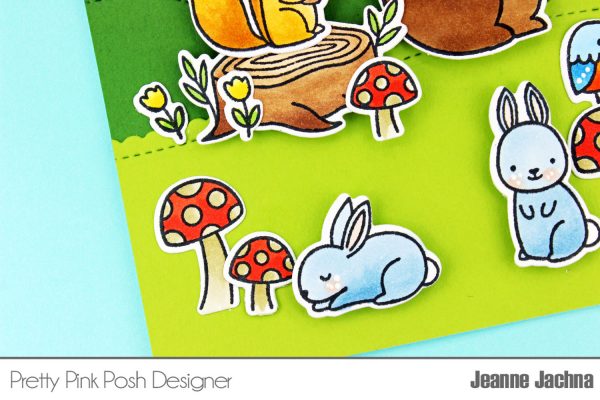
You don’t have to be a master at water coloring to make a wonderful background. You can achieve great looks with colored card stock. I started with a panel of white card stock and then added some hills by die cutting the Scallop Borders 1 in greens. I put the darker green bushes in the background, and the lighter green “lawn” in the foreground.
Next I stamped colored and die cut the different animals and arranged them to make a scene. I wait until I am happy with their placement before I decide where to stamp the sentiment and adhere the images.
I added die cut clouds from the Rainy Days coordinating die set. Next I drew in some accents with a white gel pen…freckles on cheeks and dots on the bird’s wing.
I added a small bee from Bee Friends to land on the bear’s nose and die cut it with the coordinating die cut. The size of the bee is perfect to add as an accent with this set.
I hope you enjoyed today’s post. Thanks for stopping by the Pretty Pink Posh blog!
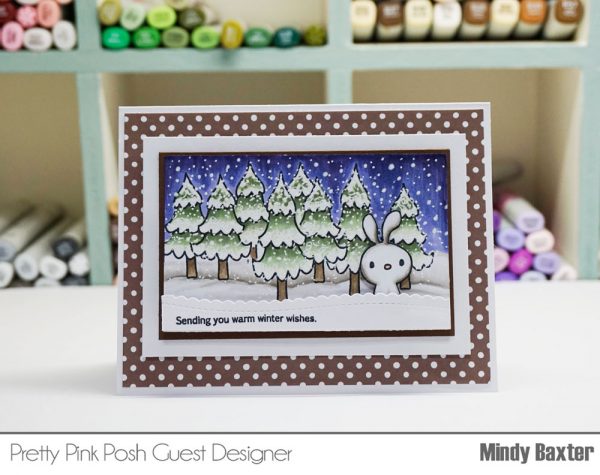
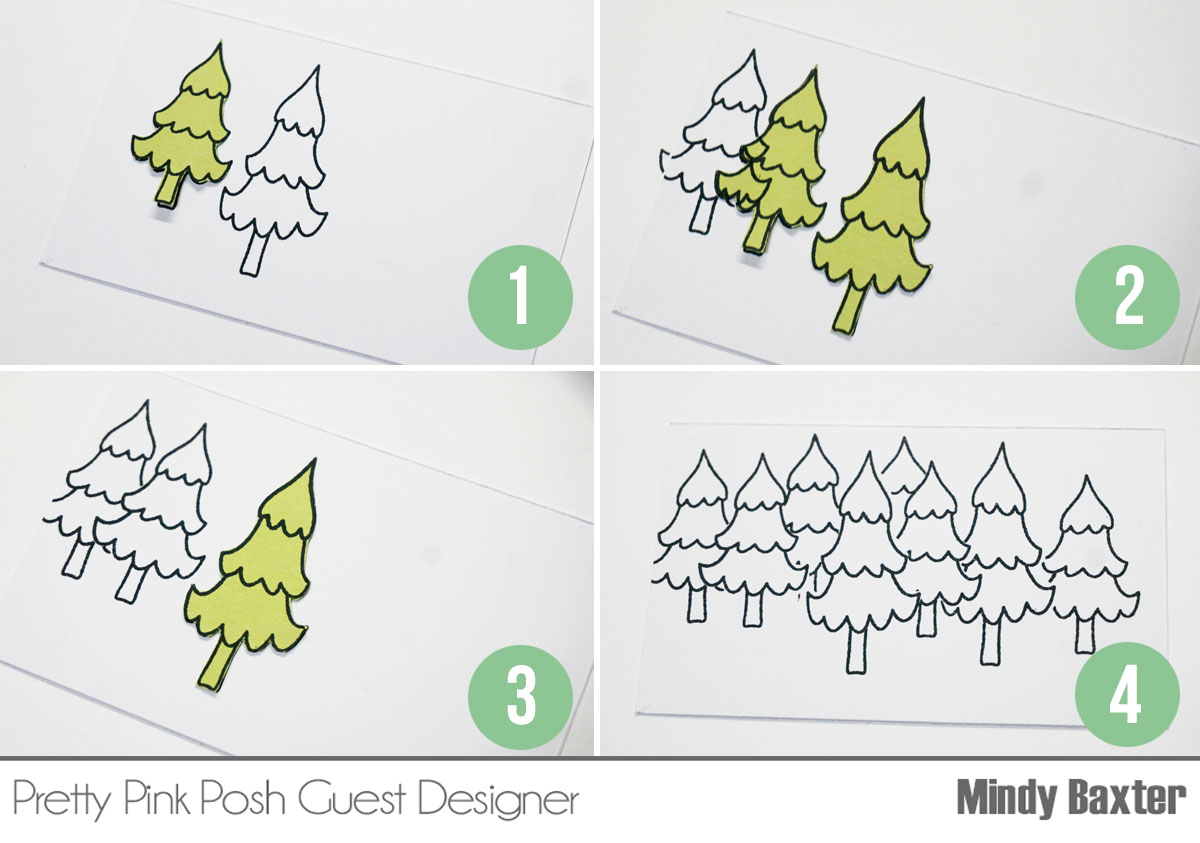
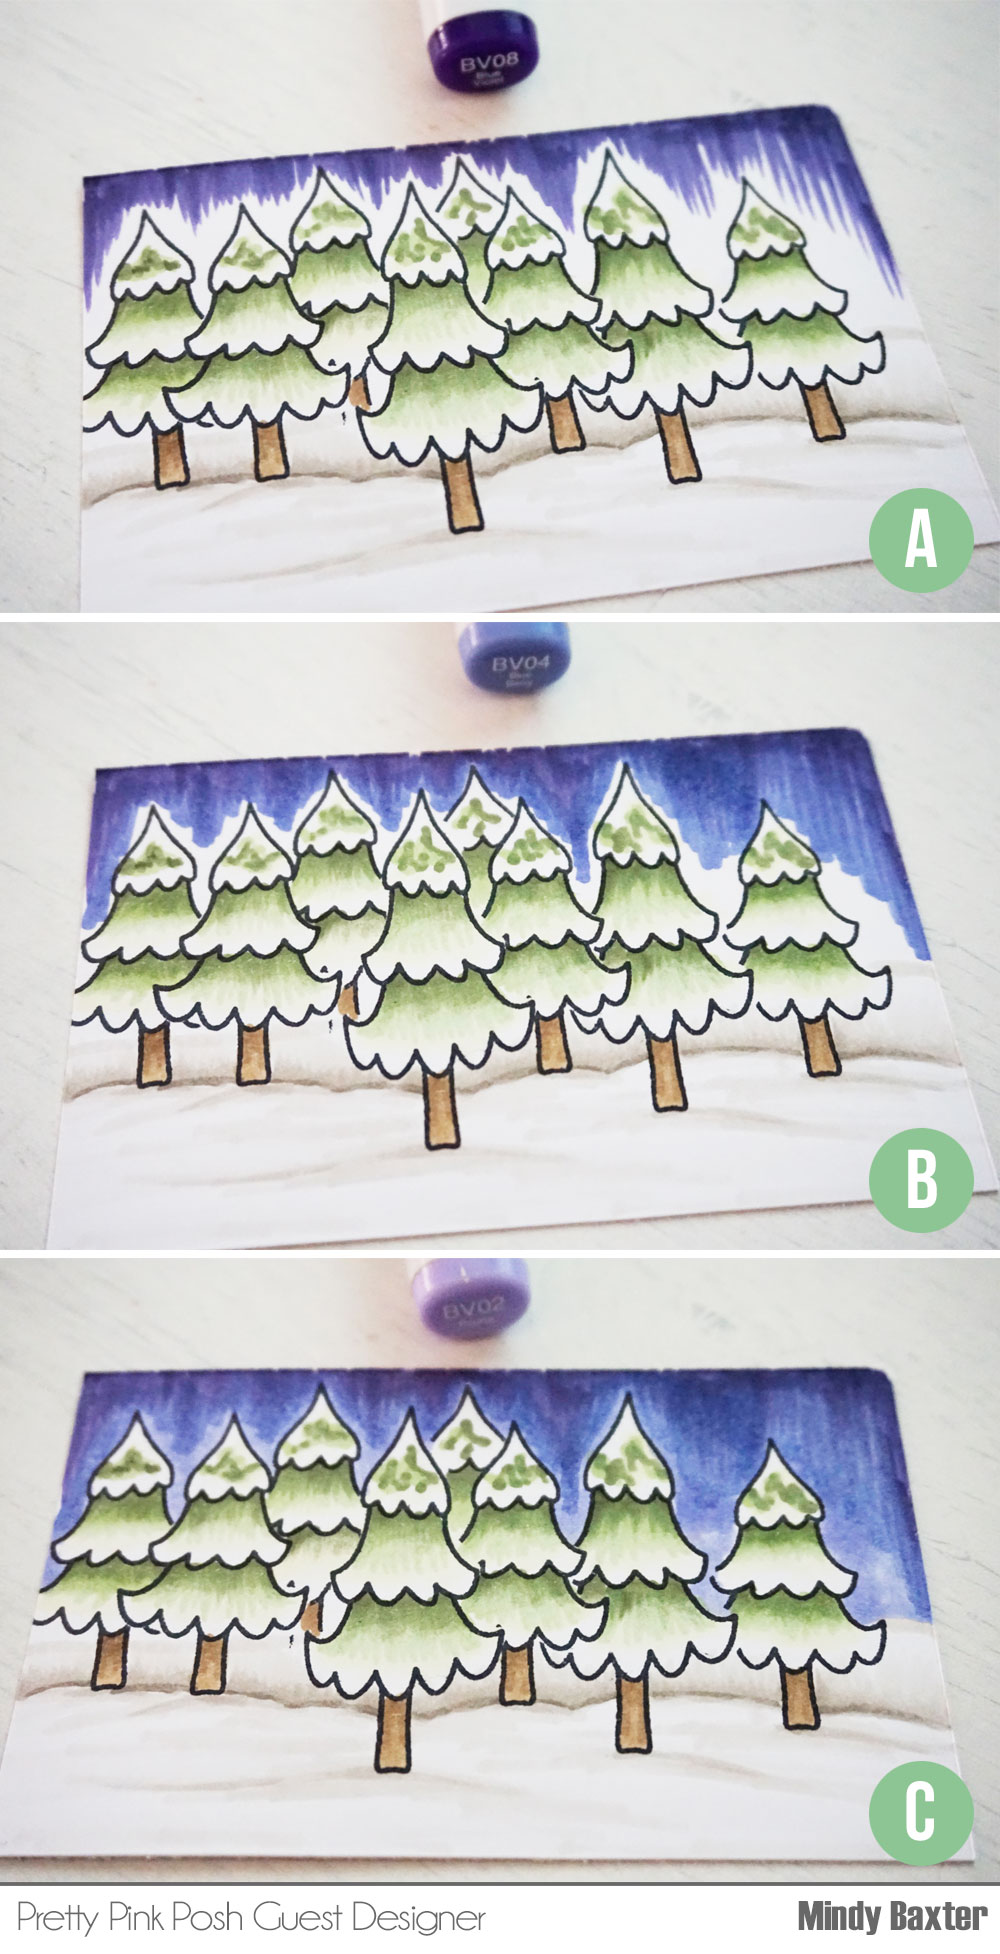
Hello friends! It’s Mindy from My Creative Scoop! I’m really excited to share a Copic Tutorial with you today. I’m using the stamp set Holiday Pals Stamp Set and we are going to be creating a winter scene with some snowy trees.
I stamped my images on Copic Xpress it Blending Card using Memento ink.
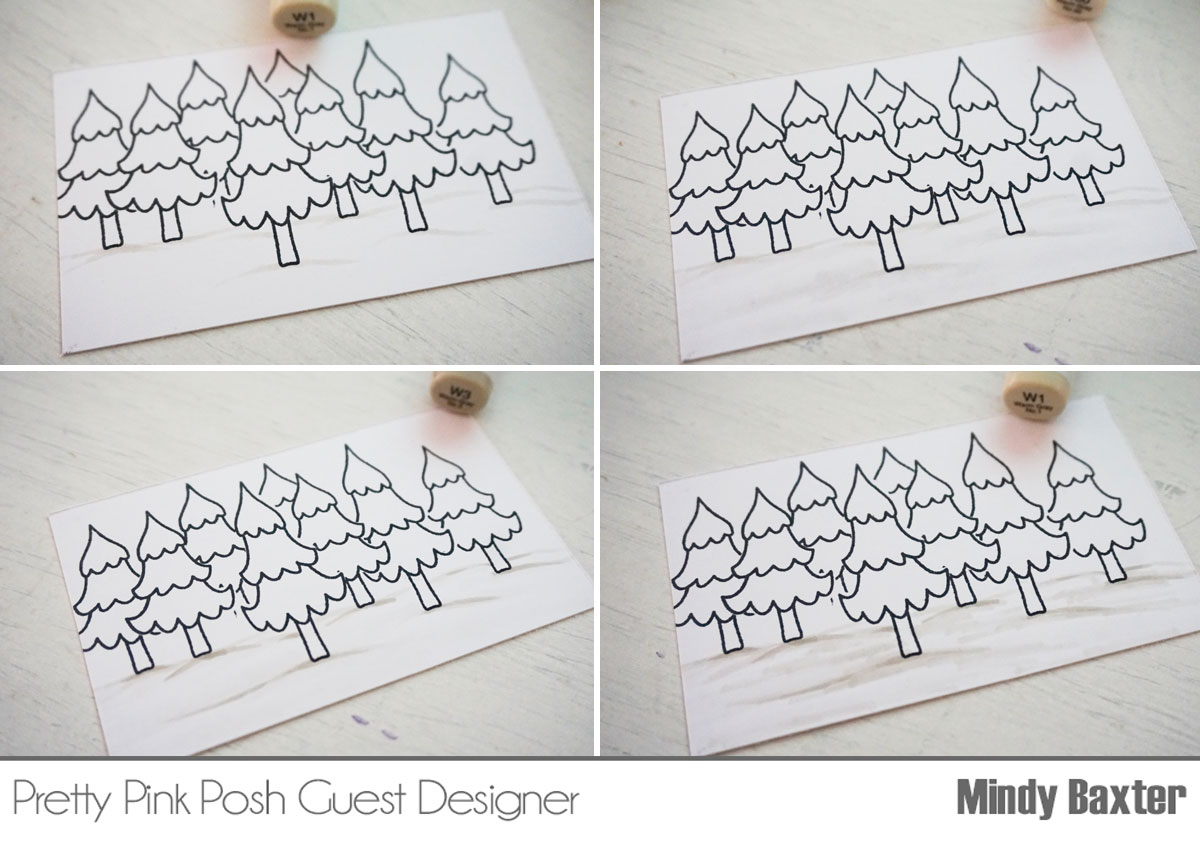
I used the masking technique to layer my trees. Here’s a little tutorial on how to create this look.
*If you want a closer look at any of these photos, click on the photo to enlarge it.
I always keep my masks in an envelope so I can re-use them over and over.
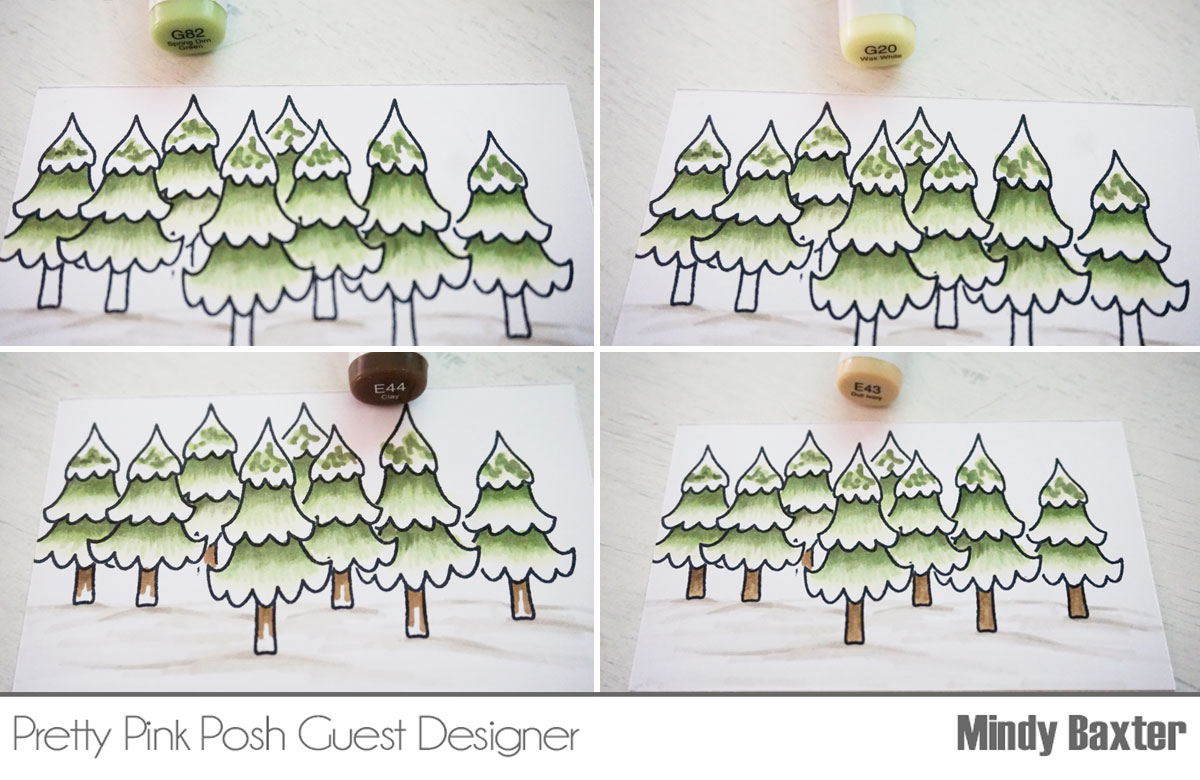
Let’s start coloring! I’m using G20, G82, G85, W00, W1, W3, W5. You can use whatever greens and grays you have.
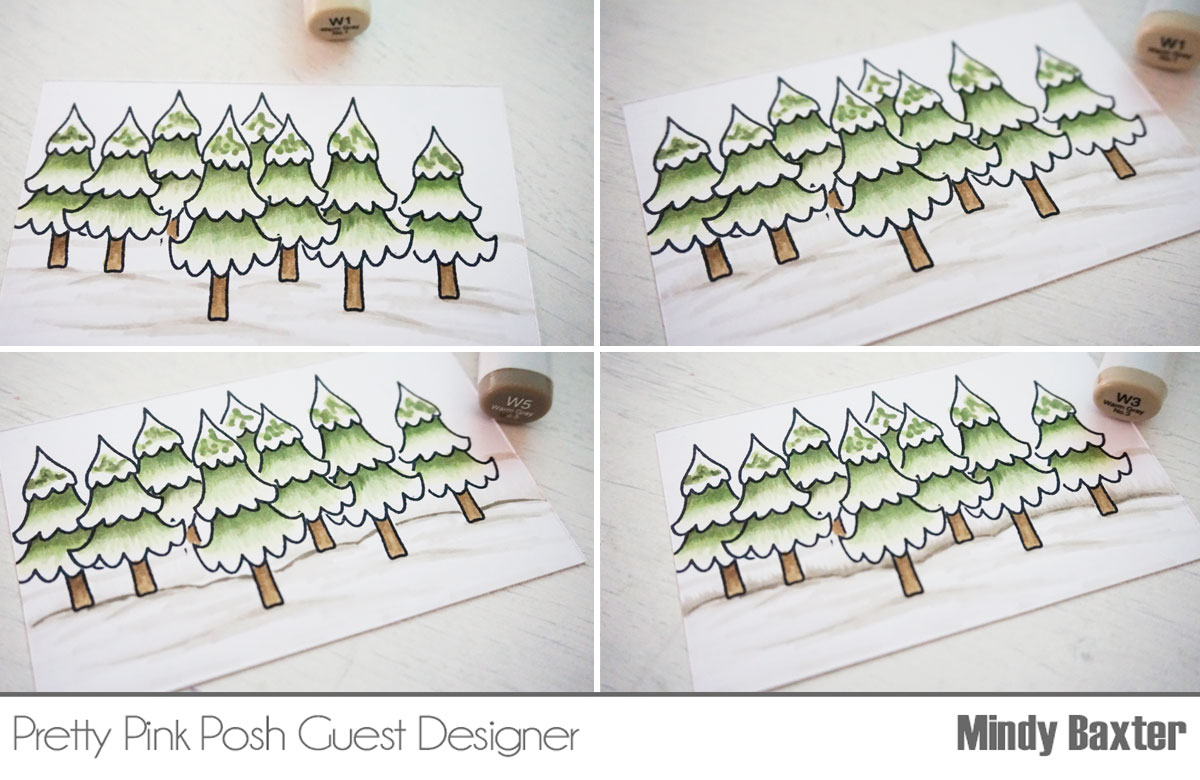
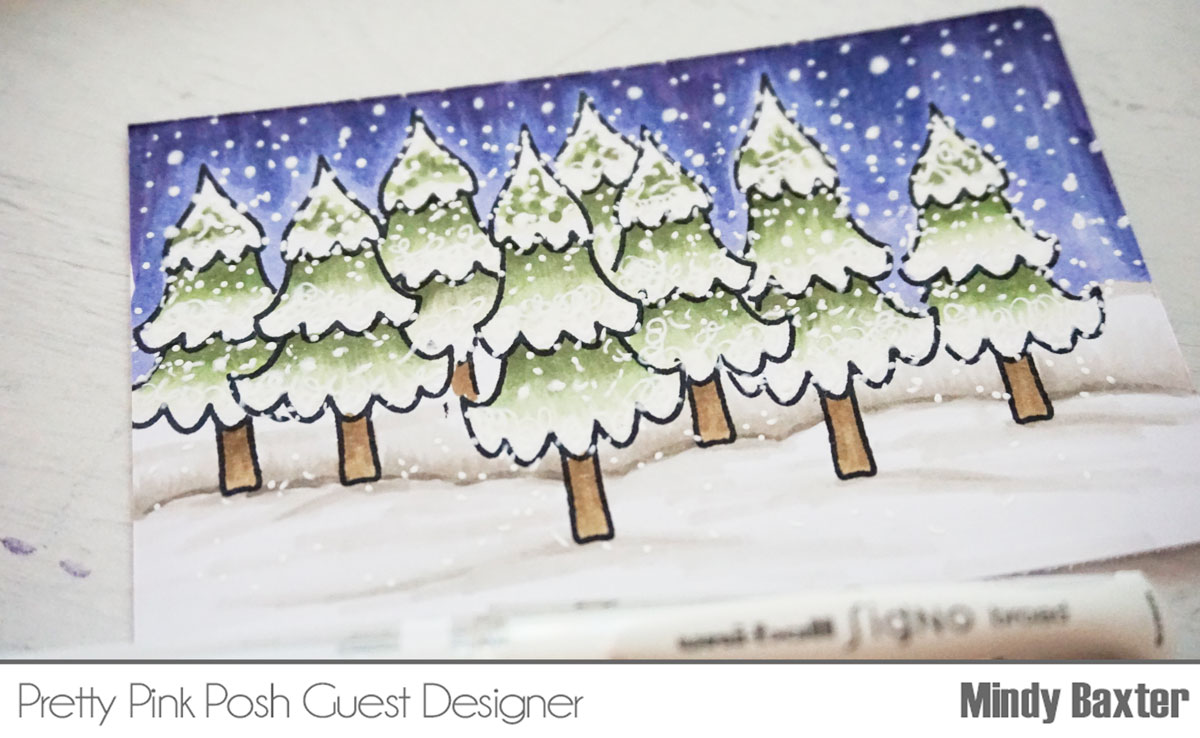
Now, for the lightest parts of the tree we want to really make it look like snow. So I’ve taken my uni-ball Signo broad gel pen and colored the tips white and also created different size snow balls falling. Make sure when you do this you make some white dots on the outline of the stamp it really makes a difference with the scene.
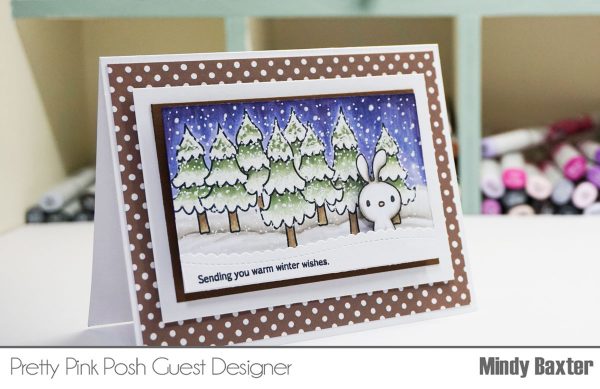
I hope you are super inspired to create some Christmas scenes using your Pretty Pink Posh stamps!
For more Copic Marker Tutorials please visit my site!
I have a quick post announcing the winners from the Product Release Blog HopDay 1 andDay 2. Here are the four winners of the $25 gift certificates!
Ladies, email me within 7 days and I’ll send over the gift certificates so you can shop!
Thank you to everyone who left comments on the blog hop and for the special guests and designers who shared their beautiful inspiration using our September release!
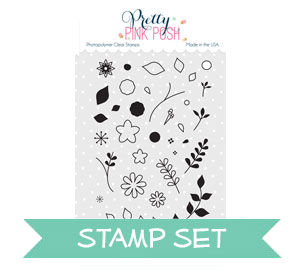
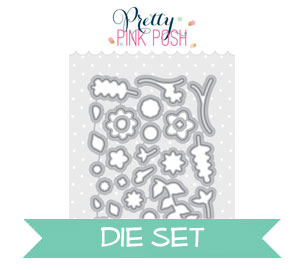
I did some watercolor stamping here, where I used my Zig Real Brush Markers directly on the stamp and stamped it on watercolor paper for a messy watercolor look. I started by stamping the branches several times and using my water brush to move the color around a little more once stamped. I did the same process with the flowers as well and cut all the pieces out with the coordinating dies.
I then adhered my branches in a wreath shape on top of my card base that I die cut using the Stitched Notes die set, and then added my flowers on top. To finish the flowers off I added clear droplets in the middle. I found they gave the perfect touch!
It was my first time using my watercolor markers directly on my stamp and I really like the way it turned out! Thank you so very much for joining me today!!
Hi everyone, Eloise here and today I have a card for you all using the brand new Happy Turkey coordinating die set. I love using coordinating die sets without the stamp, since it stretches your supplies and opens whole new doors for using coordinating dies. I’ll be making mini shaker pockets with this die set today using a bunch of different colours of sequins!
To begin my card today I went ahead and cut down a piece of white cardstock and started cutting my leaves out. The leaves in this coordinating die set work well on their own and you can tell that they are leaves, they don’t loose much detail. I cut out the three in the centre of the cardstock and then I went ahead and die cut them from the top and bottom, so I had nine cut altogether in a grid pattern. Once they were all cut, I flipped over my panel, added a sheet of acetate and then added two foam layers around all my leaves to make them have individual sections.
I then filled each section with a different colour of sequin using various sizes also. I tried to use as many fall themed colours as possible too. Once I filled all my leaves with sequins I used another piece of white cardstock, removed the backers of the foam tape and adhered it down. Now for the sentiment, I used the Angel Friends stamp set and stamped out the banner and then used the Birdie Friends stamp set to stamp out the ‘You’re the Best’ sentiment.
To finish up my card I adhered a piece of patterned paper from Lawn Fawn to my card base and then adhered my sequin shaker panel on top. I used foam tape to adhere the sentiment and also sprinkled some of the new gold confetti mix around my card and adhered it down also.


 I cut my card panel using white card stock and the


 Copics used:


 Hello everyone, Joni here sharing a card on how to stretch your die-cuts.


 I added a small bee from