5 Days of Christmas Giveaways: Day 2
Hi, there! It’s Marge here sharing a Christmas ornaments card which features some of the products from the latest release. Be sure to read the whole post as we have a giveaway that you do not want to miss!
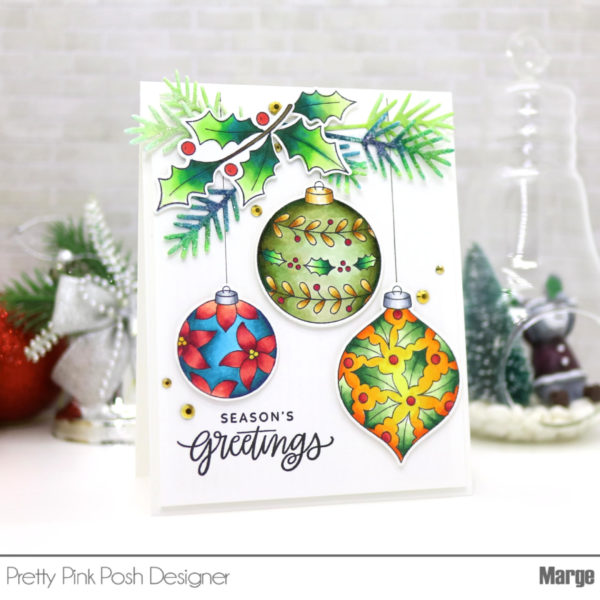
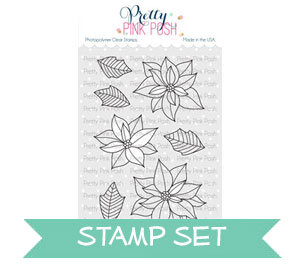
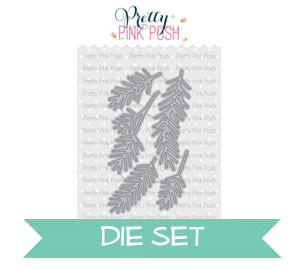
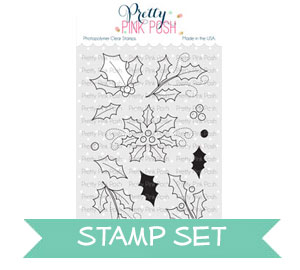
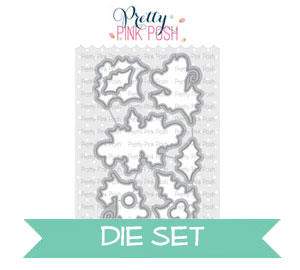
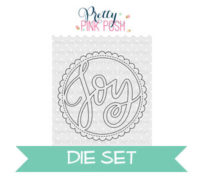
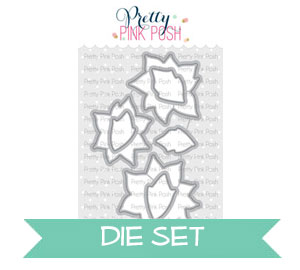
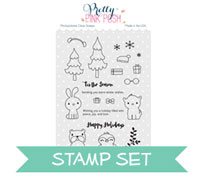
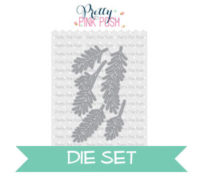
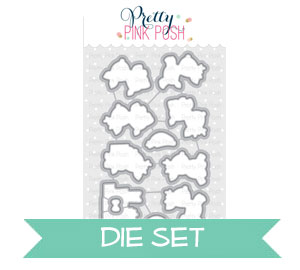
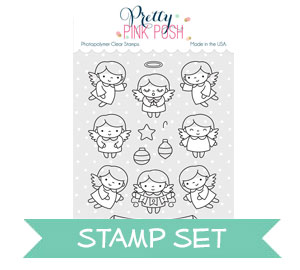
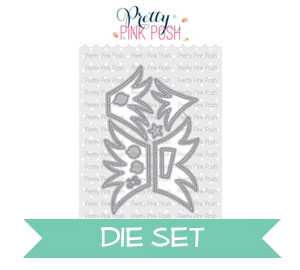
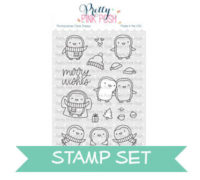
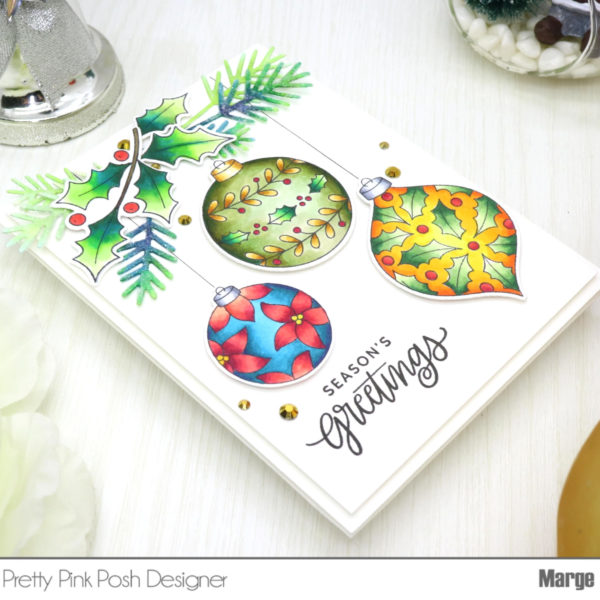
I started by stamping images from the Decorative Ornaments and Elegant Holly stamp sets on 80lb Neenah White paper using Memento Black Ink. I colored the images using Copic markers and cut them all using Decorative Ornaments coordinating dies and Elegant Holly coordinating dies. I also die cut the Pine Sprig Dies out of white paper and colored them using Copic markers.

Next, I cut a piece of white card stock of 4×5.25 inch, placed Decorative Ornaments on it and draw vertical lines using a copic line pen and then stamped a sentiment. I then adhered Decorative Ornaments, Elegant Holly and Pine Sprig Dies using glue and foam tape.
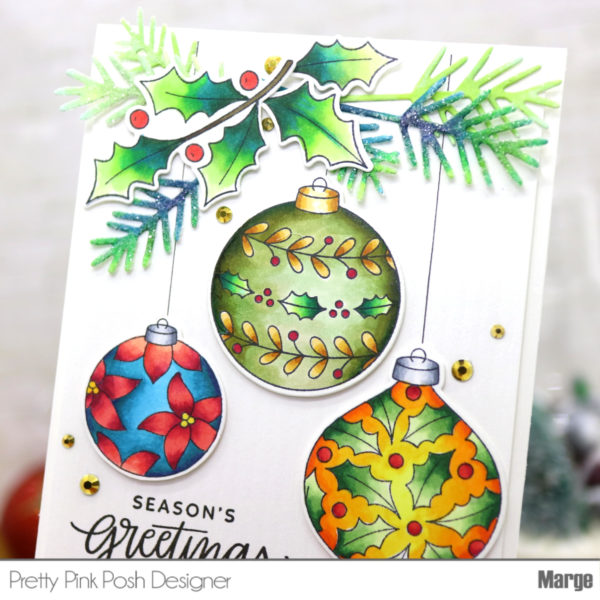
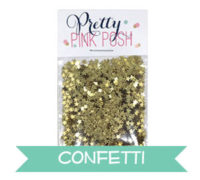
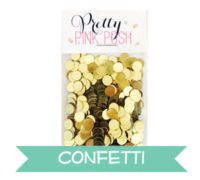
To embellish the card, I applied Ranger Dry Glitter onto the Pine Sprigs using Multi Medium Matte before adhering the sprigs, and I also adhered Metallic Gold Jewels here and there. I foam mounted the panel onto A2 sized top folded card base and finished off my card.
GIVEAWAY
Today we are giving away one of the popular Tim Holtz Glass Media Mats! All you have to do is leave a comment on this post sharing your favorite holiday stamp set. For bonus entries, like the Pretty Pink Posh Facebook page, subscribe to us on YouTube or follow us on Instagram.