September Intro: New Stamps + Gingerbread Mugs
Welcome to the last day of sneak peeks of our September 18th release. Today we’ll be taking a look at the new stamps sets, along with the Gingerbread Mugs die set.
Watch the video above I Watch the video in HD on YouTube
Hello crafty friends! Arsenia here with Day 4 of our September Holiday Sneak Peeks!
Today is extra sweet because we’re diving into the most adorable stamp sets (with coordinating dies, of course!) and the must-have Gingerbread Mugs Die Set! Trust me, these goodies are packed with festive charm and whimsy—perfect for holiday crafting magic.
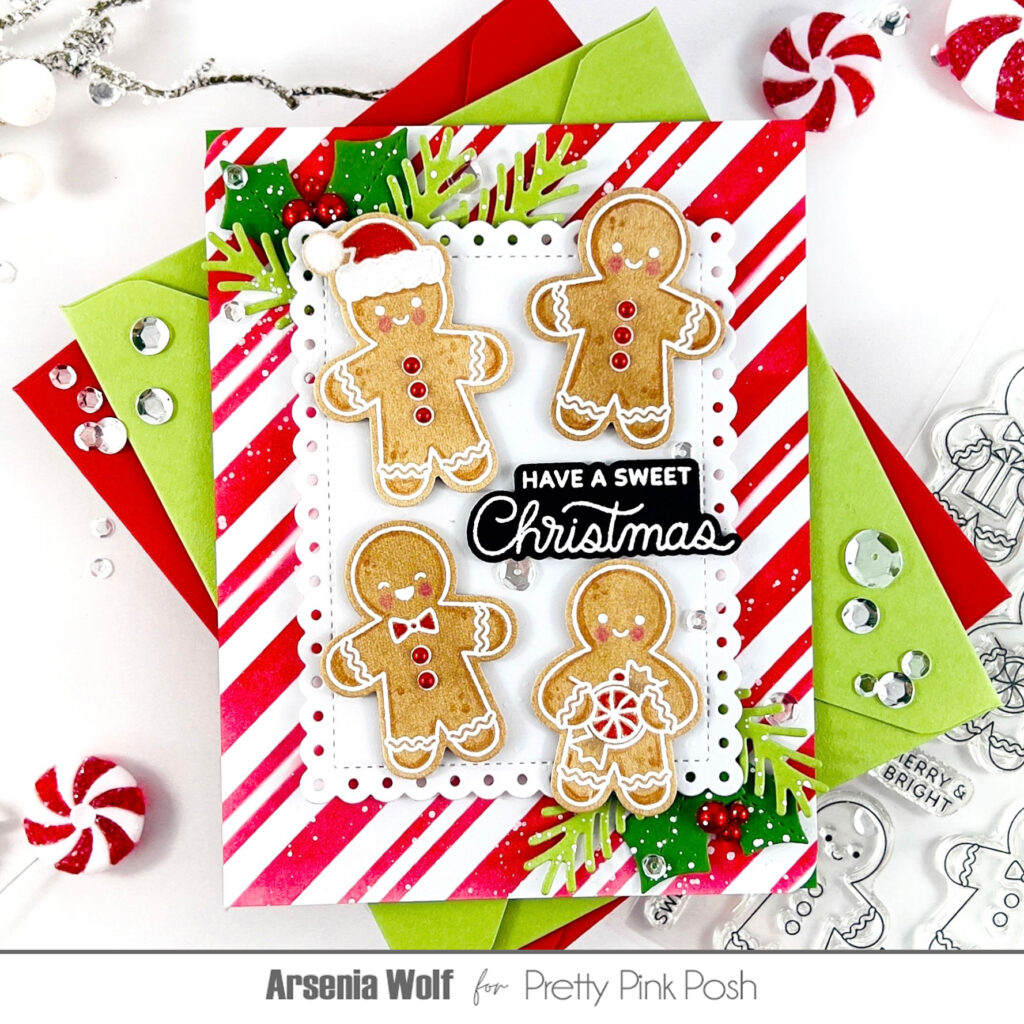
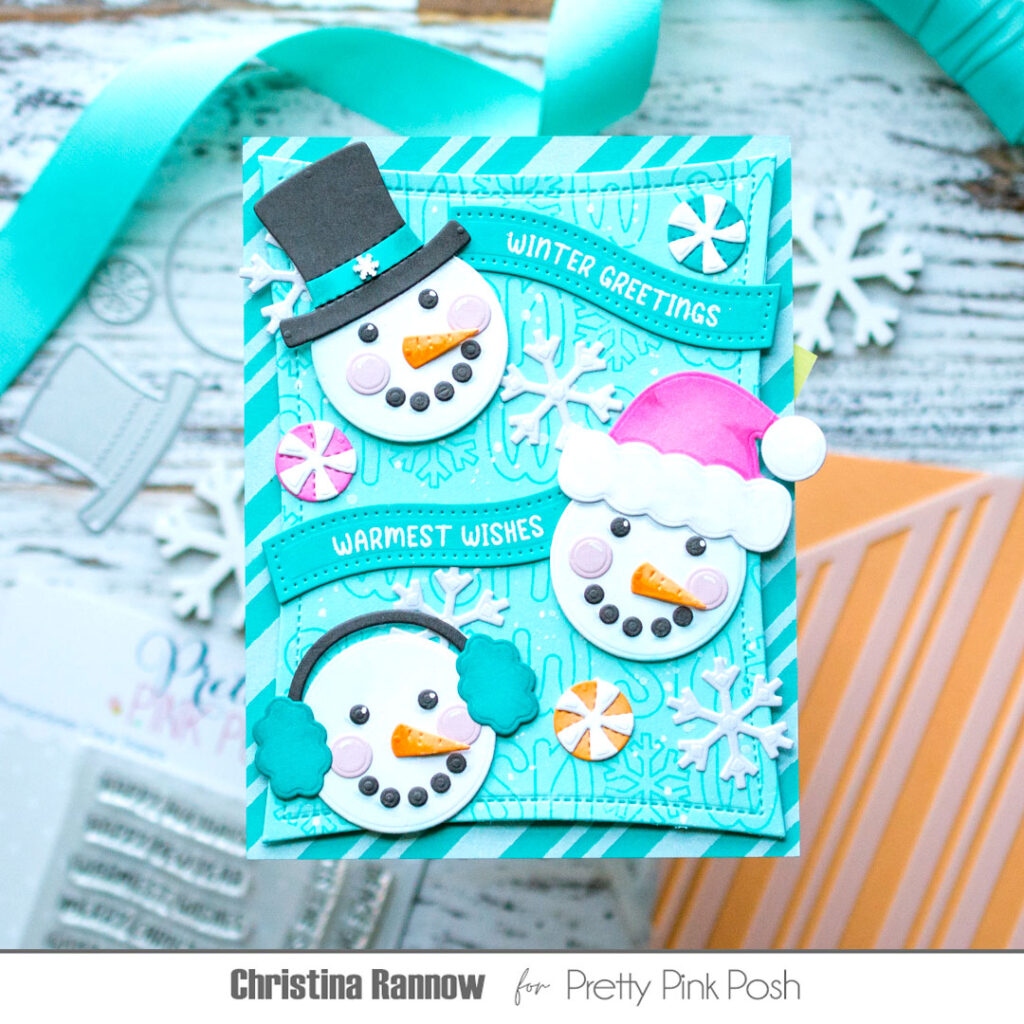
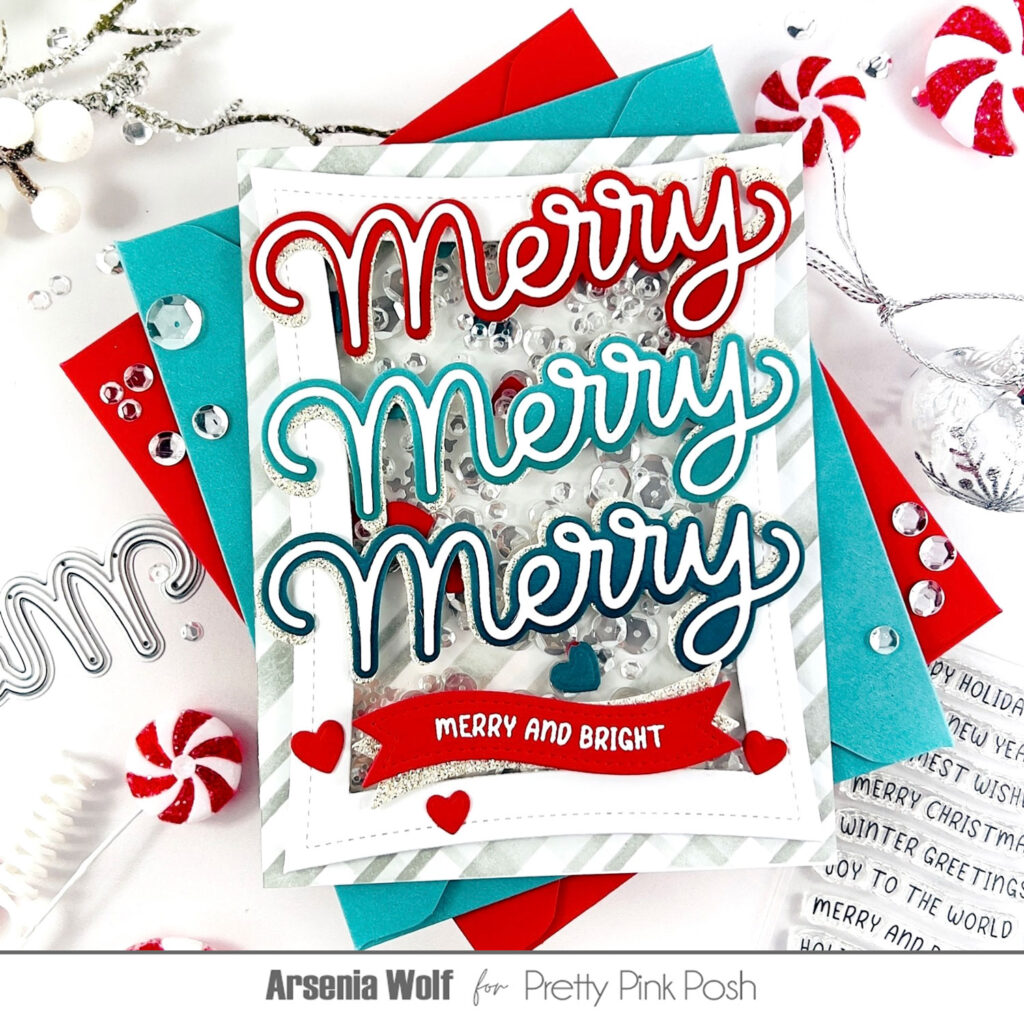
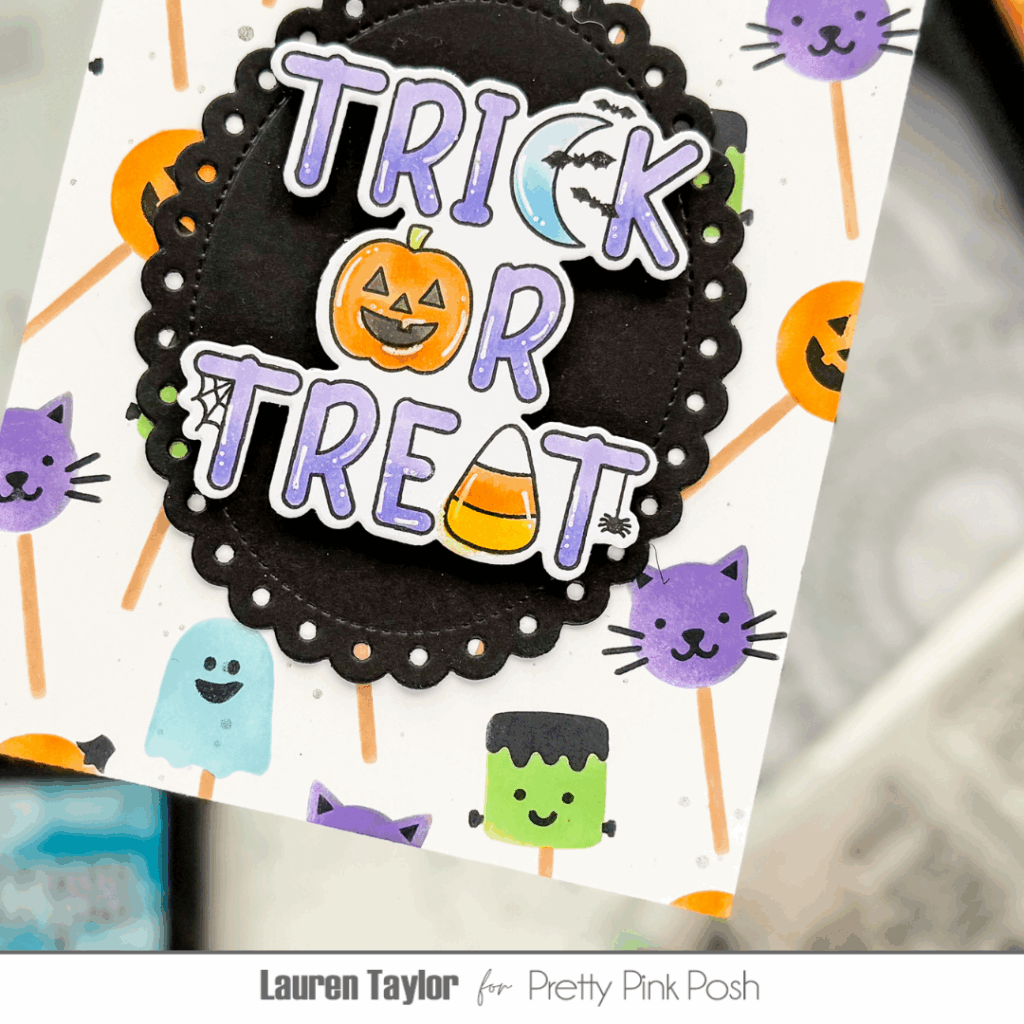
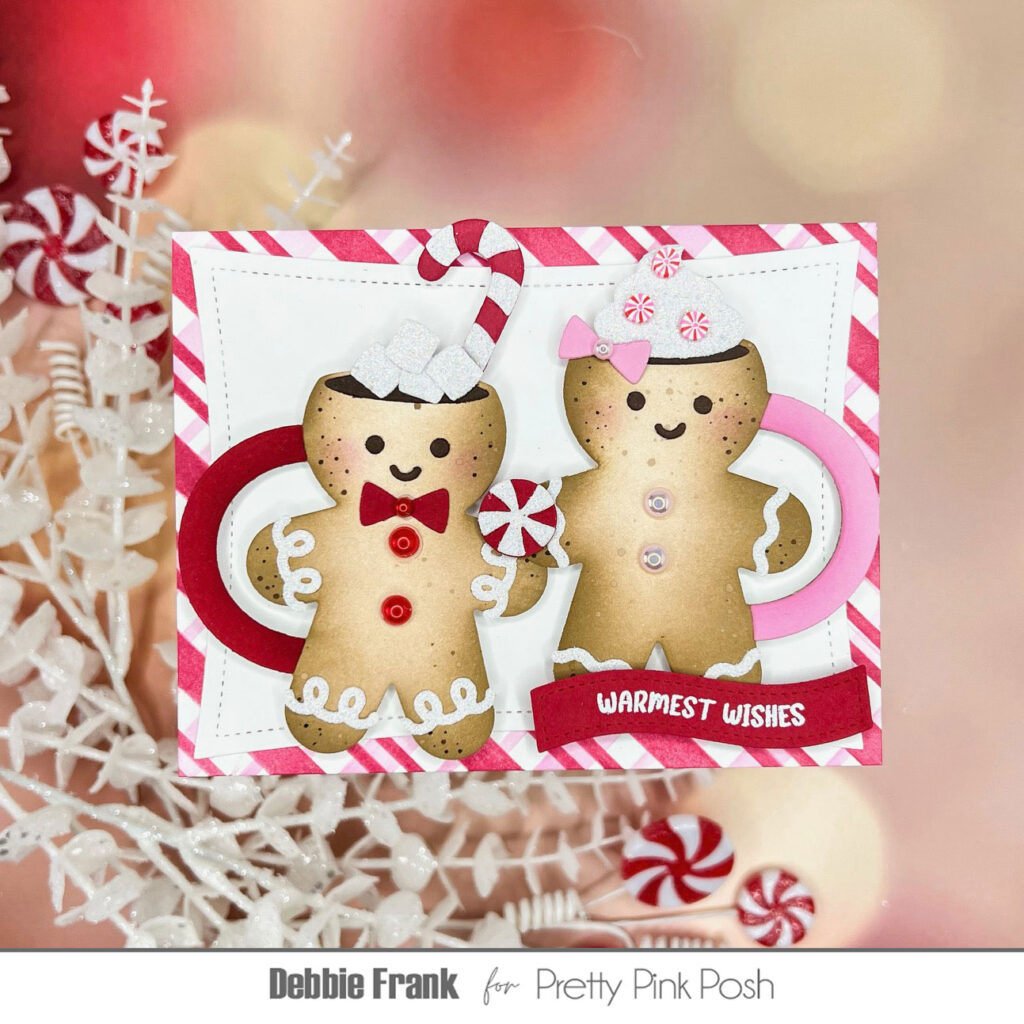
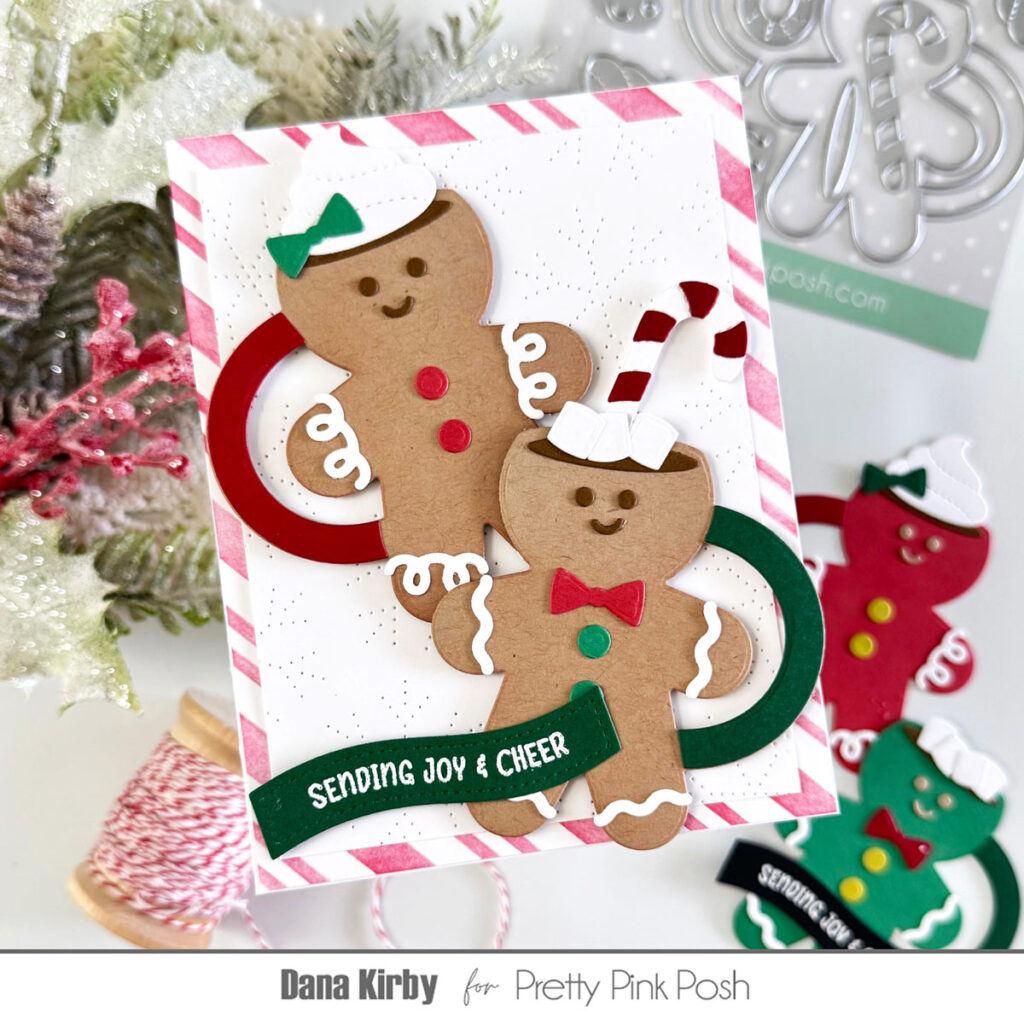
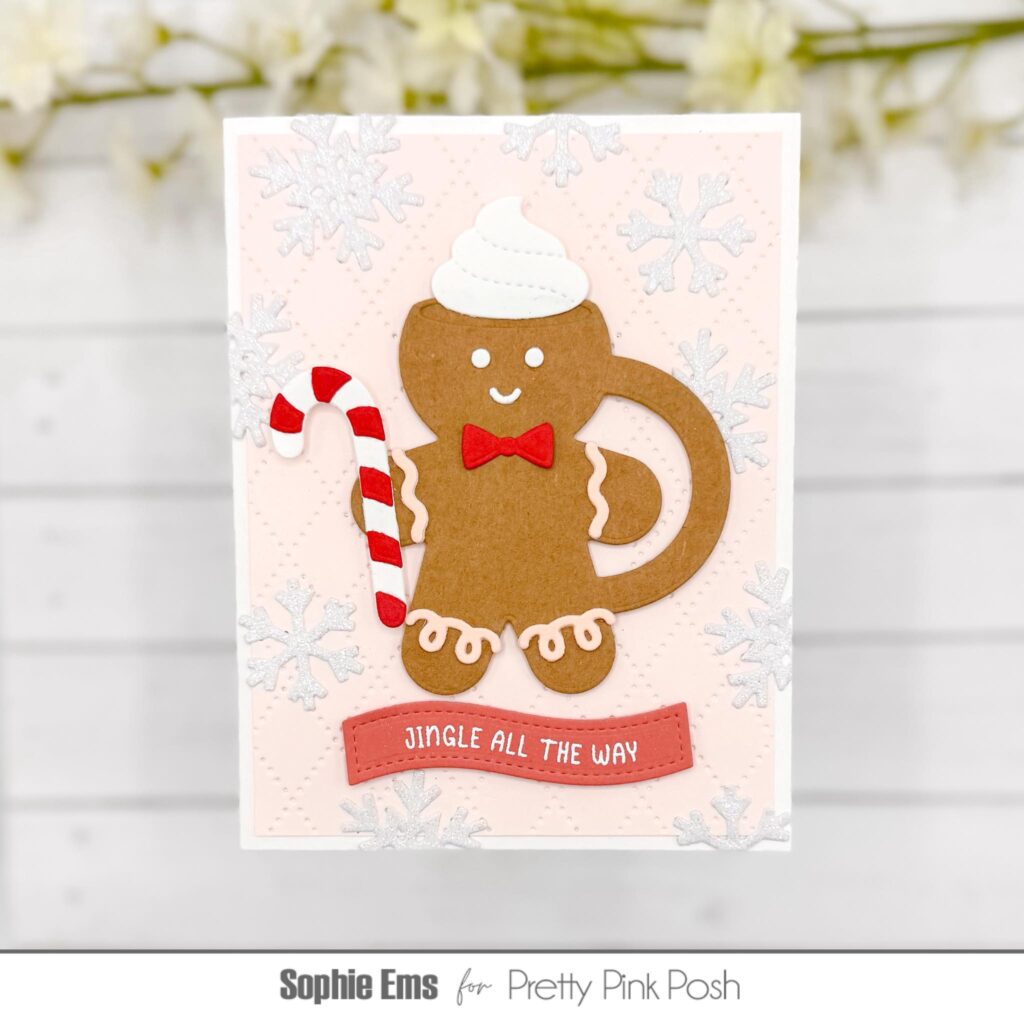
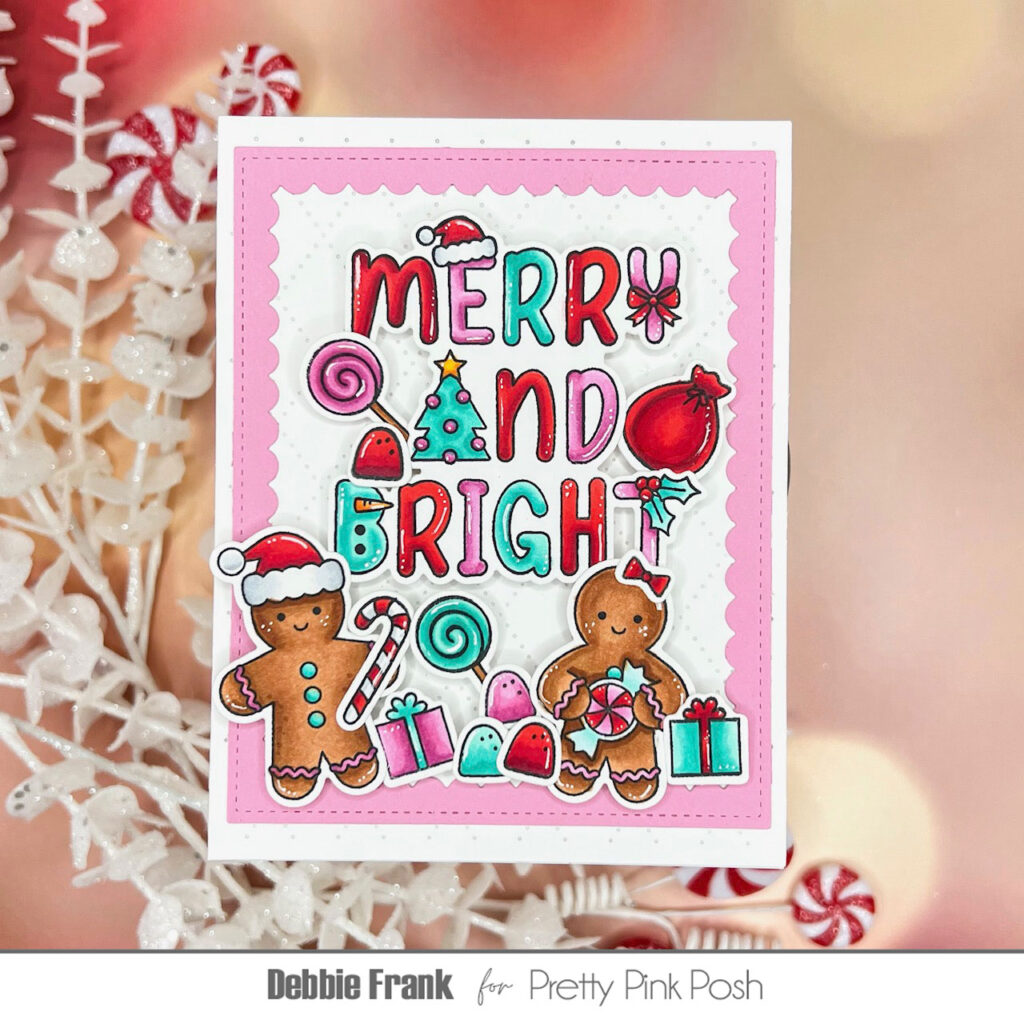
For my card today, I reached for the brand-new Gingerbread Friends stamp set and oh my gumdrops—they are the cutest little cookie crew you’ve ever seen! I’m saving the Gingerbread Mugs Die Set sneak peek for my fellow design team elves, so make sure to keep scrolling and see all the amazing creations from the team!
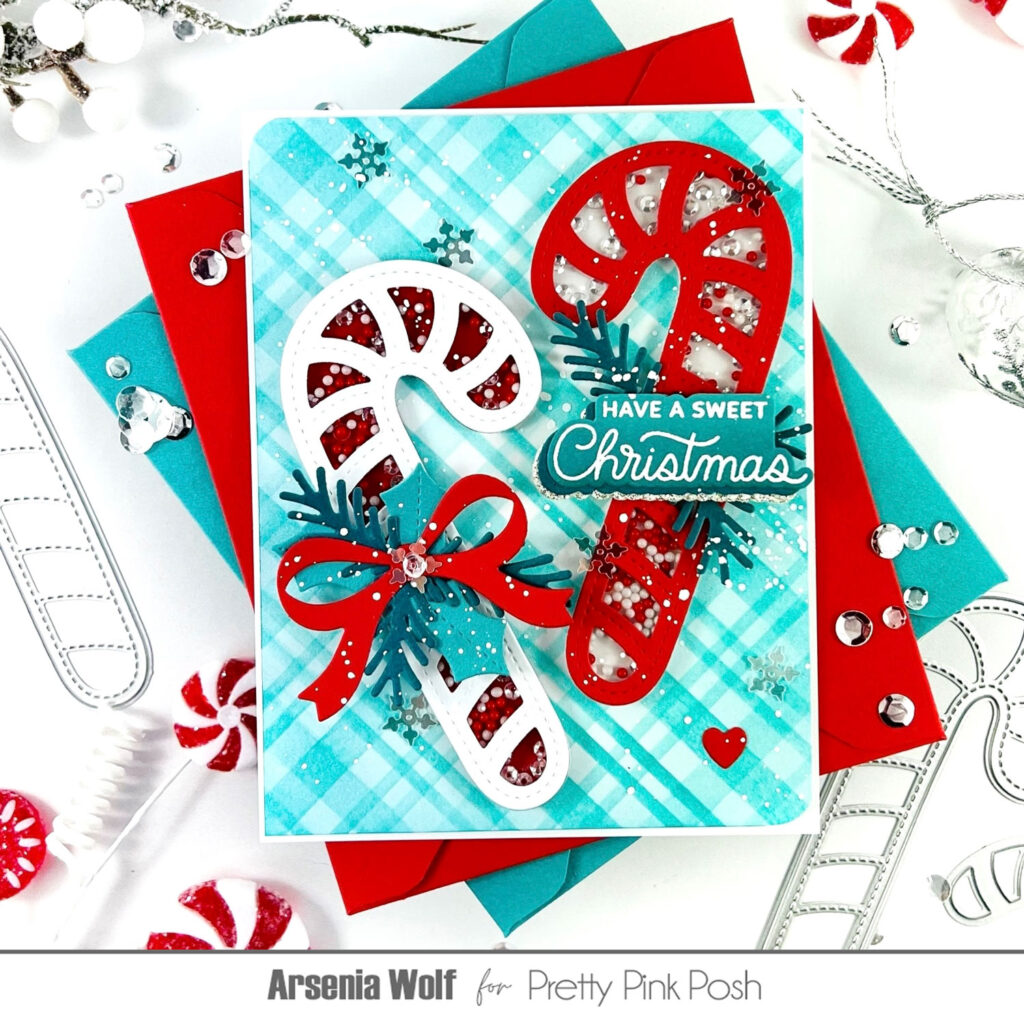
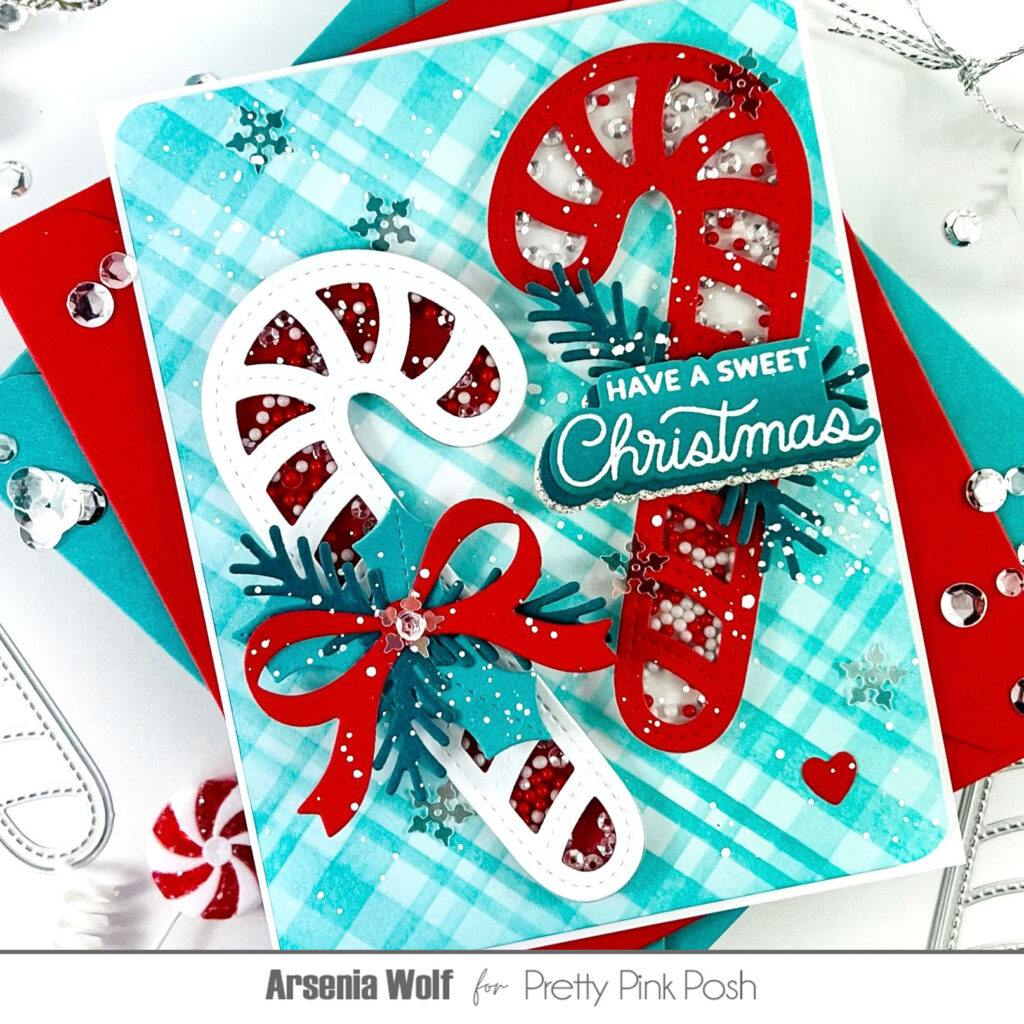
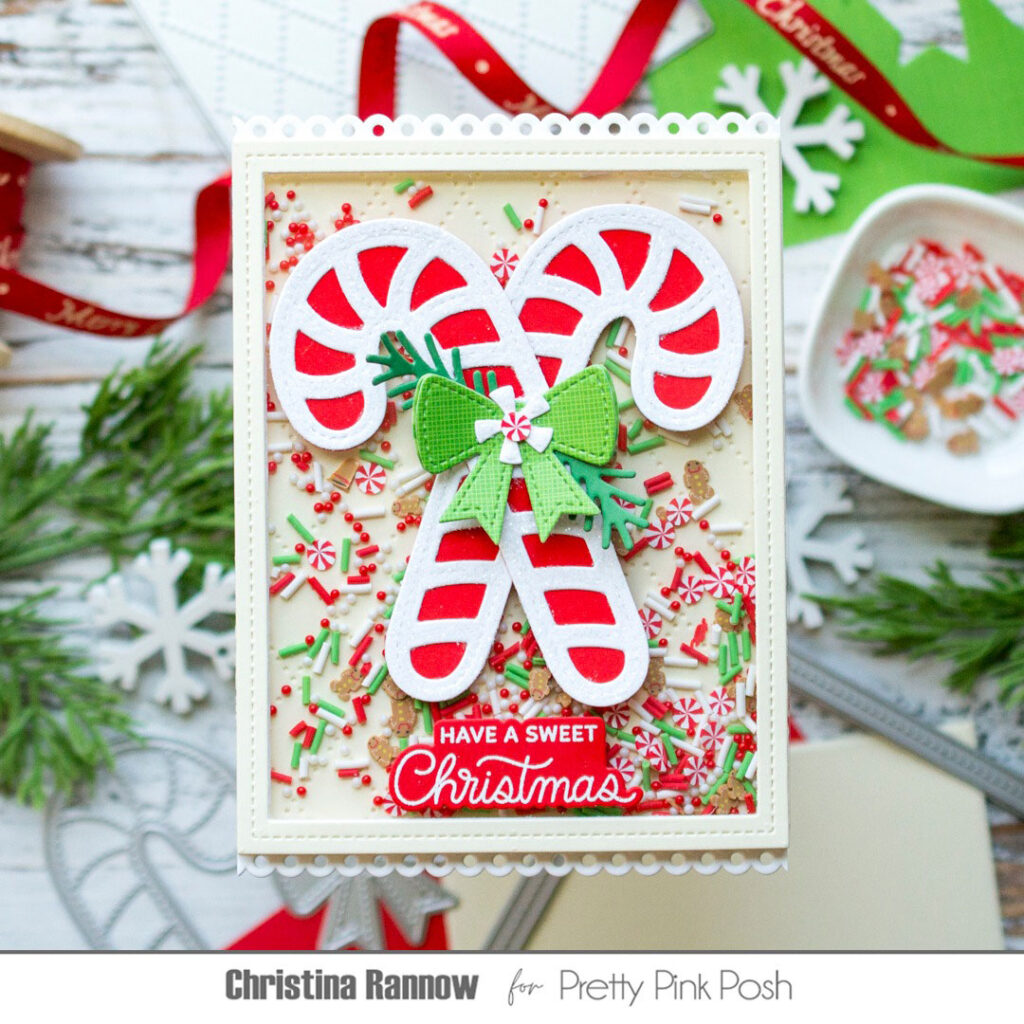
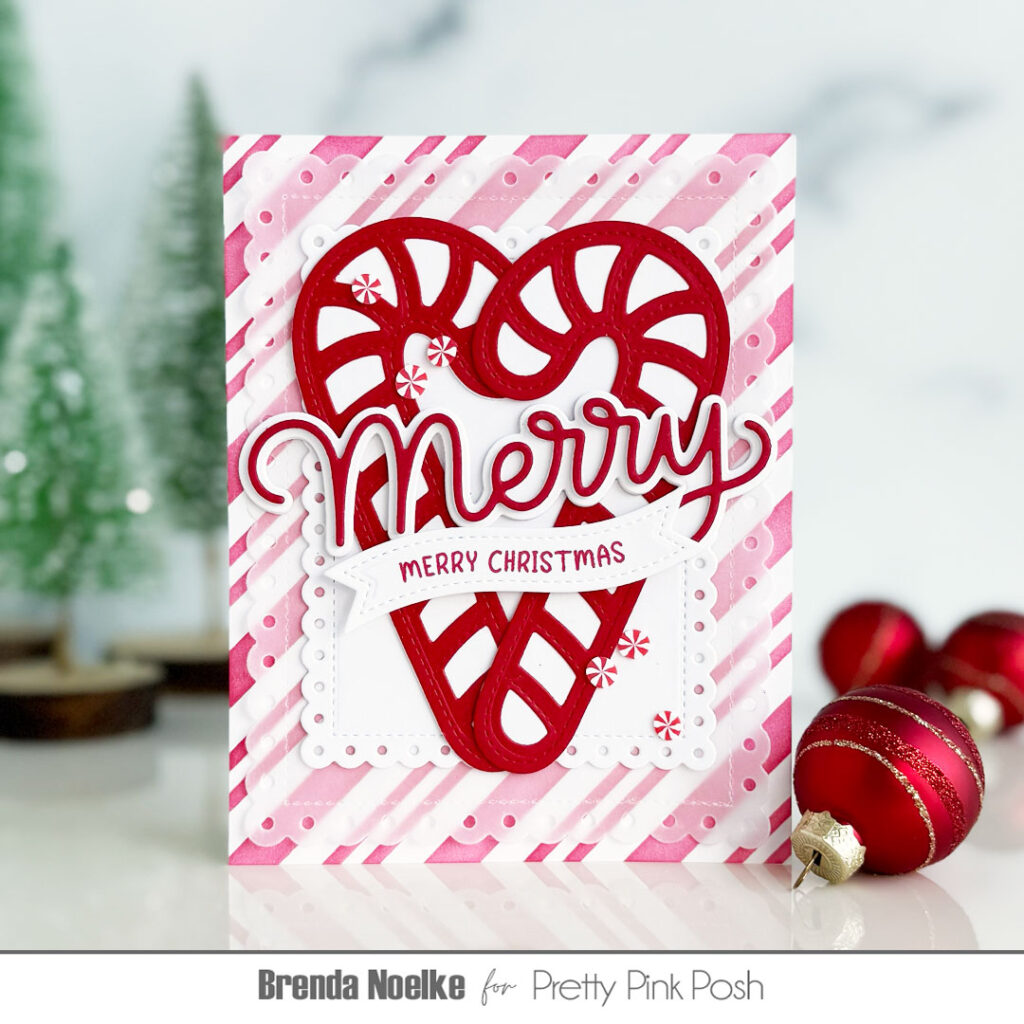
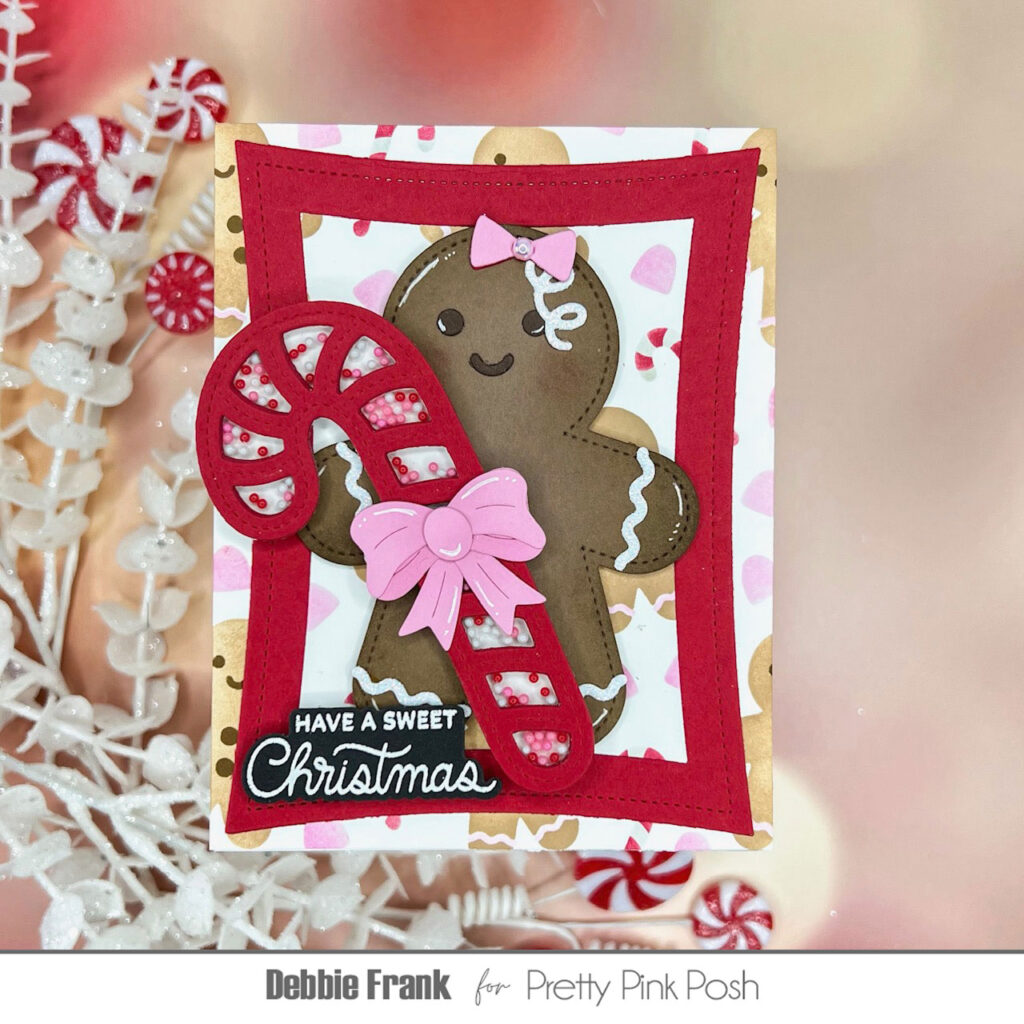
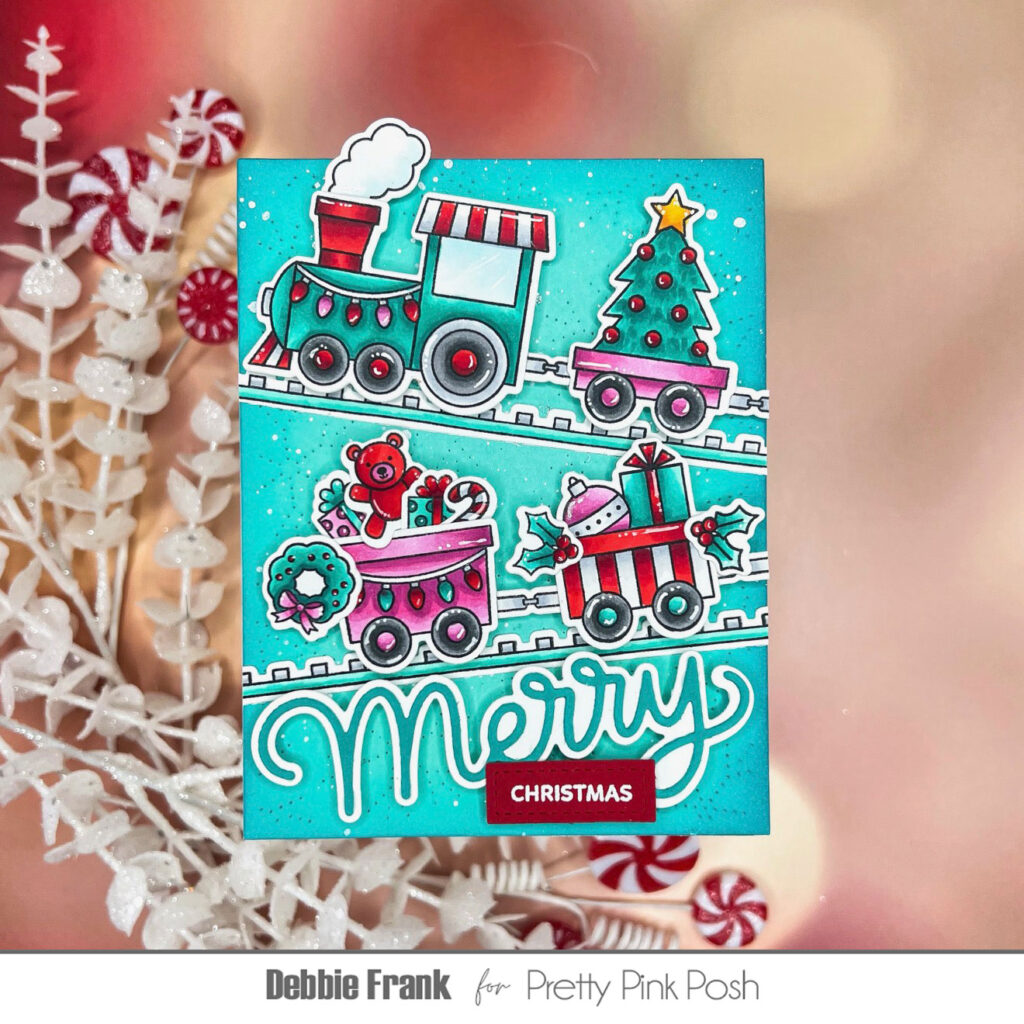
I kept the background clean and cheerful by stenciling the new Candy Cane Stripes stencil in a vibrant cherry red—classic holiday vibes, right? Then came the stars of the show: the adorable gingerbread peeps!
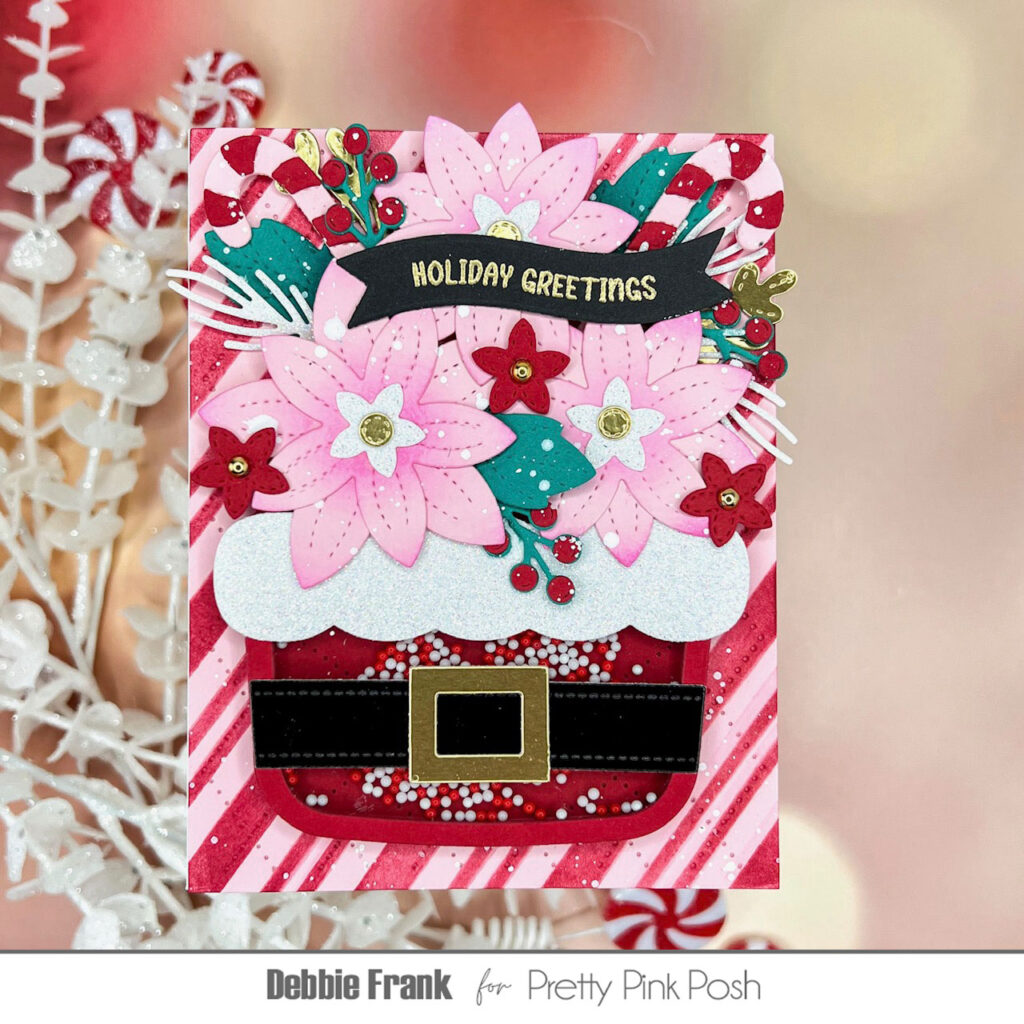
To get that classic white icing detail, I heat-embossed white powder onto some patterned paper from my stash—voilà, instant sweetness. After die-cutting my gingerbread cuties, I brought them to life with a bit of coloring magic using Castle Art colored pencils (Cinnamon, Rose Pink, Scarlet Red, Davy’s Grey, and Titanium White).
And because no gingerbread is complete without a little flair, I added:
- A white pompom to the gingerbread friend wearing a Santa hat
- Cherry Red Pearls for buttons and berry accents
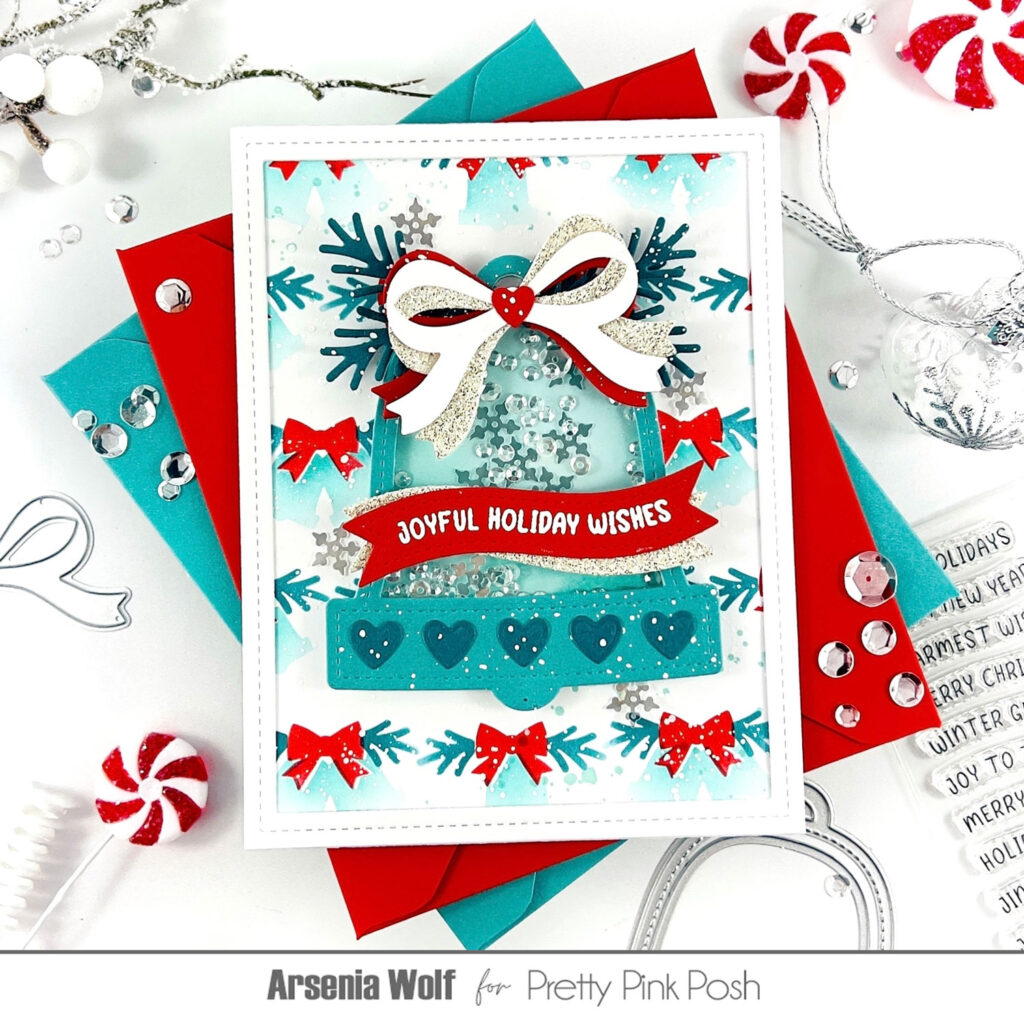
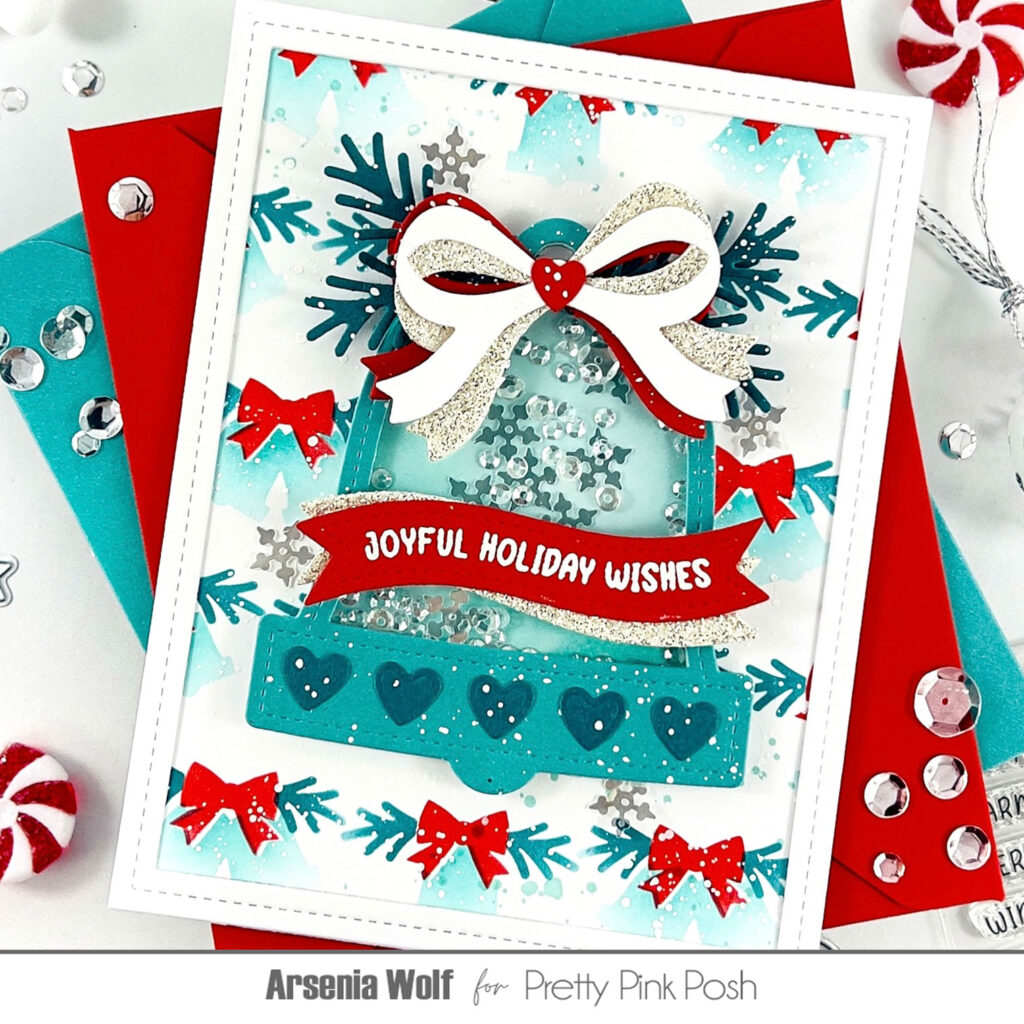
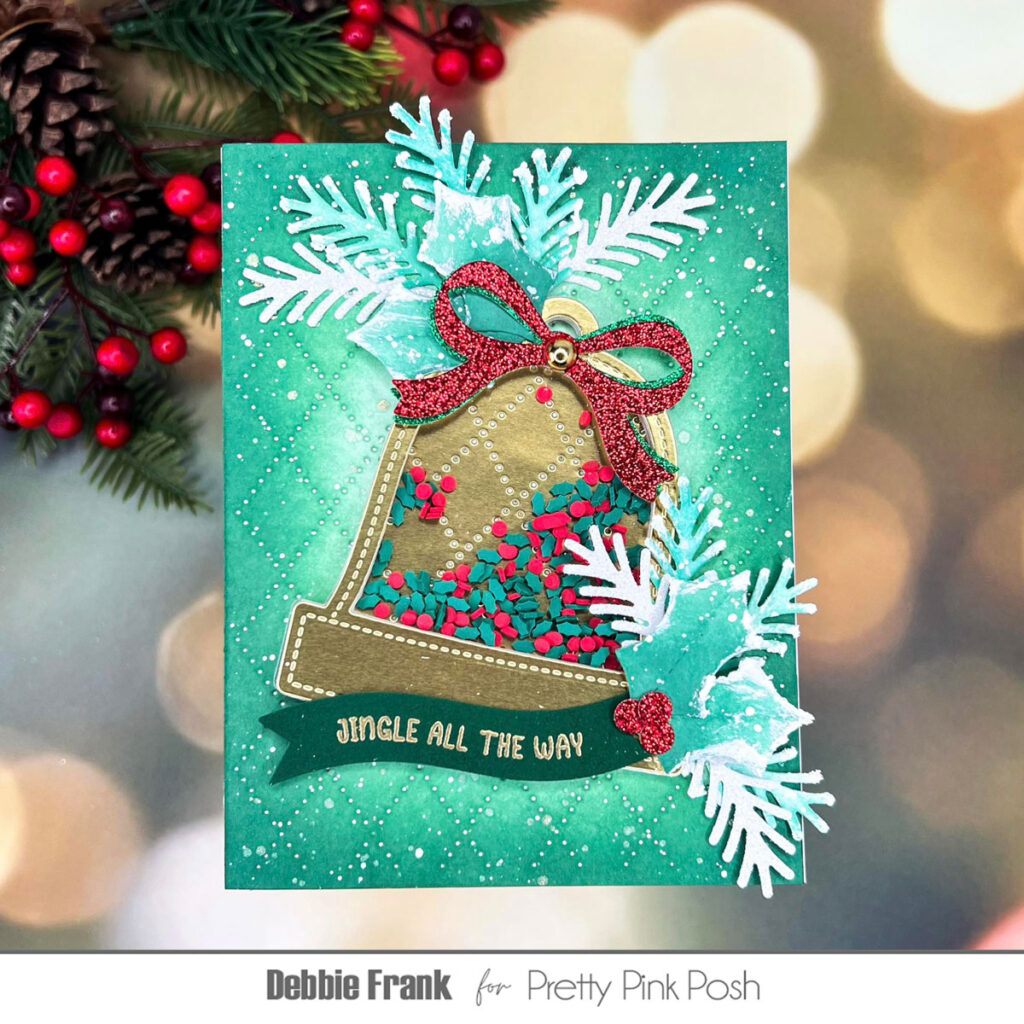
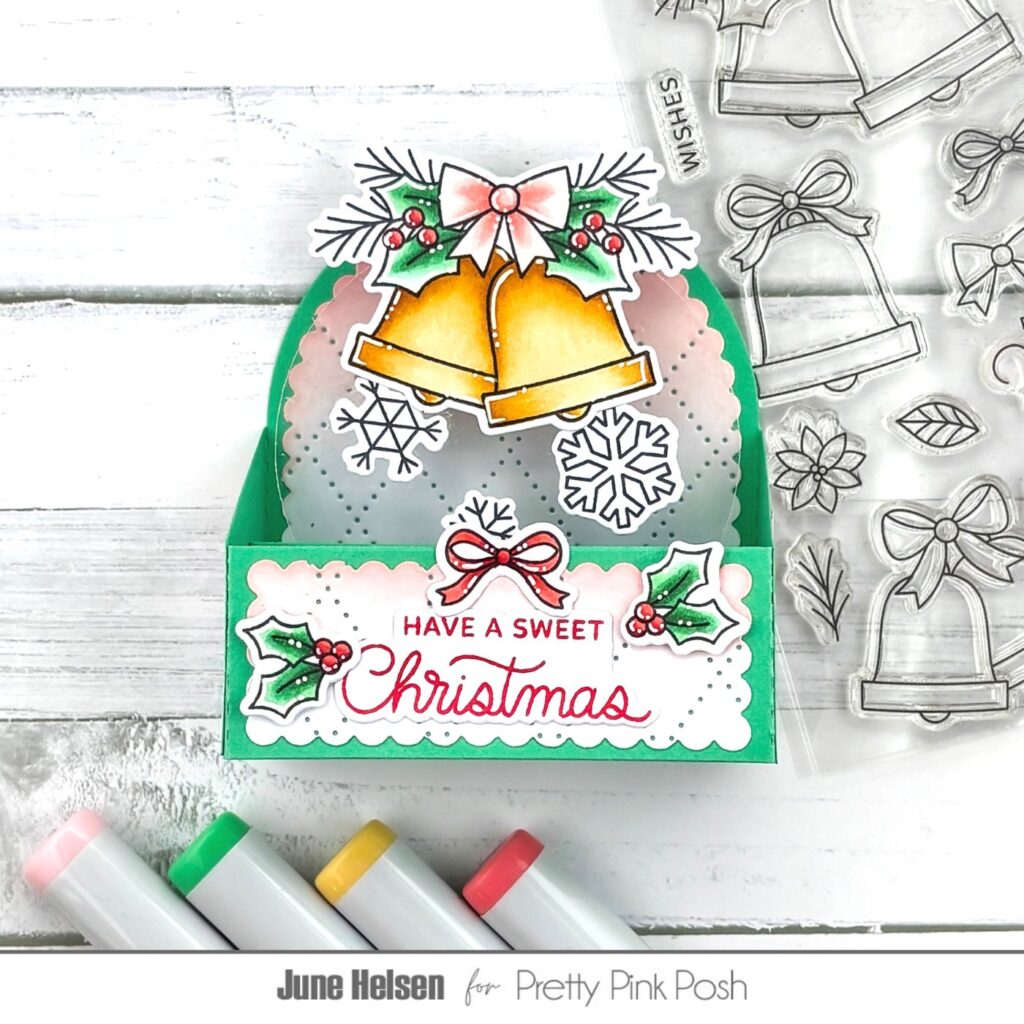
- A cozy neutral base using the Eyelet Rectangle Dies, with festive corners from the new Christmas Bell Shaker Die Set
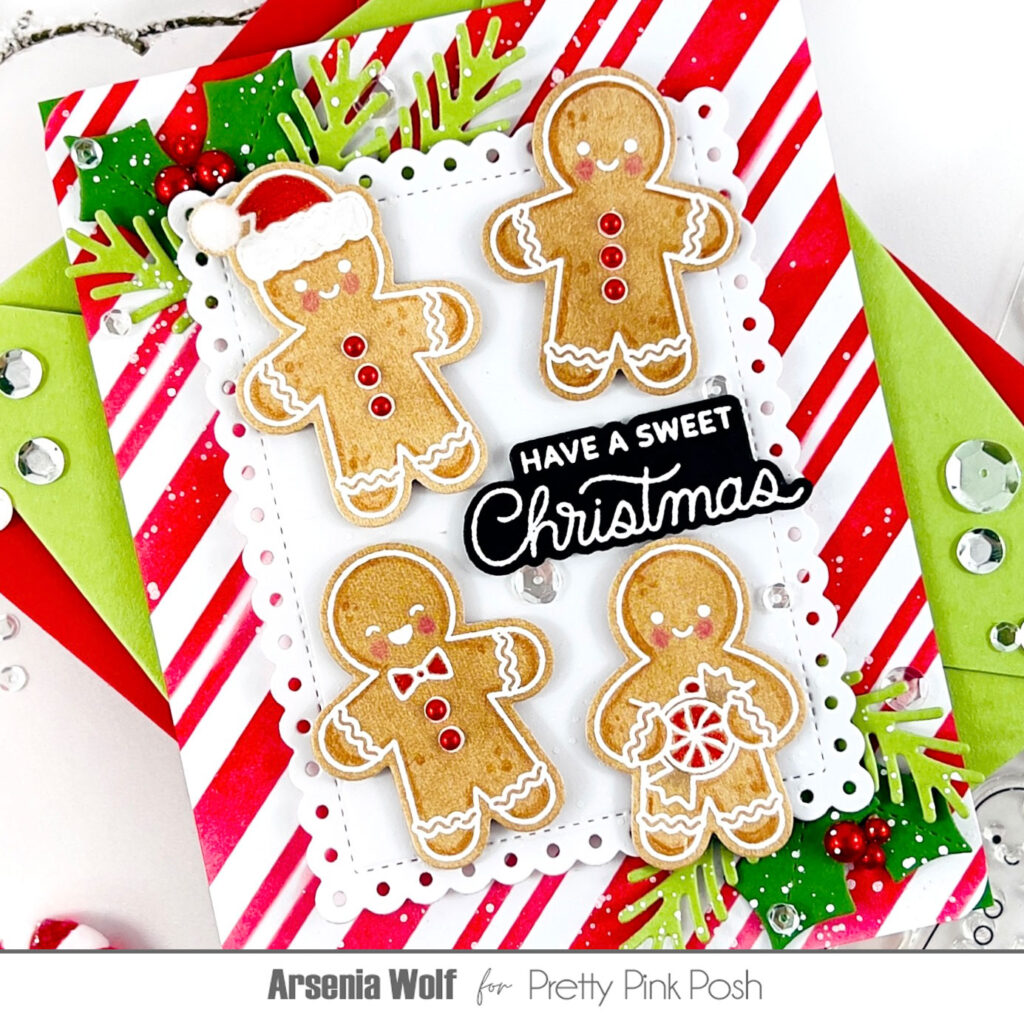
For the finishing touch, I heat-embossed a sweet sentiment from the new Gingerbread Friends stamp set in white on black cardstock. A touch of white splatter, and ta-da—my card is complete and full of holiday cheer!
Keep scrolling to find even more sneak peek inspiration from the team!

I’m absolutely smitten with how it turned out—cute, cozy, and perfect for the season. I hope it brings a little extra holiday spirit your way!