Day 5: 10th Birthday Celebration Hop

Day 1 CLICK HERE // Day 2 CLICK HERE // Day 3 CLICK HERE // Day 4 CLICK HERE
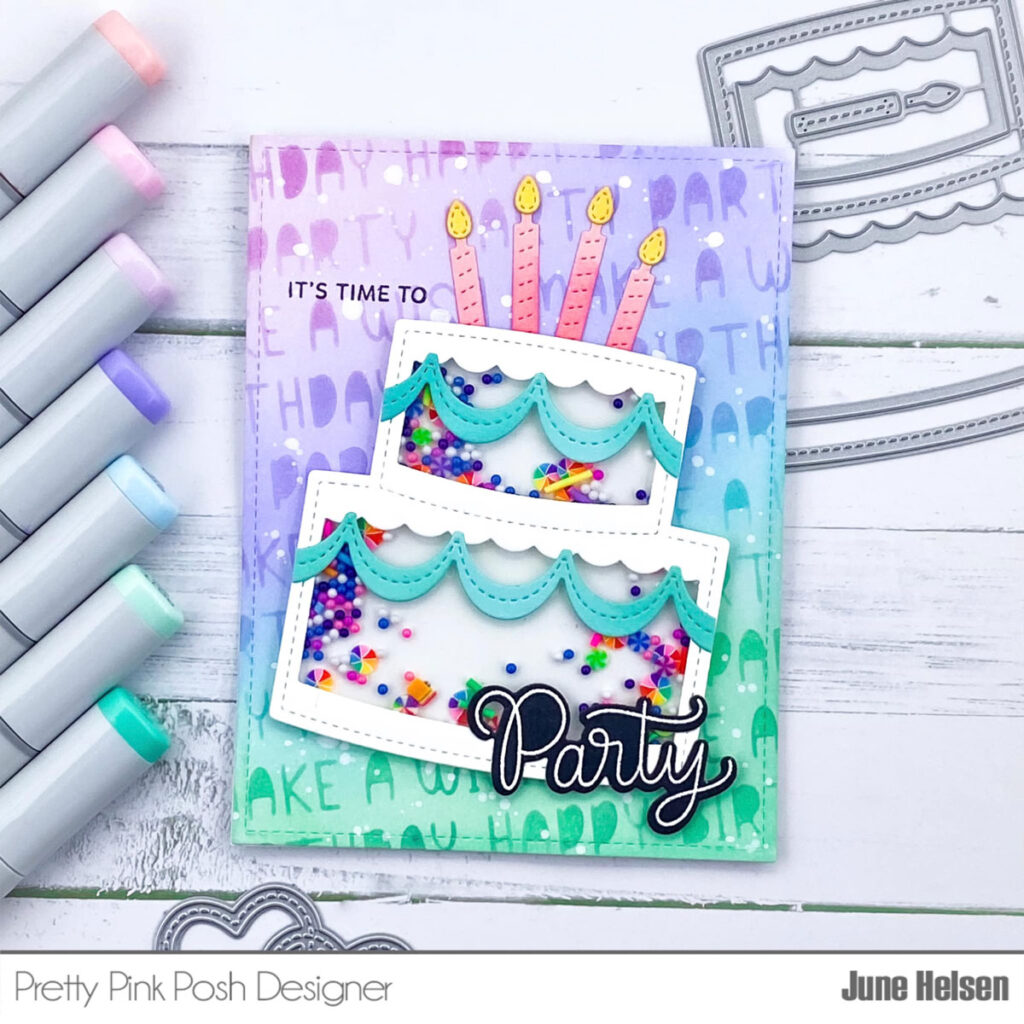
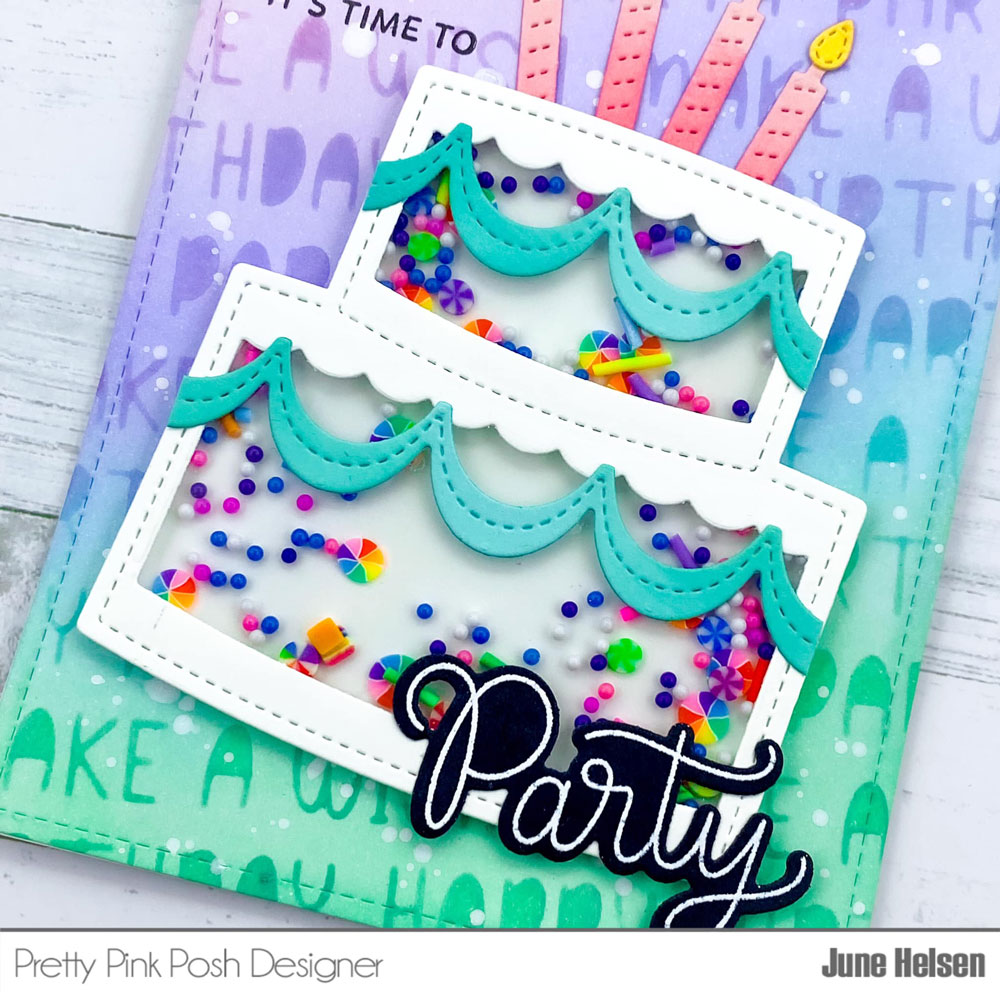
Hi crafty friends! I’m Rebecca here with two shaker cards today! Both are made with the Star Cover Plate, but the nifty part about this month’s cover plate die is that, since stars are symmetrical, you can use this die horizontally or vertically!
Watch the video above I Watch the video in HD on YouTube
Simply cut the Star Cover Plate out of two pieces of cardstock and two pieces of fun foam. Adhere the die cut fun foam over an A2 piece of cardstock. Adhere an A2 piece of acetate behind the die cut cardstock. For one card use the Berry Smoothie Shaker Beads and Purple Shimmer Confetti Mix.

In the other card use a variety of Bright Rainbow Clay Confetti, Over the Rainbow Clay Confetti, Birthday Party Shaker Beads and Rainbow Shimmer Confetti Mix.

Then adhere the shaker window on top of each card and now you can choose which one you’ll use horizontally and which you will use vertically.

Foil a couple of Happy Birthday sentiments with the Hot Foil Happy Birthday Script, cut them out with the Happy Birthday Shadow Dies and pop them up on the shaker cards! And that’s it! I love having the option of both vertical and horizontal cards with this new Star Cover Plate!

We are having a special gift offer and discount code to celebrate our birthday!

PRIZES: be sure to leave comments on each stop. We are giving away 5 $30 gift certificates to random comments (1 winner each day) left before February 16, 2024 at 11:59 PM PST. We’ll be announcing the winners on the PPP blog, so be sure to return and see if you are one of the winners and/ or sign up for our blog posts to your email!
Pretty Pink Posh blog << you are here
Tammy Stark
Barbara Tarayao
Jeannie Lieu
Zsofia Molnar
Melody Rupple
Heather Hoffman
Thank you all so much for your order, comments, and excitement about this release. We are so thankful! Stay tuned for more inspiration on the blog and we’ll have a separate Instagram hop starting tomorrow!