Stenciling With Mayra: Winter Wonderland

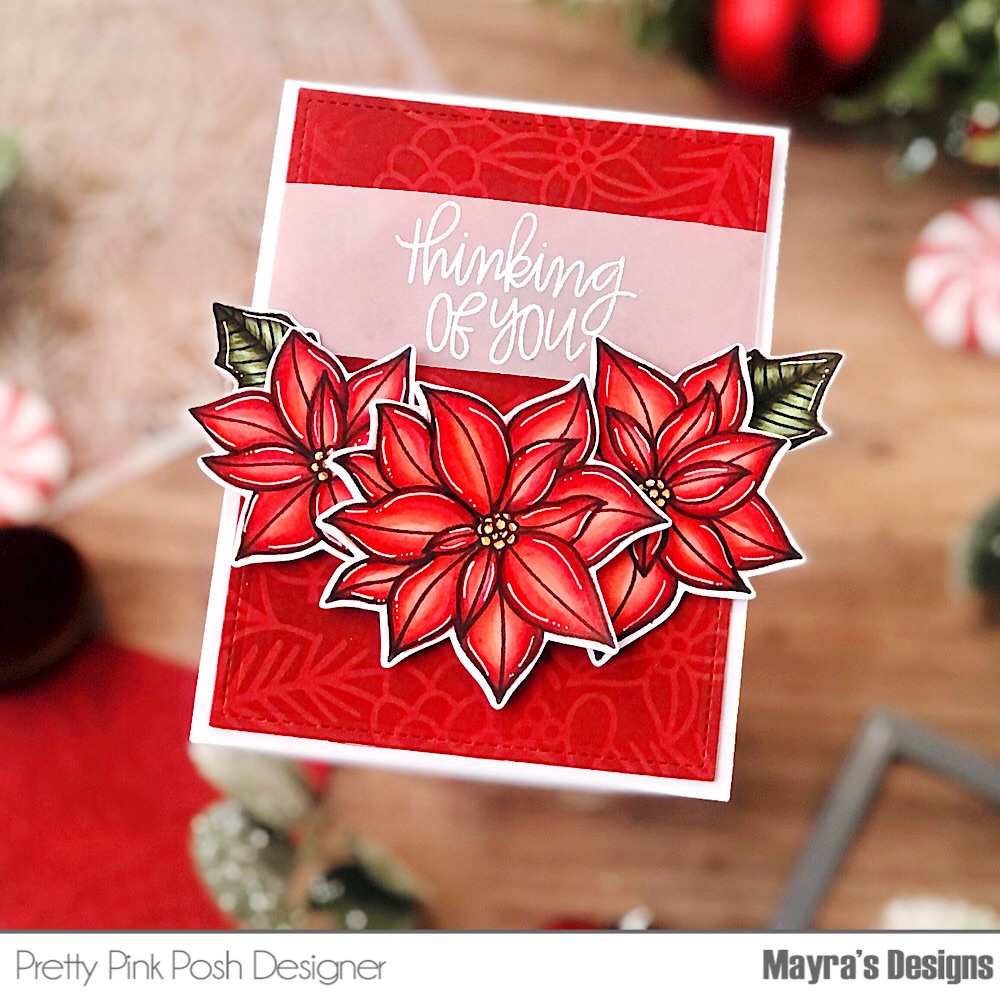
Hello everyone, happy Tuesday!!! Mayra here with you today. I have a fun stenciled card to share with you.
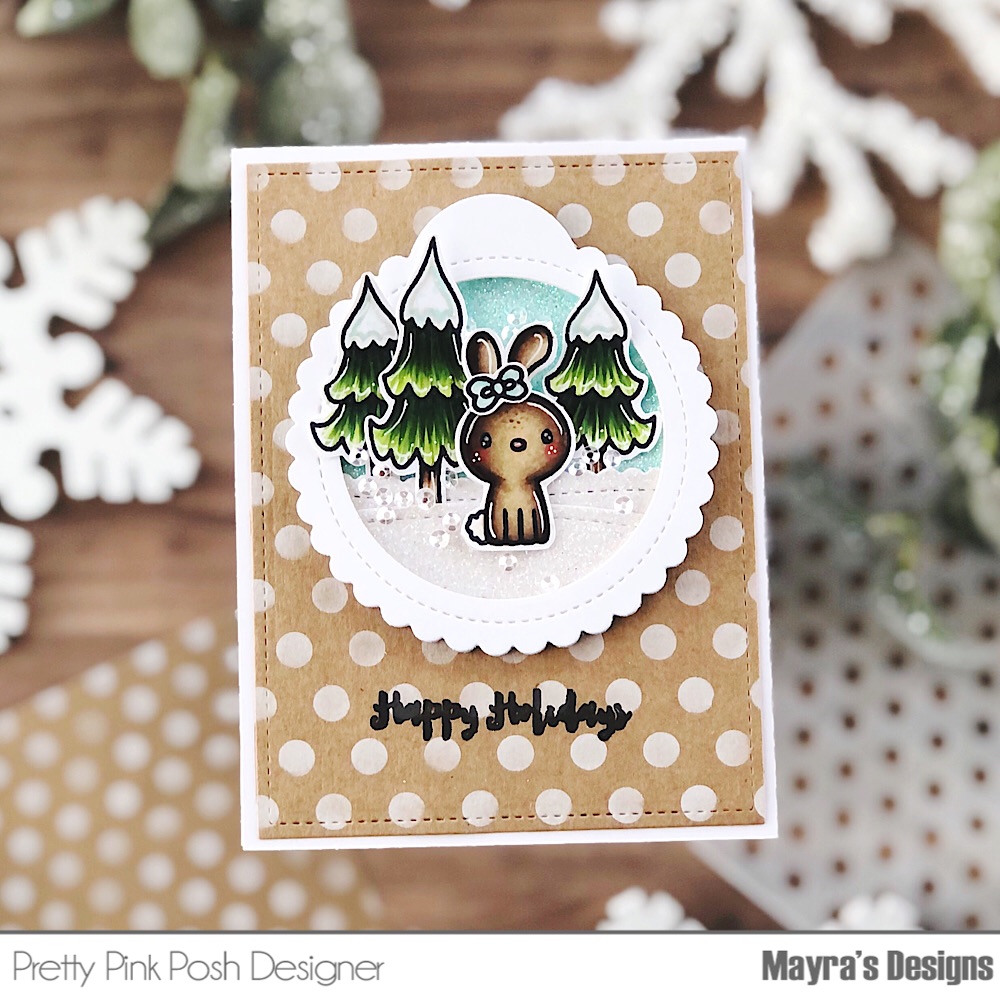
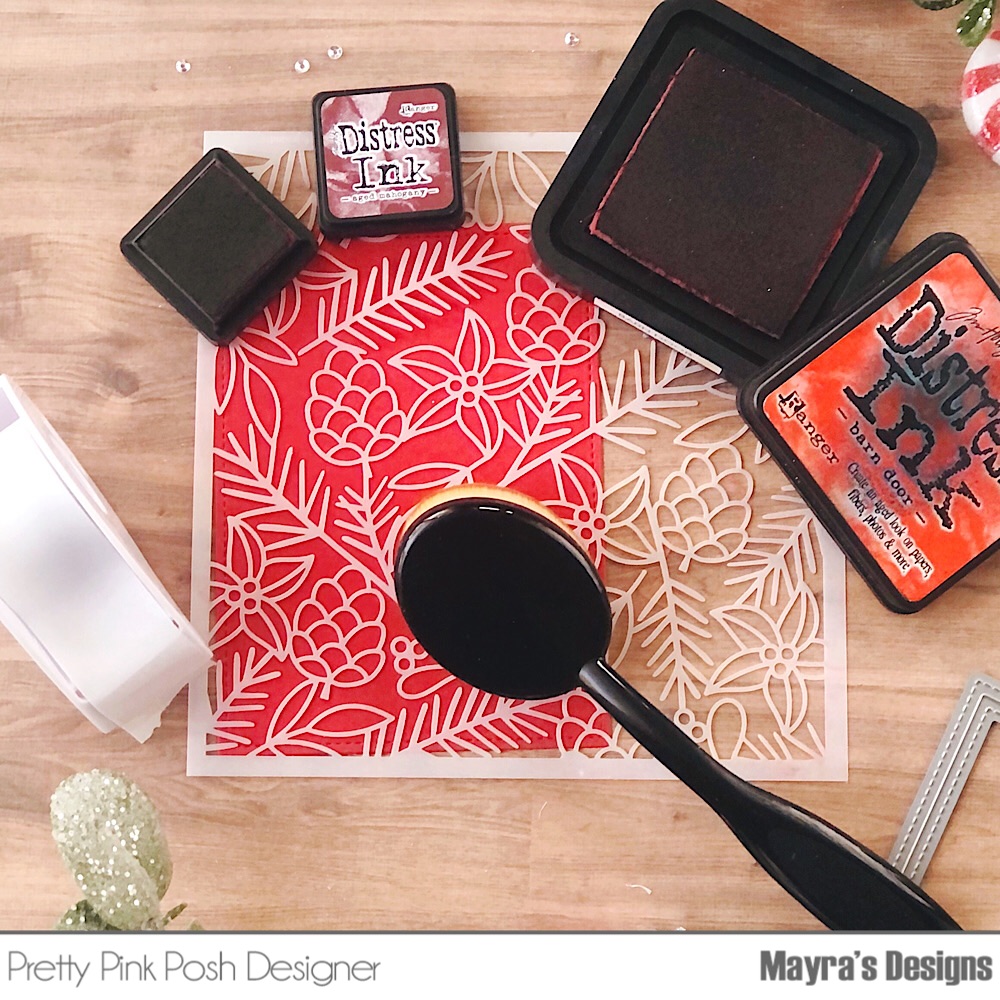
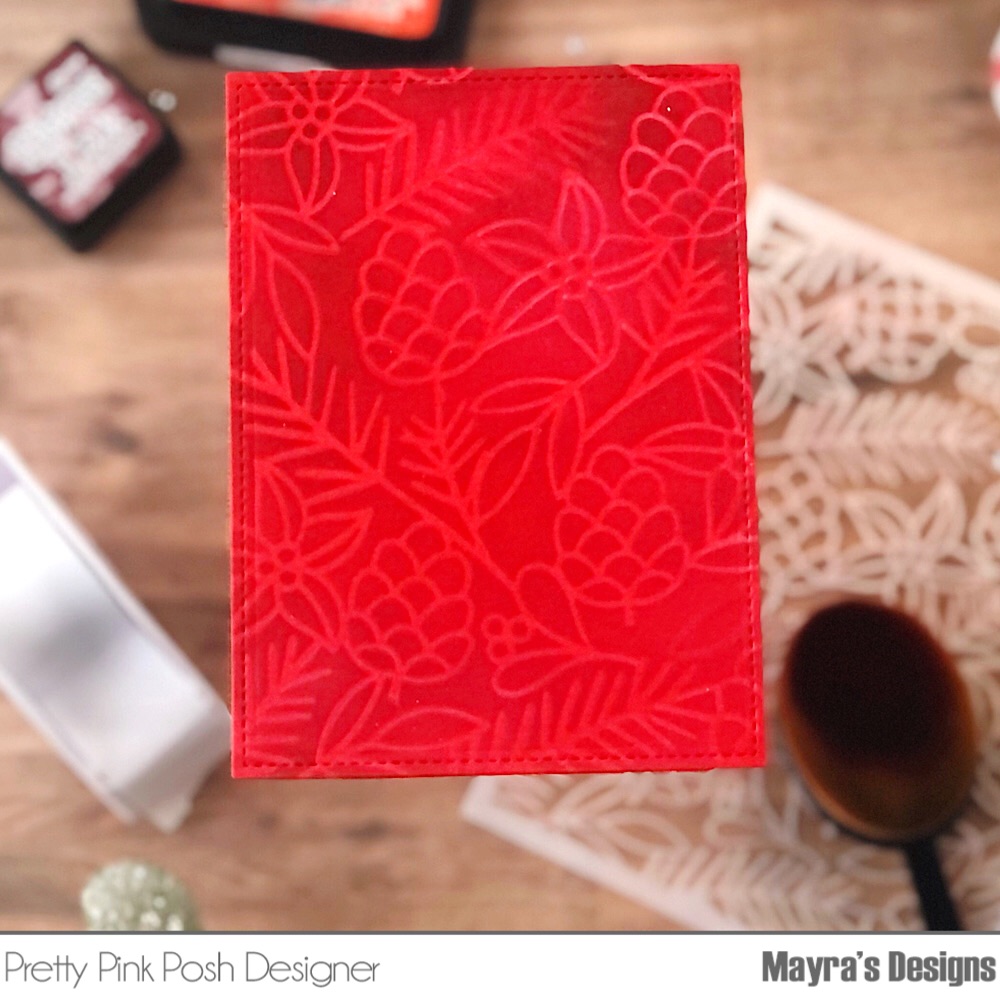
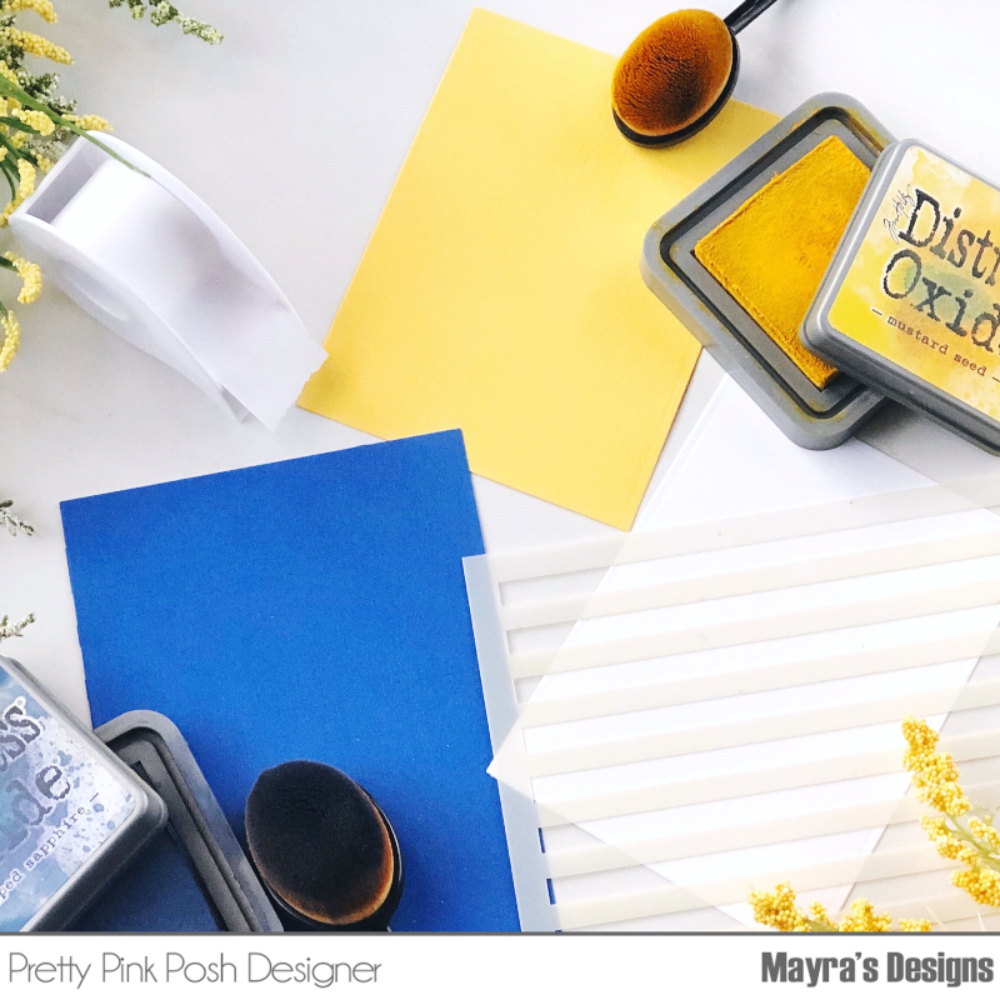
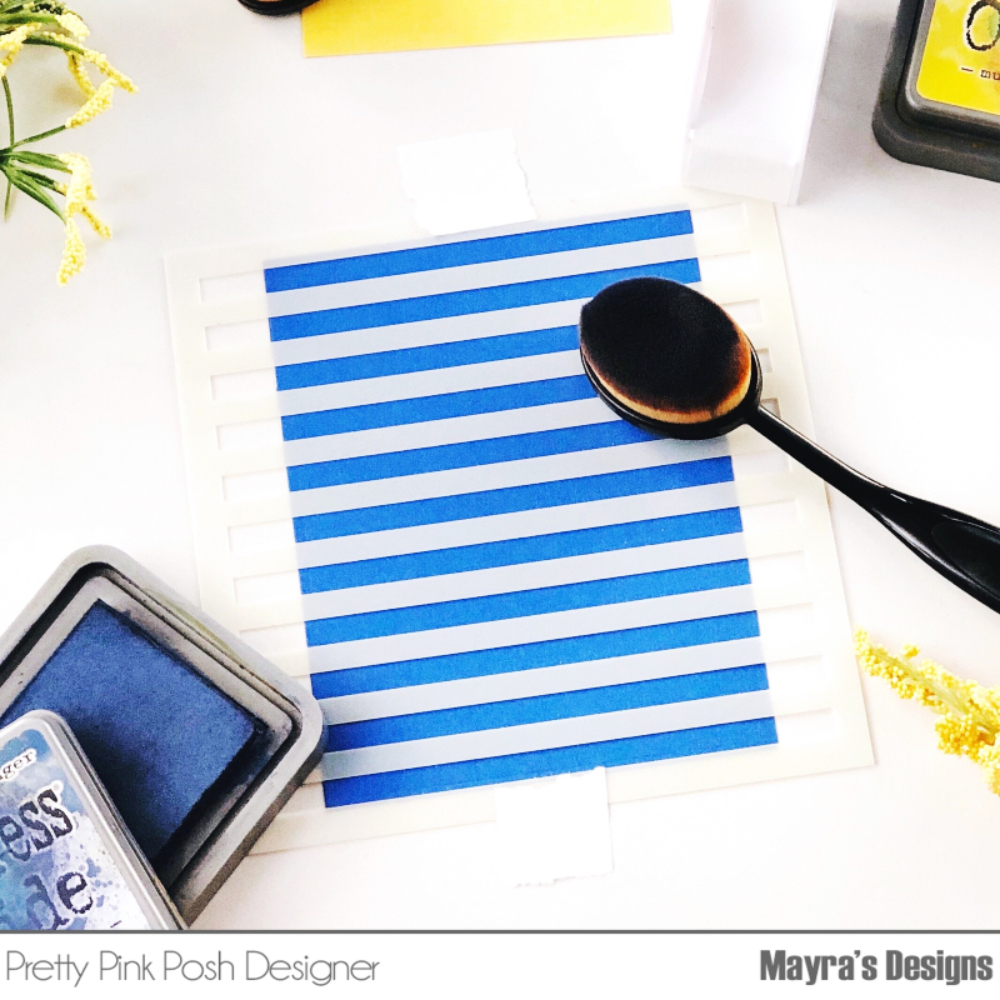
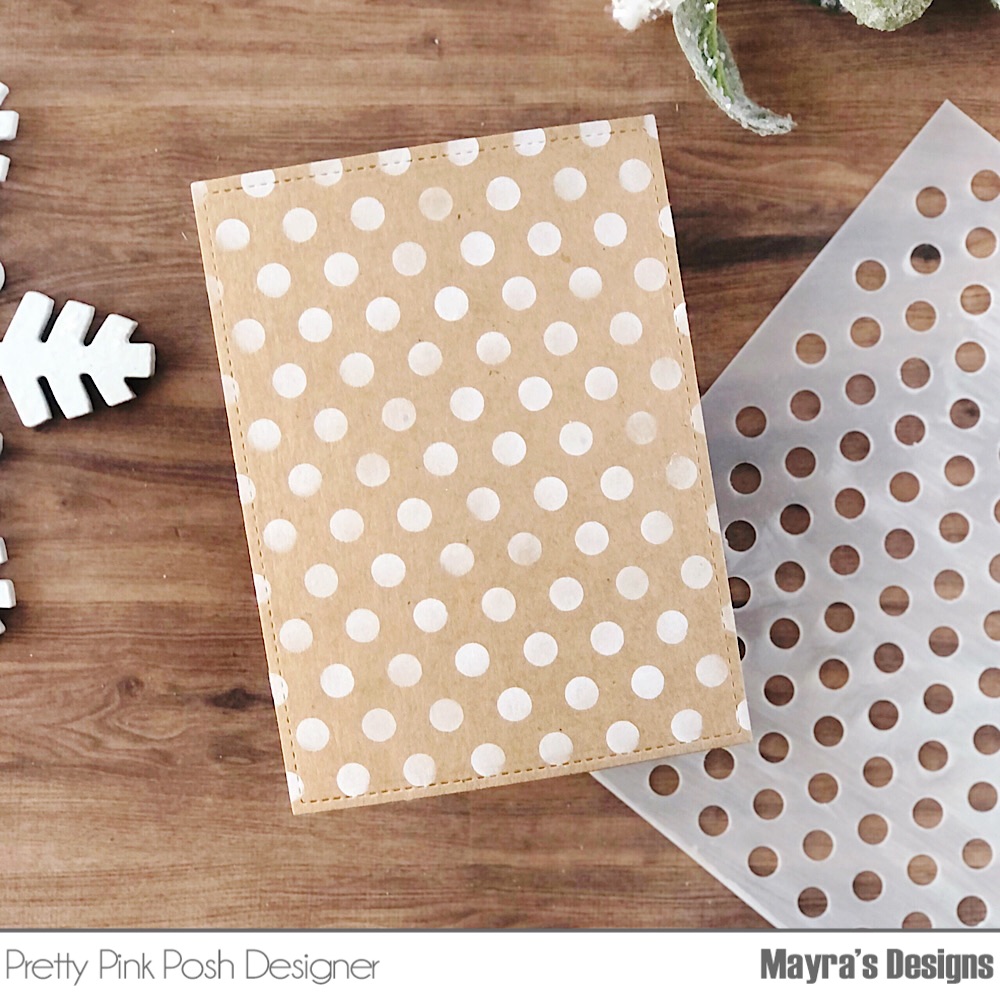
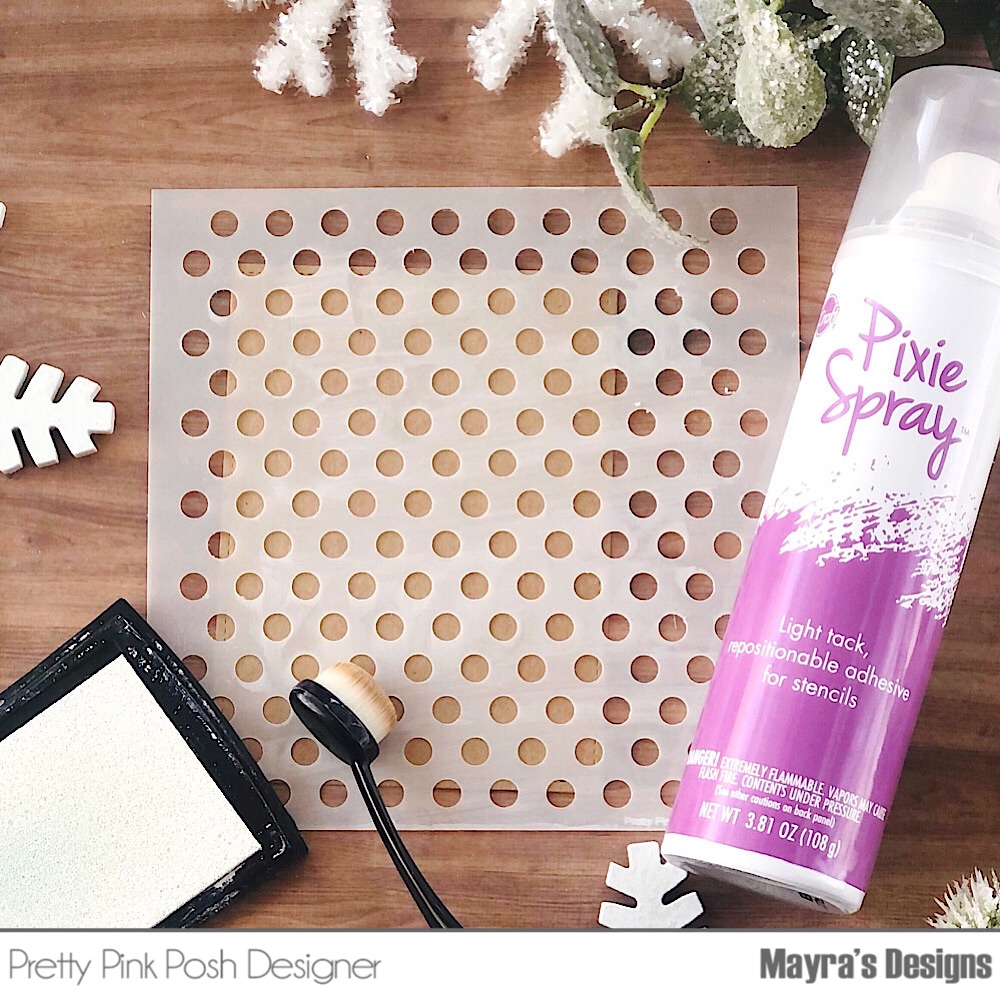
I began my card by die cutting a base panel using the rectangle die from the Stitched Notes die set. I then added a bit of adhesive to the back of the panel and glued it down to keep it in place. Next, I used the iCraft Pixie Spray…this is a must-have!!! It makes it so much easier to keep the stencil in place. After spraying the Medium Polka Dots stencil and allowing it to dry for about a minute, I placed the stencil over the kraft colored panel. I then used a pigment ink in white to add the polka dots effect.
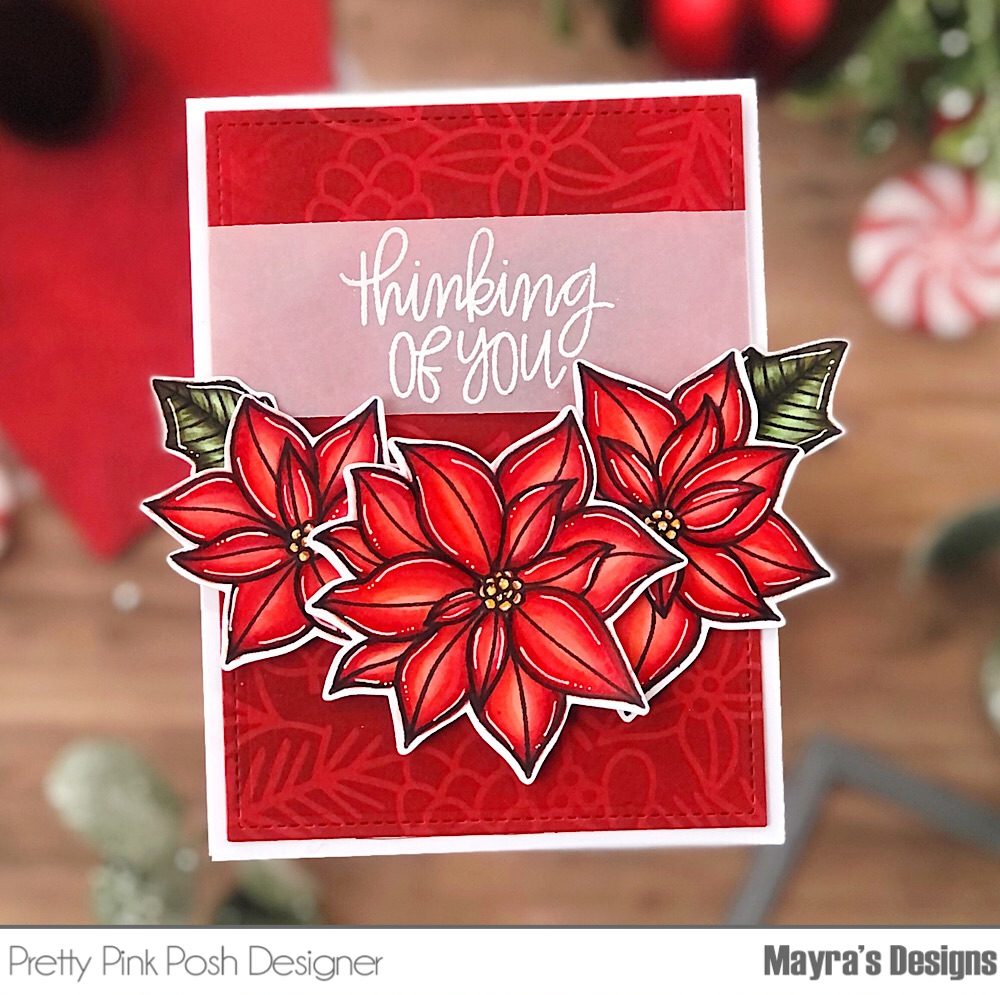
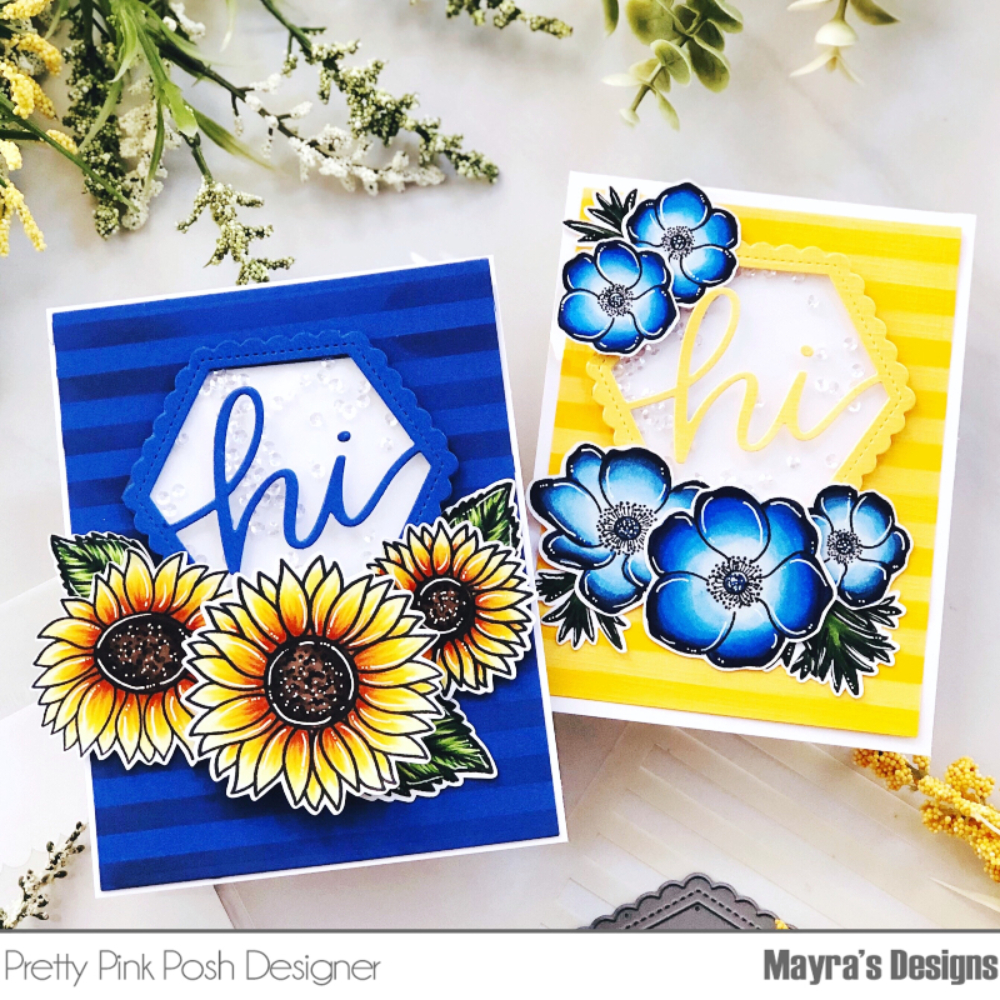
Next, I colored the images I would be using for my card. I used the adorable Holiday Pals stamp set. I also used the Scallop Circle Tag dies, the Scallop Borders 1 dies, and the Stitched Borders 1 dies. To finish my card, I stamped the sentiment from the set onto the stenciled panel.

I hope you enjoy this fun Christmas card. Thank you very much for taking the time to stop by, I hope you each have a wonderful and blessed day.