
Stenciling with Mayra: Fall Shakers

Hello everyone! Mayra here with you today. Happy October! I am back with another card using one of the wonderful stencils available from Pretty Pink Posh. For my card today, I used the lovely Pumpkin Background Stencil. It is perfect for creating Autumn themed cards.
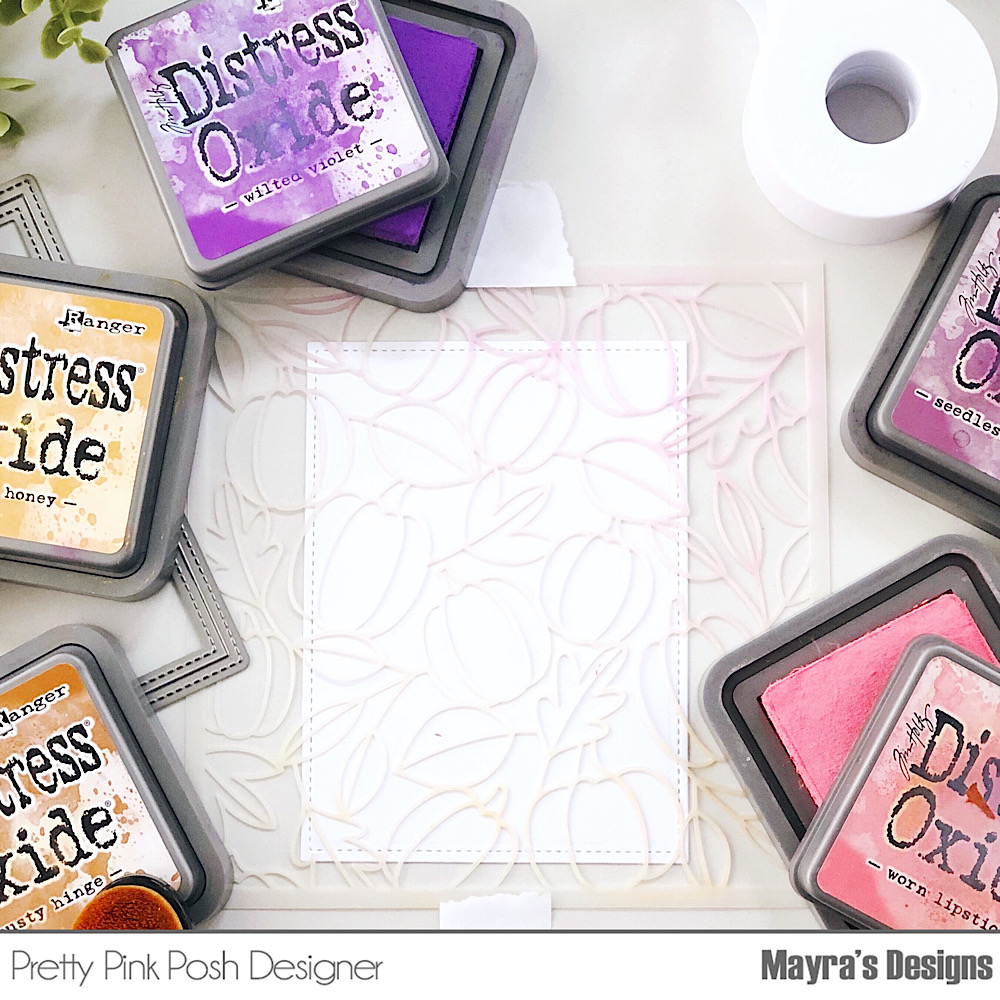
I began by picking the Distress Oxide Colors I would be using. I chose Wild Honey , Worn Lipstick , and Seedless Preserves. I then die cut a panel for my card using white cardstock and the stitched rectangle from the Stitched Notes die set. Next, I added a bit of adhesive to the back of the die-cut rectangle and glued it to down in order for it not to move around while I add the colors. I also added a bit of Post-It tape to hold the stencil in place. I would still like to try out the ICraft Pixie Spray, it is on my wish list, lol. I think it may help with keeping the stencil in place a bit more than the Post-It tape.
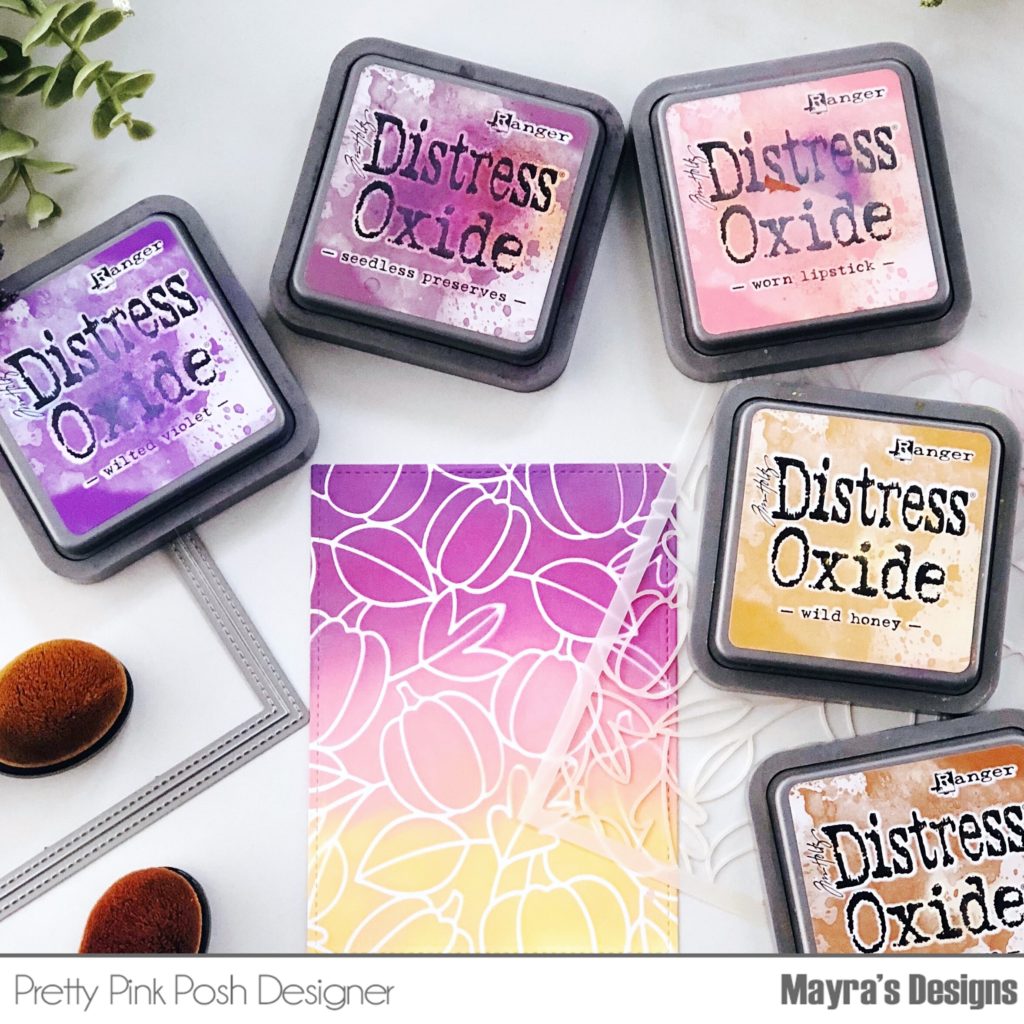
I then began adding the colors over the cardstock and stencil. I started with Wild Honey, then Worn Lipstick, and then Seedless Preserves. You can do this several times until you build up to the color intensity that you like. I decided to add a bit of Wilted Violet over the area where I used Seedless Preserves. I also added a bit of Rusty Hinge to the areas with Wild Honey.
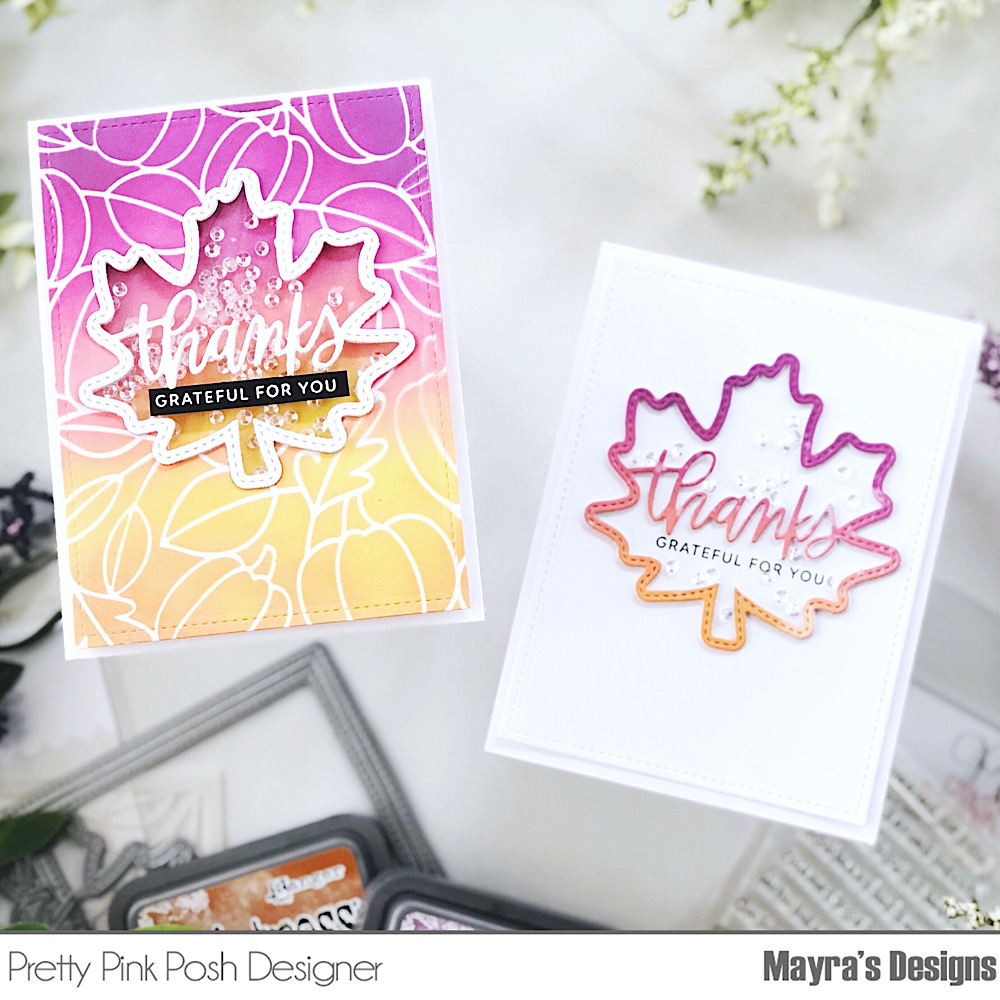
Once the stenciling was finished, I remove the stencil (my favorite part is seeing the way it turns out). I then turned this panel into what would be a shaker card by using the Thanks Leaf Shaker die to die cut the leaf into the panel. I also used this die to die cut another layer from a piece of cardstock that had the same colors I used on the stenciled background. I made that one into a card as well. Next, I added the acetate, foam tape, and the beautiful 3mm Sparkling Clear Sequins to create the shaker part of the card. I used the Simple Sentiments stamp set to add a sentiment to each of the cards.
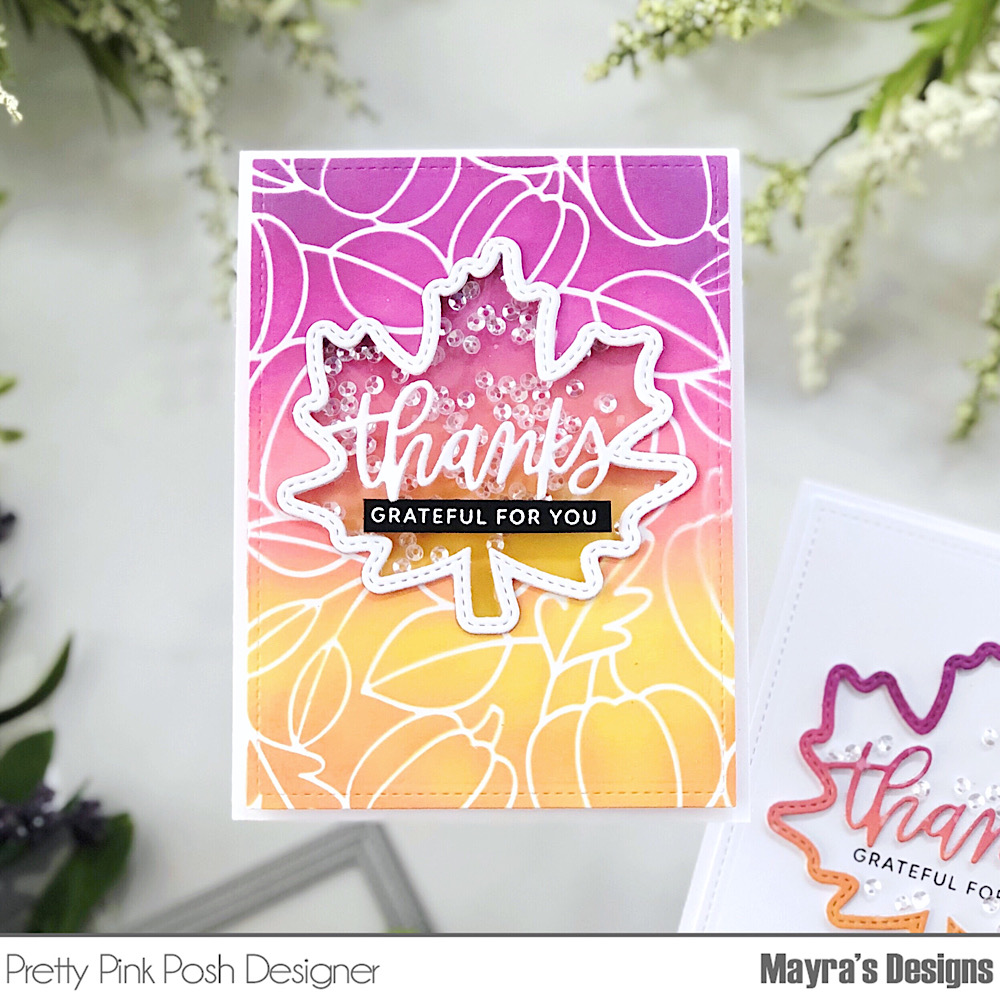
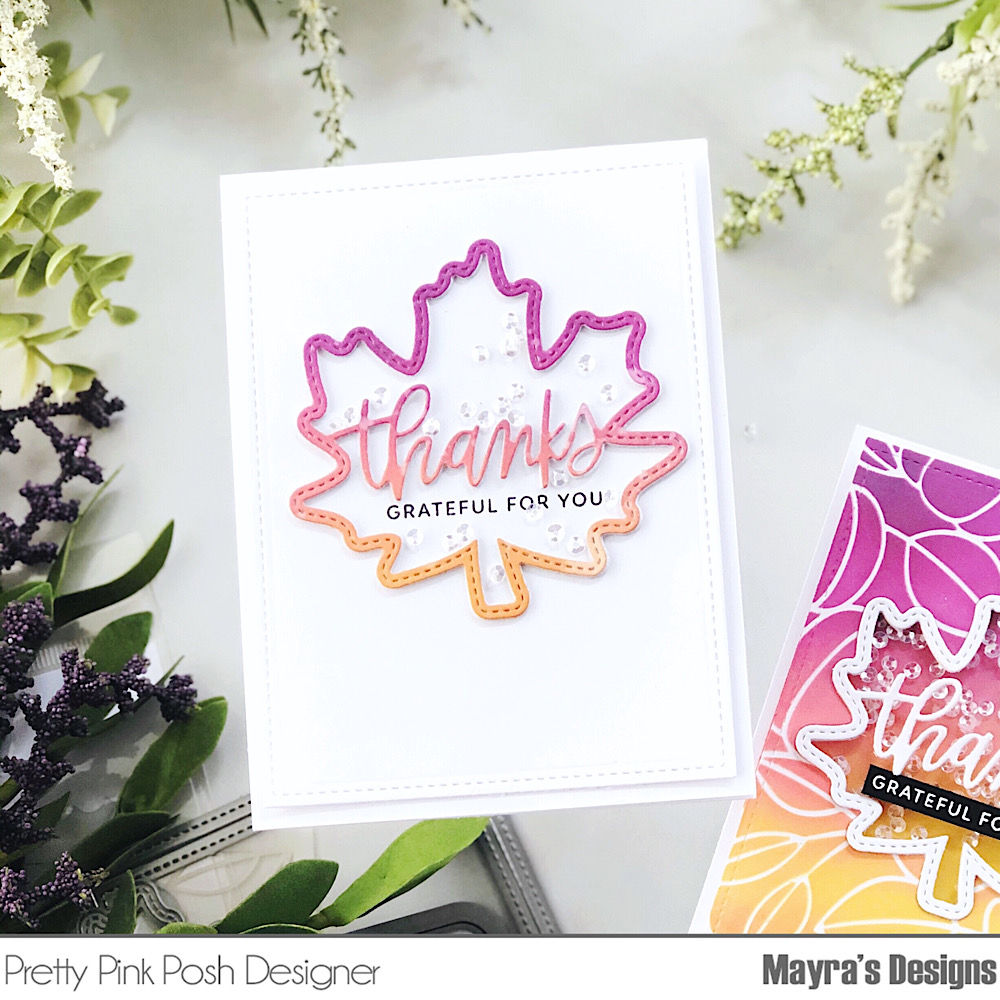
I hope you enjoy the cards I created to share with you today. Thank you very much for taking the time to stop by. I hope you each have a wonderful and blessed day.
Pumpkin Background Stencil
Stitched Notes
Thanks Leaf Shaker
Simple Sentiments
3mm Sparkling Clear Sequins
So beautiful! 💜