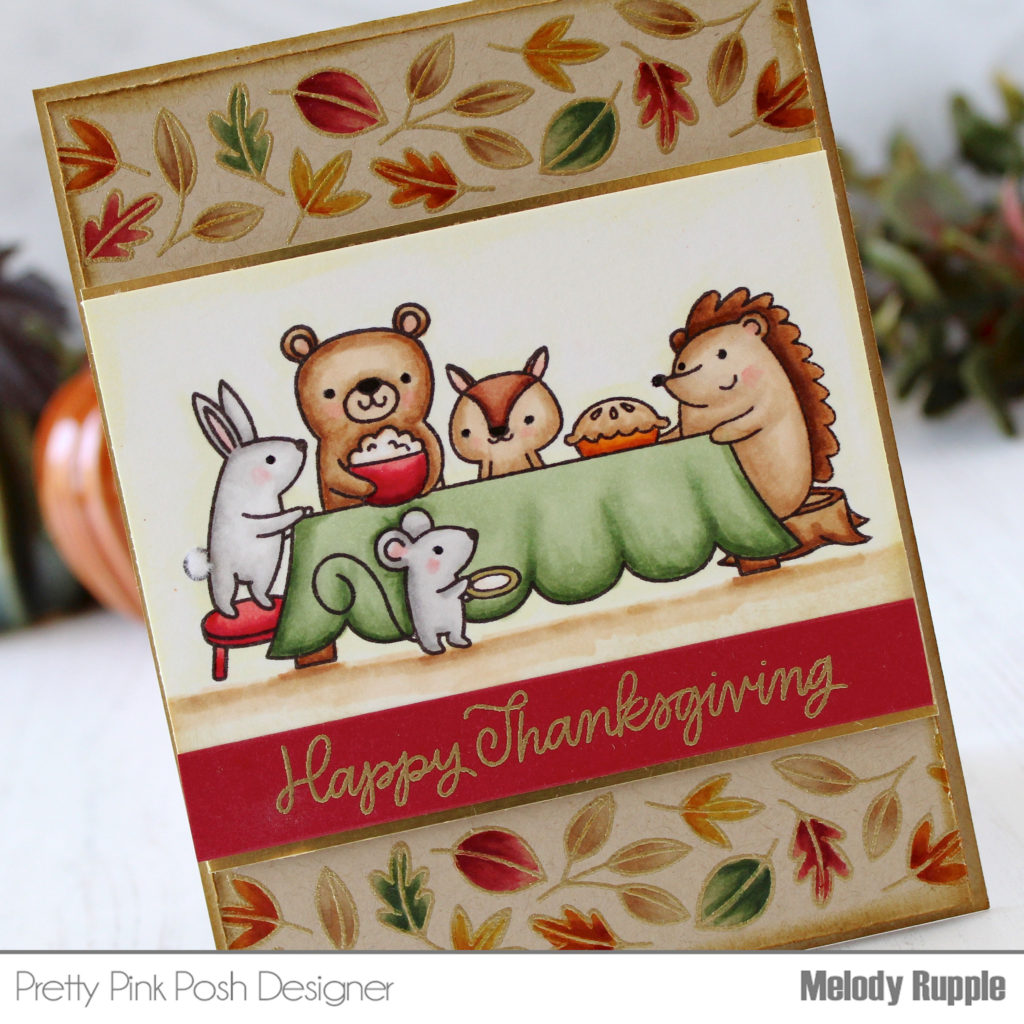
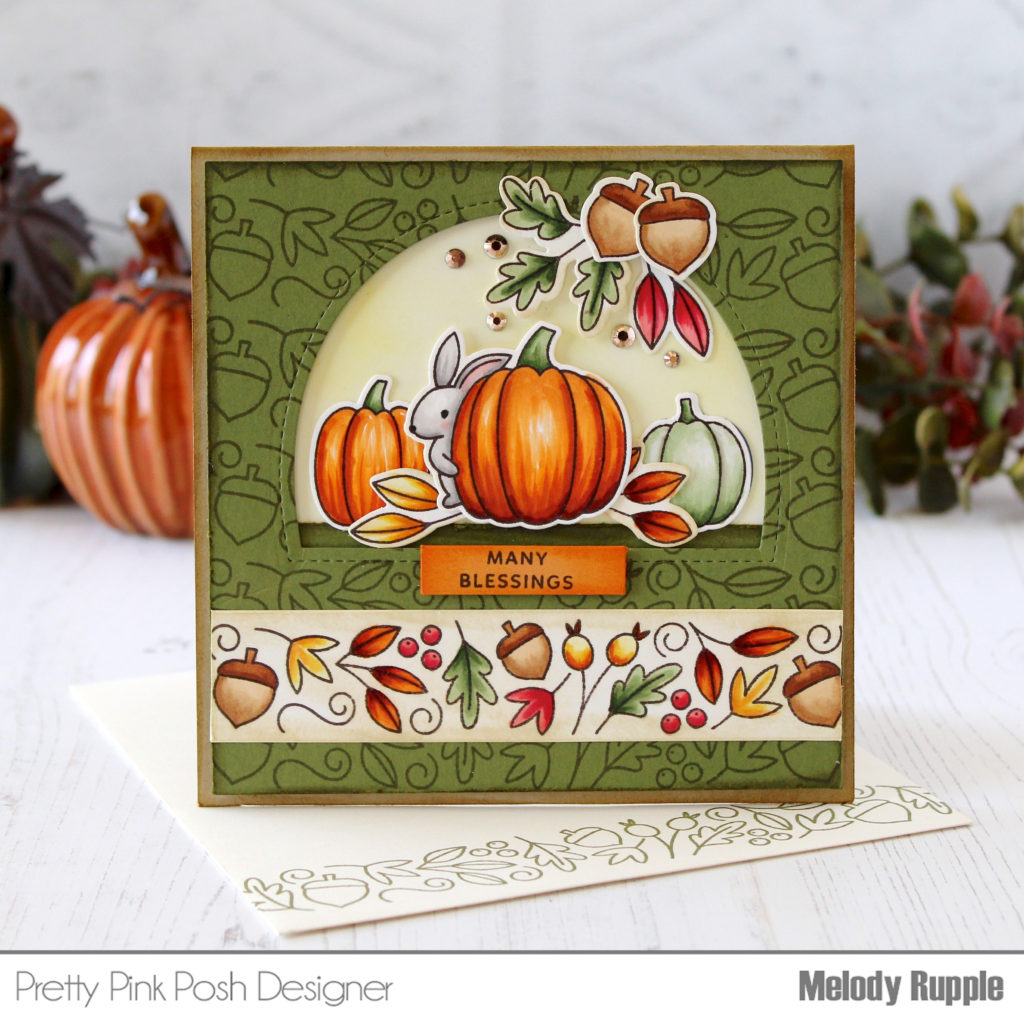
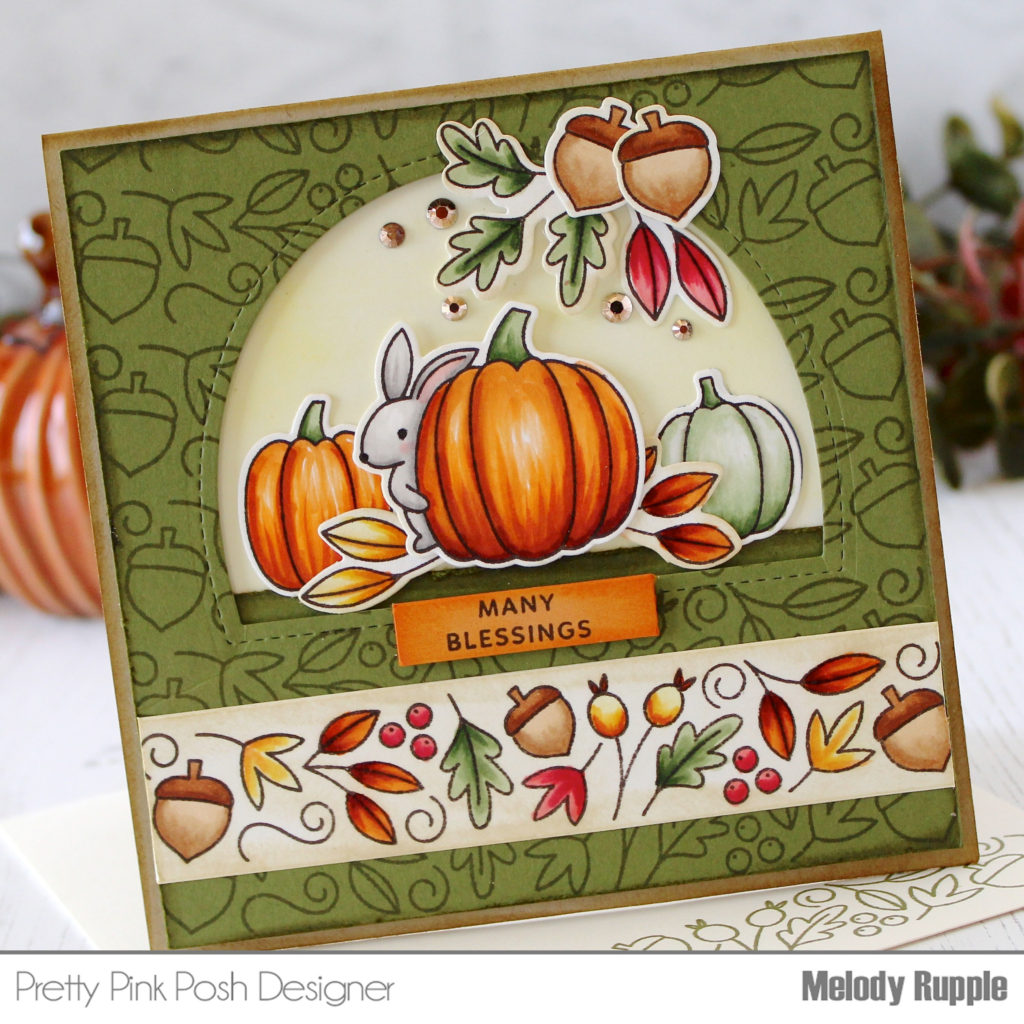
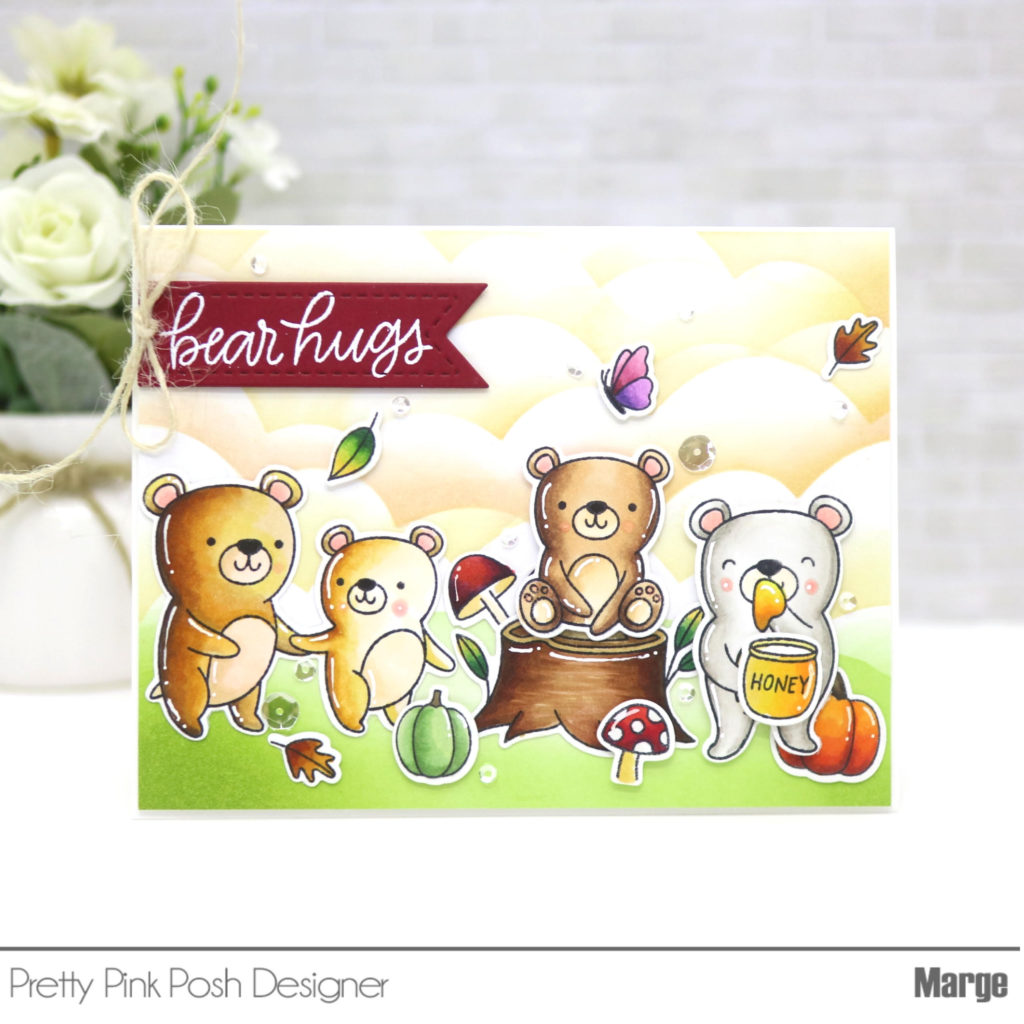
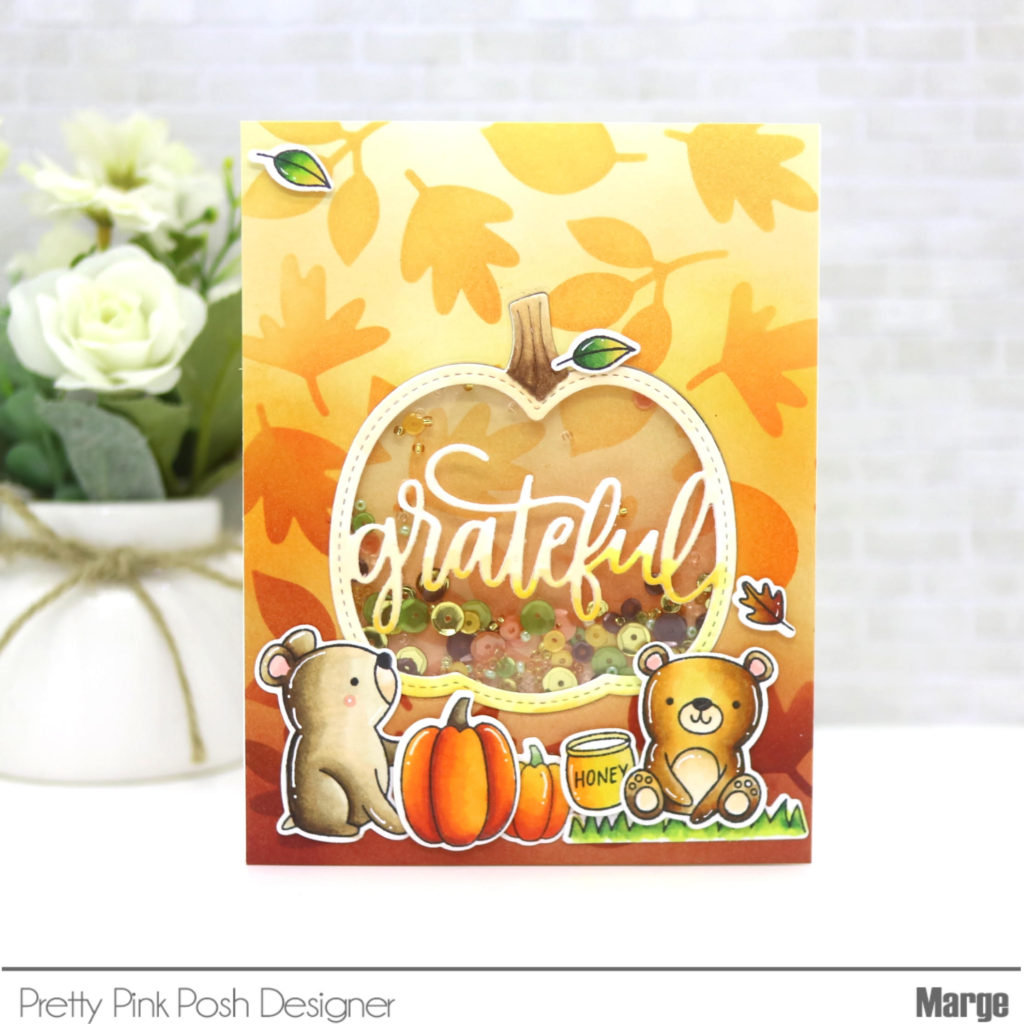
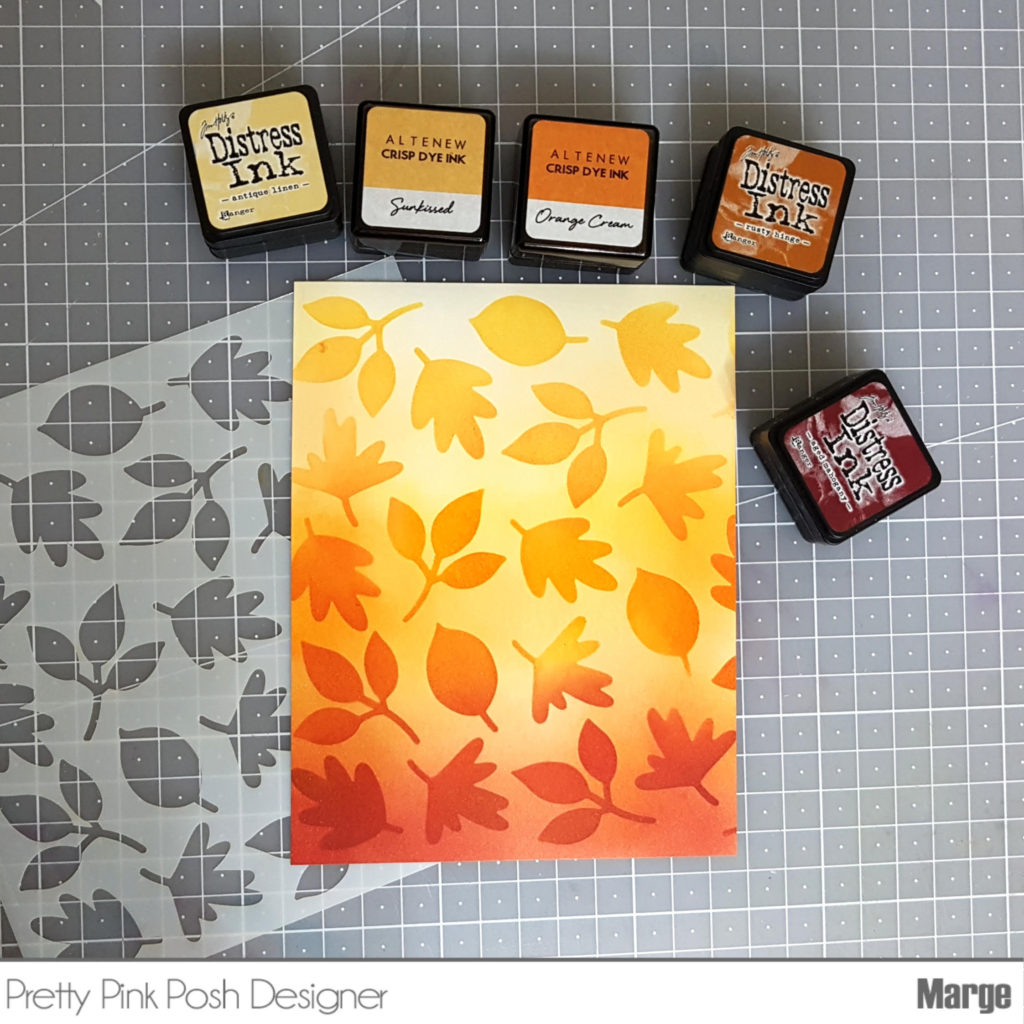
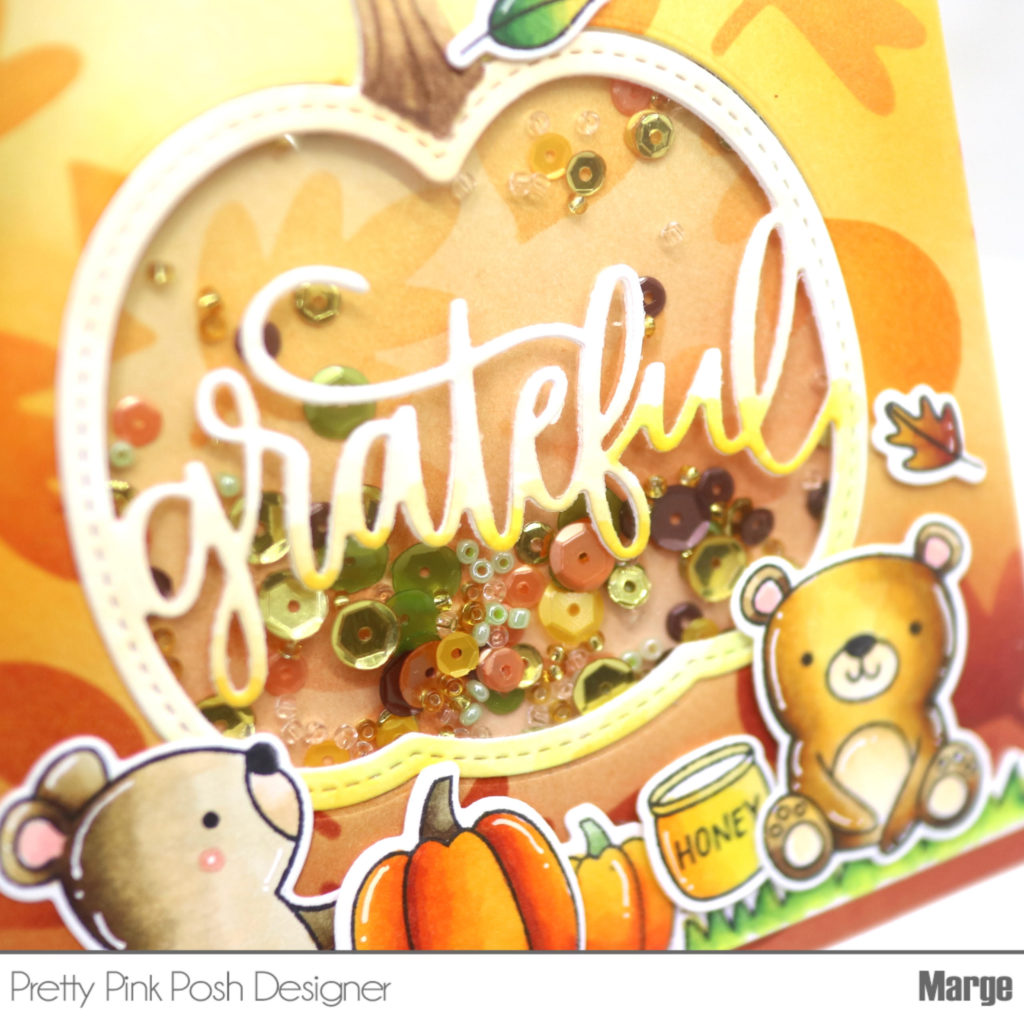
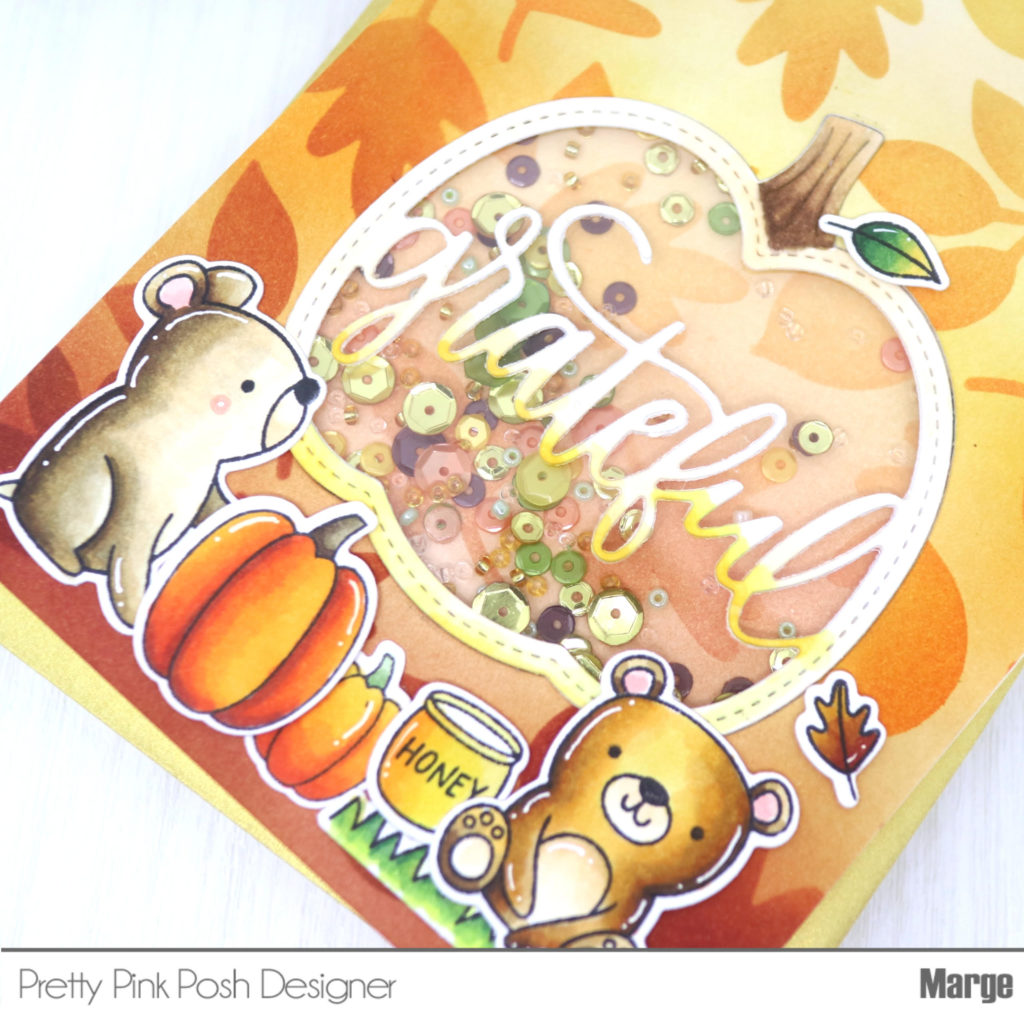
Hello Everyone, I hope you guys have been enjoying the Thanksgiving Week inspirations.
In this post I want to share my take as well, I made two cards to inspire you even more. For this first card I used the cute stamp set Happy Turkeyand is Happy Turkey Coordinating Dies.
To begin I first distressed my back panel then splatter it with diluted Doe ink from Lawn Fawn.
Then, I colored and die-cut the images from the Happy Turkey set.
I then stamped the sentiment first, then assembled the pieces around it. To finish off the card I added some Sparkling Clear Confetti Mix.
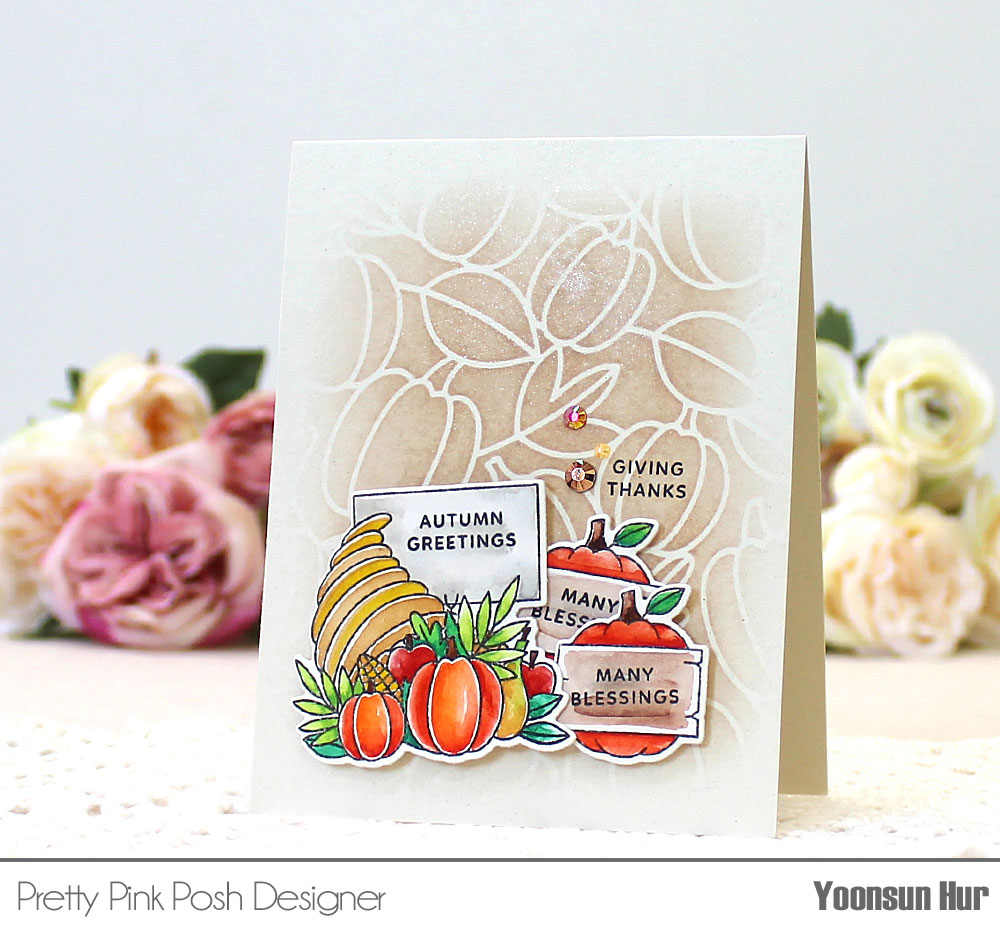
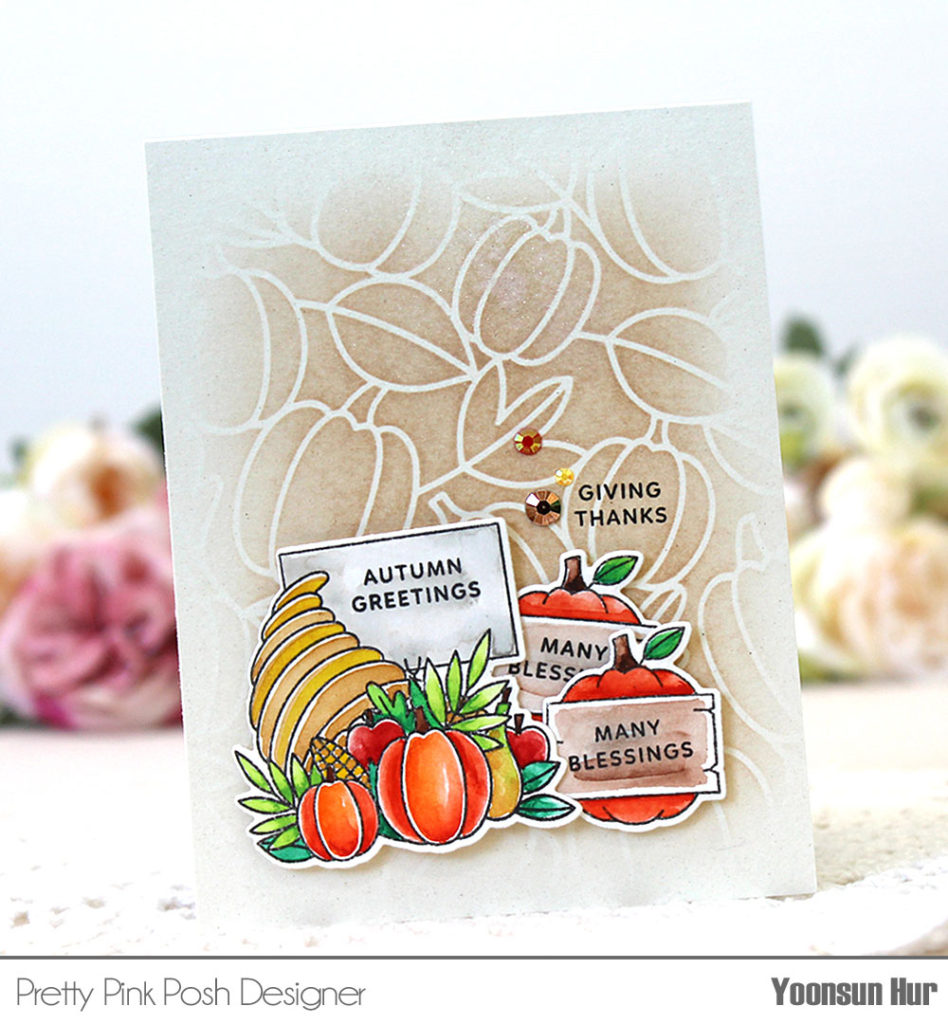
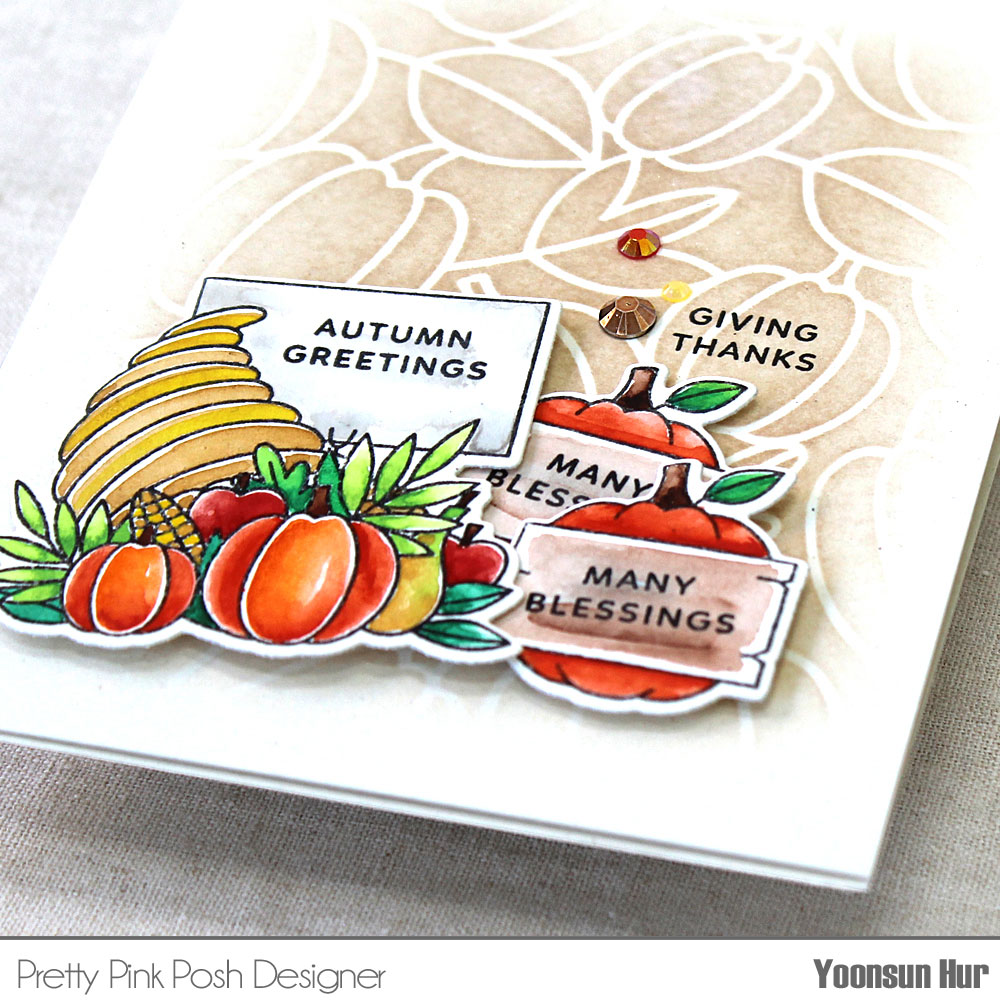
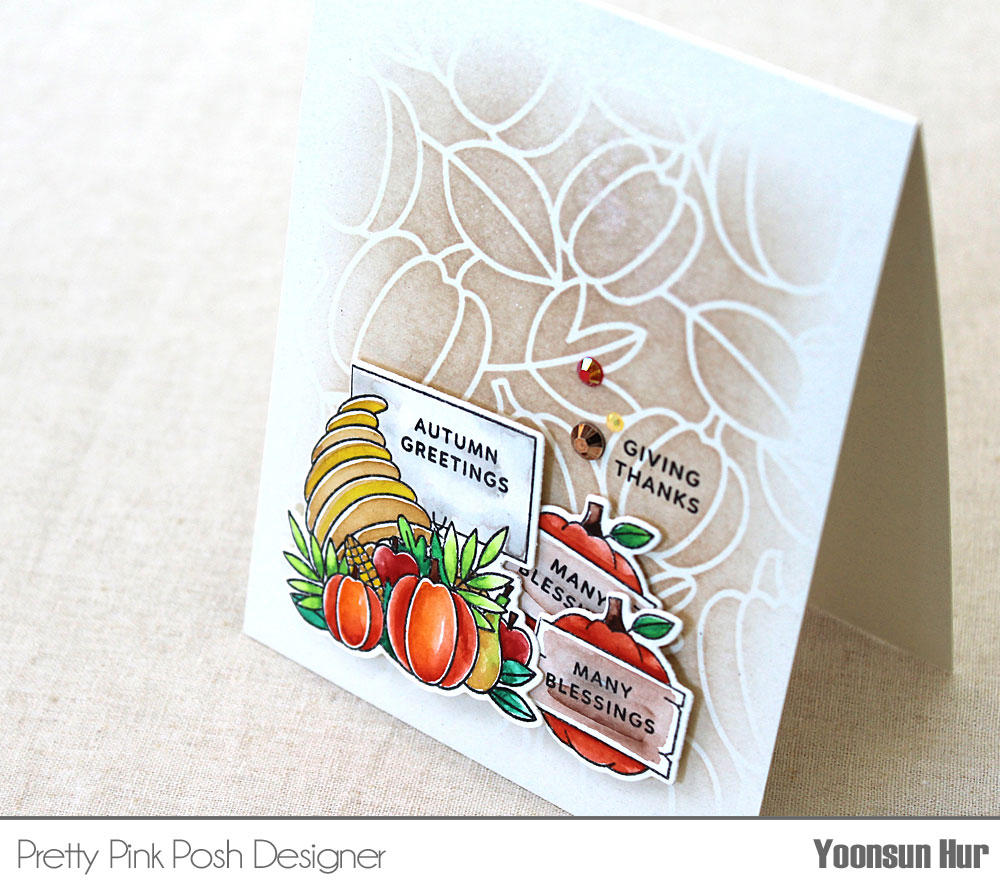
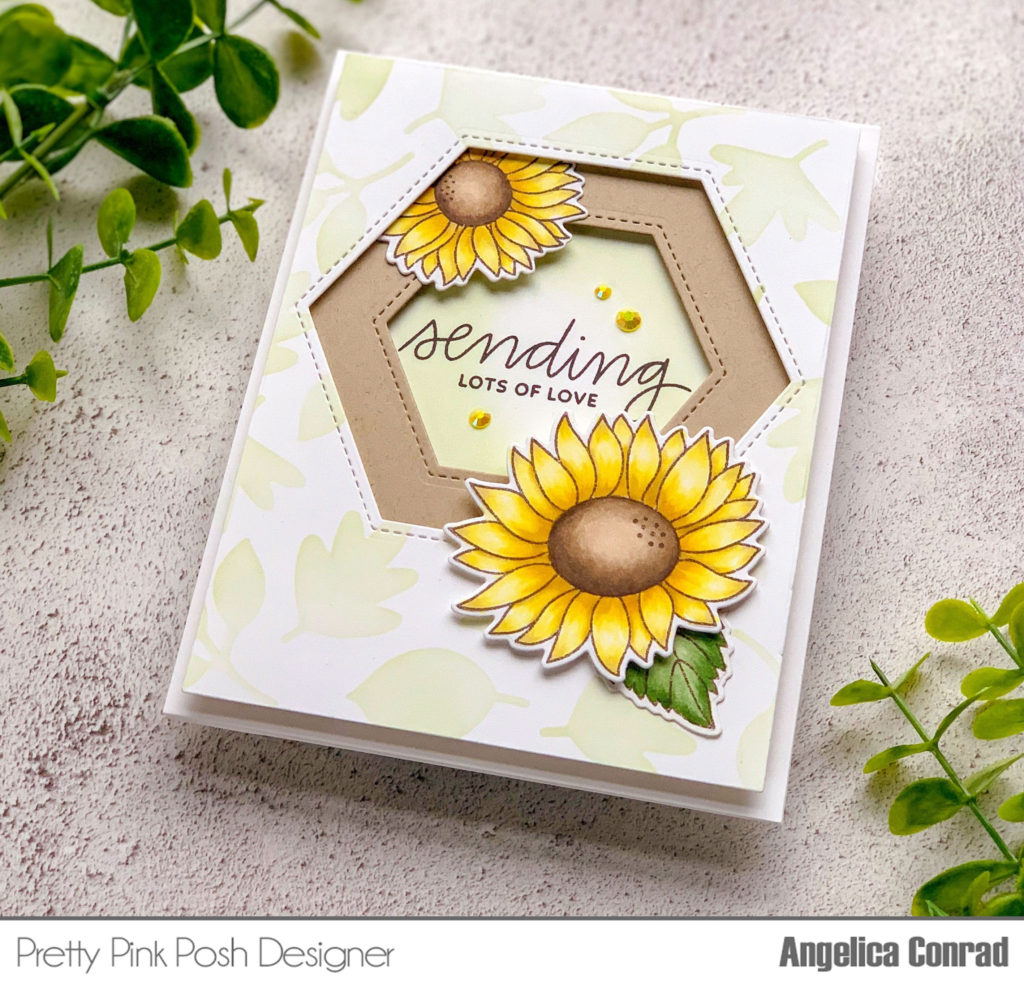
For my next card, I really highlight the use of these gorgeous Stitched Foliage Dies.
To begin after die-cutting the dies on a white cardstock, I then distressed each one.
Hi everyone, Eloise here and today I’m helping participate in the Thanksgiving Theme Week! Even though we don’t celebrate Thanksgiving here in Australia I couldn’t pass up the opportunity to help with this theme week and create a fun card for you all! I’ll be using the Happy Turkey stamp set that was released this year along with using Alcohol Inks and Copic Re-Inkers to create a very fall inspired background.
First off for my card today, I started on my background. Ive used Alcohol Inks before, but definitely don’t see myself as an expert with them. I see these beautiful background and pieces that people make with them and yet I can’t seem to get it right at all. But I want to get more confident with using them and understanding how they work more so today was all about experimenting for me. Firstly, I wanted to create an emboss resist background piece. Using the leaves from the Happy Turkey stamp set. I started off with a piece of Yupo paper, which is slick and stamped my leaves randomly with Versamark ink all on the background. Once I covered the piece I used clear embossing and heat set the background.
Next, I pulled out some colours of Alcohol Inks that I felt matched Fall well, so I went with a brown, green, orange, purple and also pink. I didn’t have a red Alcohol Ink, but I thought maybe the pink would mix in with the other colours and go darker. I dropped on my colours randomly onto the background, not worried about how the colours would mix. I then took some rubbing alcohol in a spray bottle and sprayed my background repeatedly. I picked up some of the colour with a paper towel and dried it off with a heat tool. I didn’t feel like the colours were “fall” enough, so I brought out some Copic Re-Inkers I chose some red, yellow and started splattering them onto the background also, picking some colour up with paper towels and spraying with running alcohol in between till I reached the desired effect.
What I found interesting with this, it sort of stained the embossing. I expected it to resist like the embossing usually does but instead it stained it and actually, made it stand out more than the background did, which was kind of neat and I definitely didn’t expect it. Once I got my desired effect, I dried it off with my heat tool.
I used the Scallop Circle Tags dies and cut the largest die out of the middle of my coloured piece since I wanted to create a shaker. Next I made a card base, masked off the edges and ink blended some Mowed Lawn and Twisted Citron into the center. I then laid over my coloured panel and stamped the ‘Happy Turkey Day’ sentiment in black ink onto the green ink blended piece. For my shaker I used a variety of sequins, seed beads and confetti in coordinating colours and added them all on top of my green ink blended piece. I then added acetate into the back of my panel and added one layer of foam tape all along the back. Making sure to make a solid circle with no gaps so the sequins and beads wouldn’t fall out as I shake it. I removed the backers and added the panel onto the card base.
Next I coloured up my turkey image with Copic markers and cut him out using the coordinating dies. I added foam tape behind him and stuck him onto my card. To finish up my card I used a twine bow and added it to the top of my shaker circle and then scattered some Metallic Gold Confetti Mix around my card.
Today I’m sharing two shaker cards featuring our Happy Turkey Stamp Set and several other popular Pretty Pink Posh products.
Now, let’s get started with the big framed shaker card first.
To begin , I made a background panel using Stacked Edges 1 Die. I used scallop shape die to cut three different colored card stock papers which are natural, kraft, and brown. Then I stacked the pieces one by one, using double sided tapes behind the stacked die cuts. I then cut the panel into an A2 sized rectangle and then adhered it onto a card base.
I stamped images from Happy Turkey Stamp Seton a white card stock, colored them using copic markers, then cut them using Happy Turkey Coordinating Dies. To give more autumn mood to the card, I chose a pumpkin piece from Stitched Foliage Dies, and ink blended it using distress inks : Wild Honey, Spiced Marmalade, and Rusty Hinge. For a lovely shaker frame, I cut a rectangle frame using Scallop Frames Dies, Now it’s time to arrange them all together and check if they look okay and I really loved how it came out with these variable elements.
Stamping, die cutting, putting sequins are all similar with the first card. To make a twine ribbon, I punched a tiny hole in the mini maple leaf, passed a piece of string through it, then tied a bow.
Finally, I brushed Clear Wink of Stella on the the stamped images to give interests. You can see glitter effects on leaves here.
Thank you for reading this post. We hope you enjoy the rest of our Thanksgiving Theme Week!
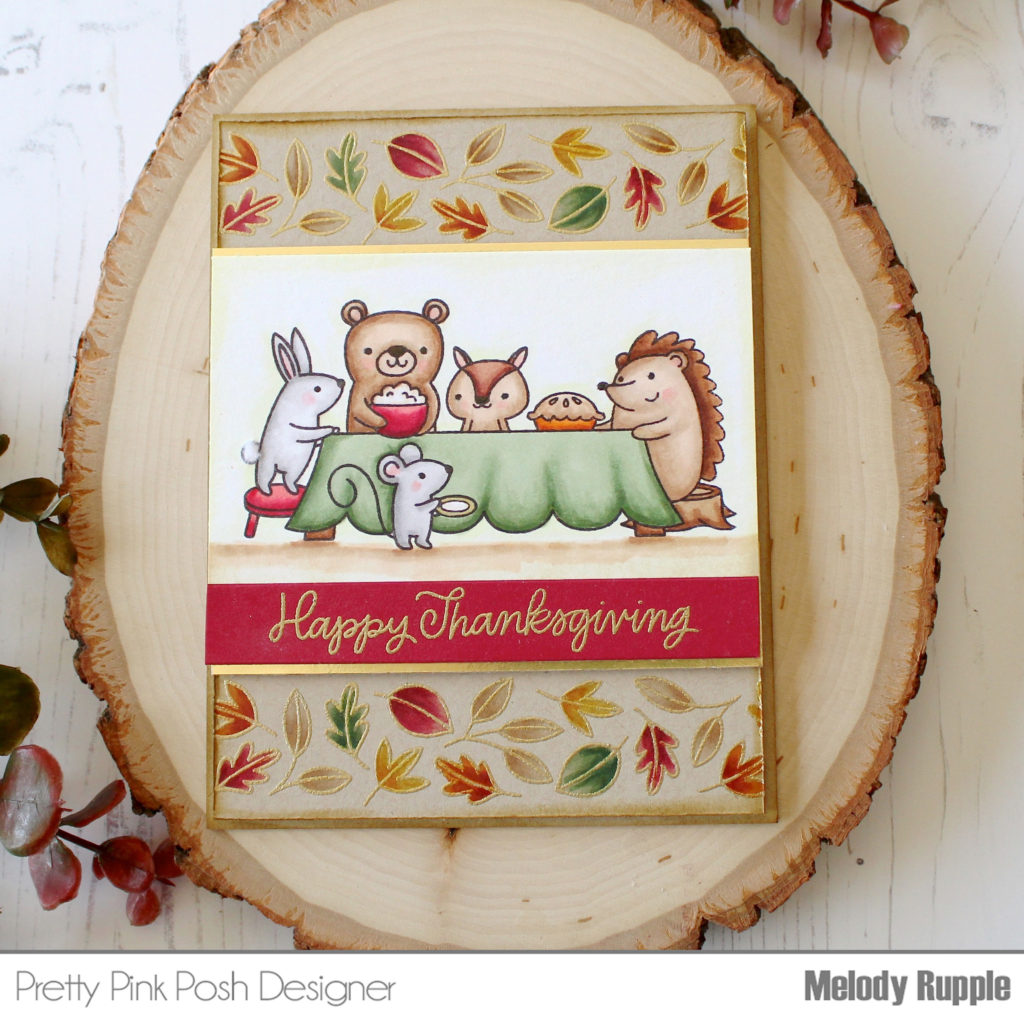
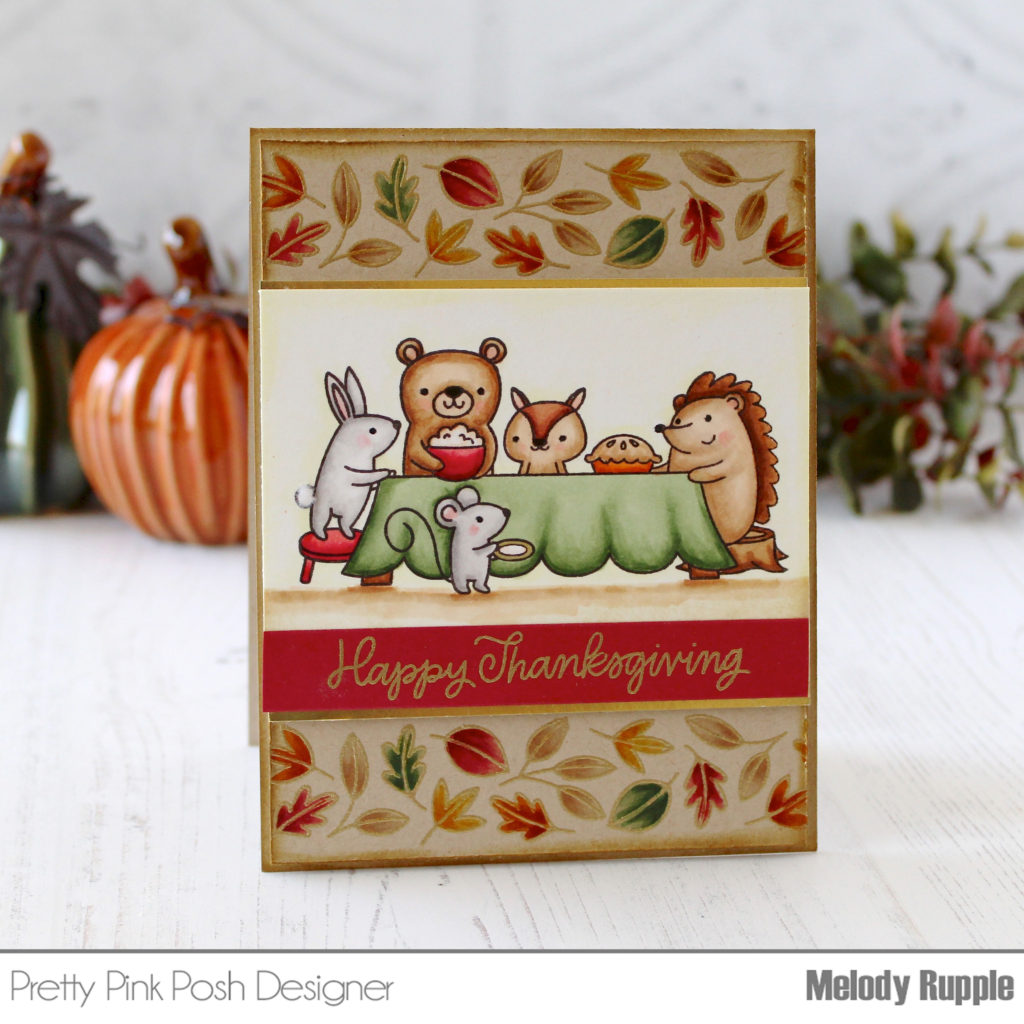
Hi there, Jeanne here. Thanks so much for joining us for Thanksgiving Theme Week! This is my favorite time of year.. there’s a nip of cold in the air, mother nature is putting on her biggest show of color with all the fall foliage.. and the best part of all.. getting everyone together for the big meal!
I send invitations to dinner, and special cards to those who are too far away to make it. I love to set the dining room table and make treats for guest to take home. I started my card with a simple distress ink background. I blended Squeezed Lemonade leaving the bottom of the card empty for my stamped sentiment. I splattered the panel with water, and then with some watered down Mustard Seed, and white ink.
The stamped sentiment is from the Giving Thanks stamp set. I love the mixed font – the fancy script is a Pretty Pink Posh trademark and I can spot it anywhere!
Hello, everyone! Amy Y. here for Day 1 of our Thanksgiving Theme Week. Today, I’m sharing a die-cut inlay card that features the Stitched Foliage Dies.
I stamped the sentiment “Giving Thanks” from the Giving Thanks stamp set with VersaFine Vintage Sepia Ink. Afterwards, I adhered the panel to a top folding card base and glued on the inked leaves. Then, I sprayed the panel with a gold shimmer mist to add shine and texture. I added few sequins from 4mm Autumn Harvestto finish the card.
Die-cut inlay cards are great for adding interest without dimension. This fairly flat card will only need one postage stamp for easy mailing. Thanks for stopping by!
If you missed yesterday’s blog hop post, click here.
Hello everyone! It is Melody here sharing products from the new Pretty Pink Posh November release. Today I’m highlighting the Joy Shaker Die and a few of the new sequin mixes.
I started the card by cutting a piece of watercolor paper for my card front. Next I die cut the Joy Shaker Die from a gold foil and then again directly into the card front. This left a scalloped circle in the card front to form the shaker window.
Behind the window I added a piece of acetate and then inlayed the gold Joy sentiment directly into the card front. On the back of the card front I added foam to create the shaker.
To finish off the card I die cut holly leaves and berries with the new Festive Holly Dies from watercolor paper, sponged on the color, and attached die cuts to left side of the shaker. The final touch is to attach a few Sparkling Clear Snowflakes. Lastly, stamped the Merry Christmas sentiment from the Holiday Greetings stamp set.
Ready to hop along and see LOTS more fabulous inspiration with this release?
PRIZES: be sure to leave comments on each stop. I’m giving away 4 $25 gift certificates to four random comments (2 winners each day) left before November 7, 2017 at 11:59 PM PST. I’ll be announcing the winners next week, so be sure to return and see if you are one of the winners!
We hope that you enjoyed the blog hop these last two days. Be sure to leave comments on all the stops- we’ll be randomly picking comments to win gift certificates. Also, join us next week as we have our Thanksgiving Theme Week here on the blog!
Hello there! It’s Marge here, one of the newer PPP social media designers. I hope you are enjoying our new November release.
Today I’m so excited to share my cards featuring Winter Woodland Stamp and coordinating dies set from our new November Release. The critters in this set are so adorable and they go very well with our previous release stamps sets such as Woodland Critters set. But today, I only used Winter Woodland sets.
For the first card, I wanted to creat a warm winter scene, so I sponged a piece of A2-sized Bristol paper with some a peach colored dye ink and distress inks (Dried Marigold, Tattered Rose, and Squeezed Lemonade). I splatterd water onto it, and let it dry,
Then I cut another A2-sized panel using Window Frames Dies to make a round window frame. To make a snowy hill, I picked out a wave-shaped die from our Stacked Edges 1 Dies, and cut a piece of white cardstock, then colored it using grey copic markers and Diamond Stickles on the top to give it some sparkling look.
After all the elements are done, I assembed them to build a whole card. First, I put the snowy hill onto the colored panel, adhered two mommy and baby critters, covered it with round window frame, and adhered a bough, rabbit and tag, all using foam tapes to give the card some dimensional look.
I then stamped small snowflakes, and heat embossed them using white embossing powder. I stamped the sentiment from Holiday Greetings Stamp Set, and also heat-set it using clear embossing powder. Then I adhered critters images here and there to make a warm winter scene. I adhered the panel onto a card base, and added some Sparkling Clear Snowflake Sequins Mix and Sparkling Clear Sequins Mix as final embellishment.
Ready to hop along and see LOTS more fabulous inspiration with this release?
PRIZES: be sure to leave comments on each stop. I’m giving away 4 $25 gift certificates to four random comments (2 winners each day) left before November 7, 2017 at 11:59 PM PST. I’ll be announcing the winners next week, so be sure to return and see if you are one of the winners!
The November 2017 Release is now available in the Pretty Pink Posh Shop and select retailers that carry our products. If you missed our post yesterday, we revealed all of the products in picture form, but if you would like to see them also in a video, Eloise has you covered!
We’ll have lots of posts and videos coming soon with the new products. Plus, we’ll have a two day blog hop starting tomorrow with the design team and guests with even more inspiration! Thank you to everyone who continues to support my dream. I’m so grateful for each of you!
I hope that you have enjoyed all the sneak peeks leading up to the November 1st release. We are so excited about these new products! This month we have six brand new sequin mixes, Berry Bright, Evergreen Sparkle, Starry Night, Sparkling Clear Snowflakes, Vintage Christmas(in two sizes) and a new seed bead color, Gold Shimmer, that is perfect for the upcoming holidays.
Here are the three new individual die sets that will be available- Thank You Script, Merry Christmas Script, Joy Shaker and the Festive Holly die set.
Here’s a look at the four stamp sets that will be available for purchase- Holiday Greetings, Sparkle Dot Patterns 1, Winter Woodland and Wild Rose.
Based on requests from the last few releases, I have a limited amount of bundles available where you can buy the whole collection in one easy click. Plus, you’ll get 10% off! These are in the shop NOW!
We will see you tomorrow as we show you the new products in a video and the individual products go live in the shop!
Today I’m excited that we have Yoonsun on the blog sharing a look at two of our new dies releasing on November 1st. Plus, you get another stunning sample using the new Wild Rose stamp set!
To create this card:
1. Cut white card stock to 4 ¼” x 11” and create a side-fold card.
2. Cut watercolor paper to 5 ½” x 4 ¼” using rectangle panel die.
3. Stamp flowers and leaves from the Wild Rose set on watercolor panel using dark brown pigment ink.
4. Watercolor the stamped images & background with Distress inks and water brush.
5. Die cut the word “Thank you Script” from white card stock.
6. Mount the watercolored flower panel on white card base using double-sided tape. Add the “Thank you” die cut on the centre of the panel using fine tip glue pen.
7. Embellish with a few Metallic Gold sequins to finish it off.
On this next card, Yoonsun shows off the new Joy Shaker in a holiday card and also brings out some “older” Pretty Pink Posh products. When we design products, we always keep in mind how you can mix and match our new and old items and this card is proof that it can happen seamlessly!
To create this card:
1. Ink blend on watercolor paper panel with some Distress inks: Mermaid Lagoon, Faded Jeans, and Seedless Preserves.
2. Die cut the Joy Shaker from white card stock five times, and then stack them up using fine tip glue pen.
3. Die cut stitched scalloped border from white card stock using the Stitched Borders 2 Die.
4. Stamp & Watercolor polar bear, eskimo girl from the Winter Wonderland set, then die cut them with the matching dies.
5. Stamp & Watercolor two Christmas birds from the Christmas Friends set, then die cut them with the matching dies.
6. Die cut a bow from red card stock using the Twine and Bows Dies.
7. Mount the ink blended panel on white card base using double-sided tape first, and then added white ink splatters.
8. Add all elements as shown to the card front using foam tape.
9. Add Sparkling Clear Snowflakes & 3mm Sparkling Clear sequins using glossy accents to finish it off.
We hope you’ve enjoyed the sneak peeks these last few days. Be sure to visit the blog tomorrow as we do our reveal of all the new products and also allow you to purchase the complete bundle a day early (at a discount)!