
Fall Theme Week- Day 5

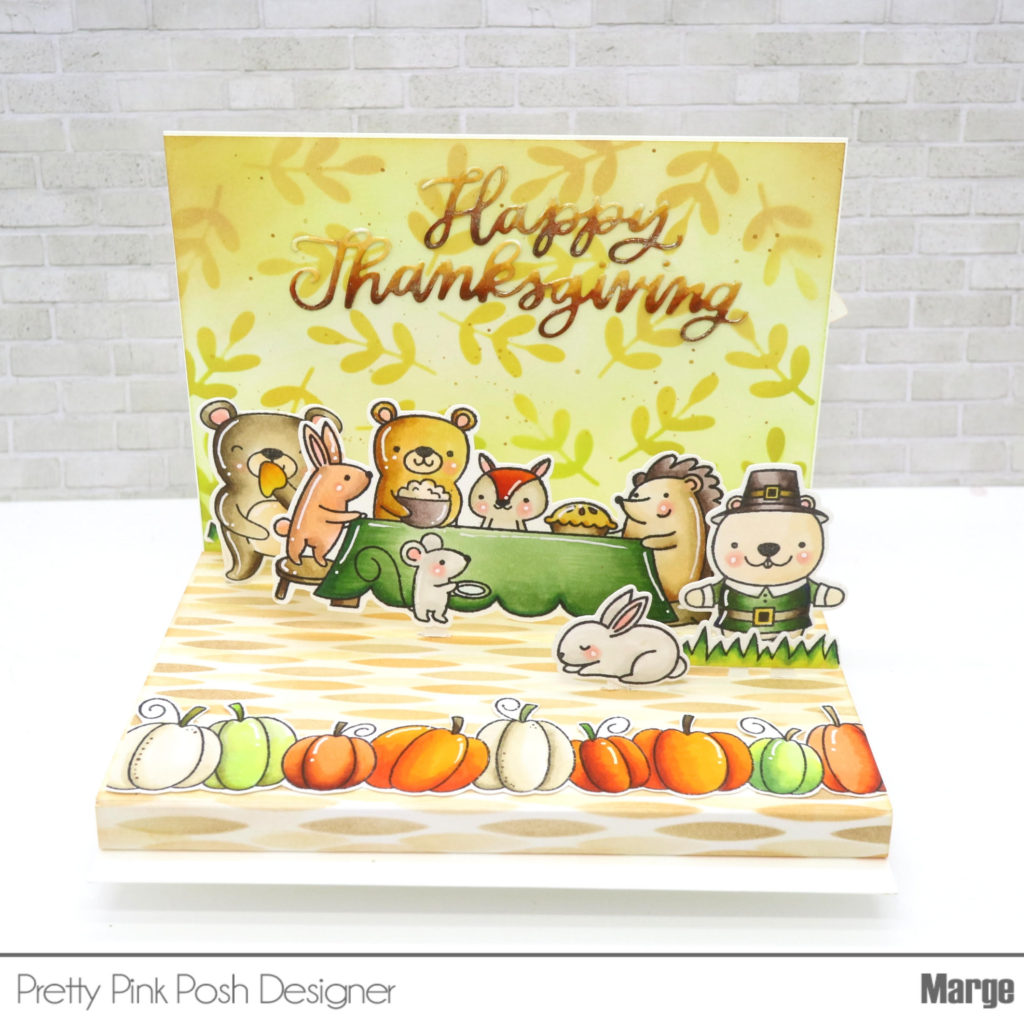
Hi, everyone! It’s Marge here with you for the Day 5 of Fall Theme Week. Today I’m going to share a Pop Up Standing Card with a happy thanksgiving scene with a step-by-step tutorial.
Save 15% on all the items in our Fall section during this theme week!
<Inside>
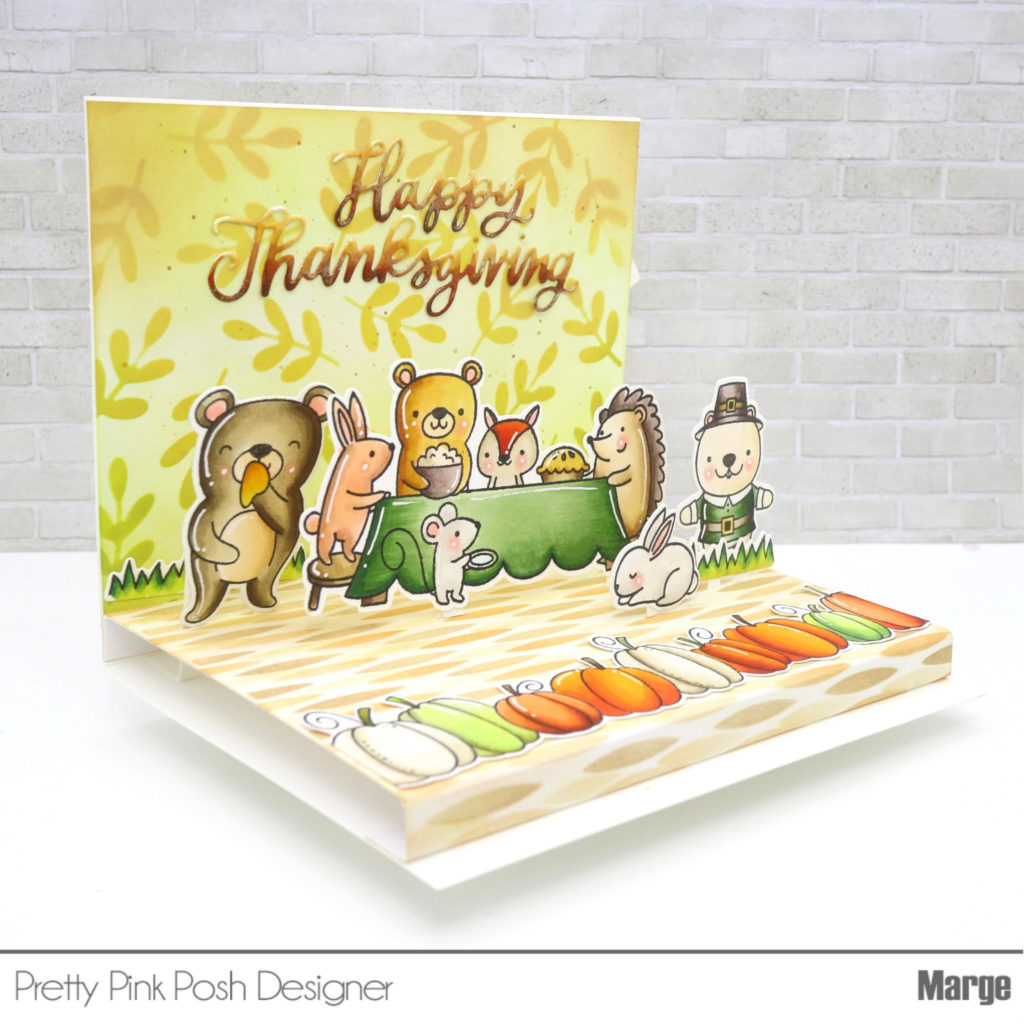
I started by stamping and coloring various images from Thanksgiving Scene, Bear Friends, Fall Borders, and Giving Thanks set. I used Copic Markers in coloring them, and then I cut them all using Bear Friends Dies, Giving Thanks Dies, and Scan N Cut. To make a pop-up area inside, please follow the introductions below.
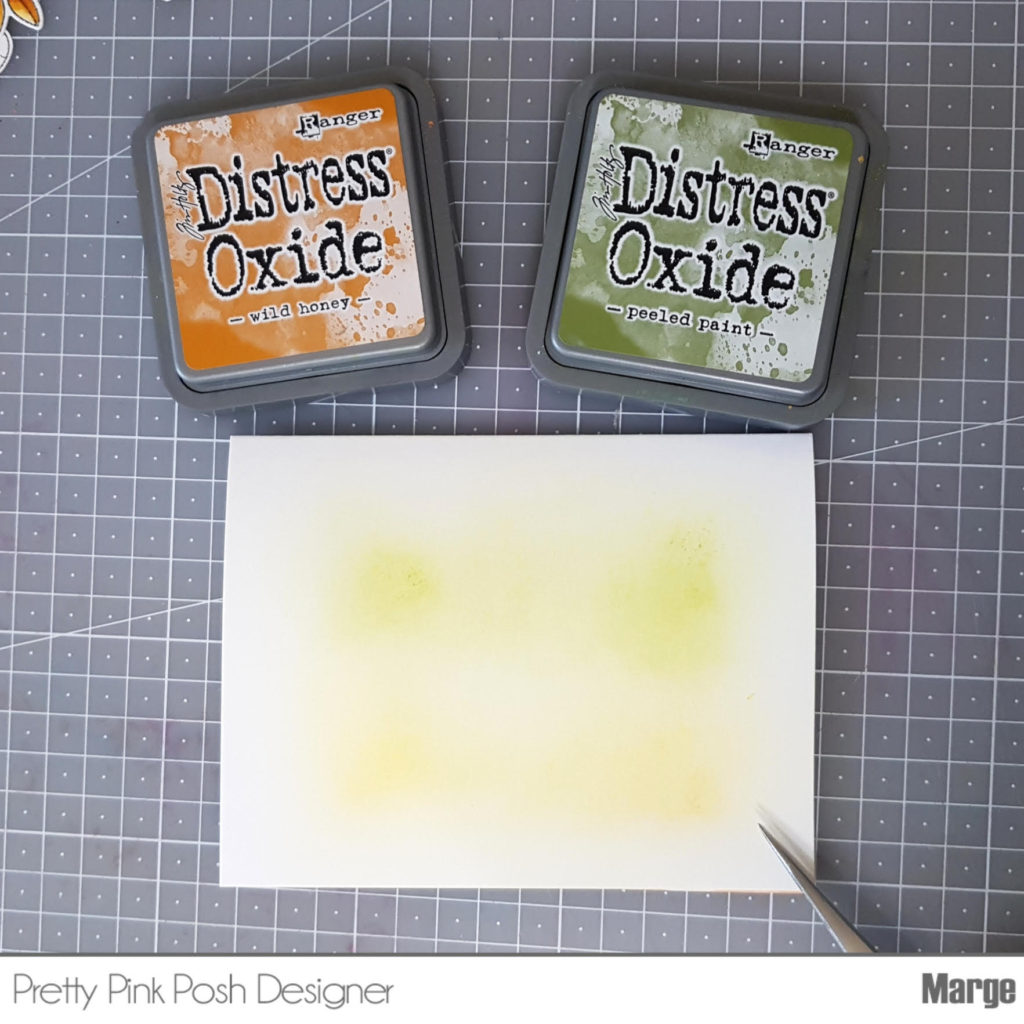
1) Cut Bristol Paper into 4.25 x 5.5 for a background wall, add patterns using Leaves Stencil and distress oxide inks: Peeled Paint, Crushed Olive, Wild Honey, and Tea Dye. Splatter with bronze metallic ink. Adhere the panel onto the inner wall of the A2 card base.
2) Cut another piece of Bristol Paper into 5×5.5inch, add patterns using Wafers Stencil. Do the same stenciling three times by moving the stencil on the paper to the side a little so that all the space are filled with patterns.
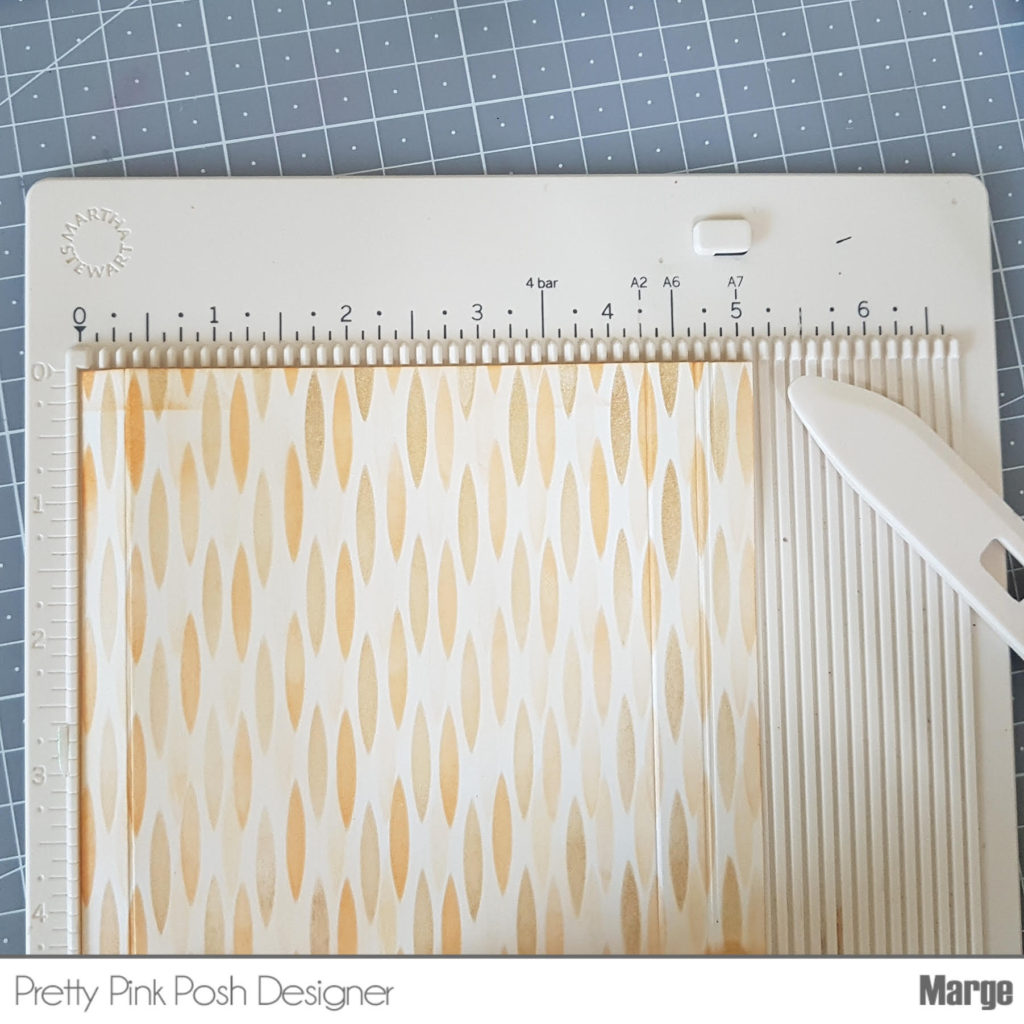
3) Score straight lines at 3/8, 4 1/4, and 4 5/8 inch along the 5″ side. The first 3/8 inch wide part will be glued onto the back wall.
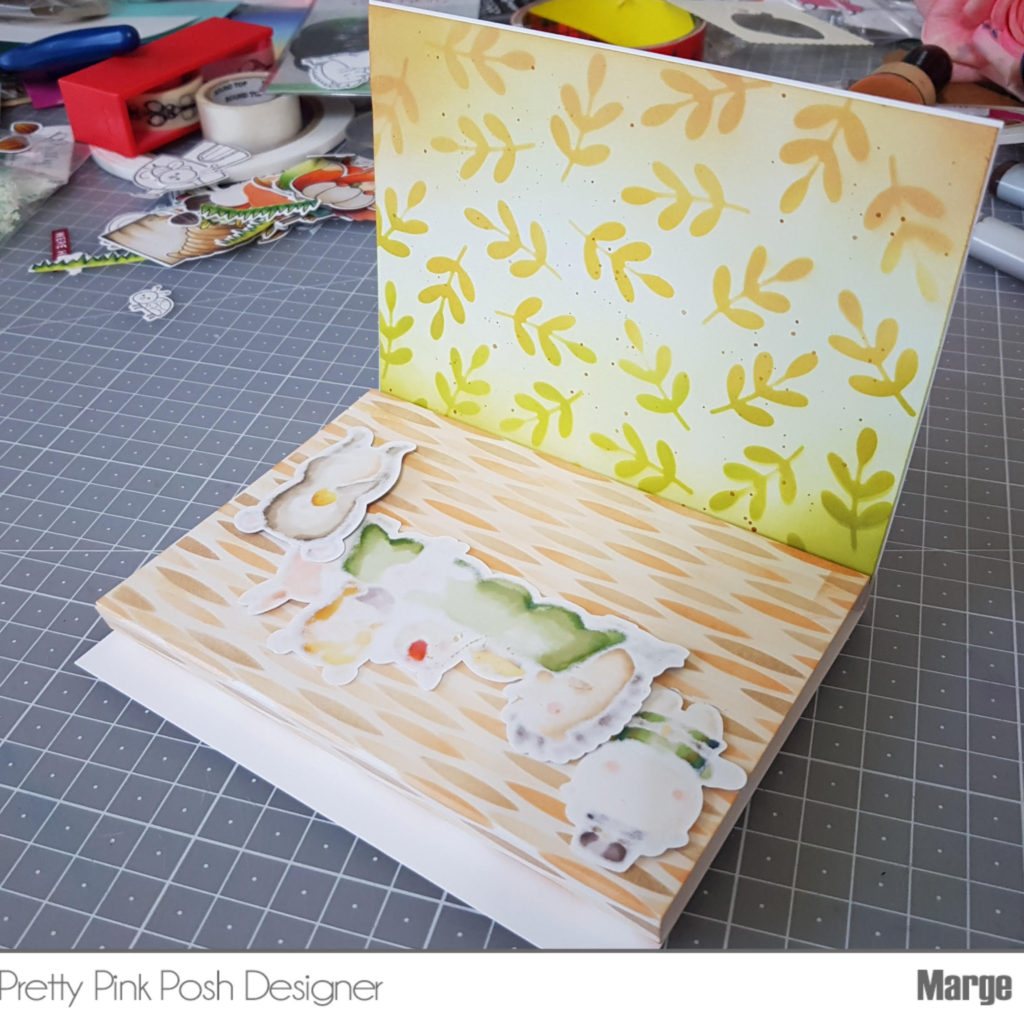
4) Place die-cut images face down on the floor and mark cut slits at their bases using a pencil. Make sure that the images do not lay over the front edge or they will pop out of the card when you fold it.
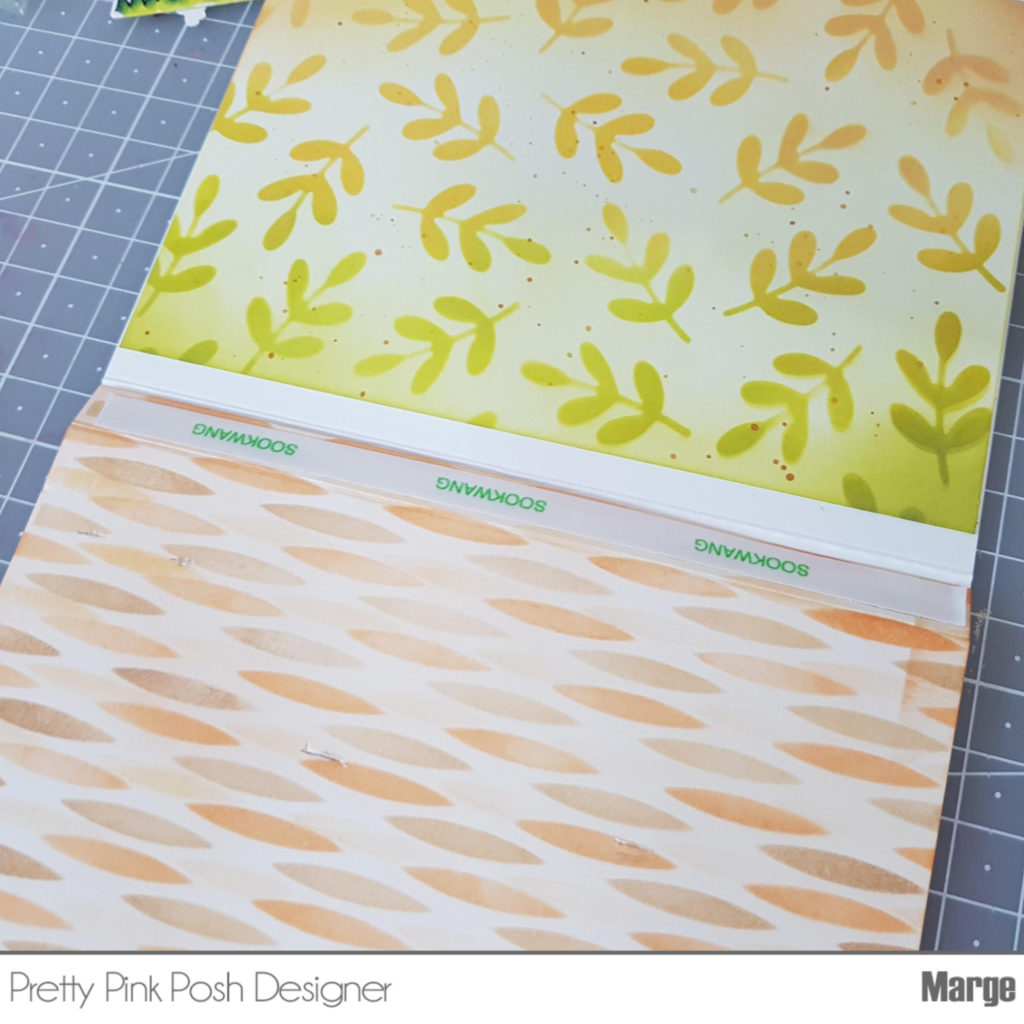
5) Use a knife to cut the marked slits, then adhere the 3/8 inch wide part of the floor to the back using double-sided tape or glue.
6) Now you need L-shaped props that are foldable to support the images when stand-up and to flat down the images when you fold the card. Cut several thin strips from heavyweight white card stock, make scores on the one-third of each strip. The length and width of strips are totally dependant on the height and width of your stand-up images. Just make sure that the bottoms of your L-strips are firmly glued to the bottom of card base under the floor.
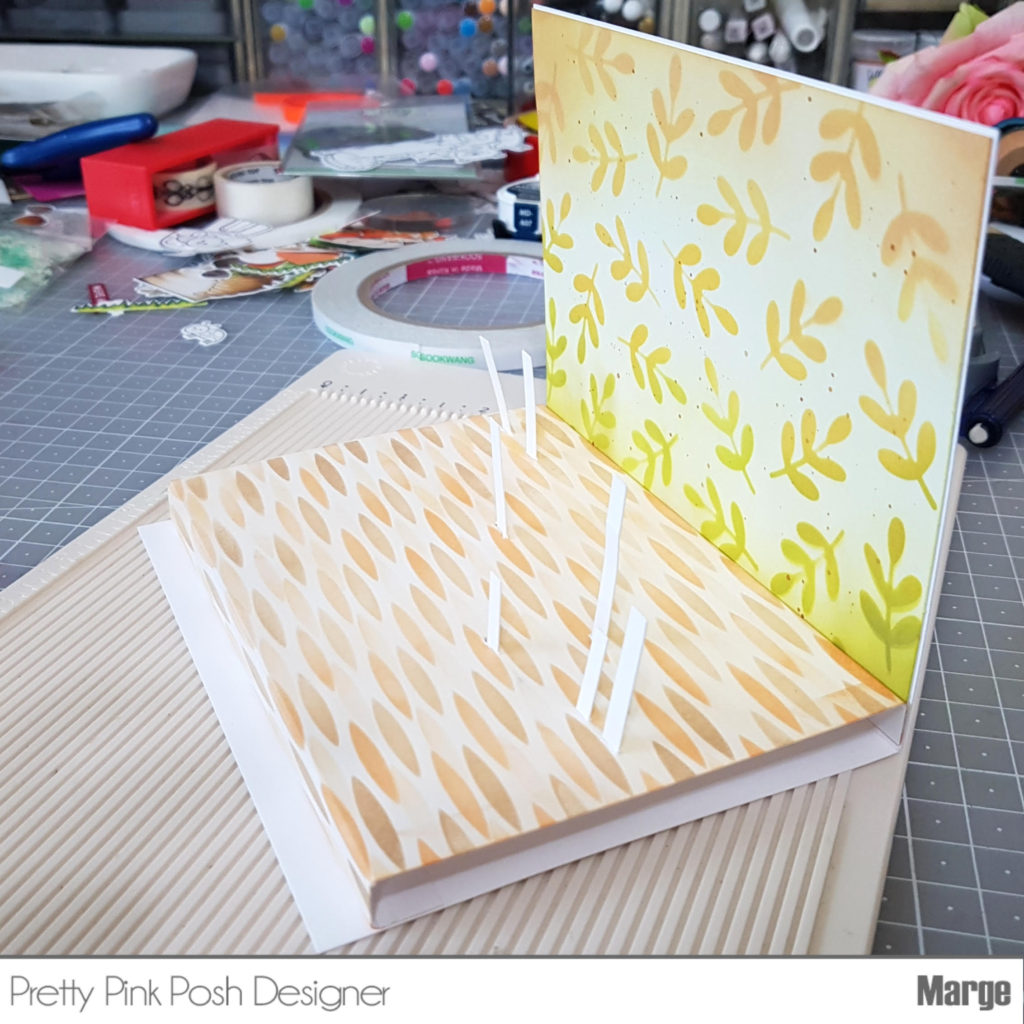
7) Insert L-strips into the slits of floor, position them to stand up perpendicular, apply glue on the bottom of each strip, now hold down the floor so that the glued surfaces are adhered to the bottom of card base.
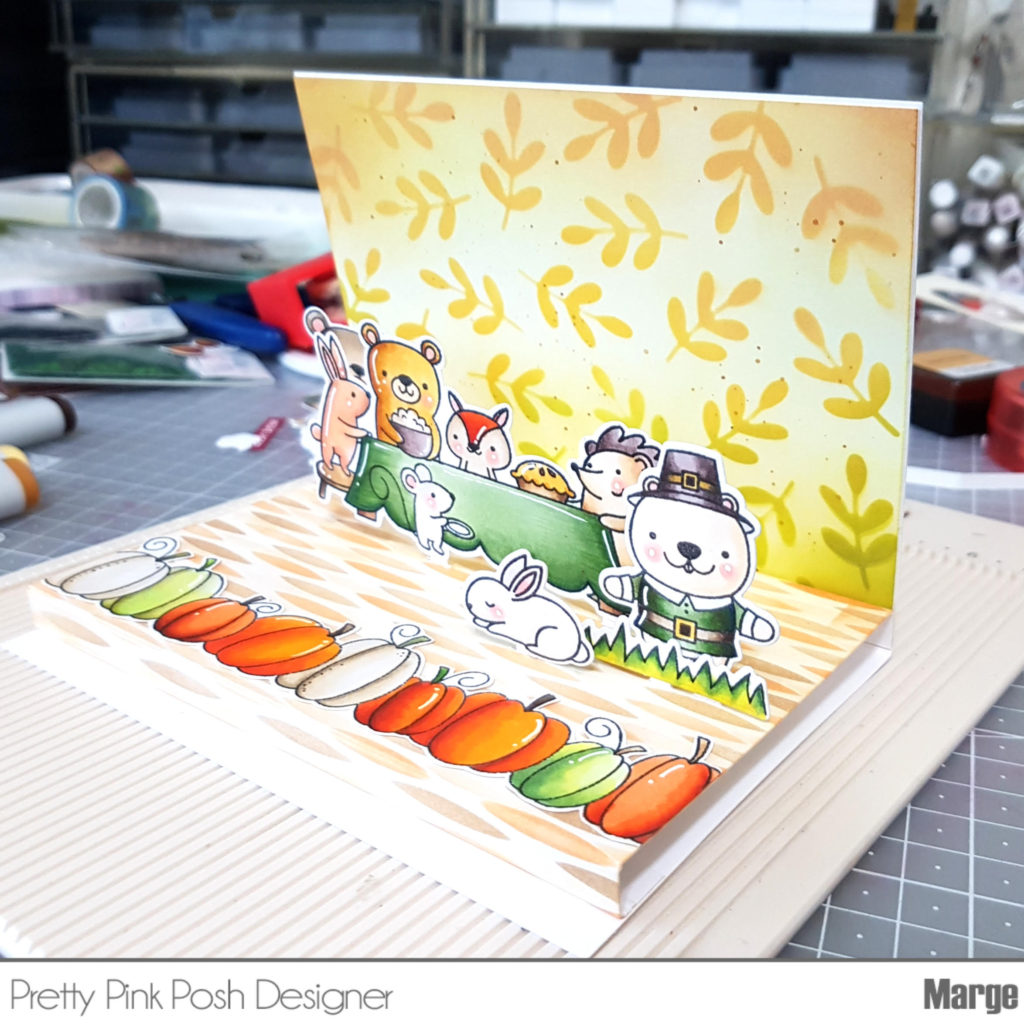
8) Adhere the front part of the floor to the card base to set up the floor.
9) Adhere the colored images to the L-strips and the floor using glue or tape as shown in the picture.
10) Cut Happy Thanksgiving Script Die from white paper, color the die-cuts using Copic Markers (E29/E09/YR27/YR24/YR21/Y21), add sparkles on it using Wink of Stella, and glue them on the wall behind the scene.
< Outside >
1) Create some subtle colored background by adding Wild Honey and Peeled Paint onto the outer surface of the card base.
2) Create a fun autumn scene by adhering several images and die-cuts from Pumpkin Patch Critters, Fall Signs, Autumn Wreath, and Small Stitched Foliage Dies.
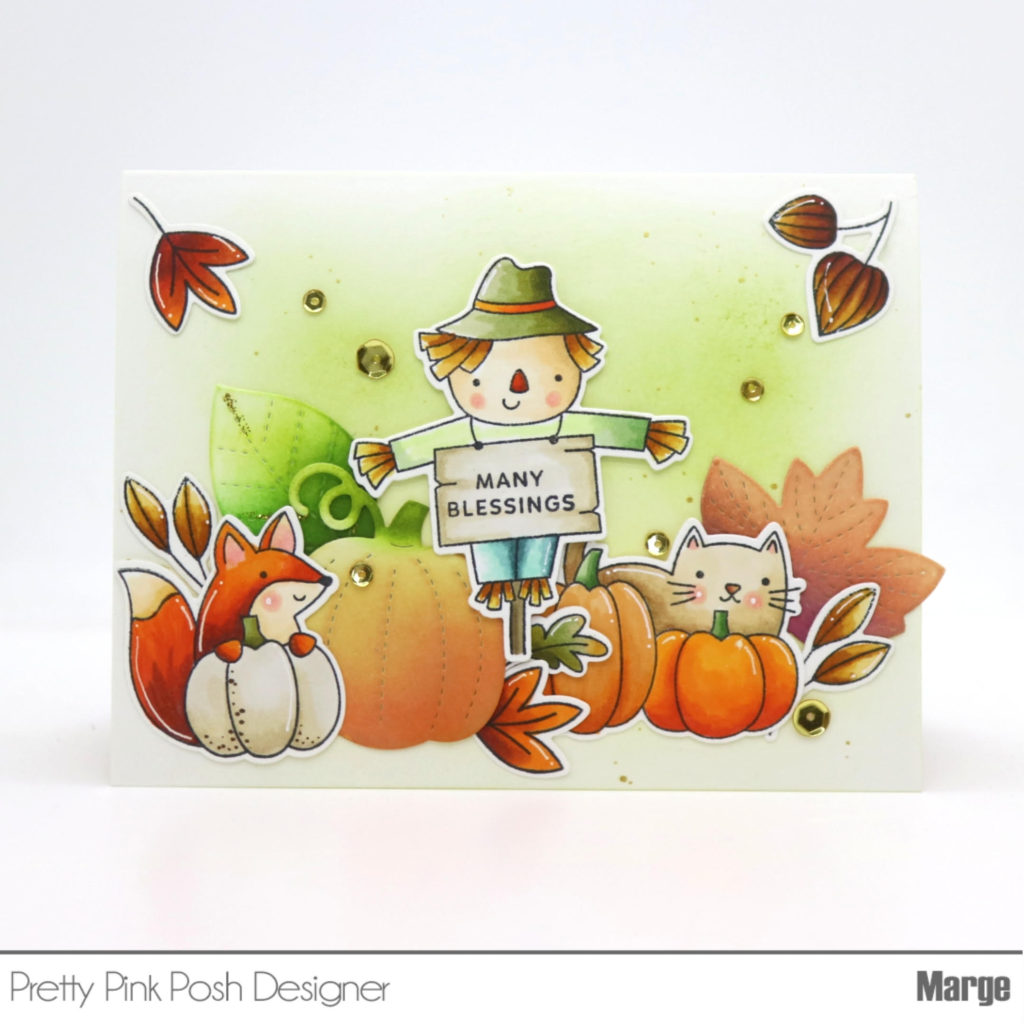
3) Splatter with some metallic inks, adhere 4mm Metallic Gold and 6mm Metallic Gold Sequins around the scene and finish off the card.
That’s it from me for today. I hope you enjoyed my card. Thank you so much!
This is INCREDIBLE!
This card is so cute. Thank you.
A video tutorial for this would be great… to see how the images come up.
This is adorable! Thanks for the quick tutorial! I’ve been thinking of making some pop-up cards but as I don’t have $$ for special dies I wanted to do it without. Can’t wait to try.
What an awesome popup card!! Love the dimension and thanks for showing how to do that! :)
Love this! Thank you for the tutorial.