
Halloween Theme Week- Day 1
Hello, Gemma here today with a Halloween pumpkin card. When I saw the new Grateful Shaker die, I thought it would work really well as a window scene for a Halloween card.
All this week, save 15% on items in our Halloween section!

I began by die cutting the pumpkin from orange card. Although the die cuts with the word across it, it’s very easy to snip this away. I love this option as it makes it more versatile.
Next, I die cut the pumpkin again, this time from a piece of dark grey card, cut to the same size as my card base.
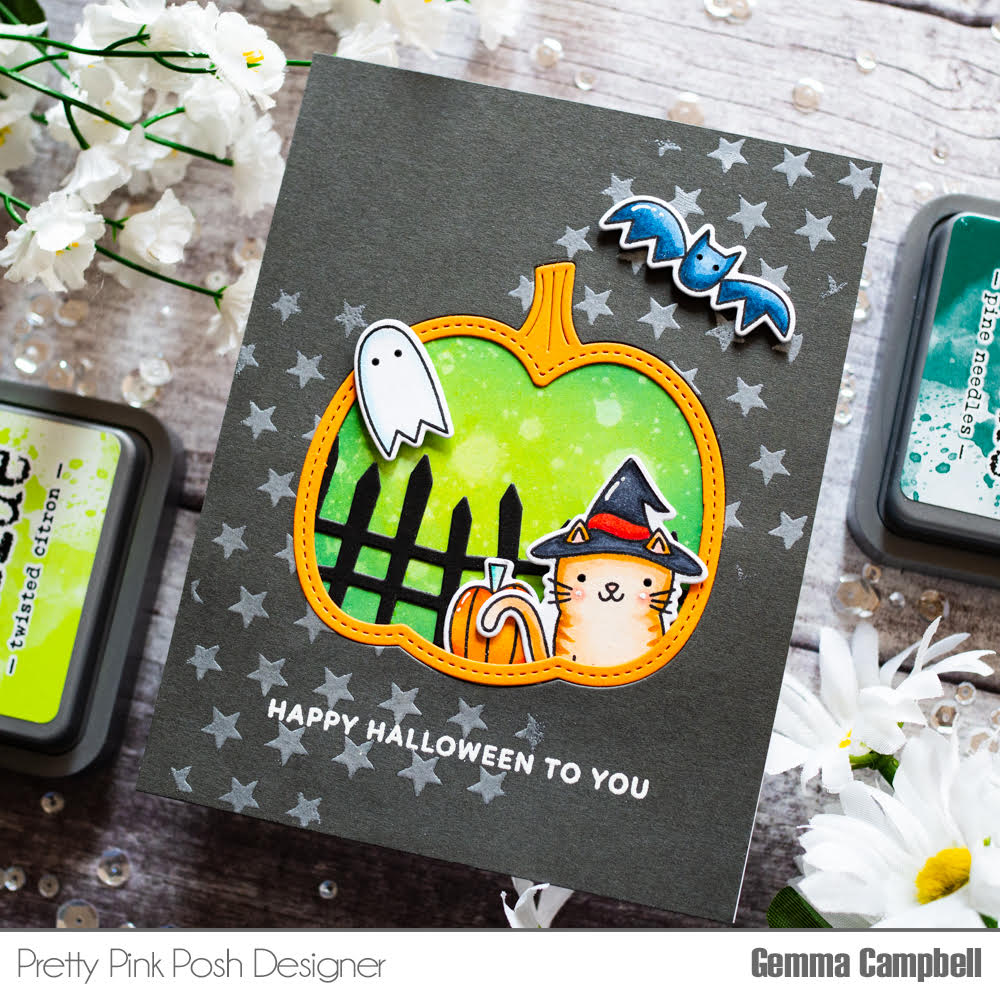
On this piece of card, I used the new Stars stencil and WOW Silver Pearl embossing powder to add a pattern of stars on the panel. I didn’t cover the whole panel with stars and allowed some of the pattern to fade off at the edges. I also embossed, in white, a greeting from the new Boo stamp set.
On my card base, I added a blend of distress oxide inks in twisted citron, mowed lawn and pine needles. I kept the lightest colour in the centre to get a glow effect and flicked the ink with water for droplet details.
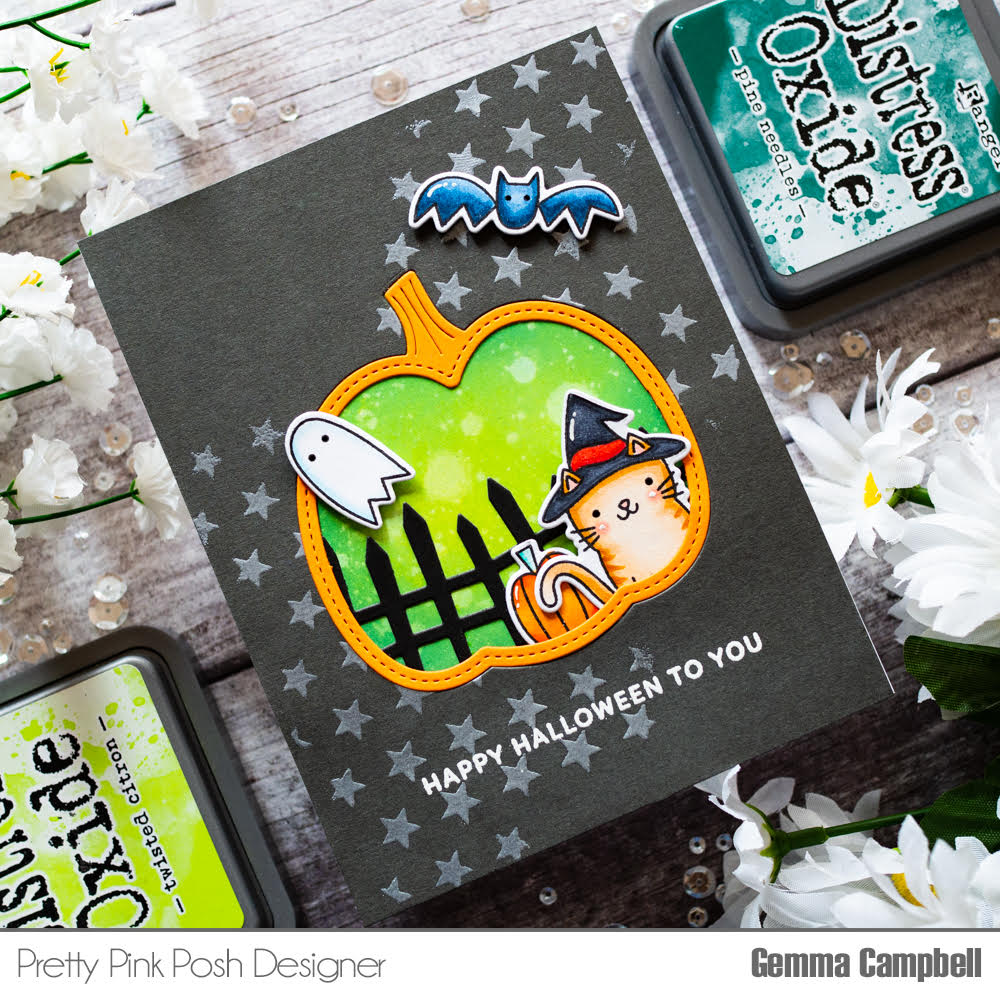
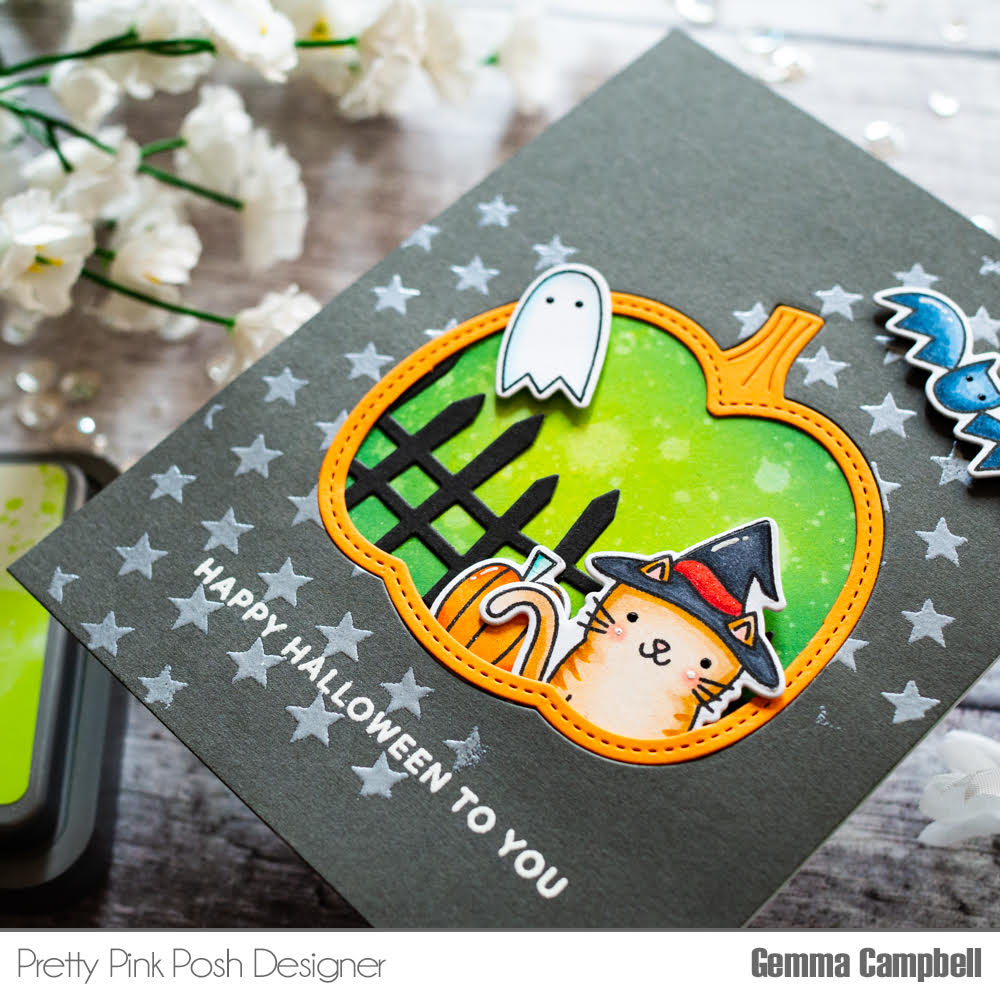
To build my scene, I die cut the new Spooky Fence die from black card, adhering it to my card base. I added the dark grey embossed panel on top, then the orange pumpkin die cut in the window space on the card I coloured some images from the new Boo stamp set, and also some previously released sets – Halloween Pals and Pumpkin Patch Critters.
I tucked the cat and pumpkin into the window scene, using some foam tape under the cat. I then added a ghost and bat to finish my spooky cute scene.
I hope you were inspired to think outside of shakers when using the shaker dies- the shapes are so fun and versatile. Join us tomorrow for a new day of Halloween inspiration!
Absolutely gorgeous card!!!!
Spooky cute! Great design using the pumpkin and kitty, and awesome colors! :)