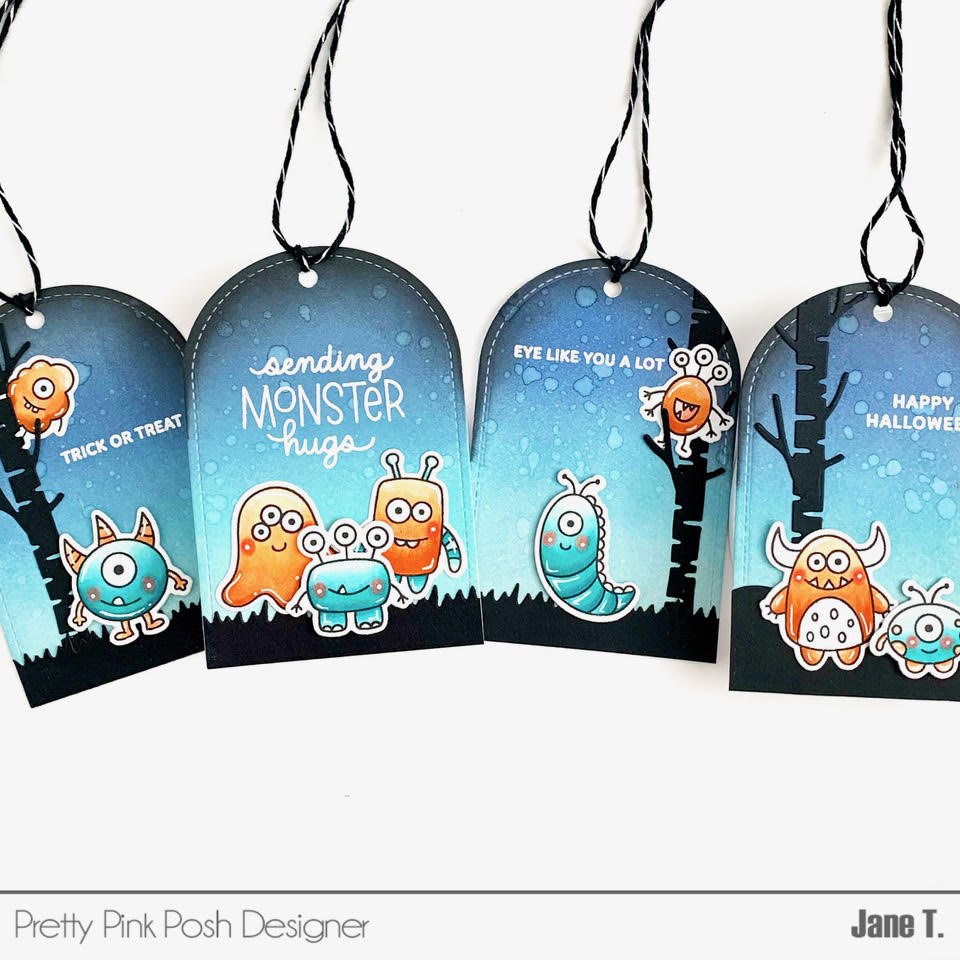
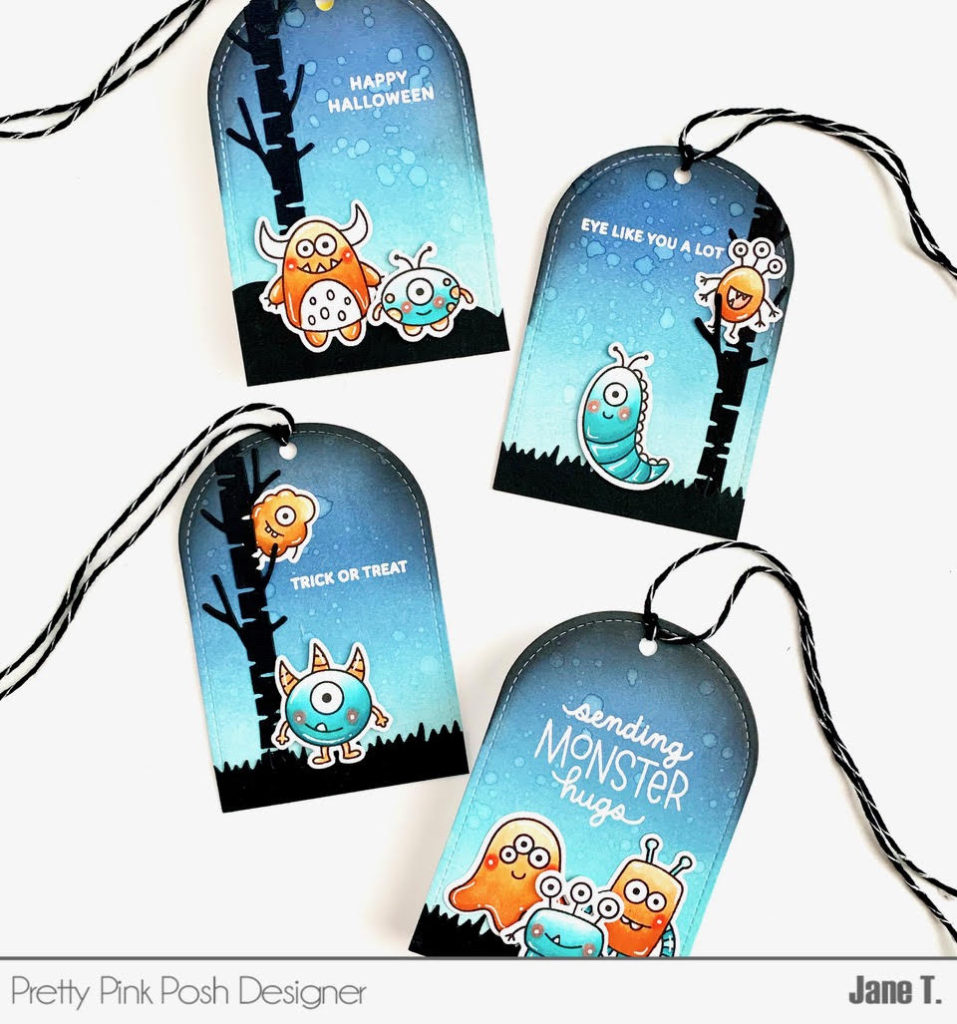
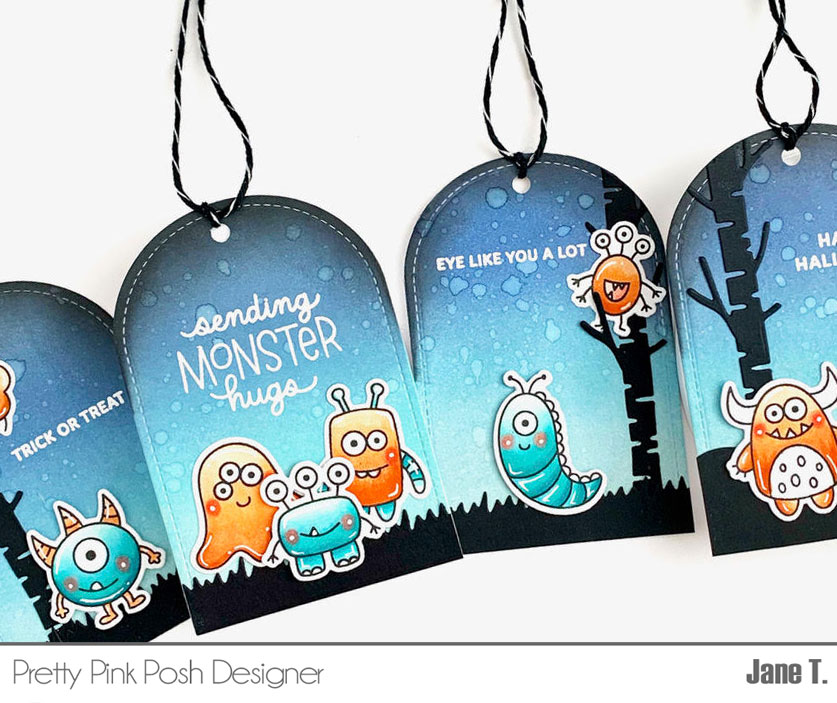
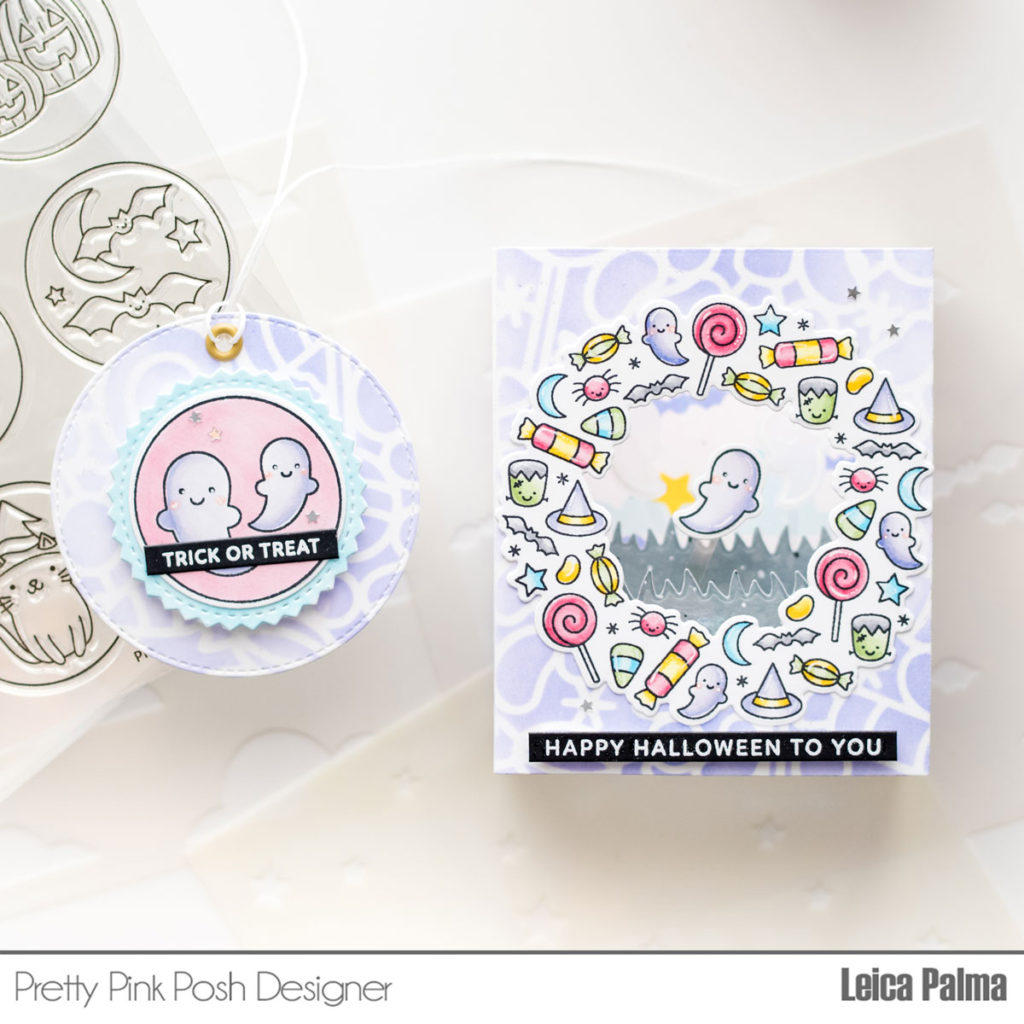
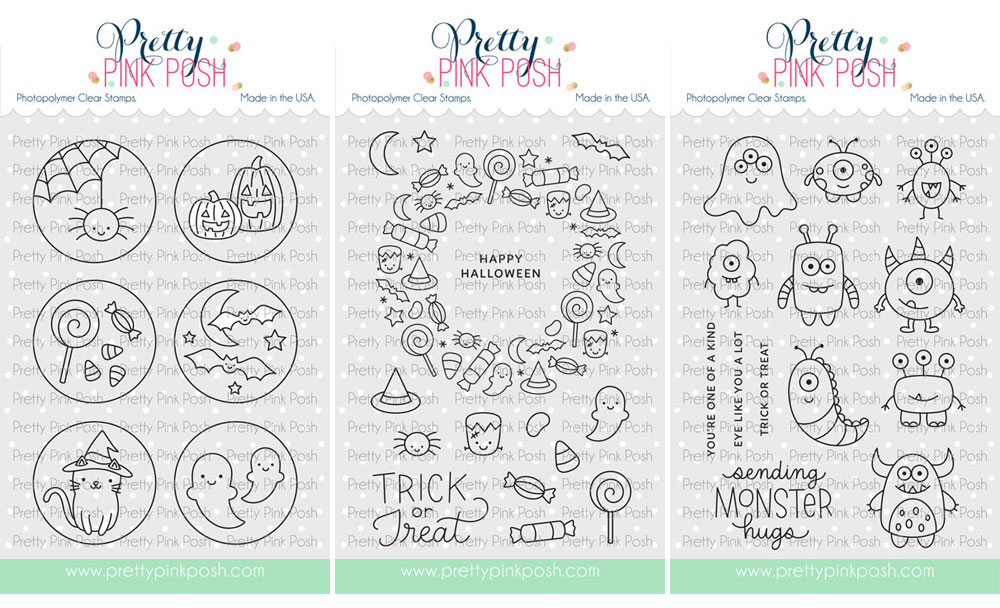
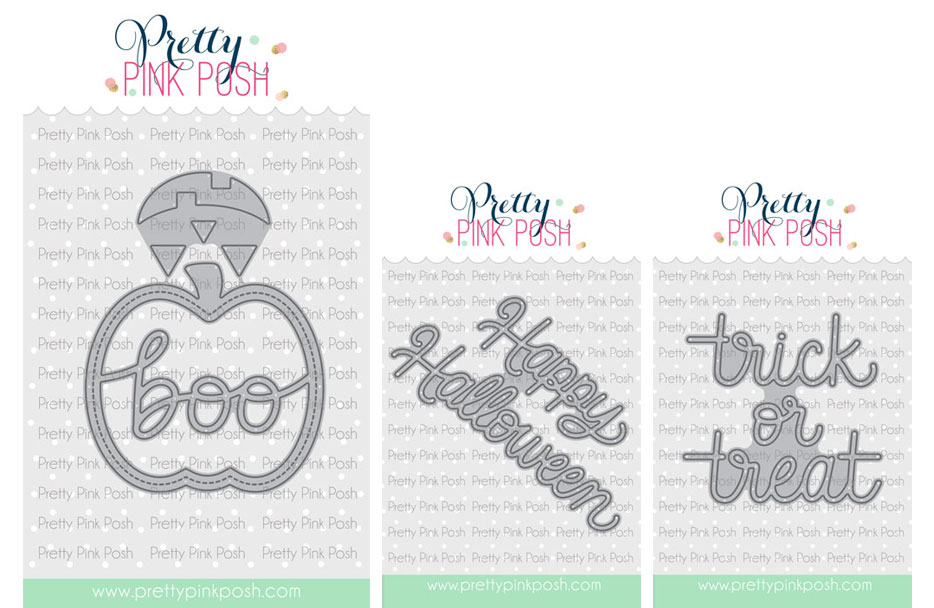
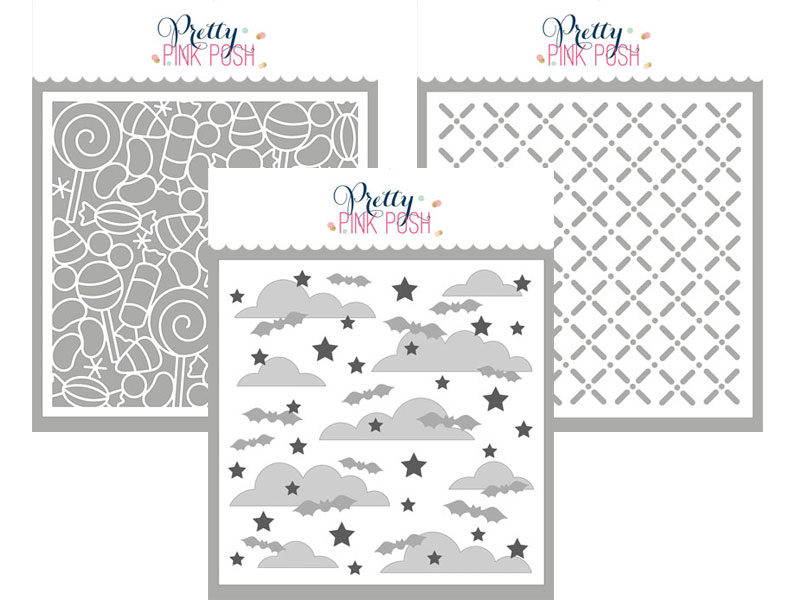
Hello friends! It’s time to reveal all of the individual products that are part of the May 3rd release.
Here’s a look at the seven new stamp sets that will be available for purchase: 4th of July, Dad, Flower Bouquets, Nautical and Spring Circles.
Here are the individual die sets that will be available: Dad/ Father Scripts, You Are Special Script, Tool Background, Tulip Cover Plate and Slimline: Floral Cover.
This month we have four new stencil packs: Flourishing Fuchsias, Geraniums (2 layer), Layered Stars (2 layer) and Mini Polka Dots.
*the Flourishing Fuchsias and Geraniums stencils coordinate with our previously released stamp and coordinating die sets!
We have a limited amount of bundles available where you can buy the whole collection in one easy click. Plus, you’ll get 10% off when you buy it altogether.
We will see you tomorrow as we show you the new products in a video and the products go live individually. Plus, we will be kicking off our three day blog hop!
Hi everyone, Jane here and I’m so excited to be sharing a sneak peek of the new die sets by Pretty Pink Posh which will be released on May 3rd!
To create my first card, I cut a piece of watercolor paper to 3.25 inches by 8.25 inches. Next, I used various colors of watercolor to paint the background and then set it aside to dry. Then, I cut the Slimline: Floral Cover die from white cardstock and added foam tape to the back for some dimension. The panel was then adhered to the watercolor background and the edges were cut using a paper trimmer.
Next, I used the You are Special script die and cut it from white cardstock. The sentiment was stacked three times to create dimension. The top layer was ink blended to match the watercolor background. I cut a strip of white paper and cut the ends using scissors. Next, I used foam tape to adhere the white paper strip to the background and then adhered the sentiment on top using liquid glue.
The entire card front was glued to a white slimline card base and that finishes the first card!
My second card showcases the Tulip Cover Plate die. To create this colorful card I used a combination of ink blending and masking.
To start, I cut the Tulip Cover Plate die from heavy weight white cardstock. Keep the negative die cut pieces from the die cut since you will need them for masking. The tulip panel was adhered to a heavy weight piece of white cardstock using liquid glue.
After the panel was ink blended, I removed the masks (die cut pieces). Then, I used white card stock to cut another piece of the cover die and glued it onto the ink blended panel. This will cover up all the white lines on the tulips and vase that were ink blended and creates a nice finished look to the card.
The coordinating ribbon and tag dies were cut using scrap cardstock. I stamped the sentiment “missing you” from the Simple Sentiment stamp set on the tag and adhered it to the card front behind the bow using liquid glue. The entire panel was then adhered to an A2 white card base and that completes the card!
My last card features the new Tool Background die set and the new Layered Stars stencils. To create this card, I first ink blended a background using various green, teal and blue dye inks. Then, I used one of the the Layered Star stencils and masked off the larger stars. I used a white pigment ink and a large blender brush to create a starry background.
Next, I die cut the Tool Background die from white cardstock and used thin strips of foam tape to adhere it to the blended background. The central sentiment was cut from white cardstock and layered twice to create dimension. I then adhered this to the center of the card using liquid glue.
The entire card front was adhered to a white A2 card base and the finishes the card.
Thank you so much for stopping by today! Be sure to stop by the Pretty Pink Posh store on May 3rd for the full release!
Hi Friends! It’s Dana here today and I am excited to be showing you a little sneak peek into some of the new stencils coming to Pretty Pink Posh on May 3rd. There will be four new stencils available for the release and today I will be using three of them. Let’s get started…
For my first card I am using the new Geraniums Stencil. This stencil coordinates perfectly with the previous released Geraniums stamp and coordinating die set.
For my card panel I used the new Mini Polka Dots Stencil. This is a “must have” stencil, such a great basic! I used the same blending brushes as before, I just didn’t add any more ink and used a light hand to get softer colors.
Next, I used the Scallop Ovals Die. I stamped my sentiment from the new Flower Bouquets stamp set directly onto the inside piece of the oval frame and then attached the pieces to my card panel. Lastly, I attached my floral images with foam adhesive around the edges of my frame.
My next card uses the new Flourishing Fuchsias Stencil.
For my card panel, I again used the Mini Polka Dots Stencil. This time I did a tone on tone background with Distress Ink in Peacock Feathers. Once my card was finished I added a few white paint splatters to my background and floral images. Lastly, I used the Simple Sentiments stamp set for my sentiment.
Thanks for joining me today. I love how these coordinating stencils allow you to quickly and easily add color to your stamped images. I hope you give them a try! I know you will love them too.
Hello, Gemma here today and I’m excited to share a look at the new Nautical stamp set from the upcoming May 3rd release!
For my first sneak peek card, I have gone clean and simple.
I stamped a boat, ship’s wheel and birds from the Nautical stamp set and coloured them with copic markers. I die cut them with the coordinating dies, layering some more die cuts behind for dimension.
Next, I die cut the Spring Scene die from grey card and again from white card. The circle frame from this die makes a perfect porthole. I cut a piece from of gel plate printed background for the water, made with salty ocean, mermaid lagoon and blueprint sketch distress oxides. I layered the frames over the top, then adhered it to my square card base.
I added my images to the card, then stamped a fun sentiment from the Nautical stamp set on the card base to finish.
For my second card, I created a night scene. On my A2 card base, I masked off an area for the water and blended on tumbled glass, mermaid lagoon and blueprint sketch distress oxide inks.
For a hill, I die cut the smaller Window Frames die and coloured with mowed lawn and pine needles distress oxide inks, then added to my scene.
The Nautical stamp set has a fabulous lighthouse image. I stamped this and a boat from the set, then coloured them with copic markers and die cut them with the coordinating dies. I added extra die cut layers for dimensions, then adhered them to my card.
I added a moon from the older Camping Friends stamp set, then stamped a sentiment from the Nautical stamp set to finish my night scene sailing card.
This set can be used for so many different occasions, including Father’s Day. We’ll have more sample cards with this set in the near future.
Hi! It is Melody on the blog. Today I am going to give you a sneak peek at the new 4th of Julystamp set and 4th of July coordinating dies, which release on May 3rd. Makes me look forward to the summer months ahead!
I started by cutting a piece of kraft cardstock for the card front and stamping fireworks in red and blue, leaving room to stamp the white fireworks.
I gave the red and blue ink a chance to dry, then rubbed a powder tool applicator over the whole card so that no embossing powder would stick where I didn’t want it. I stamped the rest of the fireworks in Versamark Ink and embossed with white embossing powder.
I stamped the banners and rockets in the stamp set in black ink and colored with Copic Markers, adding a few details with a white gel pen. I stamped America in Versamark Ink and embossed with white embossing powder. I die cut all the images with the 4th of July coordinating dies.
I die cut the sentiment with the Simple Strips Dies and attached all my elements to the card front. I finished off the card with a little bling with a few Pearl White Jewels.
Thanks for stopping by today. Hope you have enjoyed a peek at the new release!
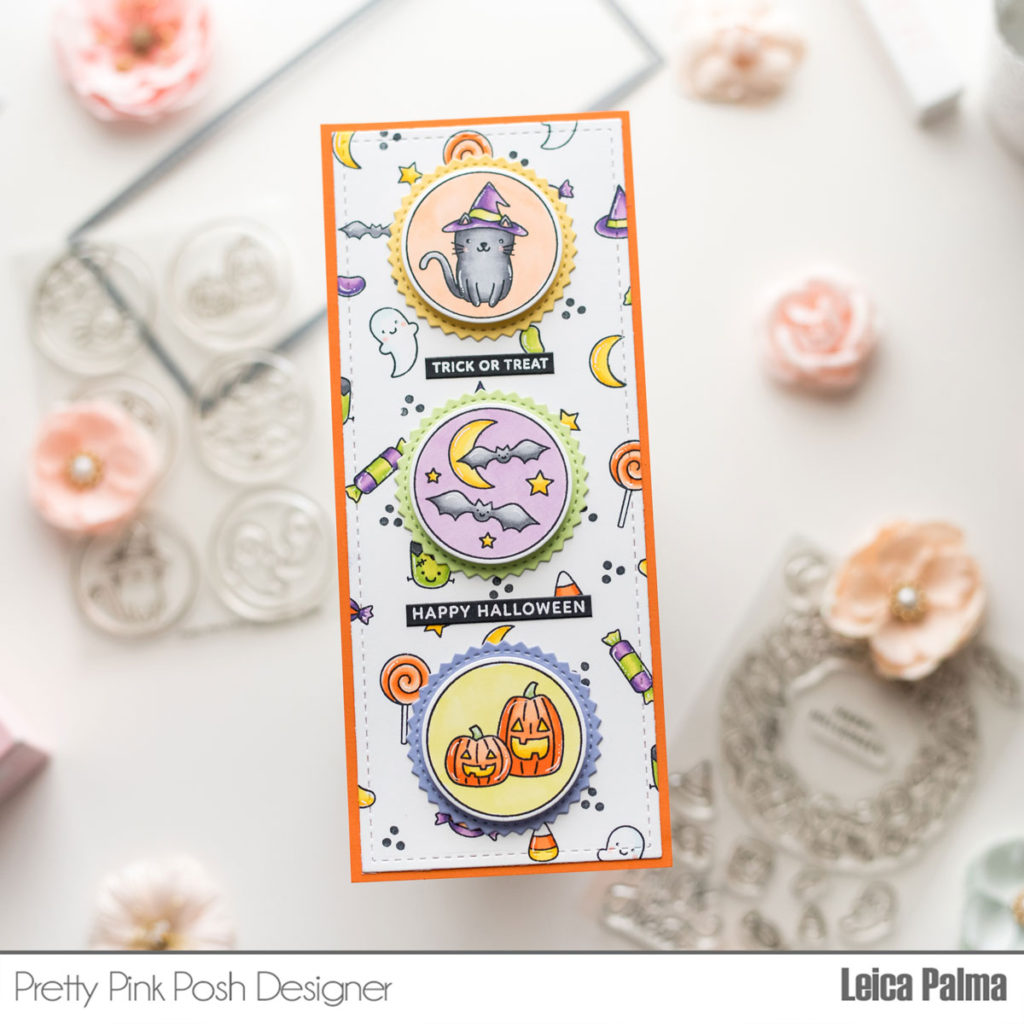
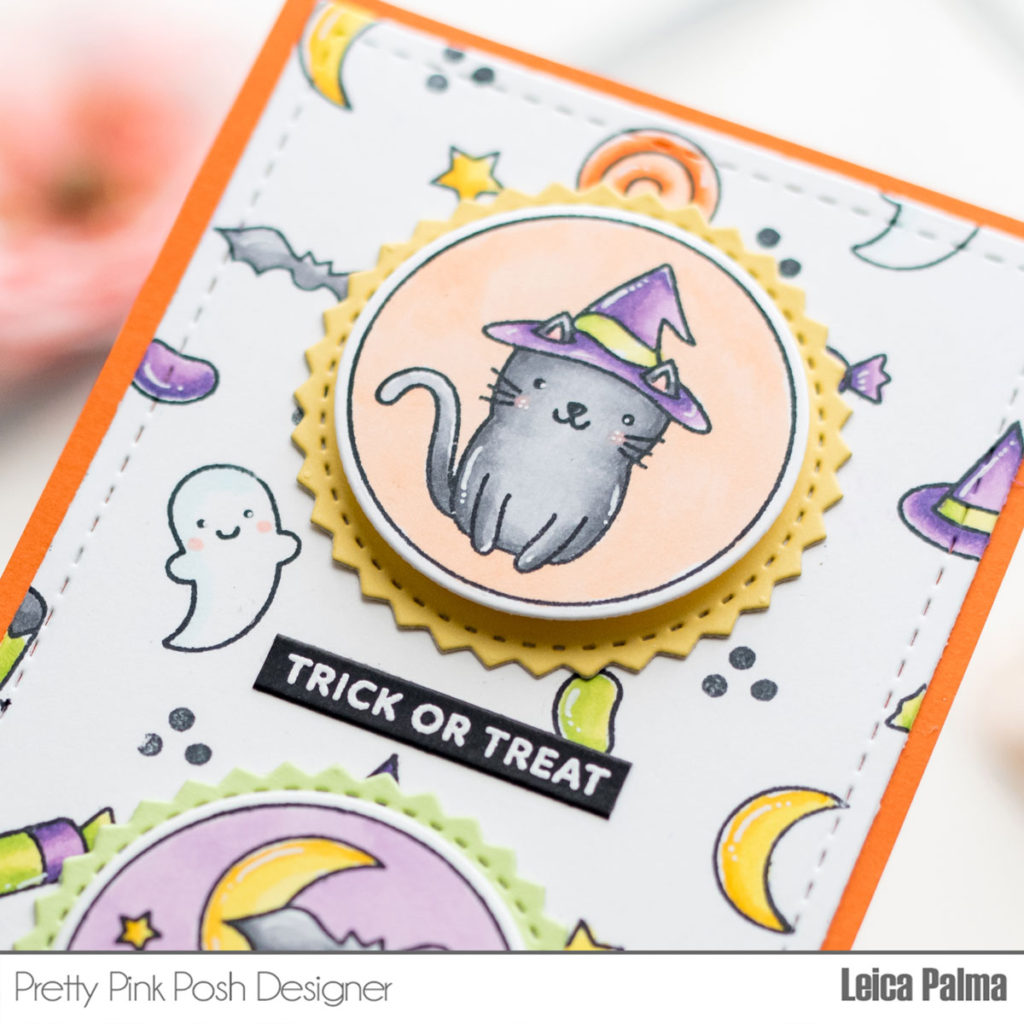
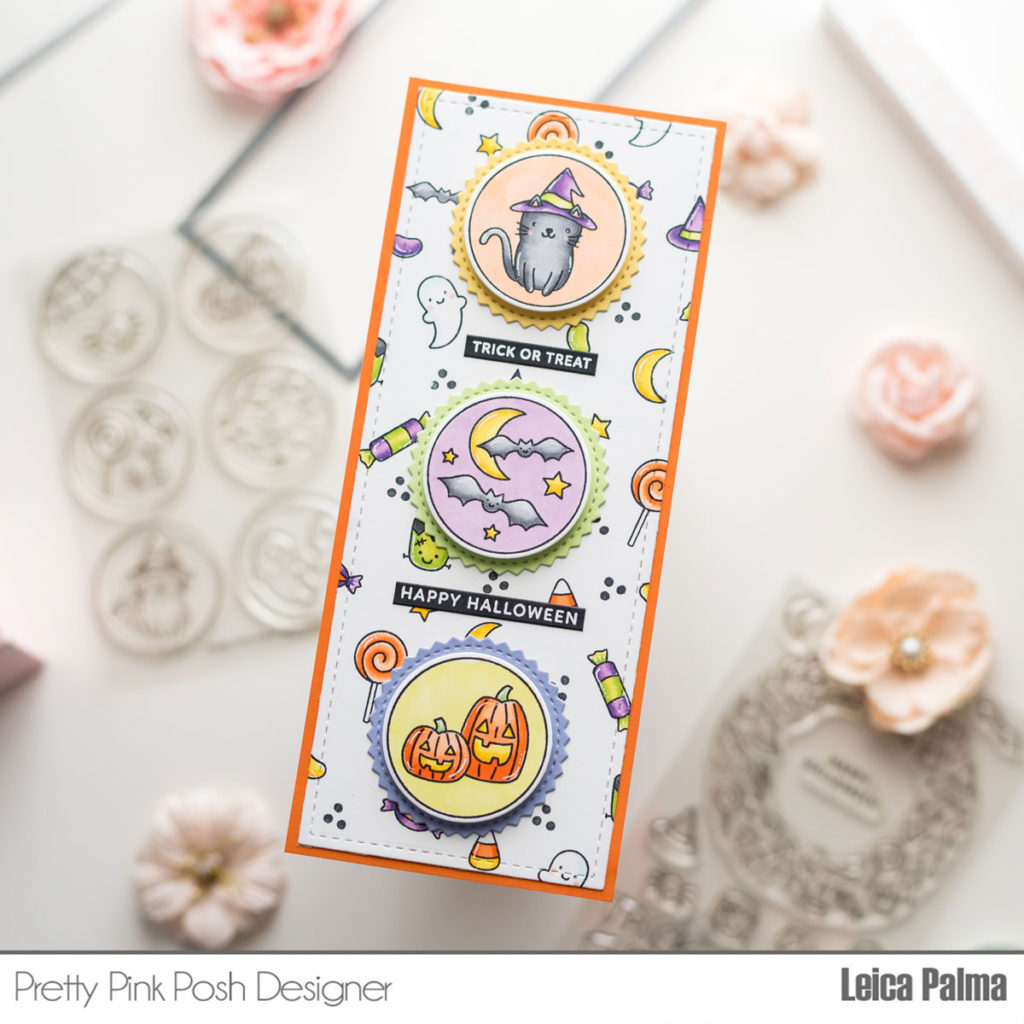
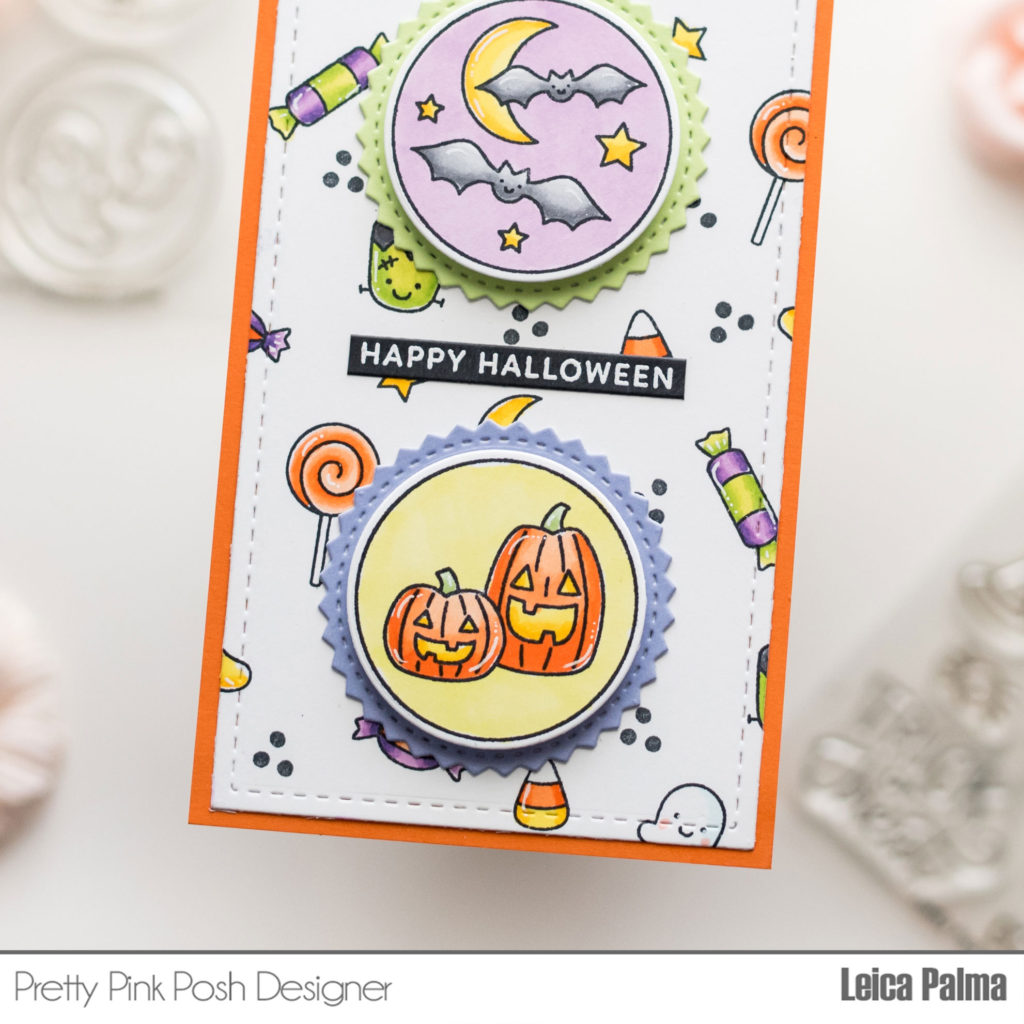
Hello, crafty friends! Leica here and I’m excited to share a couple cards I made using new stamp sets that release on May 3rd. Today, I am featuring the Spring Circles Stamp Set and Flower Bouquets Stamp Set.
For the first project, I made a slimline card using the Spring Circles stamp set and coordinating dies. To begin, I cut a 3.5” x 8.5” panel and inked with Tattered Rose and Victorian Velvet distress oxides. I then cut 3 scallop circles from Valentine Circles dies and inked the first one in Tattered Rose. For the 2nd circle, I inked in the top half with Tattered Rose and the bottom with Victorian Velvet. The 3rd circle was inked with Victorian Velvet.
Next, I stamped, colored, and cut the images from the Spring Circles stamp set. I adhered each one to the scallop circles.
I then white heat embossed the sentiments from the Simple Sentiments stamp set on a strip of black cardstock. Lastly, I adhered all the elements down onto my card panel.
The Spring Circles coordinating dies come with a unique piece that I used to make a matching tag for my card. I hope you like this bonus!
For the second card, I stamped, colored, and cut the beautiful flowers from the Flower Bouquets stamp set.
I then cut a 3.5” x 8.5” panel and inked with Wilted Violet, Milled Lavender, and Spun Sugar. To add interest, I sprayed some water and splattered acrylic paint on the panel. Next, I cut the new Slimline: Floral Cover die set in white cardstock. I then cut the sentiment from the You Are Special Script die set in gold glitter cardstock.
Next, I cut a white cardstock to go behind the floral cover die to make the gold sentiment stand out more. I then adhered it onto the inked panel. The floral bouquets were adhered with liquid glue and the one in the pot was foam mounted for dimension. I thought my card needed something else, so I added the cute little birds from the Spring Robins stamp set.
When I finished the card, I had an extra image that didn’t make it on my card, so I made a matching tag.
I hope that you like my cards and tags and that I’ve inspired you to create with these 2 beautiful stamp sets.
Thanks for stopping by, join us tomorrow for another sneak peek of the May 3rd release!
Hello, Gemma here today and I’m excited to share a look at the new Dad stamp set from the May 3rd release! The perfect addition to the large word stamp sets from Pretty Pink Posh.
For my first card, I created a CAS sports theme Father’s Day card. There’s a great choice of different sports images included in the stamp set.
I masked off an area on my card base, then blended on distress oxide ink in the colours mowed lawn and shabby shutters.
I stamped the large words from the Dad stamp set and coloured them with copic markers. I used my E30 markers, blending from darker to light. I then die cut the letters with the Dad coordinating dies.
I also stamped the golf flag and golf ball, colouring them with copic markers and die cutting them with the coordinating dies.
I added two layers behind the letters and golf flag, then arranged all the images on my card. I finished by stamping a sentiment from the Dad stamp set underneath.
As well as sports, there are also images of tools included in the Dad stamp set. I used these on my second sneak peek card.
I stamped the large word image on Kraft card with clear embossing ink, then heat embossed them with metallic copper embossing powder. I die cut the letters out, adding two more layers and an additional pearlescent brown layer offset for a shadow.
Next, I stamped lots of the tool images and coloured them with copic markers. I love copper with blue and kept the colour scheme simple.
I arranged the letters in the centre of a gel plate printed background, created with antique linen, pumice stone and frayed burlap distress oxide inks. I stamped a sentiment from the Dad stamp set underneath, then adhered the tools around the letters.
I trimmed away any overhanging images, before layering the panel on a square of pearlescent brown card, then adhering it to my card base to finish.
There are several other images in this set that I haven’t featured plus you can add other sets if you just want to use the DAD (Father’s Day set, critter sets, or even the new upcoming Nautical set).
Thank you for visiting us today. Join us tomorrow for another sneak peek of the May 3rd release!
Hello, Gemma here today with a fun celebration CAS card. My card base is 4.75 inches, which is a size that I’m enjoying using at the moment.
I began with a square card panel at the same size as my card base. As I’m embossing, I like to work on a separate panel which I can then adhere to my card base. It means I don’t warp the card base with the heat of the embossing tool.
I heat embossed, in gold, a border from the Love Borders stamp set along the bottom of the card panel. On a separate piece of white card, I embossed the wine glasses from the Happy New Year stamp set.
I used Zig real brush markers to colour the images. The colours I used are:
201 Pink Haze, 200 Almond Pink
302 Haze Blue, 36 Light Blue
55 Pale Yellow, 51 Lemon Yellow
73 Vanilla, 54 Pale Orange, 52 Bright Orange
303 Shadow Mauve, 806 Pale Violet
49 Green Shadow, 45 Pale Green
I die cut the glasses with the coordinating die, adding two die cut layers behind for dimension.
The sentiment is from the Happy New Year stamp set. I love this fun sentiment. I stamped it with black ink, then adhered the wine glasses underneath.
I added the panel to my card base, trimming away anything overhanging the edges. I also added some clear glitter pen to the glasses. Although it’s tricky to capture this in the photos, it’s very pretty in real life.
I think this design could work for many celebrations, including birthdays, engagements, weddings, and anniversaries.
Hello Friends! Elaine here today to share a Mother’s Day card and to help inspire you for your own creations.
To start my card, I stamped many of the smaller stamps in the Mom stamp set directly on to marker friendly cardstock. The panel measured 5” x 3.75”. I used a small acrylic block and started with the larger images first and filled in any gaps with the smaller images. I find using an acrylic block for multiple stamping quicker and easier than using a stamp positioner for designs like this.
I coloured the images with copic markers in the following colours:
Butterflies: V17, V15, V12, V01
Pink Flowers 1: RV14, RV13, RV11, RV10, RV00
Pink Flowers 2: RV34, RV52
Blue Flowers 1: BV13, BV08, BV02, BV01, BV00
Blue Flowers 2: BV13, BV08, BV02
Yellow: Y15, Y13, Y11
Leaves/Foliage: YG67, YG63, YG61
Setting the card panel aside once colored, I created the focal sentiment using the new Mom scriptdie and a sentiment from the Mom stamp set. I cut the Mom script die 3 times from heavyweight white card stock. Before adhering the layers together, I took one of the die cuts and blended on some Distress Ink in Shaded Lilac at the top and Worn Lipstick at the bottom, blending until they met in the middle to create a soft gradient from purple to pink. I adhered all three layers together with liquid adhesive. Taking some black cardstock, I white heat embossed the strip sentiment from the Mom stamp setand trimmed using a guillotine trimmer. To help make both sentiments pop on the card I secured the Mom die cut and strip sentiment to a piece of vellum and carefully secured to the card front.
Taking a piece of white cardstock measuring 5.5” x 4.25” I blended on some more Shaded Lilac Distress Ink around the edges and placed the stamped flower panel on top with liquid adhesive. The whole panel was adhered to a top folding A2 card base.
To add some sparkle, small jewels in the shade Lemon Drop were added to some of the flower centres.
That completes my card for today. I hope you enjoyed this project and it gives you some inspiration for using smaller stamps! Happy crafting!
Hello, Gemma here. My card today features the beautiful new Mom stamp set. In the U.K., where I live, we generally use the name Mum. It’s really easy to turn Mom into Mum, by combining this set with the previously released Floral Hearts stamp set.
I began by stamping the large MOM image, from the Mom stamp set, and colouring the two ‘M’ letters with copic markers. I kept the colouring simple and didn’t try to blend on the small images. I then die cut the letters with the coordinating die.
Next, I stamped the Floral Heart image with clear embossing ink. I heat embossed it with gold embossing powder and used the coordinating die to cut it out.
For the letters and floral heart, I added two die cut layers behind them. This is my favourite way to add dimension. I made sure to remove part of the layers where I planned to overlap the images, though.
I stamped a sentiment from the Large Floral Hearts stamp set on a strip of white card, before adhering my images above.
On my white card base, I added some interest with the Pretty Petals stencil and Worn Lipstick distress Oxide ink. I then adhered the panel on top.
I adhered some thin gold card strips along the edges of the panel, to echo the gold embossing of the Floral Heart, them some Pearl White jewels to finish.
I hope you were inspired by my project and if you also use “MUM” instead of mom, I hope I gave you an idea of how you can stretch your stamp sets!