Cards

| | | |

Christmas Theme & Giveaway Week- Day 6

Christmas Theme & Giveaway Week- Day 6

Hello crafty friends. It’s Vera Rhuhay here!

Today I’ll share a card with winter coffee themed card (which happens to go along with the brand new Winter Coffee Lovers Blog Hop). Here, I used Christmas Friends stamp set along with the coordinating dies.

Christmas Theme & Giveaway Week- Day 6

I create a coffee shop scene using Stitched Pieces Die and coffee cup and mug from Christmas Friends stamp for wall decorations. I used scallop border dies from Stitched Borders 4  to make a table, so the sweet couples can sitting in the cafe and enjoy their coffee latte.

Christmas Theme & Giveaway Week- Day 6

I added sentiment from Holiday Pals Stamp Set and finally I finished my card by added here and there with PPP sequins! Here I used Sparkling Clear Sequins and the Snowflake Sequins Mix.

 Christmas Theme & Giveaway Week- Day 6

Watch our video tutorial below to see how to create this card.

Watch the video above   I Watch the video in HD on YouTube

Today we have another big giveaway as part of our giveaway week. We are giving away a 60 pack of Zig Clean Color markers! Leave a comment below sharing your favorite Christmas or holiday memory.

a Rafflecopter giveaway
We hope you enjoyed today’s video and post. Join us tomorrow for our last day of holiday inspiration and giveaways!

| |

Christmas Theme & Giveaway Week- Day 5

Christmas Theme & Giveaway Week- Day 5

Hello Friends! It is Melody here on the blog today sharing my project for the Christmas Theme Week. If you are like me, you are finishing off those last few Christmas cards to give over the next few weeks. Here is my card I created with the Christmas Friends Stamp set.

Christmas Theme & Giveaway Week- Day 5

First I created the background of the card front. I stamped the snowflakes from the Winter Wonderland Stamp Set on white card stock in a white pigment ink and embossed with white embossing powder. Next I used a blending tool to ink the background with distress ink. I cut the smaller circle in the Scallop Circles Dies from kraft card stock. Inside the circle I stamped branches and a sentiment from the Holiday Greetings Stamp Set and added a few 4mm Metallic Gold Sequins and 3mm Clear Sparkling Sequins.

Christmas Theme & Giveaway Week- Day 5

The boy and girl are colored with Copic Markers and die cut with the Christmas Friends Coordinating Dies. The border is cut with one of the dies in the Stitched Borders 2 Die. I added a patterned paper below the border.

Christmas Theme & Giveaway Week- Day 5

Winter Wonderland stamp setChristmas Friends stamp set
Stitched Borders 23mm Sparkling Clear Sequins4mm Metallic Gold sequins
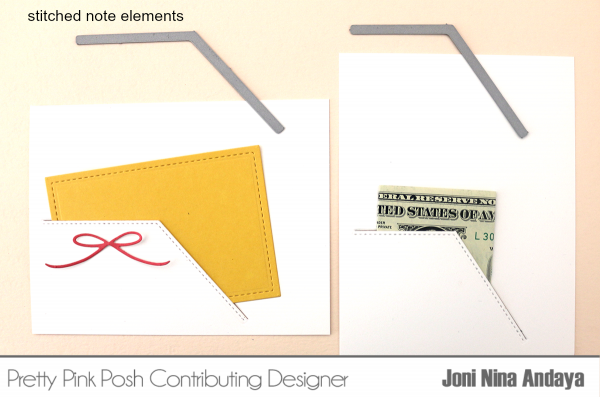
At this busy time of year I like to finish off the inside of my cards so that my cards are ready to go when I need them. I decided I wanted this card to hold a gift card. I used the Peekaboo Windows Die to create the pocket and stamped a sentiment from the Christmas Friends Stamp Set. Just remember when you adhere the inside panel to the inside of the card to leave the middle section open so that you can slide the gift card inside the pocket.

Now it’s time for our giveaway for today. Paulina is giving away a $25 Simon Says Stamp gift certificate! All you have to do is leave a comment sharing your favorite craft blogs to follow.

a Rafflecopter giveaway
Thanks for stopping by. We have another great giveaway tomorrow, along with a video and post!

| |

Christmas Theme & Giveaway Week- Day 4

Christmas Theme & Giveaway Week- Day 4

Hello Everyone, Joni here sharing a Christmas card for our special Christmas Theme & Giveaway Week.

Christmas Theme & Giveaway Week- Day 4

For this project, I used some Diamond Stickles to give sparkles on the die-cut images. I also added some of the ¼ Iridescent Star Confetti everywhere on my card, which is my new fave for this season.

Christmas Theme & Giveaway Week- Day 4

To begin, I distressed my card panel with Tim Holtz Distress Inks in Peacock Feather, Mowed Lawn, and Tattered Rose. Then I die-cut the panel using Scallop Frames Dies and die-cut some one white for dimension on the scallop frame. I Also heat embossed the sentiment “season’s greetings” from Christmas Friends stamp set using Liquid Platinum embossing powder.

Christmas Theme & Giveaway Week- Day 4

I also die-cut some medium and small stars from Stitched Stars Dies after distressing some scrap papers and adhered on the panel with foam tape. Every image is from the Christmas Friends stamp set except for the cute penguin, he is from the Winter Wonderland stamp set. The images where colored with Copic Markers.

Christmas Theme & Giveaway Week- Day 4

Here’s a closer look at the finished card.

Christmas Theme & Giveaway Week- Day 4

Winter Wonderland stamp setChristmas Friends stamp set
Stitched Stars Die setSticklesCopic Markers
Ready for today’s giveaway? It’s a big one! We’re giving away a Big Shot machine, along with three of our popular die sets! Leave a comment sharing your favorite way to embellish your cards and projects!

a Rafflecopter giveaway
 Thanks for joining us today! See you tomorrow for another day of inspiration and giveaways!

sig name

| |

Christmas Theme & Giveaway Week- Day 3

Christmas Theme & Giveaway Week- Day 3

Hi friends! Lisa here today with a frosty card made with Winter Wonderland Stamps and Dies. This card came together quickly and would be easy to mass produce!

Christmas Theme & Giveaway Week- Day 3I began by die cutting My Mind’s Eye Sugar Plum paper with the wavy die from the Scallop Borders set. Next it was adhered to my card base with the coordinating stripe paper.

Now comes the fun! I stamped and die cut the Eskimo girl, igloo and a trio of snowflakes. She’s colored with Copics and a slight bit of gray shading was done on the igloo. An extra igloo door was stamped and fussy cut then added to the igloo with foam tape.

Christmas Theme & Giveaway Week- Day 3

Winter Wonderland stamp setWinter Wonderland coordinating dies
Scallop Borders DiesSticklesCopic Markers
To bring in more sparkle, I used Frosted Lace Stickles on the hood. The Iridescent Mini Circle Confetti worked perfectly for snowy accents!

We’re continuing on with our week of giveaways and today we are giving away a $50 Ellen Hutson gift certificate. It’s super easy all you have to do is leave a comment sharing which craft item(s) are on your wish list!

a Rafflecopter giveaway
Thanks for stopping by today. Be sure to join us again tomorrow for new inspiration and another giveaway~ Happy stamping!

| | | |

Christmas Theme & Giveaway Week- Day 1

Christmas Theme & Giveaway Week- Day 1

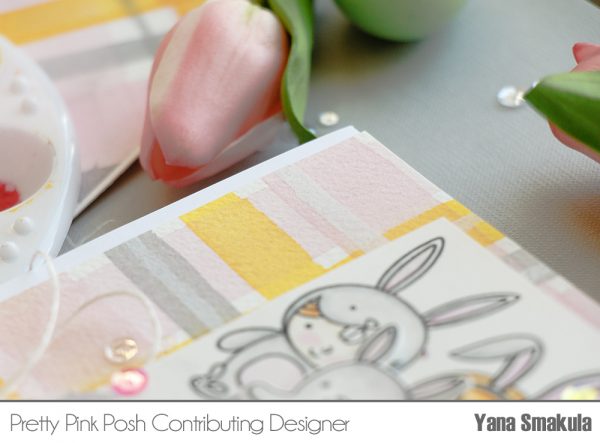
Hello, Pretty Pink Posh fans! This is Yana and I have an interactive Christmas card to share featuring the Winter Wonderland stamp set and wobble springs. Plus, this post kicks off our Christmas Theme and Giveaway Week!
Christmas Theme & Giveaway Week- Day 1

Wobble springs are something new and very exciting you can now find in Pretty Pink Posh store. And just in time for the Holidays, too! I was very excited to get my hands on these and I can’t wait to share a card I made using them.

In case you don’t know what wobble spring is, it’s a little plastic spring that attaches with one end to the card base (or anything else; thank tags, gift bags etc) and with another end to an object and provides that object with movement when touched. It is super fun to play with, even for adults – it’s mesmerizing in a way and addictive I’d say.

Christmas Theme & Giveaway Week- Day 1

The element that wobbles on my card today is the igloo and a little penguin. The spring is hidden behind both of these and adds movement to both objects. To embellish the card, I added 4mm Clear Droplets and 6mm Clear Droplets, which are one of my favorite finishing touches.

Christmas Theme & Giveaway Week- Day 1

Winter Wonderland stamp setAction Wobblers
Mini Misti4mm Clear Droplets6mm Clear Droplets
Watch my video tutorial below to learn how to make this card and how to use wobble springs to create addictive interactive cards.

Watch the video above   I Watch the video in HD on YouTube
Now it’s time for our first giveaway of the week. Today we are giving away a MISTI stamping tool!

a Rafflecopter giveaway
Happy cardmaking! Be sure to join us the rest of the week for more holiday inspiration and giveaways!

| | |

Clarity Brushes for Distressing

Pretty Pink Posh: Clarity Brushes for Distressing

Good morning Pretty Pink Posh friends! Heather here to share a couple cards using the Clarity Stencil Brushes – along with a video review of them. I was super excited to recently get my hands on a set of them – I have been seeing them used so much, that I was really curious how they worked.

Clarity Stencil BrushesFox Friends stamp set

If you aren’t familiar with them, they are brushes that can be used as an alternative to foam ink blenders with beautiful results! I paired them up with the adorable Fox Friends Stamp Set and coordinating Fox Friends Dies to create one layer stenciled panels. I was originally going to just make one layer cards, but they kind of grew into this by the time I finished!

Pretty Pink Posh: Clarity Brushes for Distressing
Here is the video sharing how I used the stencils – and with my first voice over of my video (I was a bit nervous – please forgive the soft voice and occasional humming or losing my place!)

Watch the video above   I Watch the video in HD on YouTube  border

After the video I colored all the foxes in with some Copic Markers – I used Warm Grays – W00, W1, W3, and W5, and Blush R20, added my frames, and stitched with my sewing machine around the outside edges to finish them off a little. Added some jute twine, then attached with foam adhesive to colored card bases to finish off.

Here is a close up look at each one – on this first one I also used the Scallop Circles Dies to frame my fox.

Pretty Pink Posh: Clarity Brushes for Distressing

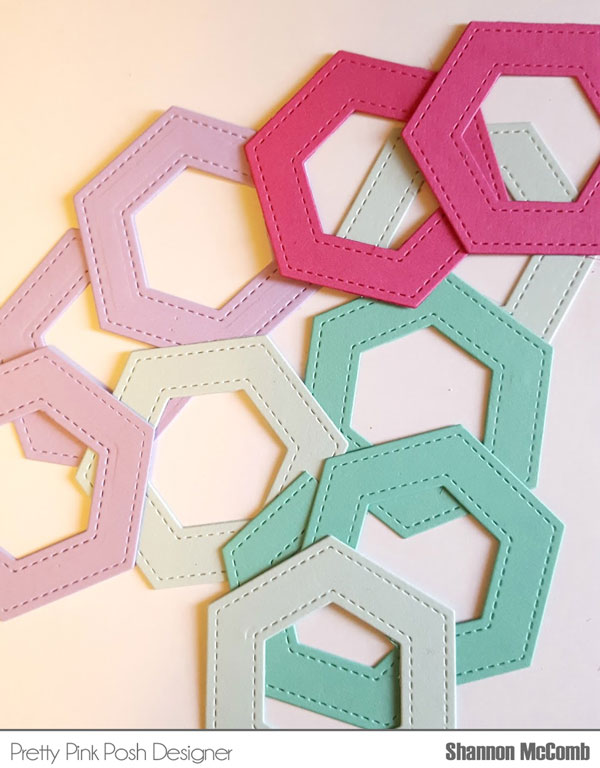
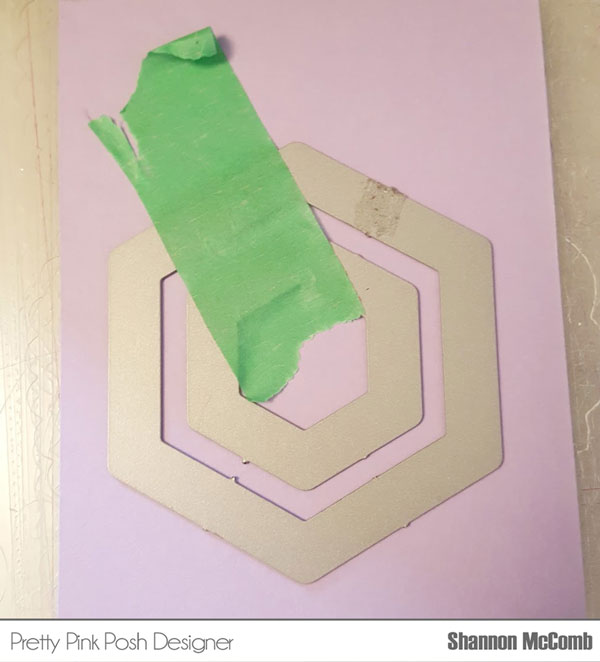
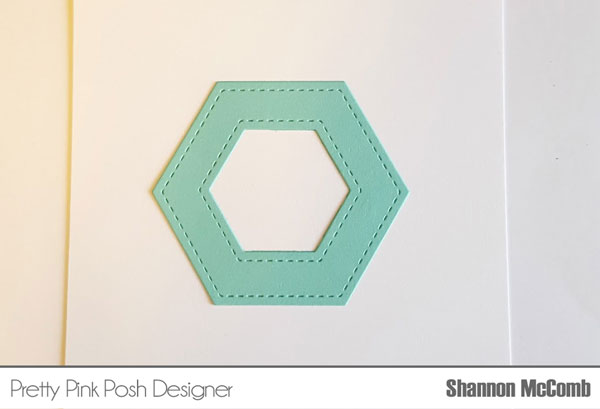
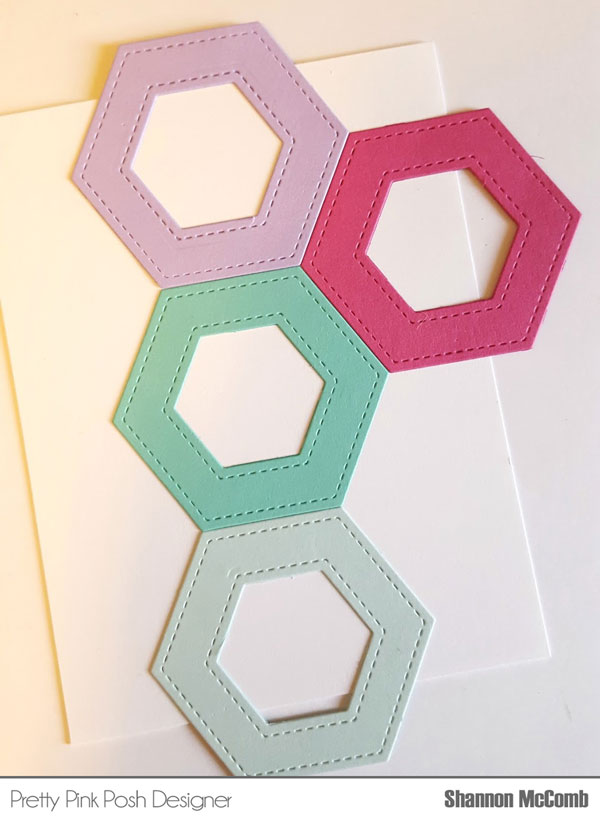
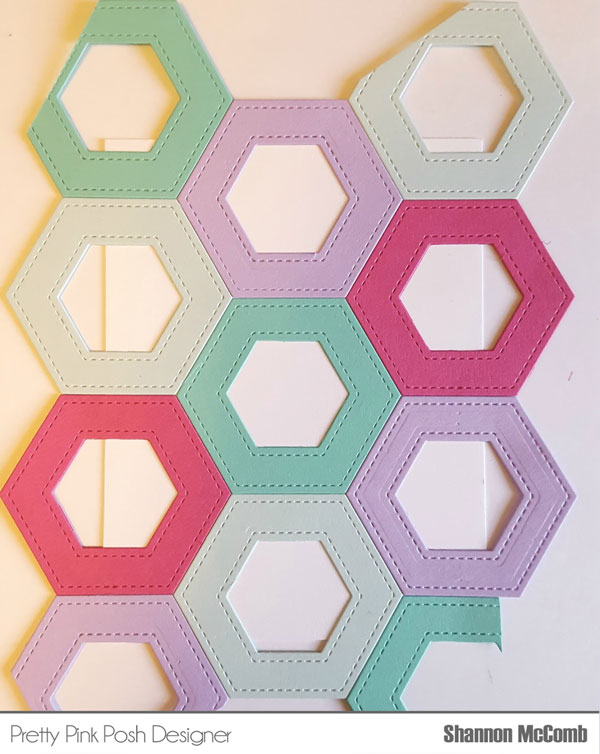
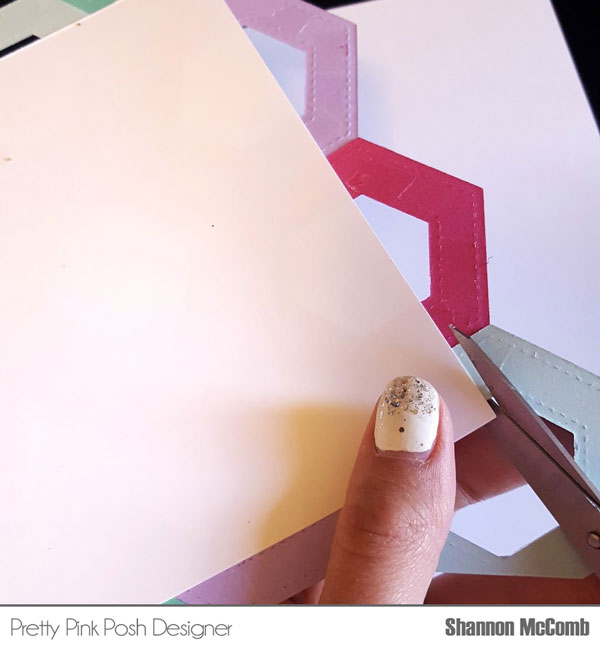
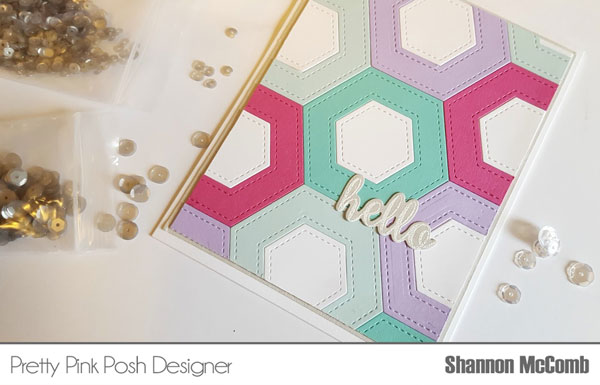
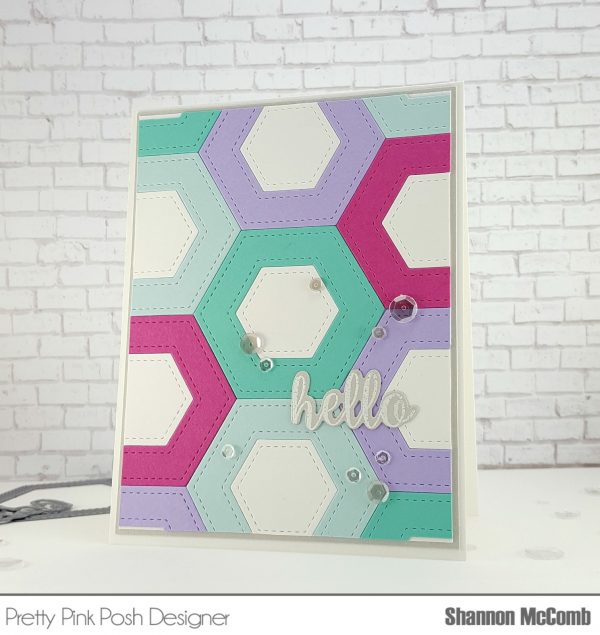
For this next one, I used the two largest Stitched Hexagon Dies to create a frame.

Pretty Pink Posh: Clarity Brushes for Distressing

And on this last one, after my stenciling, I cut a fresh Scallop Ovals die to frame the fox.

Pretty Pink Posh: Clarity Brushes for Distressing

And here they are all together – aren’t those colors so pretty together? They remind me of a rainbow of sherbet!

Pretty Pink Posh: Clarity Brushes for Distressing
Thanks so much for stopping by today – have an absolutely wonderful day!!!
| |

Tutorial: Easy Holiday Cards

Hello Everyone, Joni here sharing easy to make holiday cards.

Pretty Pink Posh: Easy Holiday Cards

To begin, I cut the black cardstock to size 4 ¼ X 5 ½. I stamped the “season’s greetings” sentiment from Christmas Friends stamp set using a Citron embossing powder by Recollections. The cute snowman is from the Happy Snowman stamp set, the bird and gift are from the Christmas Friends stamp set. I also used the Happy Snowman Coordinating dies to cute this cutie.

For the snow background of the card I used the Uniball white broad pen and drew some different sizes of dots to make some snowy background, this part is relaxing.

Pretty Pink Posh: Easy Holiday Cards

Next I die-cut the black panel using an all time favorite, the Scallop Frame Dies (large one). I did this to get the size of the card. This card is originally the size of the large scallop die.

Pretty Pink Posh: Easy Holiday Cards

I then, I die-cut it again with antique gold cardstock from Paper Source.

Pretty Pink Posh: Easy Holiday Cards

I colored the images with copic markers. The beanie hat for the snowman is the same from the boy, I just fussy cut it and colored it red. The boy images are also from the Christmas Friends stamp set.

Pretty Pink Posh: Easy Holiday Cards

I couldn’t help but add some Diamond Stickles to the beanie, gift, scarf, and bird.

Pretty Pink Posh: Easy Holiday Cards

On this card, I used the boy image. I also added some Sparkling Clear sequins to finish off both cards.

Pretty Pink Posh: Easy Holiday Cards

Pretty Pink Posh: Easy Holiday Cards

Christmas Friends stamp setHappy Snowman stamp set

sparklingscallopframes

I hope you enjoyed these easy to make cards for the holidays. Until next time, have a fantastic day!

sig name

| |

Giving Thanks (with Zig Markers)

Pretty Pink Posh: Giving Thanks (with Zig Markers)

Hello, friends! This is Vera and I have a Thanks Giving card with video tutorial to share today featuring Giving Thanks stamp set and Scallop Borders Dies.
Pretty Pink Posh: Giving Thanks (with Zig Markers)

I began by stamping the images on Canson Illustration paper with Versafine Ink and then colored with watercolor medium Gansai Tambi and Zig Clean Color Real Brush Pen. I then die cut it with the Giving Thanks coordinating dies.

Pretty Pink Posh: Giving Thanks (with Zig Markers)

I die cut the header of my card using Scallop Border dies on white cardstock with size 5.5″ x 1.5″ (my card size is 5.5″ x 4.25″) and then I heat embossed the sentiment with Liquid Platinum embossing powder. To finished my card, I added here and there with my favorite Sparkling Clear Sequins.

Here’s a video to show how I created my card from the start to finish.

Watch the video above   I Watch the video in HD on YouTube
| | |

Layered Fall Card + Video

Hello, Pretty Pink Posh fans! This is Yana and I have a video tutorial to share today showing you how to create one of my favorite type of cards – layered & dimensional!
Pretty Pink Posh: Layered Fall Card + Video

My “secret ingredient” for these kind of projects is the use of special patterned paper and also stitching and I talk about both of these in detail on my video.

Watch the video above   I Watch the video in HD on YouTube

Often when I start working on cards that involve a lot of layers I like to build my future card design on my desk by using dies and stamps themselves, I find this to be very helpful especially when I want to visualize my card design and check if the size and shape of the dies I selected work well together.

Pretty Pink Posh: Layered Fall Card + Video

From there I move onto picking out the right patterned paper. I have a favorite brand that I love to use whenever I use dies. The brand is called Trimcraft First Edition and they are from UK, but their papers are available on Amazon. The reason I adore them is for their “special effects” as I like to call them, their papers often have special coatings and finishes are are fantastic for such projects.

If you don’t have this type of paper you can always use other patterned paper or even stamp your own using paper design using stamps.

Pretty Pink Posh: Layered Fall Card + Video

To create this card I selected several die sets including Scallop Borders Dies, Scallop Circles Dies and Stitched Essentials 1 Dies.

Each layer was cut out of patterned paper, the background layer pieces were all adhered together so that I could add machine zig zag stitching around the edges. I love adding stitching to my cards as it adds a lot to the handmade look and feel of my projects.

Pretty Pink Posh: Layered Fall Card + Video

The scalloped circle layer and also the tag were both foam mounted for a pop of dimension and so was the little watercolored Fox Friend.

Pretty Pink Posh: Layered Fall Card + Video

To embellish this card I used Metallic Rose Gold sequins in 4 mm and 10 mm sized and brown sequins from the 6mm Wildflower sequin mix, along with some 4mm Clear Droplets.

Fox Friends stamp setDaniel Smith Watercolor Sheet
Scallop Circles die setStitched Essentials 1 die setDetailed Waterbrush
I hope this post & video will inspire you to pull out your Pretty Pink Posh stamps and dies and try your hand at creating layered dimensional cards!

Happy cardmaking!

| |

Thanksgiving Theme Week- Day 7 (Plus Giveaway!)

Thanksgiving Theme Week- Day 7 (Plus Giveaway!)

Hi there, Jeanne here. Have you noticed? The leaves are changing colors and there’s a crispness in the air!  Fall is officially here! It’s that special time of year when we take the festivities indoors and welcome family and friends into our homes and hearts.

Pretty Pink Posh: Thanksgiving Theme Week- Day 7 (Plus Giveaway!)

Thanksgiving is always at our house – we have as many people as we can fit around the table and there’s always great food and conversation! I like to send out personal invitations, and special notes to those who can’t make it this time… just to let them know we’re thinking about them as we’re separated by the miles.

Pretty Pink Posh: Thanksgiving Theme Week- Day 7 (Plus Giveaway!)

I’m smitten with these adorable pilgrims from the Giving Thanks Stamp Set.  The set has lots of extras – pumpkins, leaves, and sentiments in the prettiest script font. There’s even a Giving Thanks coordinating die set that has a stamp for each of the images in the set making crafting a breeze!

Pretty Pink Posh: Thanksgiving Theme Week- Day 7 (Plus Giveaway!)

I created a scene inside a Scallop Circles die – this is the larger of the two circles in the set.  It’s perfect for an A2 size card (4.25 x 5.5”).   Scalloped on the inside and beautiful stitching on the outer edges, these Scallop Circles make everything just a little more elegant! Landscapes couldn’t be easier using the border dies from Pretty Pink Posh. There’s lots of different style borders to choose from. I chose the Scallop Borders Die Set.  They coordinate perfectly with the Scallop Circles!

Pretty Pink Posh: Thanksgiving Theme Week- Day 7 (Plus Giveaway!)

The finishing touch was a sprinkle of Sparkling Clear Sequins – who doesn’t love a little shimmer?

Pretty Pink Posh: Thanksgiving Theme Week- Day 7 (Plus Giveaway!)

To close out our Thanksgiving theme week, we’re hosting a giveaway for a $50 Pretty Pink Posh gift certificate. Leave a comment sharing what theme week, or collaboration, you’d like to see in the future and you could win this prize!

a Rafflecopter giveaway
Wishing you and yours a blessed Thanksgiving! We hope you were inspired by our posts this week.

border
If you have missed any of our other Thanksgiving cards and projects, click on the photos below to see the post from that day.

Thanksgiving Theme Week Day 1Thanksgiving Theme Week Day 3Thanksgiving Theme Week Day 5
Thanksgiving Theme Week Day 2 Thanksgiving Theme Week Day 4Thanksgiving Theme Week Day 6