
November Intro: Penguin Mugs + Penguin Shaker + Birch Trees + Let It Snow Shadow
Welcome as we kick off the first day of our November 6th release. Today we’ll be taking a look at the Penguin Mugs, Penguin Shaker, Birch Trees and Let It Snow Shadow die sets.
Watch the video above I Watch the video in HD on YouTube
Hi crafty friends! Emily Mydlowski here with you today to sharing winter wonderland sneak peeks using a variety of new dies from the upcoming winter release.
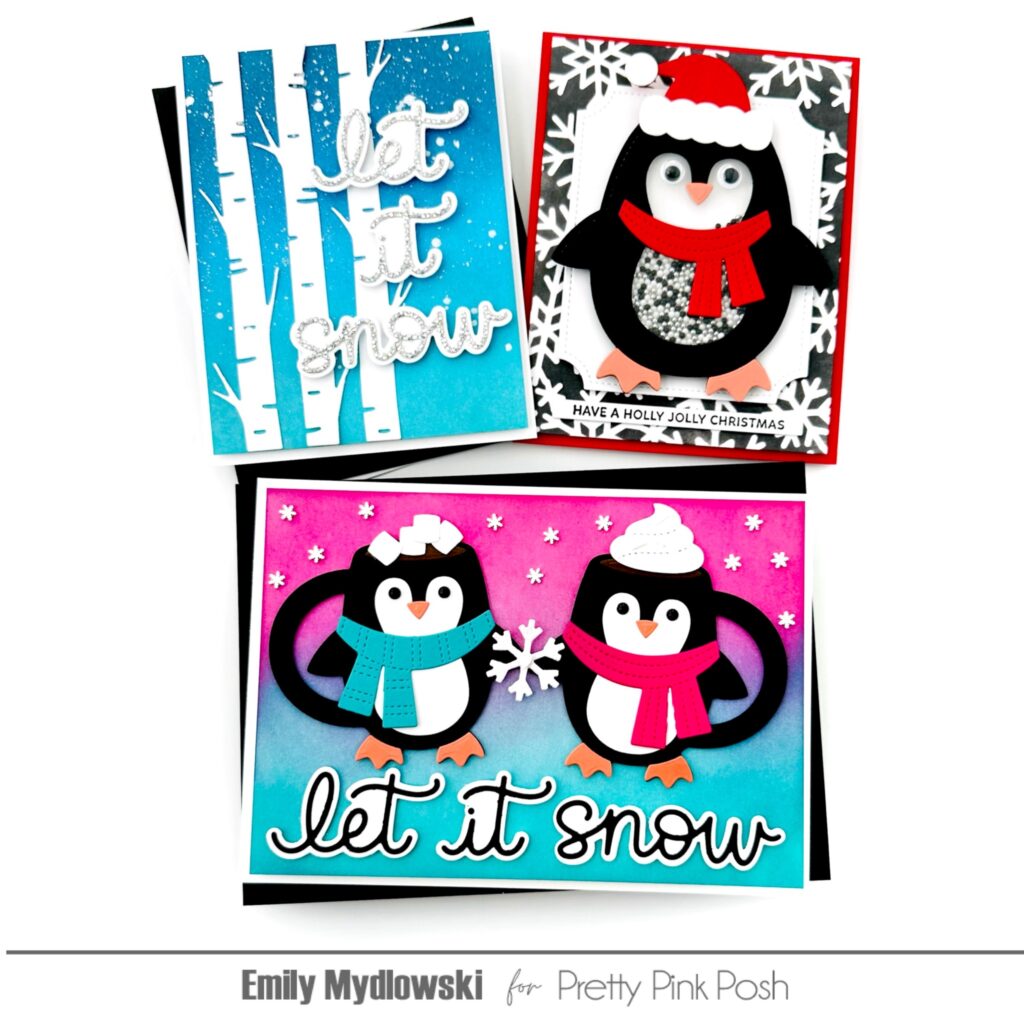
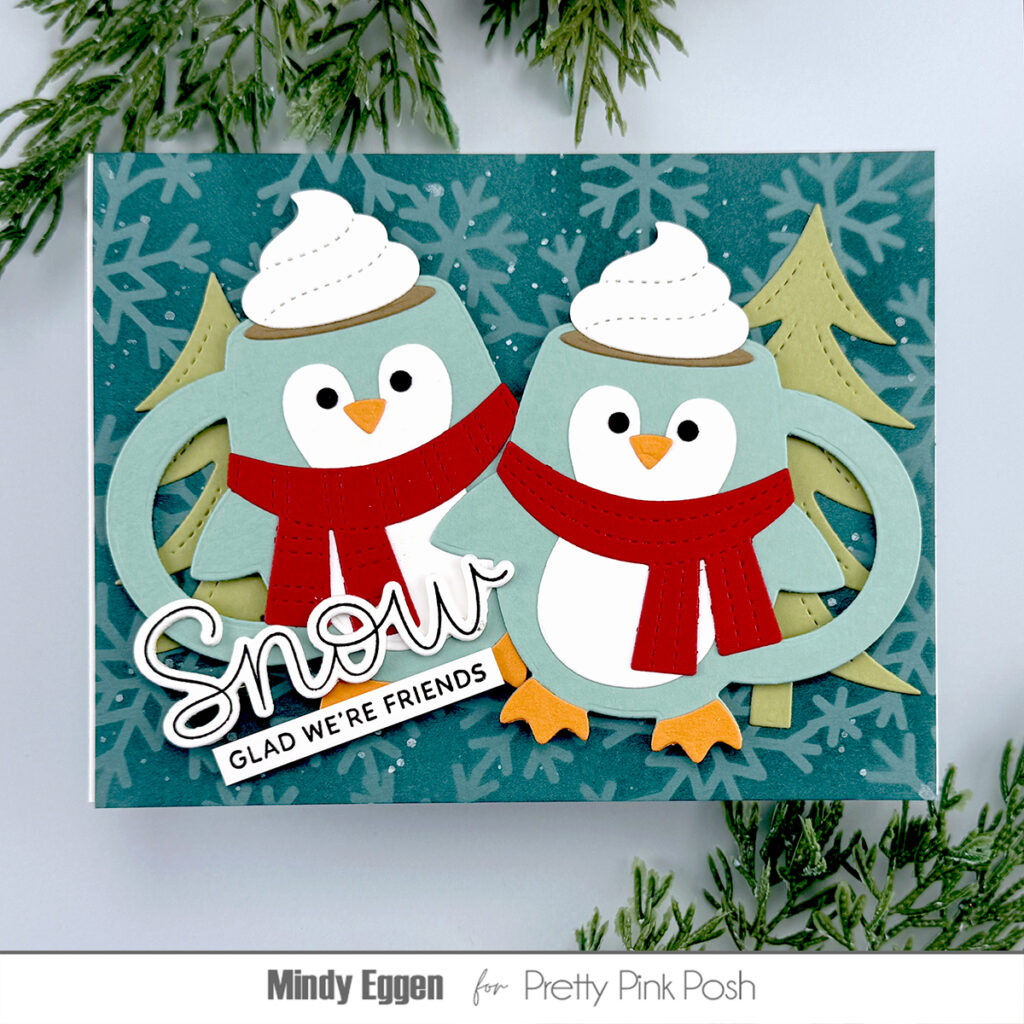
Let it Snow Penguin Mugs
When I first saw the Penguin Mugs, I knew I wanted to have a cute couple/set of penguin mugs so I went with an A7-sized card design. To my happy surprise the Black & White cardstock Let It Snow Shadow sentiment fit perfectly across the A7 panel!
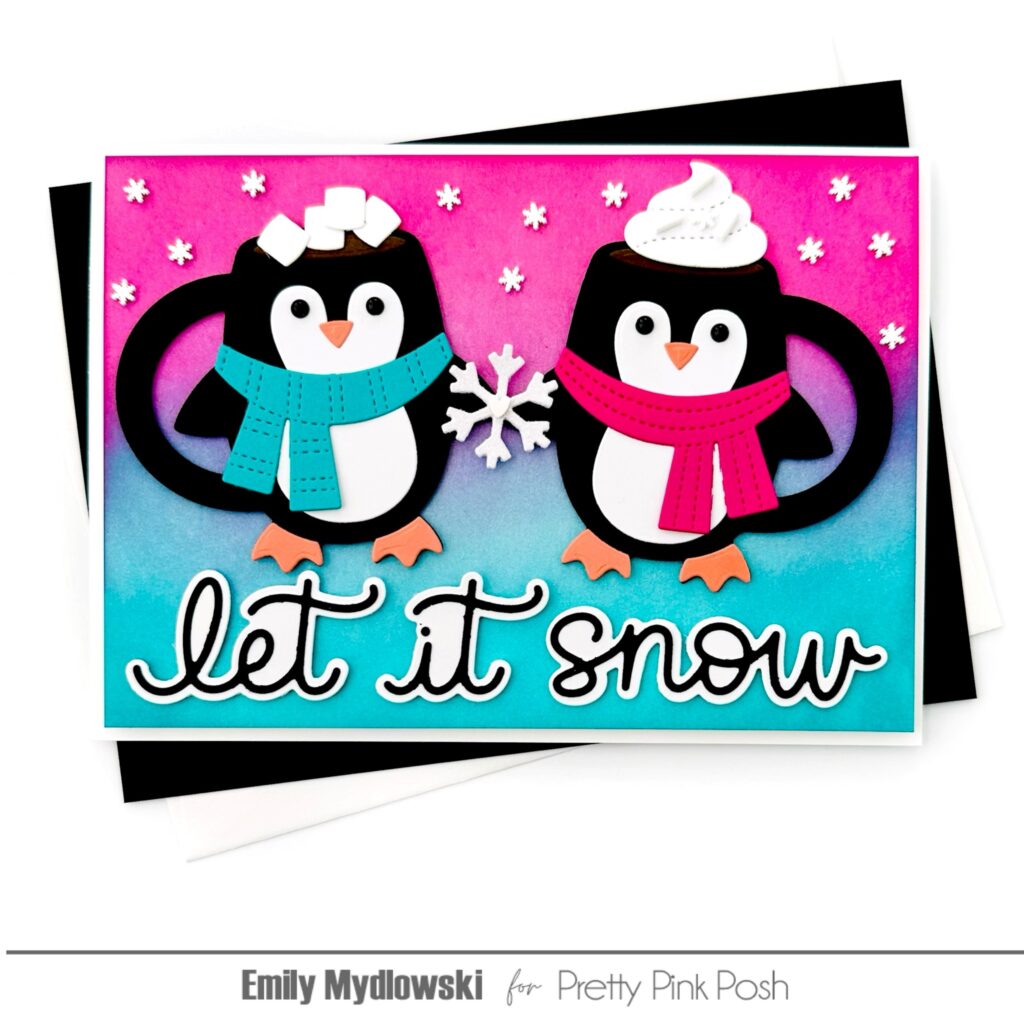
To create the penguins, I used the Penguin Mugs Die Set to cut all the pieces from colored cardstock. Black for the mugs, white for the penguin body, marshmallows & whipped cream, orange for the beak and feet and Teal & Pink for the scarves. I used Onyx Pearls for the eyes.
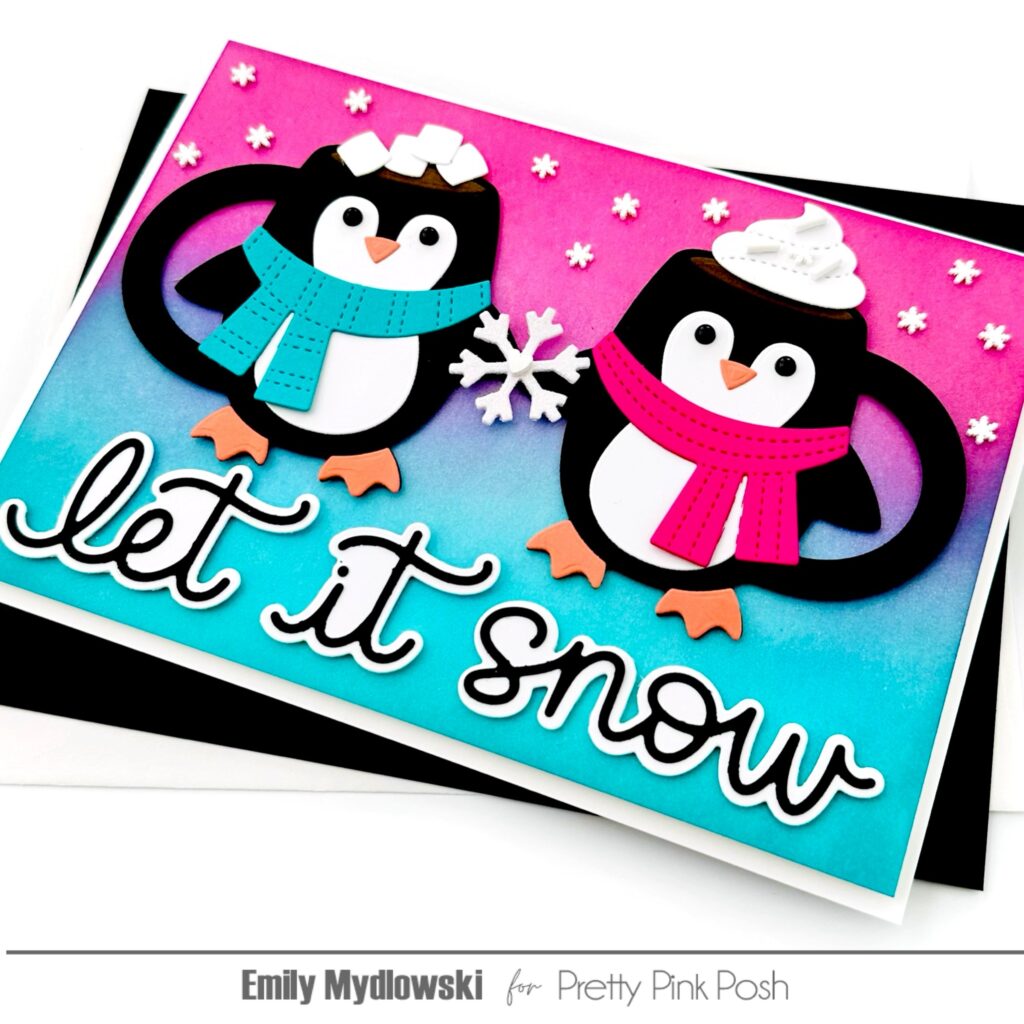
For the northern lights background, I matched the scarf colors and ink-blended the top and bottom of an A7 white cardstock panel in pink and teal dye inks creating with pretty blended purple center. After adding the sentiment and penguins to the northern lights background, I added a glitter cardstock snowflake with a clay heart between the penguins and Winter Wonderland Clay Confetti snowflakes.
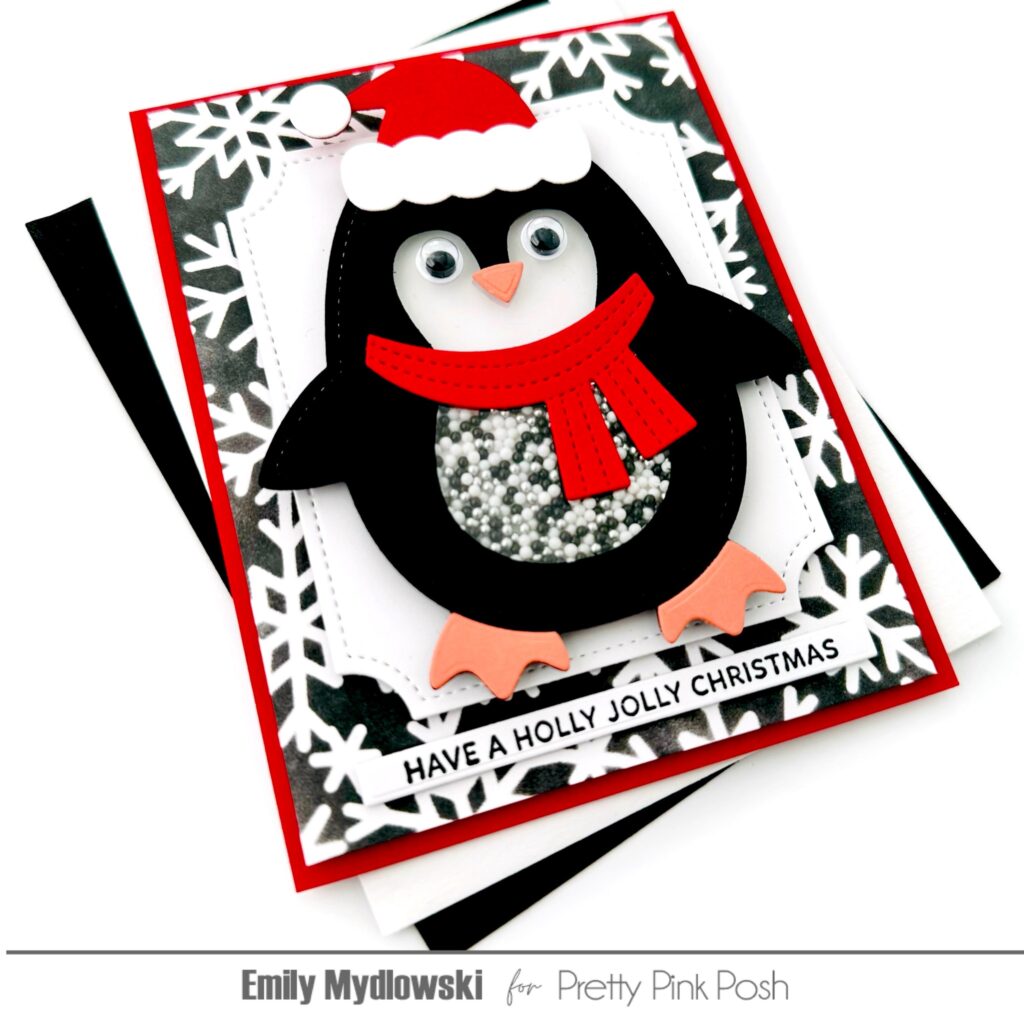
Penguin Shaker
Oh my cuteness, the Penguin Shaker is absolutely adorable—especially when you add a few holiday accessories like Santa’s Hat (Penguin Holder Sneak) & Scarf from Penguin Mugs plus googly eyes. For the shaker bits, I used the Black Tie Shaker Beads.
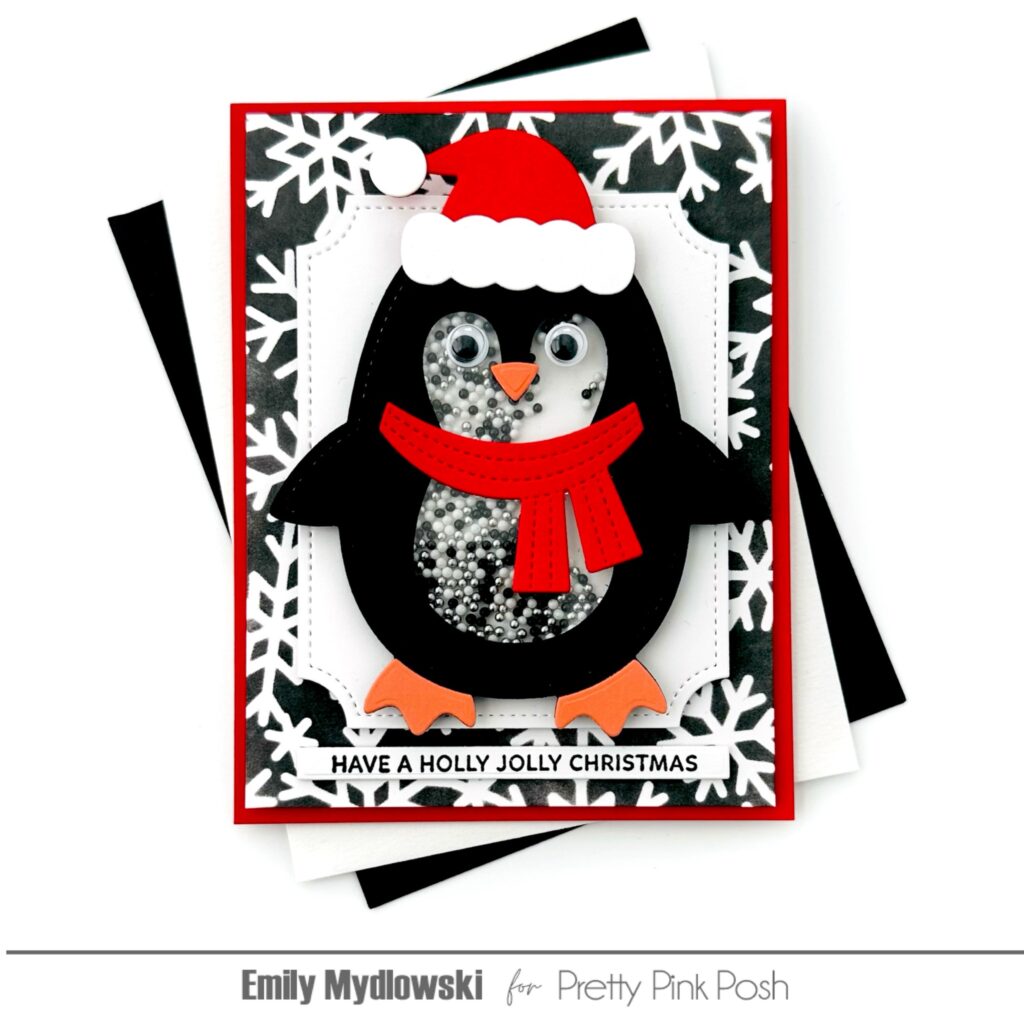
I used the Snowflake Background stencil to create the background with black ink on white cardstock. Then I layered the Penguin to a Notched Rectangle. To finish the card, I added the Christmas Sentiment Strip and adhered the decorated panel to a bright red cardbase.
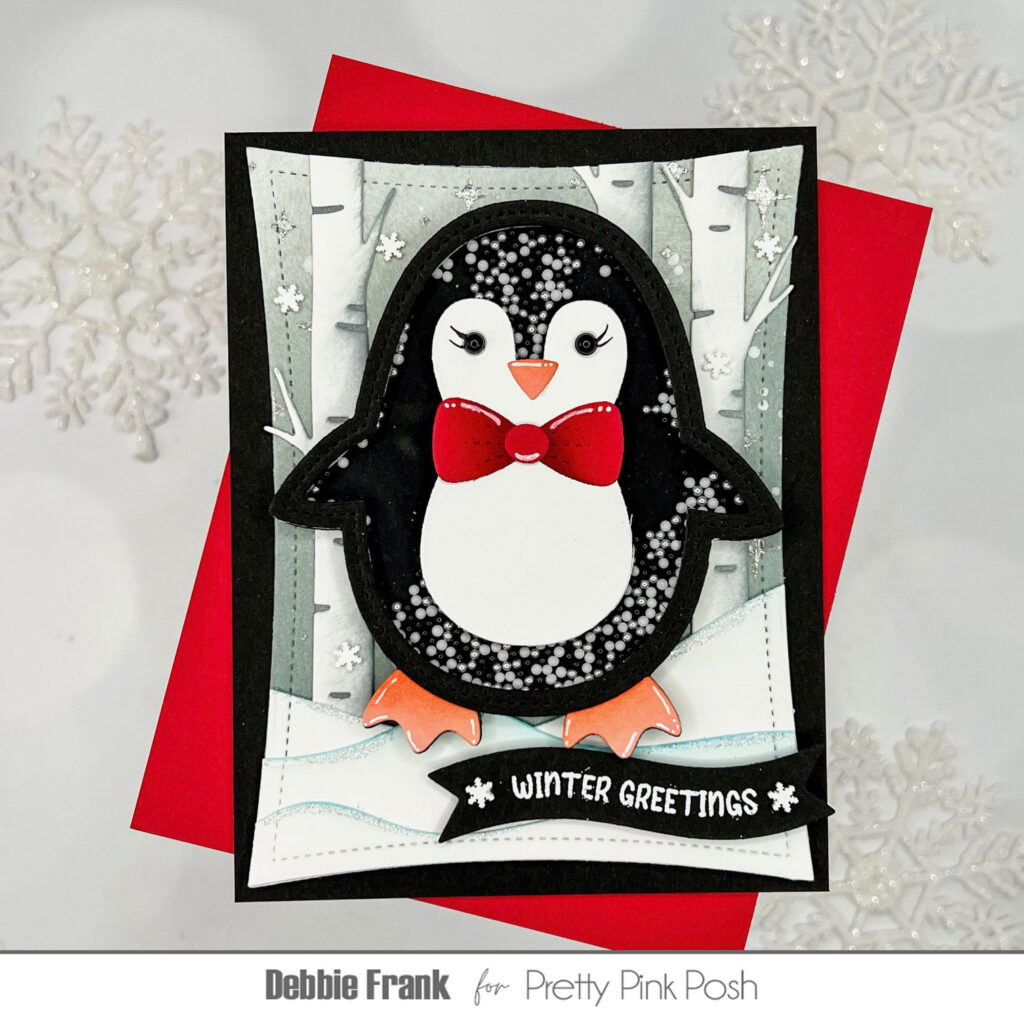
Winterscape Let it Snow & Winter Trees
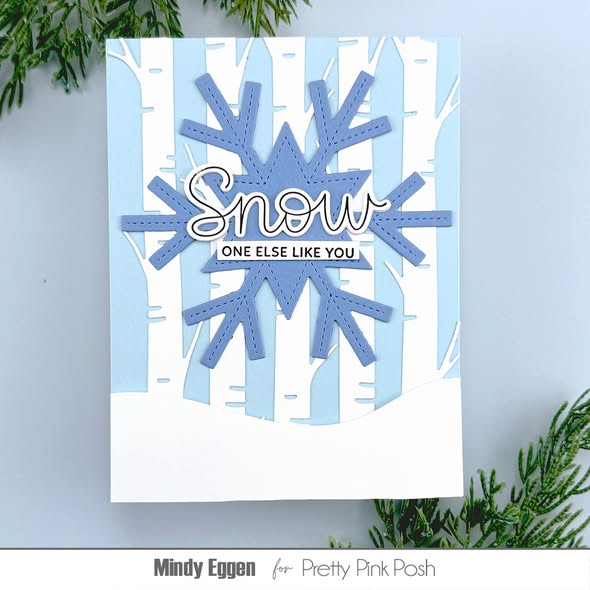
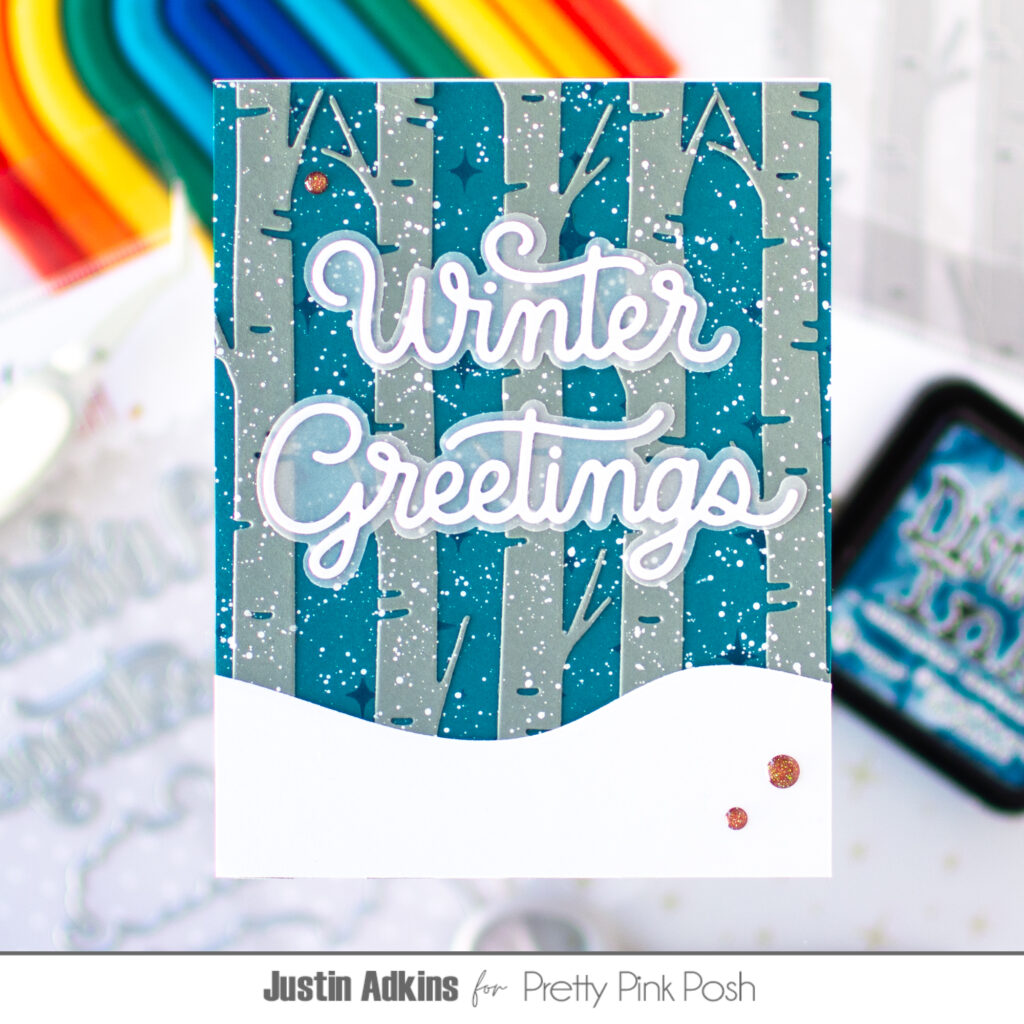
This was a quick and easy card with a few simple elements but looks so elegant and pretty. I love the way white Birch Trees glow against a dark snowy sky turning the cold into something magical.

To create the magical winter card design, I added white Winter Tree die cuts to a dark blue & teal ink-blended panel with white ink splatters for the snow. Then I added a sparkly silver glitter cardstock & white Let It Snow Shadow die cut sentiment.
Here’s some more inspration using these products from the team!


Thanks for stopping by for the first day of sneak peeks. We’ll see you again tomorrow!
OMG! The penguin shaker and mug are too cute! Loving this release already!
love all the inspiration, can’t wait for the rest
Love all the penguins 🐧!
Love the mugs and the penguin shaker! Pretty birch trees too!