
November Intro: Penguin Holder + Snowy Hills Borders + Winter Greetings Shadow + Winter Trees
It’s Day 2 of sneak peeks for our November 6th release. Today we’ll be taking a look at the Penguin Holder, Snowy Hills Borders, Winter Greetings Shadow and Winter Trees die sets.
Watch the video above I Watch the video in HD on YouTube
Hello, friends! Christina here to share some snowy sneak peeks of the upcoming winter release. For inspiration, I created a couple of bigger A6 cards featuring the adorable new Penguin Holder. This frosty friend is the latest addition to the popular critter holder collection and can hold any of the winter- or Christmas-themed accessories for creating festive wintertime cards! Let’s get started!
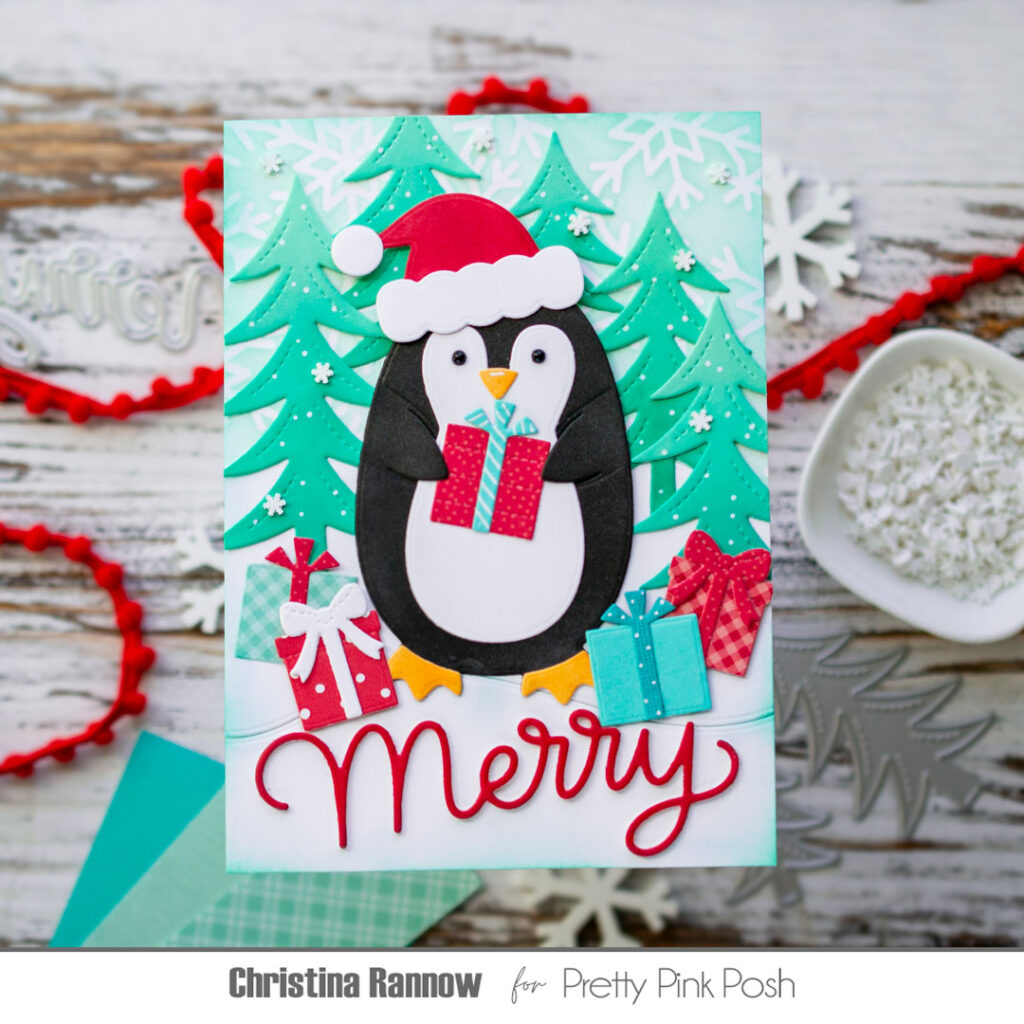
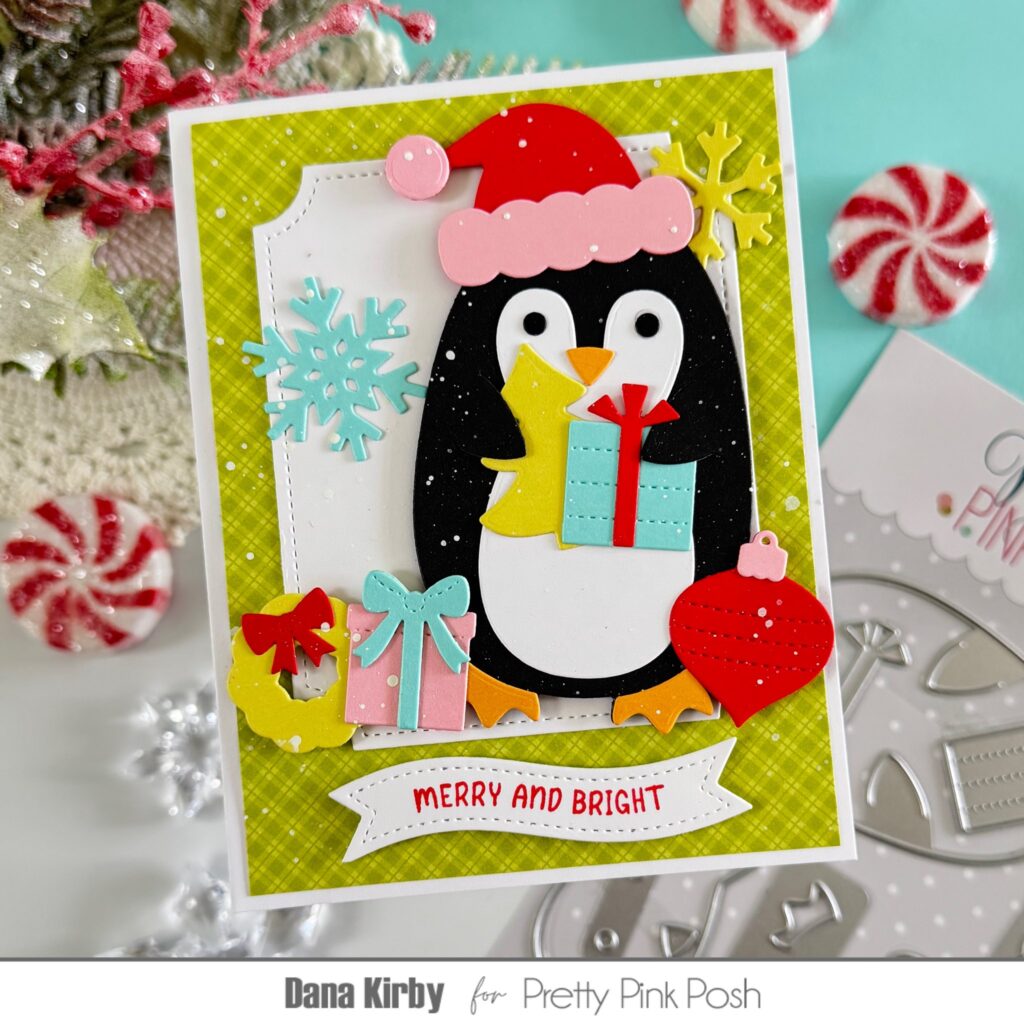
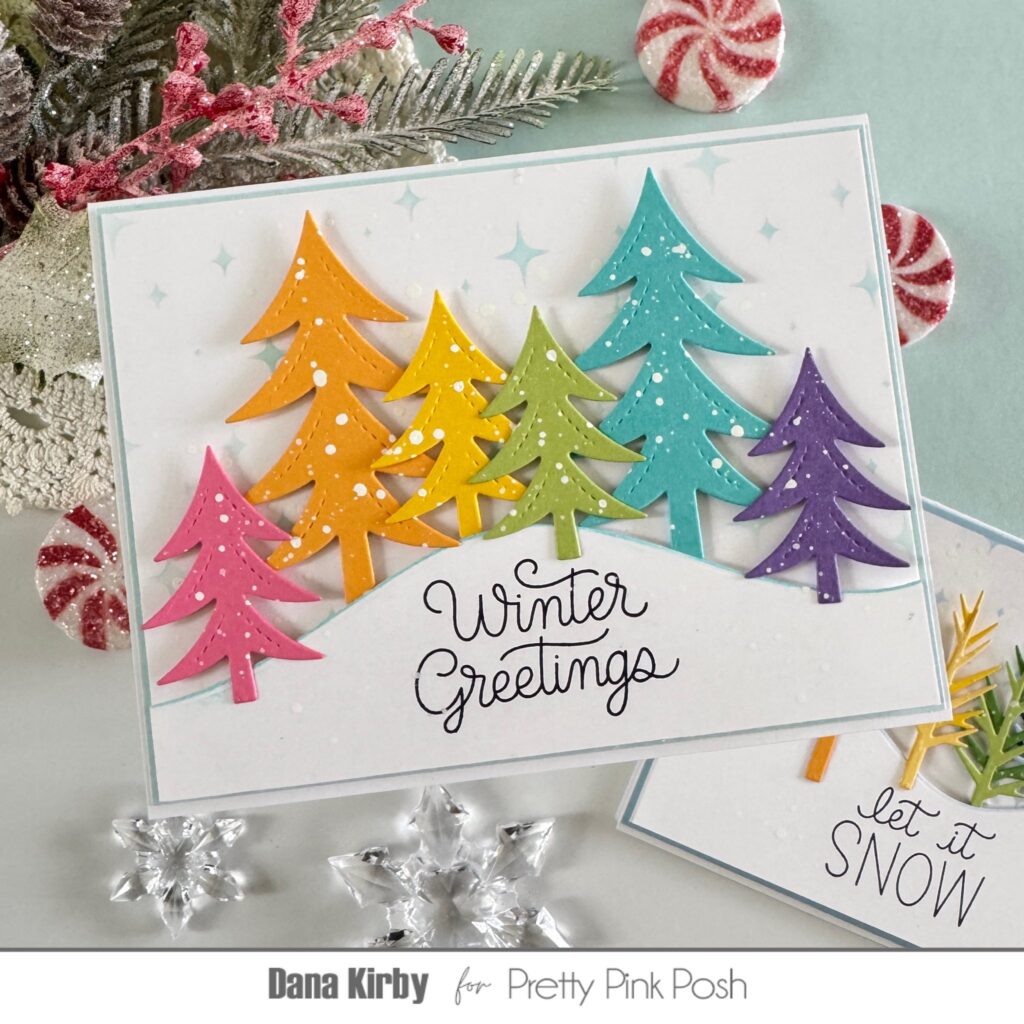
Both of my cards are 4.5 x 6.25 inches, or A6 size, so I would have a little more space to build my snowy scenes. My first card is a festive Christmas card that I started by stenciling the new Snowflake Background Stencil on white cardstock with a minty green ink. Then, to create a snowy winter forest, I layered on some snow drifts using the Snowy Hills Borders and a line of Winter Trees. I lightly inked along the edges of the snowy hills first with more of the mint green ink to give them a cool, frosty look. And for the Winter Trees, I inked them with mint green and teal inks before adding them to my scene.
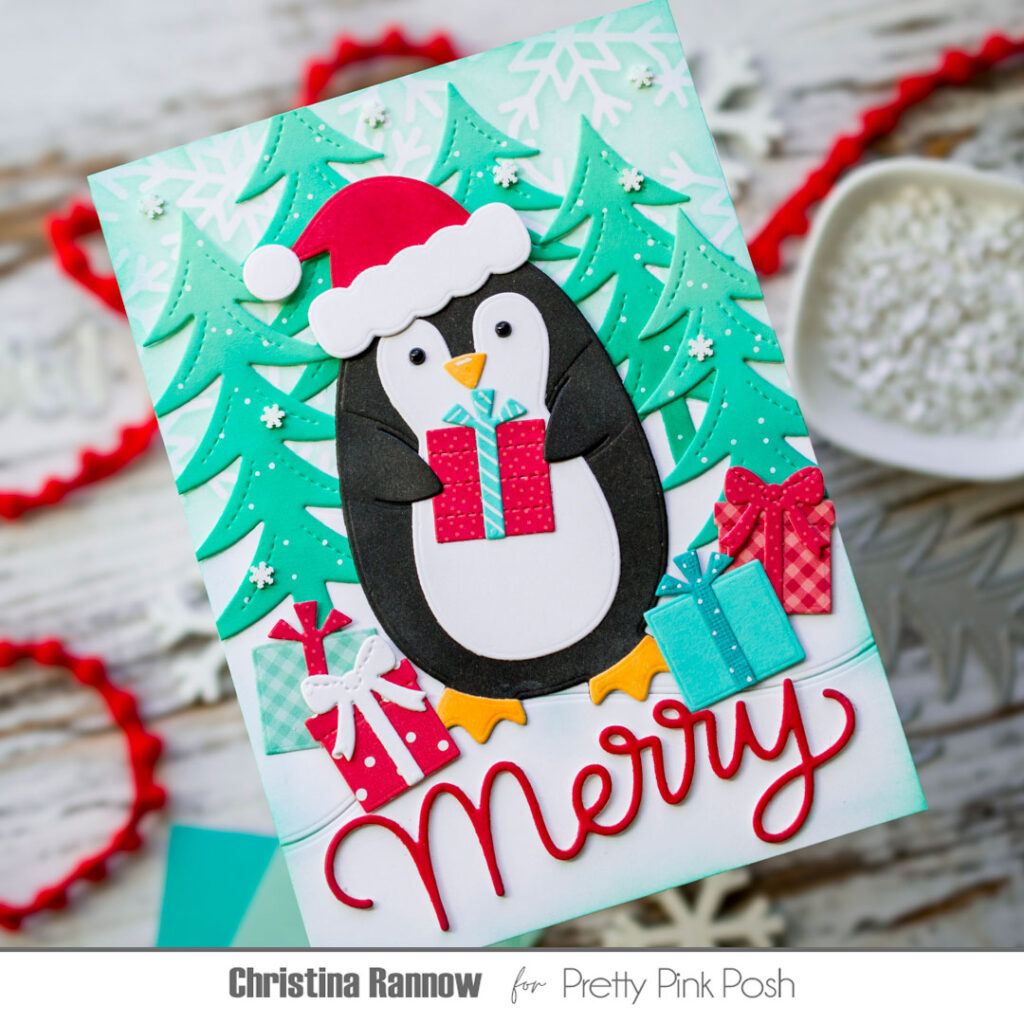
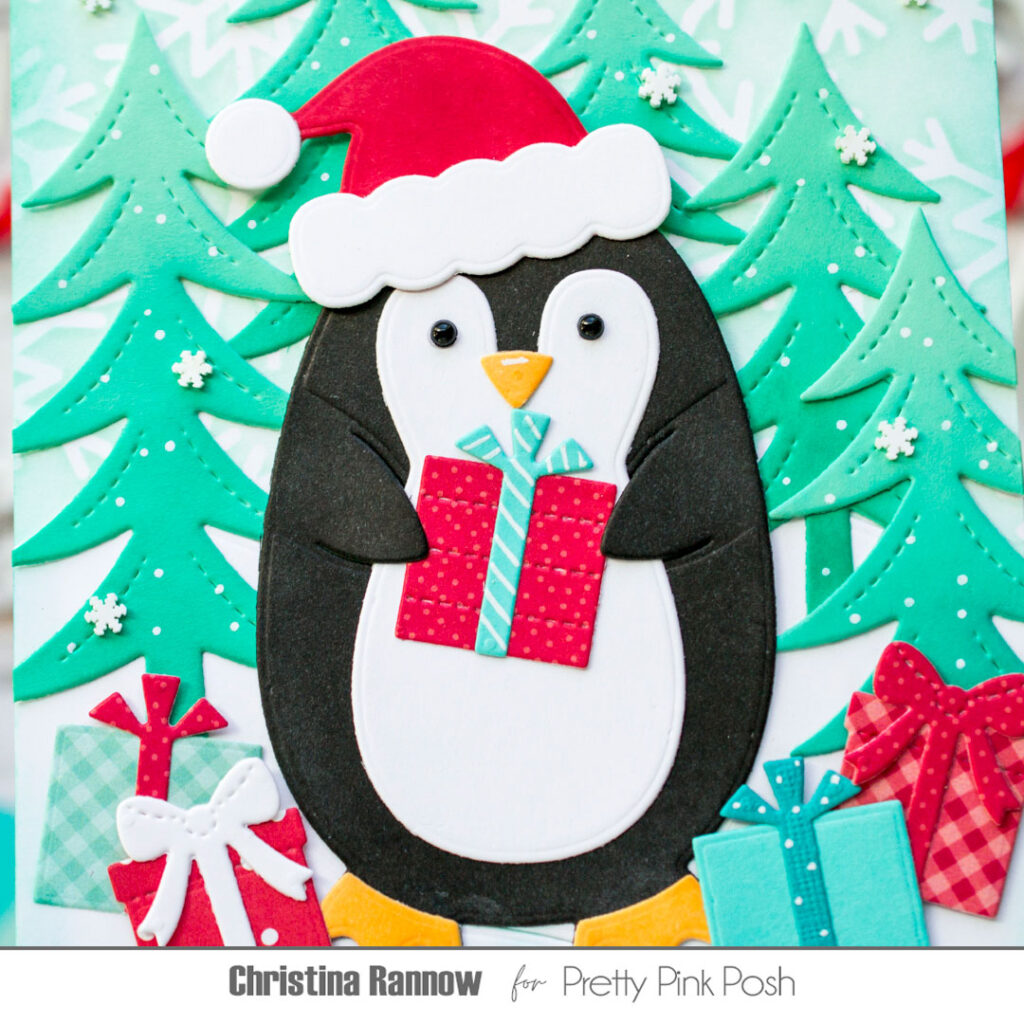
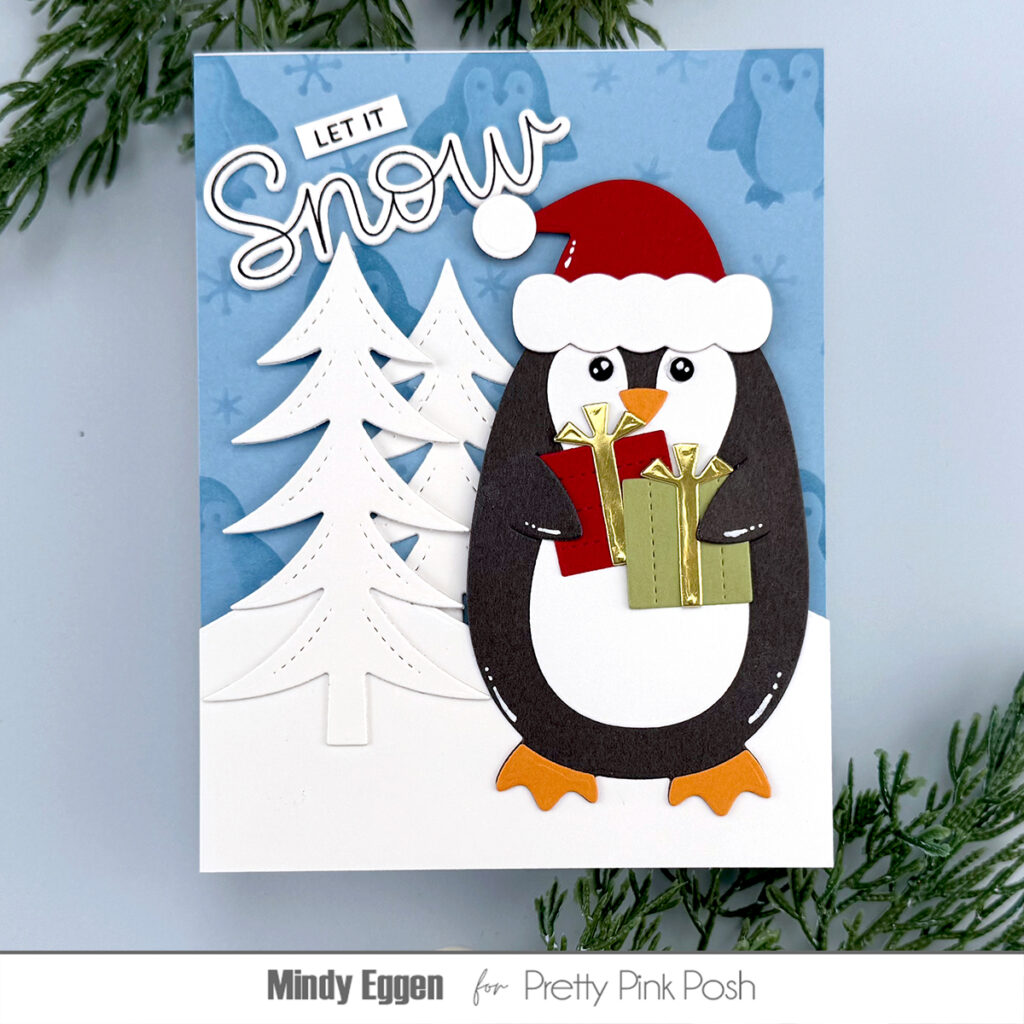
With the background complete, I die-cut and inked the pieces for the Penguin Holder before assembling him and adding him to my scene. I added Onyx Pearls for his eyes and then accessorized this frosty friend with a Santa hat and a gift, both included in the die set. Finally, I surrounded him with piles of gifts, some of them from the Christmas Holder Additions set, that I die-cut from both patterned paper and regular cardstocks.
The last steps were to add the text from the Large Merry Shadow die set and a flurry of white clay snowflakes from the new Winter Wonderland Mix.
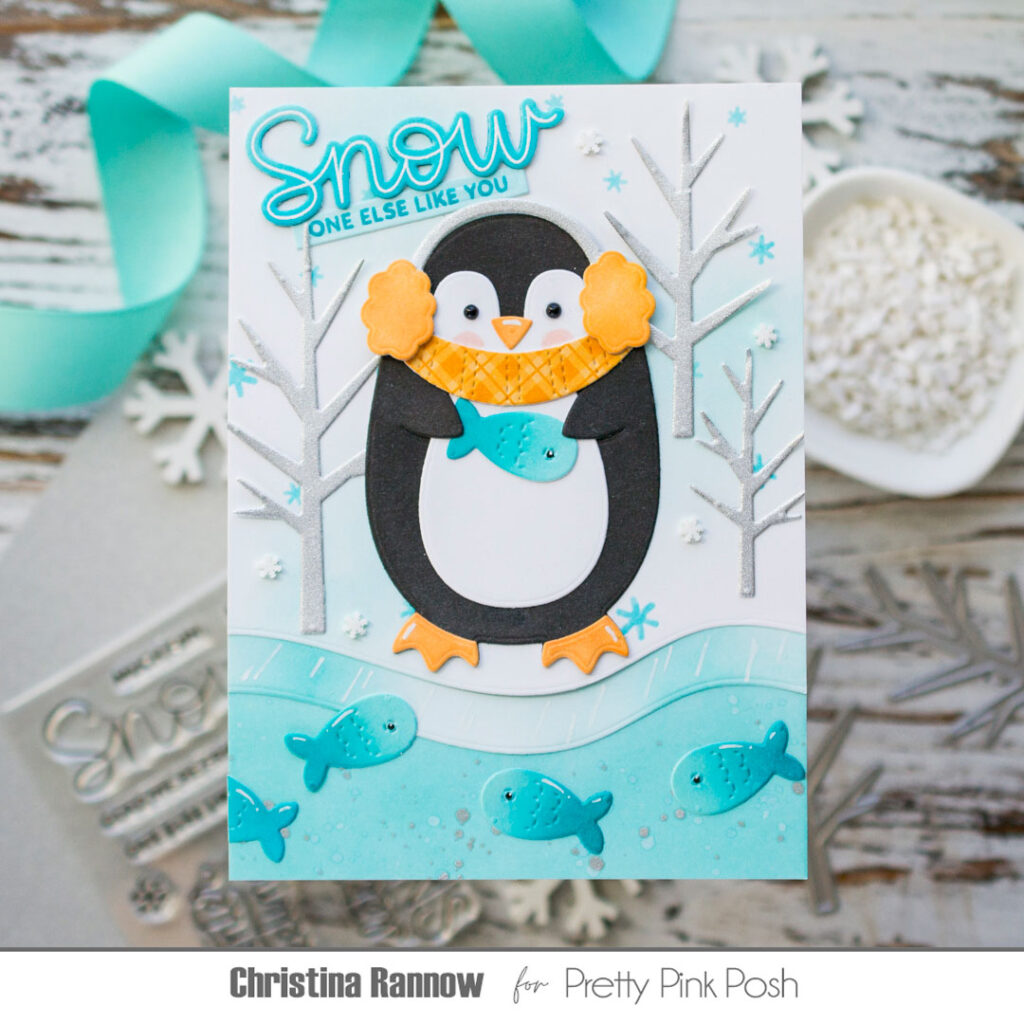
My second card is a winter-themed card with an icy landscape that is the perfect backdrop for the Penguin Holder. I started by die-cutting three sections for the background using the Snowy Hills Borders. The top snowy section is white cardstock that I stenciled using the Cascading Snowflakes Stencil and an icy blue ink. I also added some softly blended blue areas for a frosty look. The next section is a thin icy border that I created by simply blending in more of the blue ink, making it darker in some areas and lighter in others along the border, and then adding white lines with a white paint pen. So easy! The last section is cool icy water for the fish. I blended the same blue across the entire piece before spattering it with plain water and a little Frozen Fog Mica Stain. To finish up the icy landscape, I die-cut a few Winter Trees from some glittery silver cardstock and attached them to the top snowy section of the background.
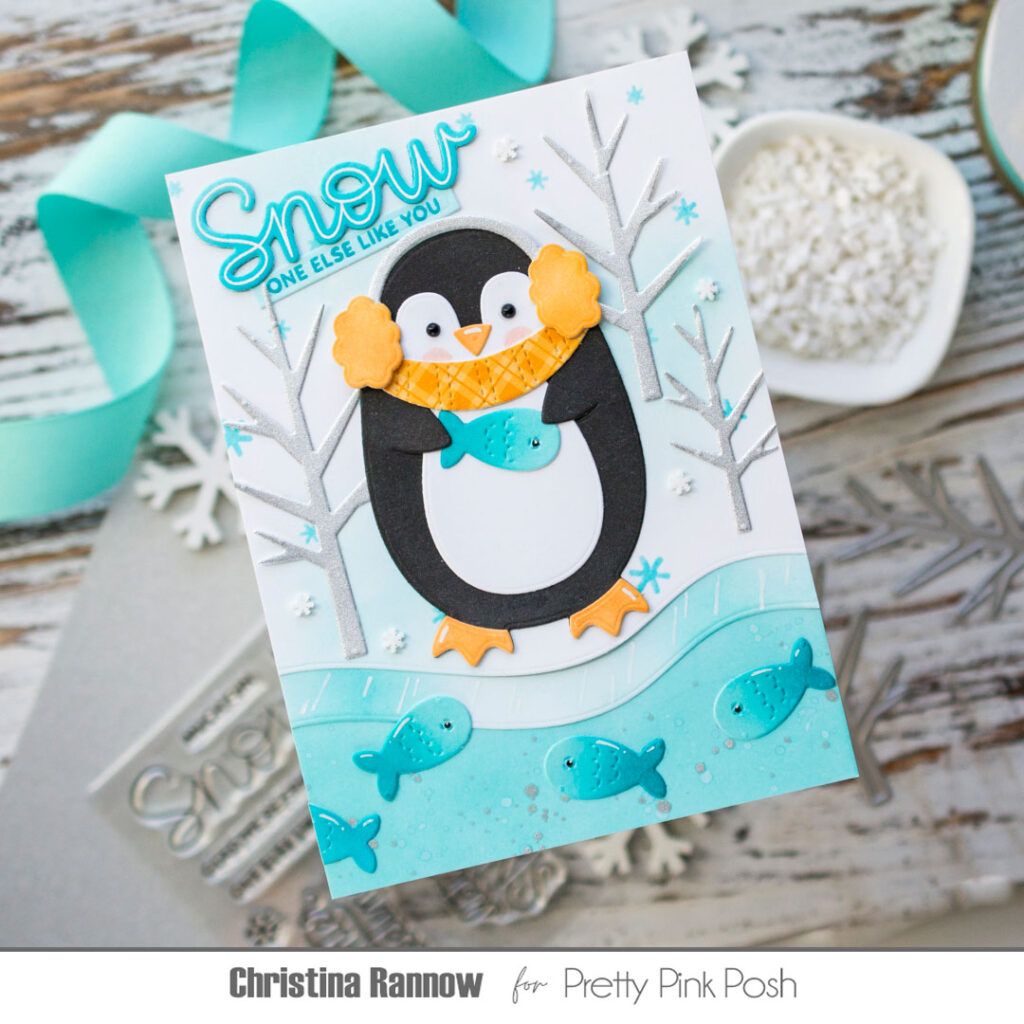
With the background complete, I moved on to die-cutting and inking the pieces for the Penguin Holder. I assembled the pieces and then accessorized this chilly chap with the cutest earmuffs, which are from the Christmas Holder Additions set, and a scarf to bundle up in that I pulled from the new Penguin Mugs Die Set. I again added Onyx Pearls for his eyes and gave him some rosy cheeks before adding him to my scene.
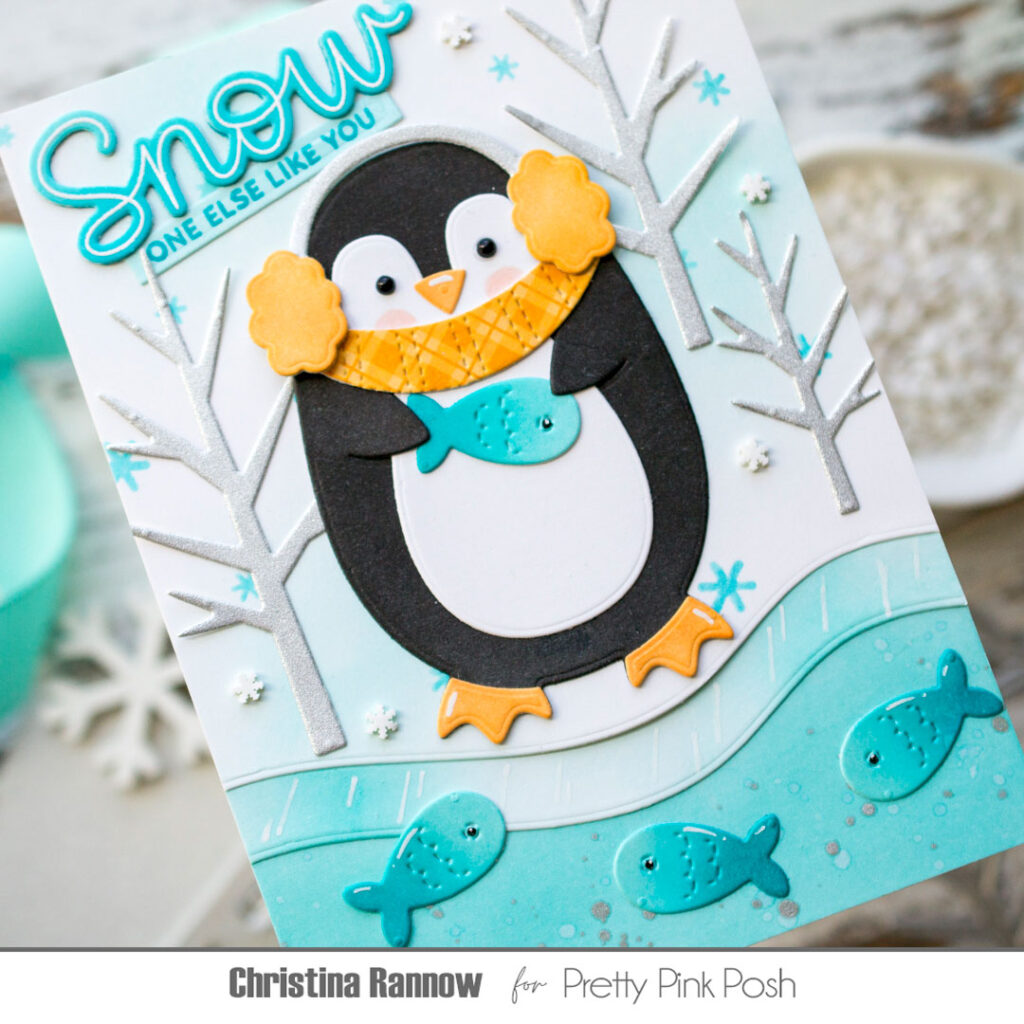
To finish things up, I die-cut multiple fish from the Cat Holder die set and ink blended them with two icy blue colors before adding eyes with a black glaze pen and highlights with a white gel pen. I gave one to the penguin to hold and added the rest to the icy waters. Then I added a sentiment from the new Let it Snow stamp set that has coordinating dies and, lastly, added a flurry of white clay snowflakes from the Winter Wonderland Mix.
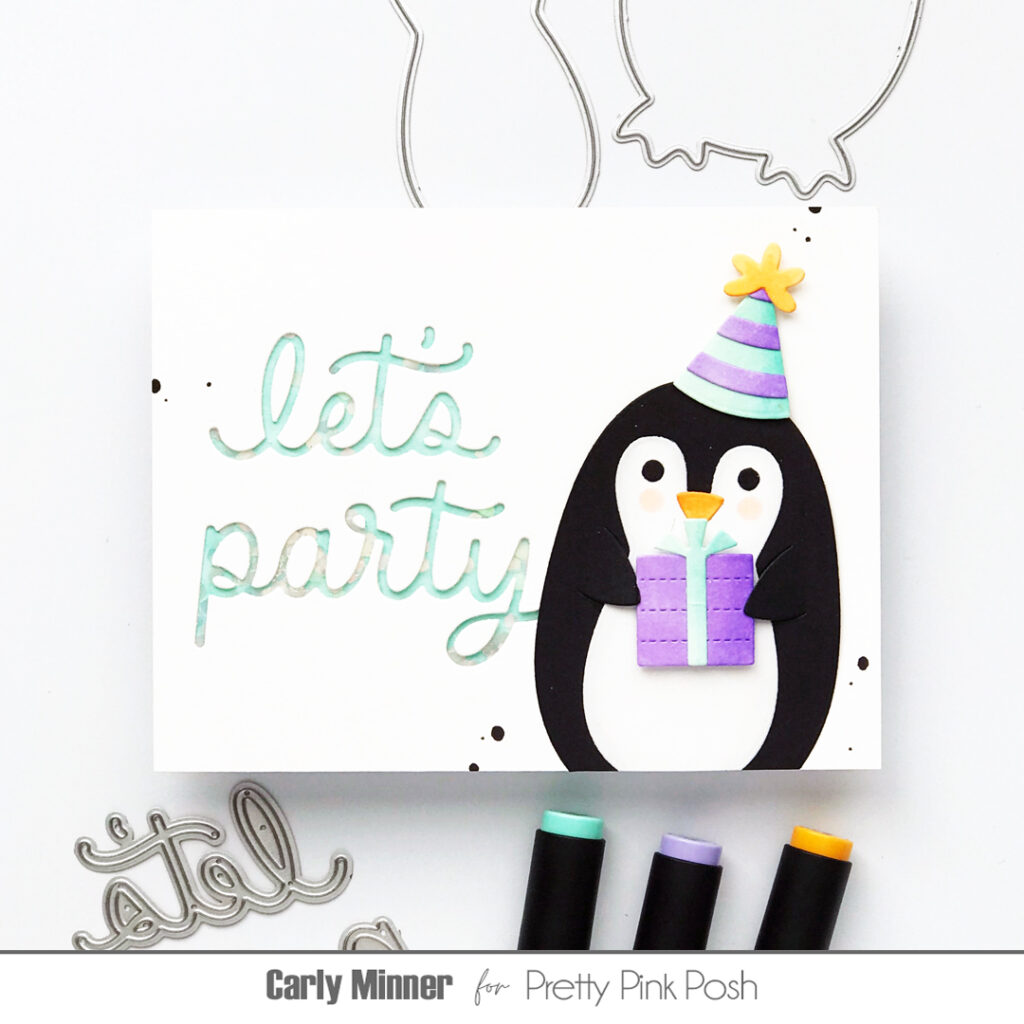
Keep scrolling to see more amazing inspiration from the design team!
We hope you enjoyed today’s sneak peek. We will see you again tomorrow for another day of sneak peeks and inpiration!
Oooo I LOVE the new trees and of course adorable penguin!
I love all the holders and this penguin is awesome!
The trees are awesome, and the Penguin Holder is just adorable!
Both the penguin and the trees are superb! I love all these cards!
Lori S in PA