
Sneak Peek: September 2024 Dies
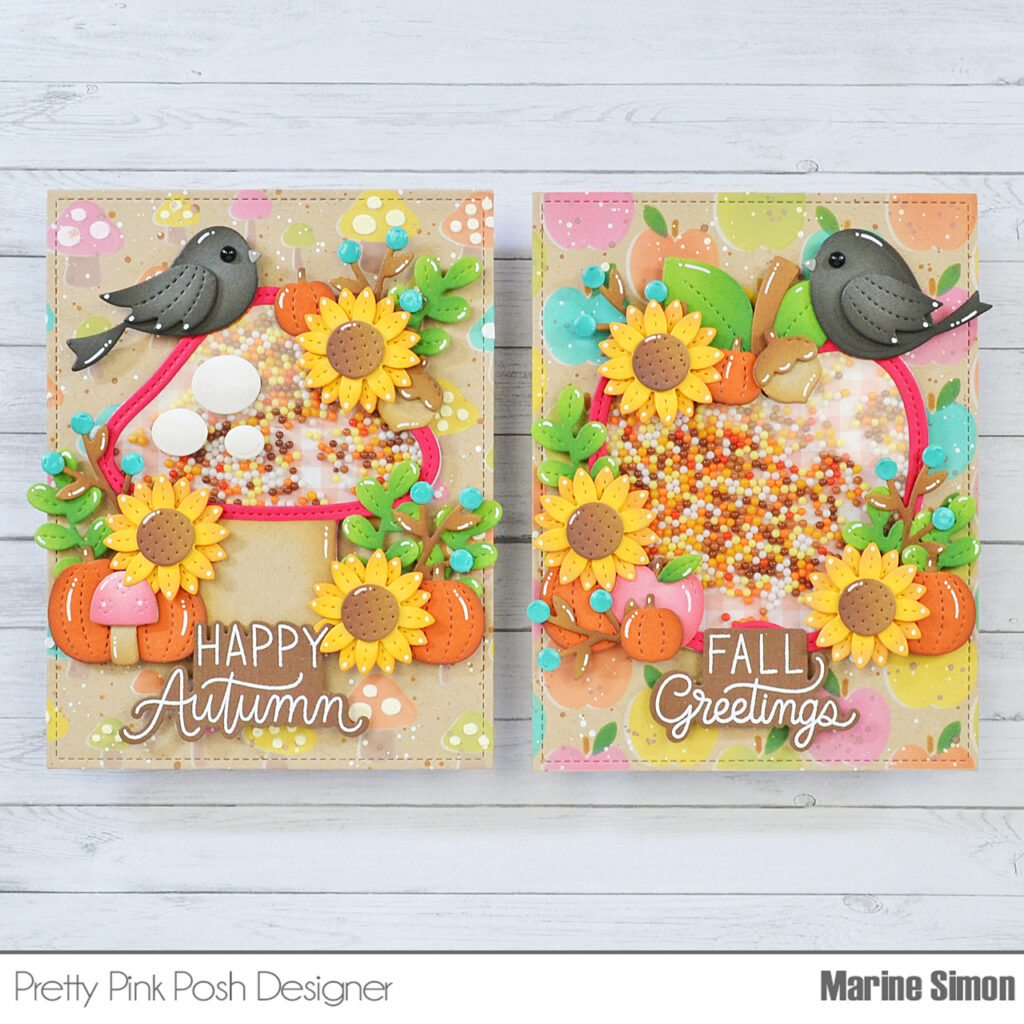
Hello crafty friends, Marine here, I’m thrilled to be sharing with you this duo of matching autumn cards featuring brand new products from the September 2024 Release, as well as additional ones from previous years. As you may already know, mixing and matching items from different sets and different years is my favorite exercise, so I try to do it whenever I can to show you how easy it is.
New release will be available September 9th
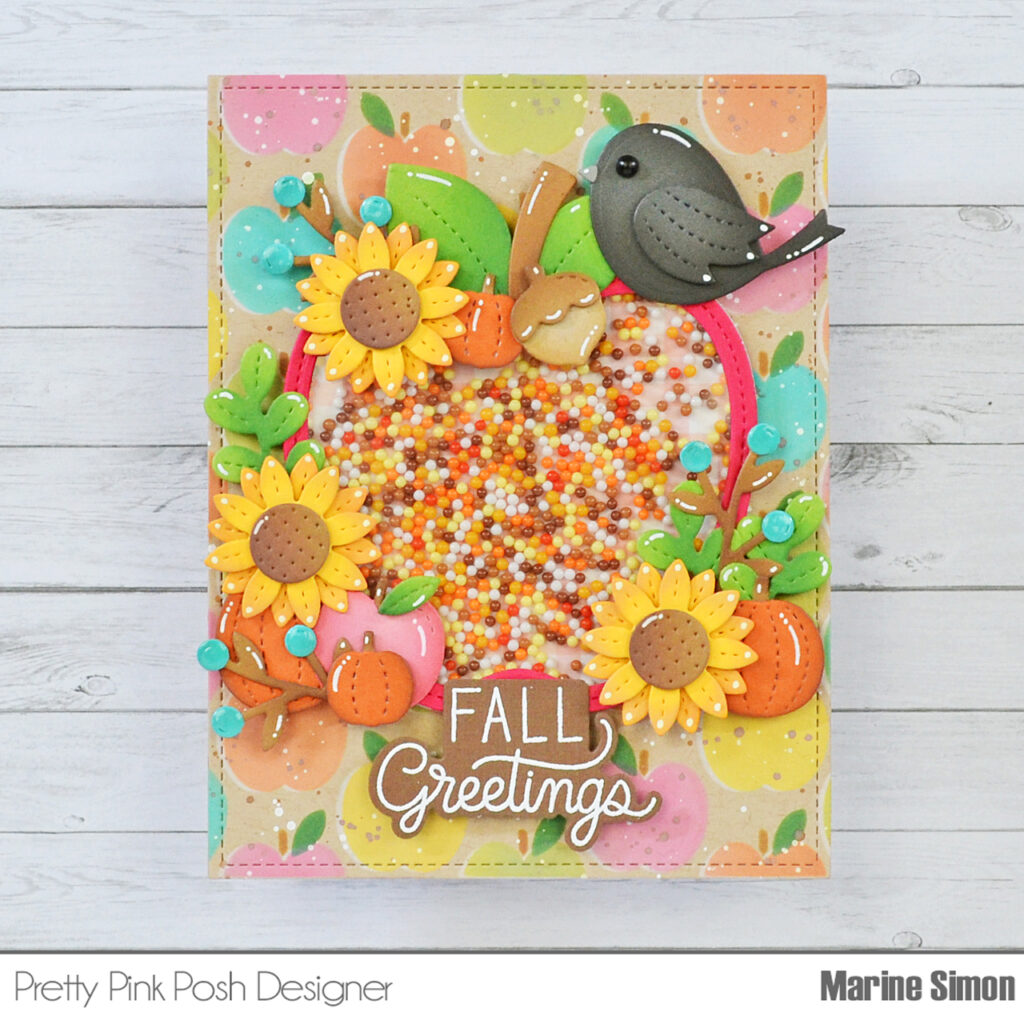
Let’s start with the apple themed background, shall we? I cut a 5,5 x 4,25 inches kraft panel, and started off by creating a white base using the Layered Apples stencil #1 along with white pigment ink. I really love to stencil on kraft cardstock, and every time I do, I like to make this white base first because it makes the colors you add after pop even more. I kept the stencil #1 but shifted it a little bit to the right, and applied colored oxide inks: worn lipstick, rusty hinge, fossilized amber, peeled paint and peacock feathers. And because I shifted the stencil, it created a nice white border around my colorful apples.
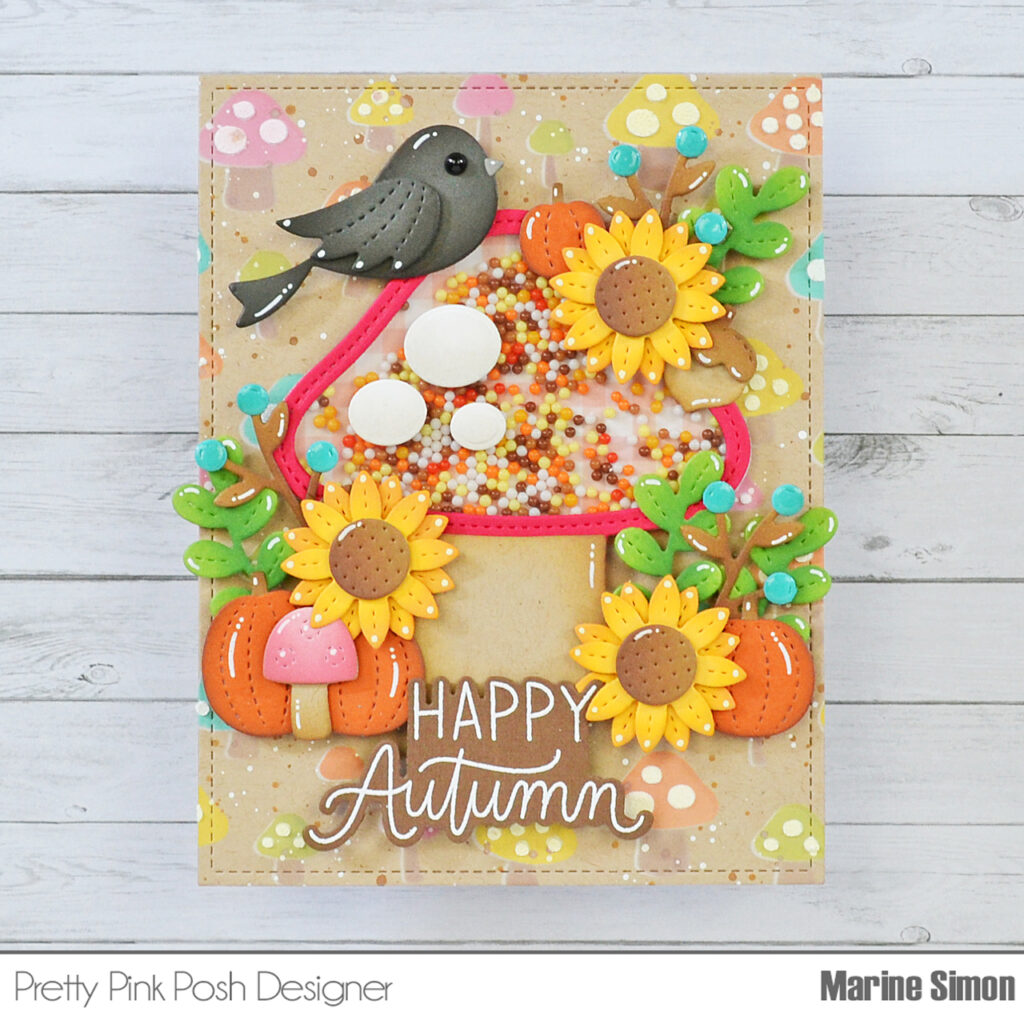
Next I created the mushroom themed background on a 5,5 x 4,25 inches kraft panel, and just like the first background, I started off by making a white base using the Layered Mushrooms stencil #1 and #2. Next I shifted the stencil #1 and colored the top of each mushroom using the same oxide inks as before, and then shifted the stencil #2 and colored the mushrooms feet using vintage photo oxide ink. And once again, by shifting the stencils, we get a cool white border around the mushrooms. Finally I used the stencil #3 along with white textured paste to add cute dots on some of the mushrooms.
Both the Apple Shaker and the Mushroom Shaker were made the same way, except for a couple of details, so here are the different steps to make the apple.1. Cut the apple frame out of colored cardstock,2. Cut a whole apple out of acetate, and another one out of pattern paper,3. Attach the acetate apple at the back of the apple frame using liquid glue,4. Still at the back of the apple frame, add foam strips directly on the acetate, all along the apple edges, following the rounded shape,5. Pour Autumn Shaker Beads on the acetate,6. Close the shaker by sticking the patterned apple to the foam strips,7. Shake, and voilà!
I repeated all those steps to make the Mushroom Shaker, except that to make the mushroom’s foot, I cut an additional mushroom out of kraft cardstock, cut the foot out, and attached it to the shaker using liquid glue.
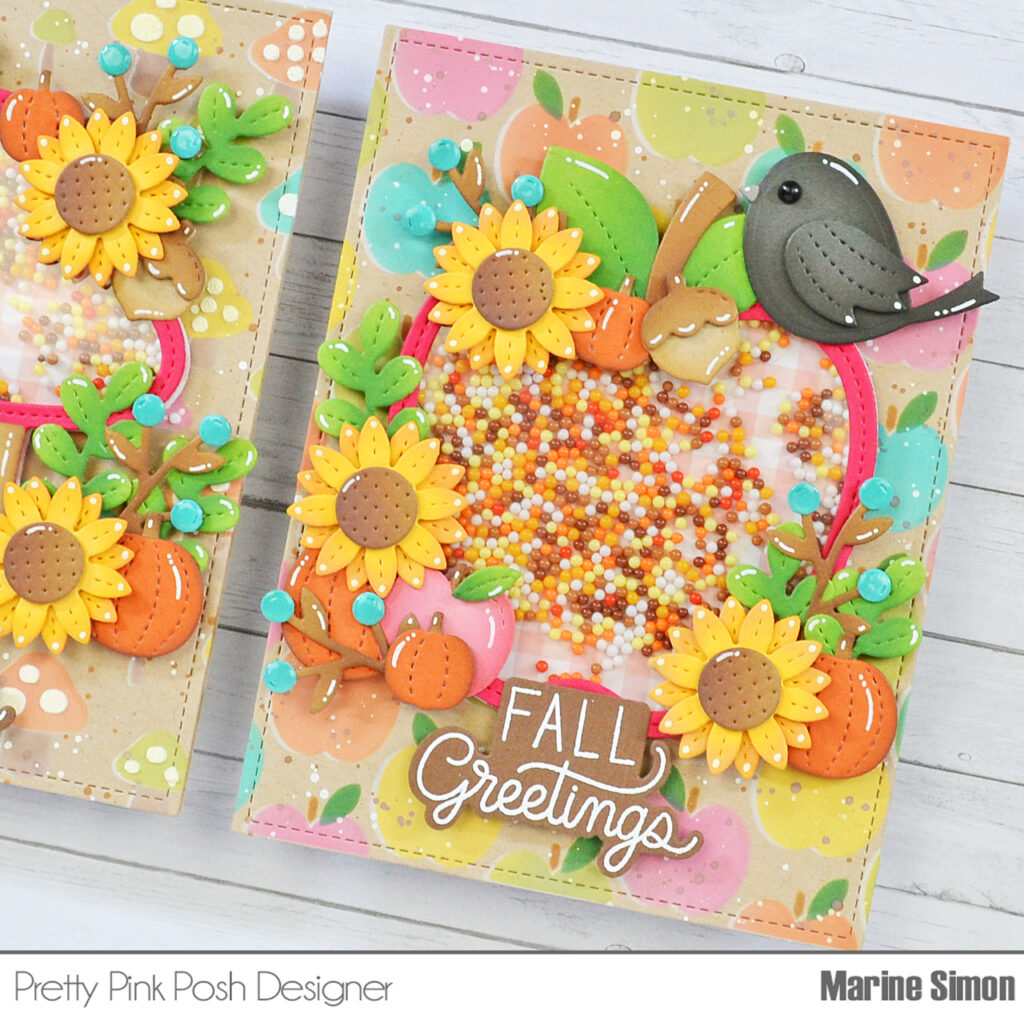
Next I cut all the bits and pieces out of colored cardstock, and added a little bit of depth to each element using oxide inks. Here is a detailed list of the products I used: • Big Fall Cupcake – sunflowers, acorns, leaves, mushroom • Fall Basket – apple, tiny leaf • Stitched Birds & Holiday Birds – crows • Fall Mug Additions – berry branches • Big Halloween Cupcakes & Spooky Mug Additions – pumpkins.
I white heat embossed two greetings on dark brown cardstock and cut them using the matching dies: “Fall greetings” is from Fall Bouquets, and “Happy autumn” is from Solid Fall Foliage. I attached everything on my panels, starting with the shakers using liquid glue, and then the die-cut pieces and greetings using 1mm and 2mm foam squares, 3mm glue dots, and liquid glue.
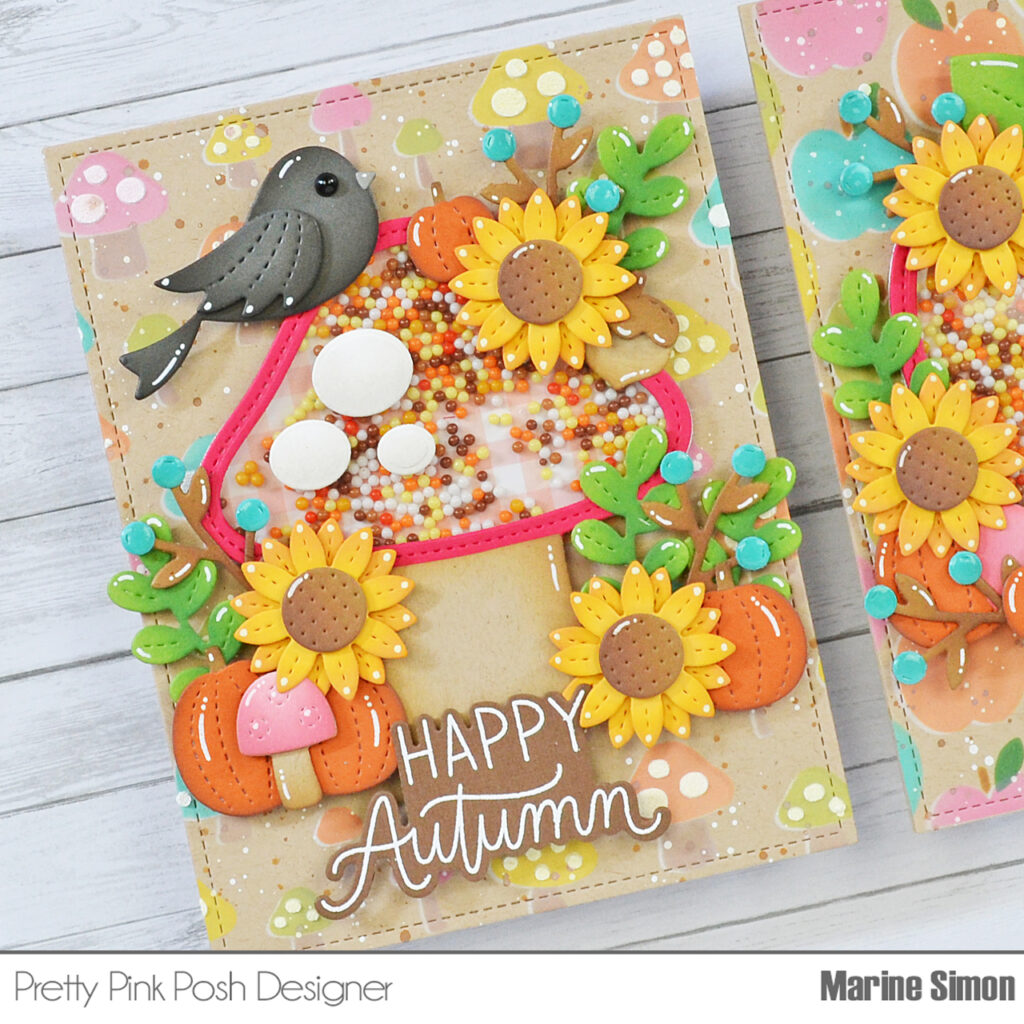
For the final details, I glued an Onyx Pearl on each crow to make the eyes, added highlights and details to the elements using a white gel pen, and glossy accents to the berries to make them shine. And that’s it!
I hope these autumn shaker cards have inspired you. Stop by tomorrow for a look at all of the new products in picture form!
These are adorable. I love the solid black bird, it makes me ready for fall!!!
I love the little sunflowers!
So so many fun dies 😍