
A New Series by Gemma!

If you missed Gemma’s series from last year- Create A Scene- CLICK HERE.
Hello, Gemma here and I’m excited to be sharing a card today for my new series here on the Pretty Pink Posh blog called Clean & Simple.
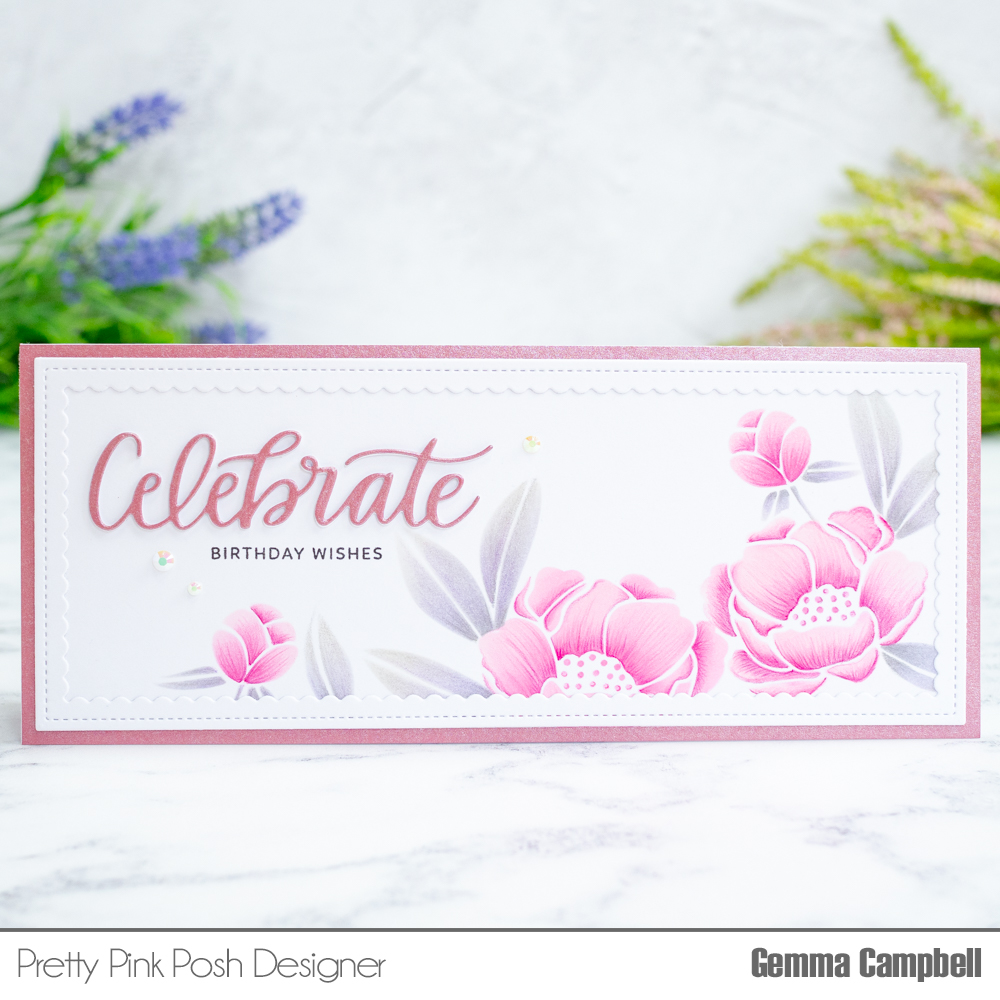
I love creating clean and simple (CAS) cards. When I think of CAS, I think of white space and a focal image or area on a card. This style can be very minimal, with few layers and embellishments, but I also love to create mini scenes on my CAS cards. I’ll be sharing a variety of clean and simple looks in this series and I hope they will inspire you to try the CAS style too.
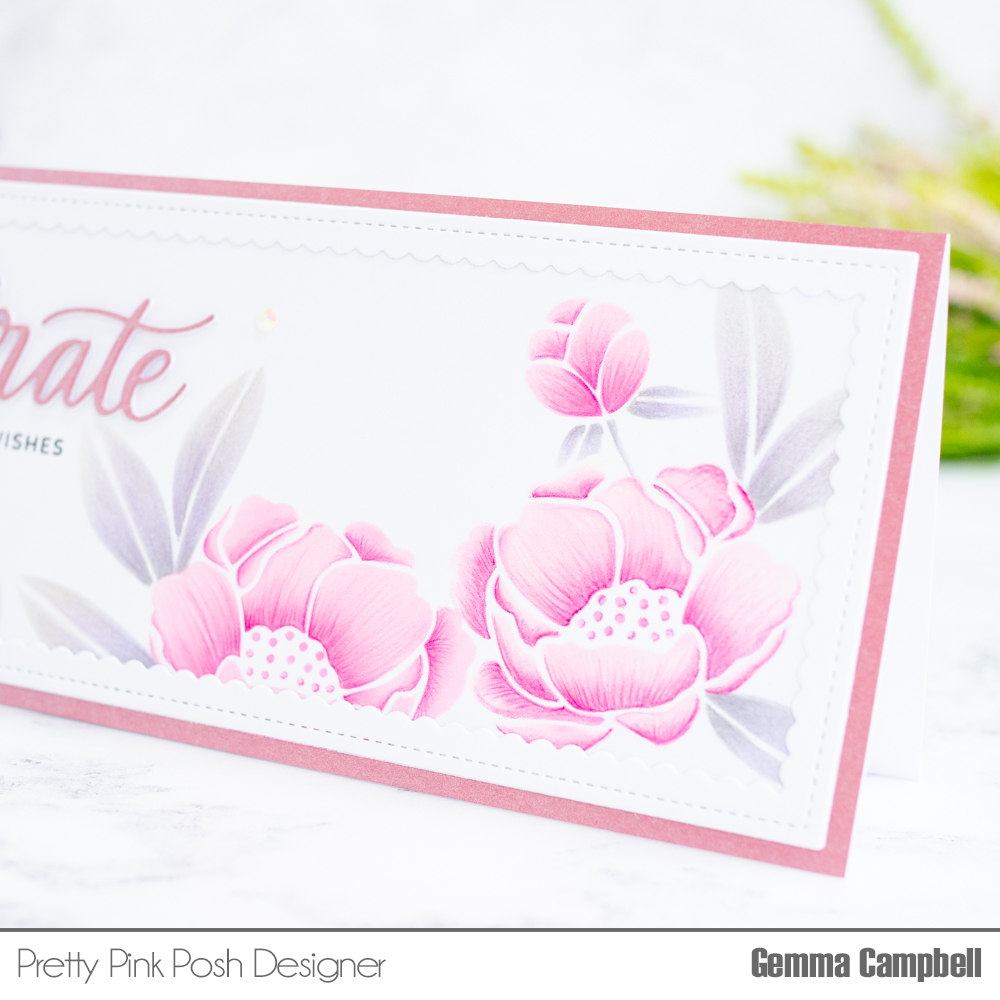
I’m using some new January release products on this card. I began by die cutting a slimline rectangle using the largest die in the Slimline: Peekaboo Windows set.
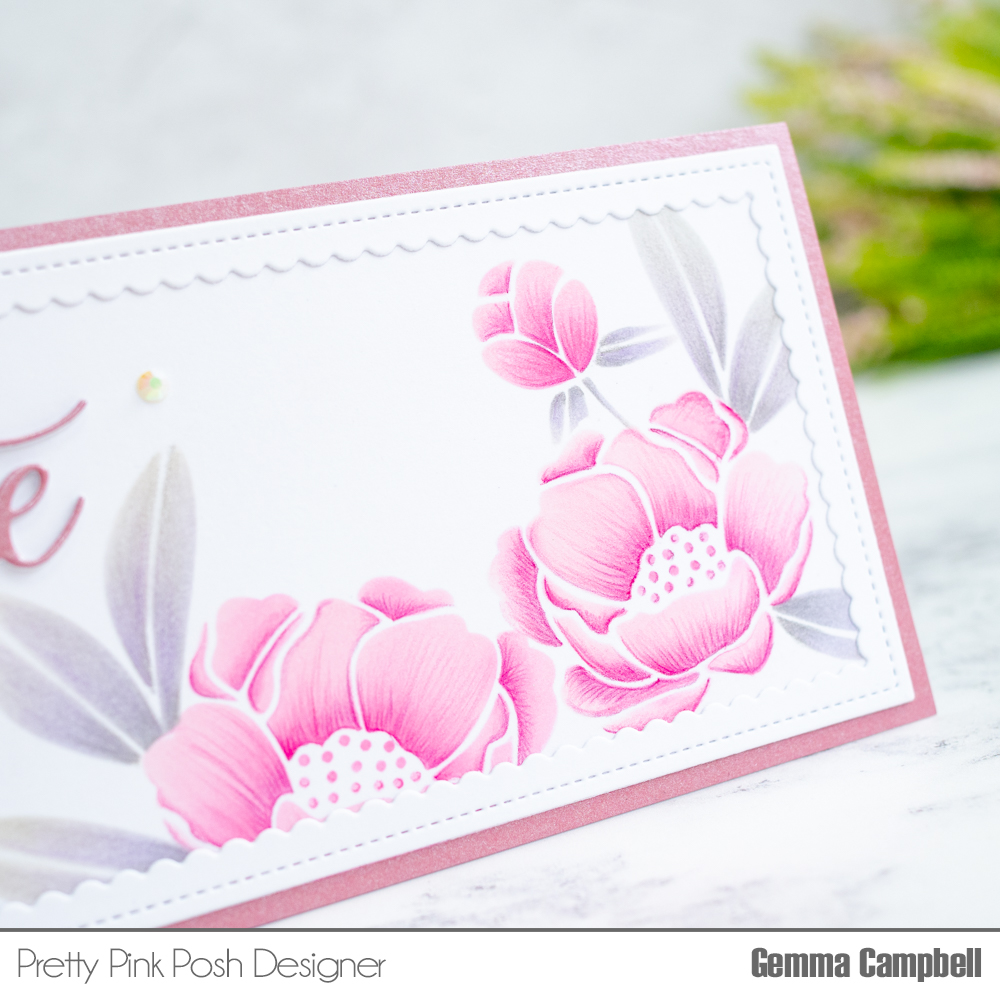
I positioned the Peonies stencil over the top of the panel, masking it so I could blend ink through one of the flower images. I lightly blended spun sugar distress oxide first, then used a smaller blending tool to add some picked raspberry distress oxide ink for shadow areas, blending out with the spun sugar oxide ink again. For the leaves, I used pumice stone and hickory smoke distress oxides, but also added some shaded lilac oxide ink which adds a lovely purple hue to the leaves.
I repeated these steps, moving the stencil around, masking different flowers and leaves and inking through the stencil, creating a floral scene on the slimline panel.
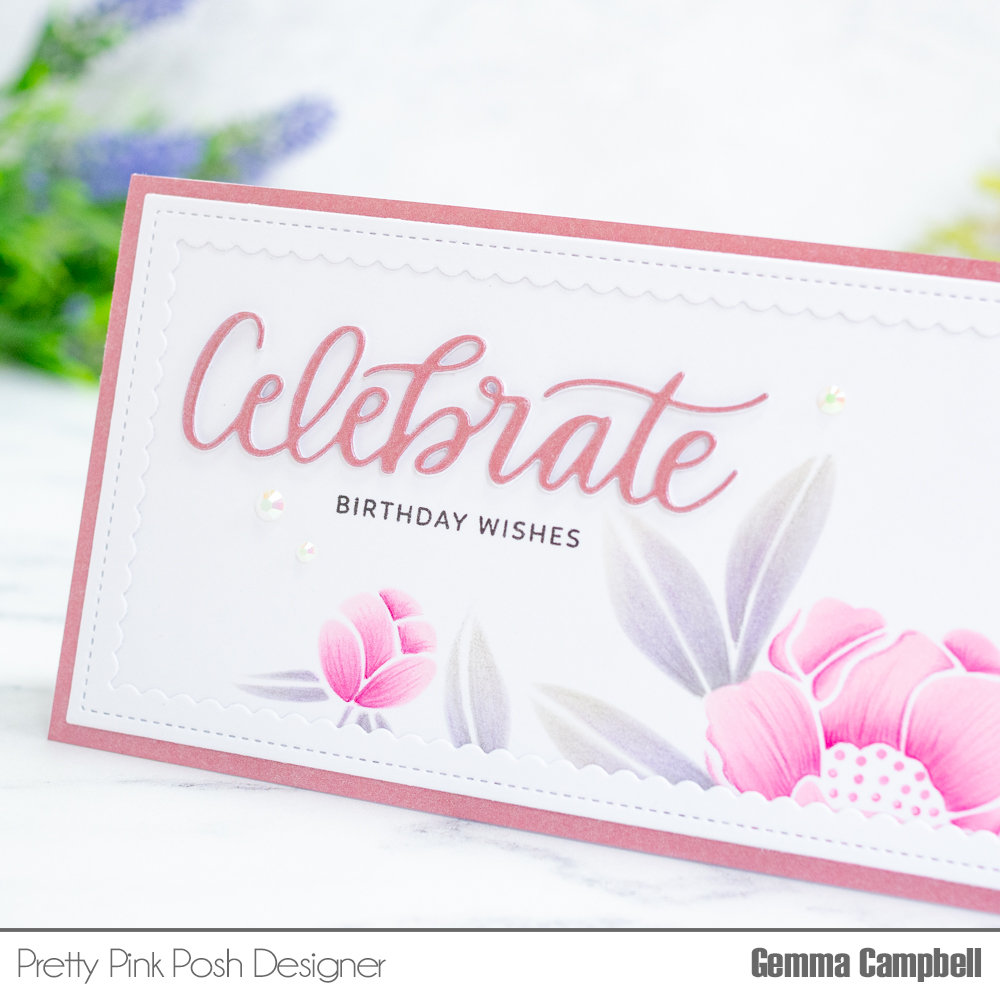
The ink blending alone own looks lovely and you could defiantly stop there, but I decided to add some details with my colouring pencils. I picked light, medium and dark shades of pencils for both the flowers and leaves. I added details to emphasise the shadows, blending out to the lighter areas. You can use the pencils to define edges too.
I cut a panel of pearlescent card, which picks out the pink tones on my flowers. I layered this on my card base, then added the stencilled panel on top.
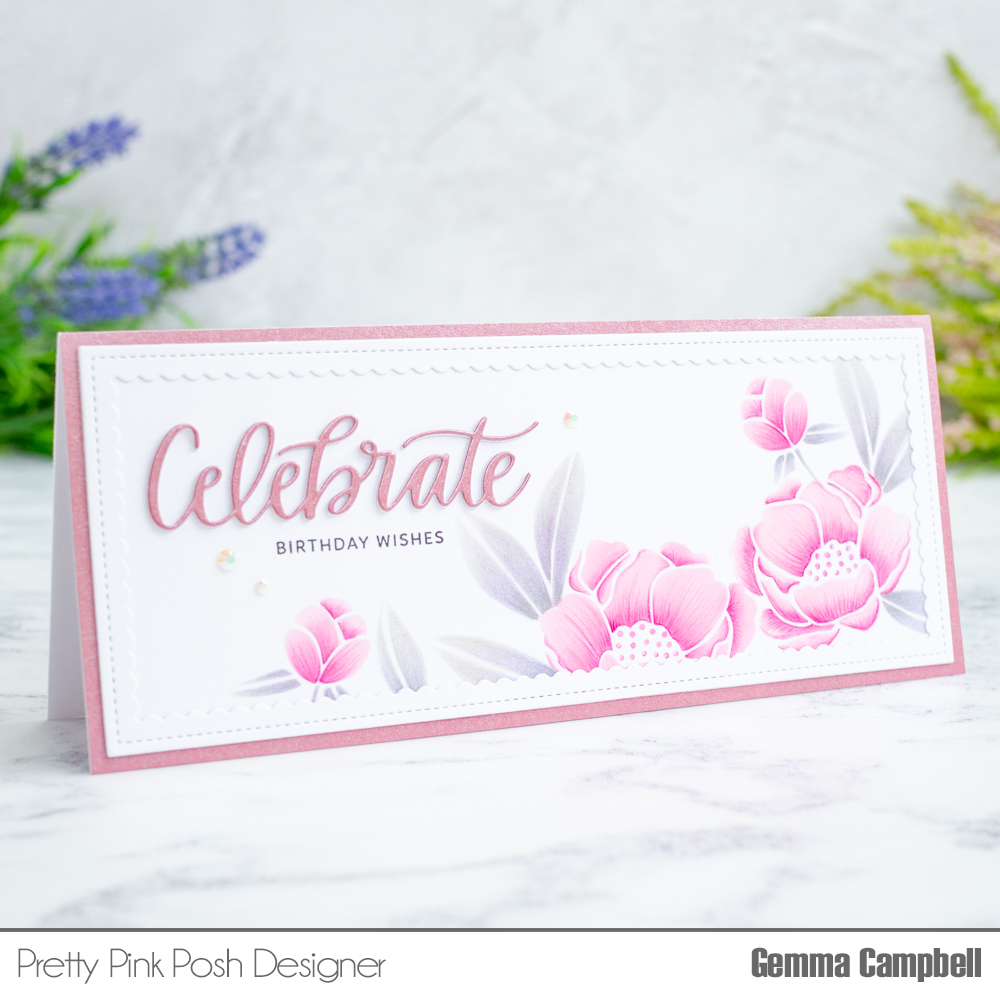
Next, I die cut a scalloped frame from white card, using the new Slimline Scallop Frames set. I layered this on to the card to add some pretty detail but still keep the design clean and simple.
I stamped a small sentiment from the Simple Sentiments stamp set. Above this, I added a die cut Celebrate, using the same pearlescent card as the base. I stacked this with two white die cuts for dimension. To finish, I added a few of my favourite Pearl White jewels around the sentiment.
I hope you enjoyed this first installment of the new series. If there is a specific product you’d like me to try to feature in the future, feel free to leave a comment below!
Absolutely love CAS so I was super excited when I saw the title! Also, beautiful card 😃 I can’t wait to see all the beautiful CAS cards in this new series!
So beautiful!
Really Beautiful card!!!!
Absolutely stunning!
Beautiful card. Love the colors and slimline. The Stamps are awesome. Love your card.
Beautiful. Looks so soft. Thanks for sharing.
I love the card and have fallen in love with the Celebrate die
am I able to purchase this die
Thanks
Hi Raewyn, no, the die is not available for purchase at this time. It’s currently part of our free gift with purchase this month (in honor of our 7th birthday). We will most likely release it for purchase next year for our birthday celebration.
clean and simple is one type of card I struggle with!