Bouquet and Stenciled Stripes
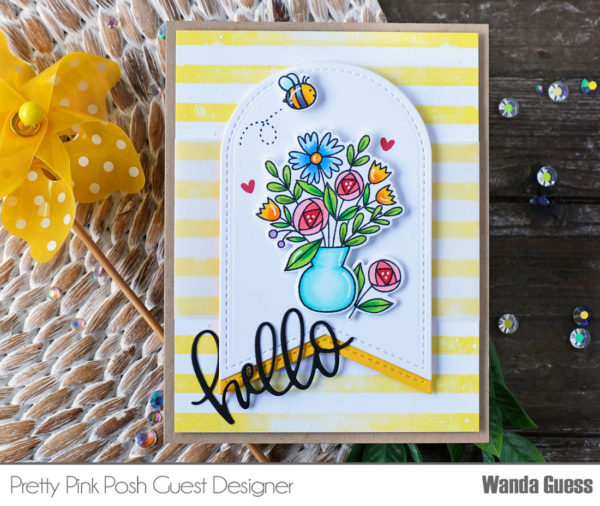
Hello there everybody, Wanda here guesting on the Pretty Pink Posh blog! I’m sharing a card today using products from the April release.
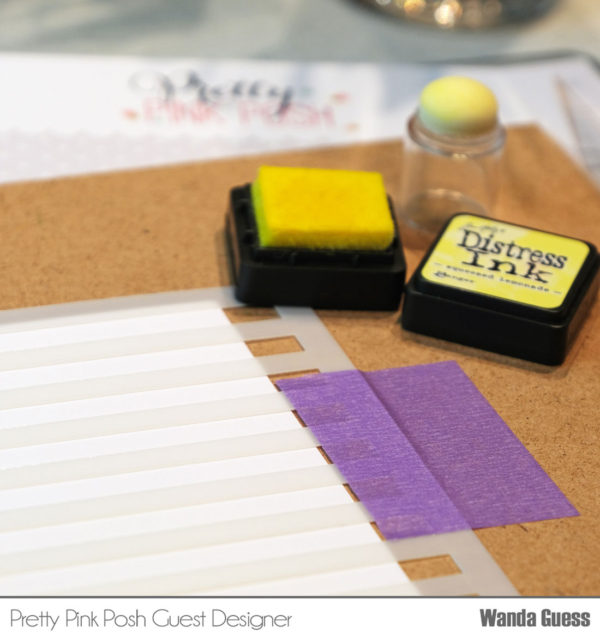
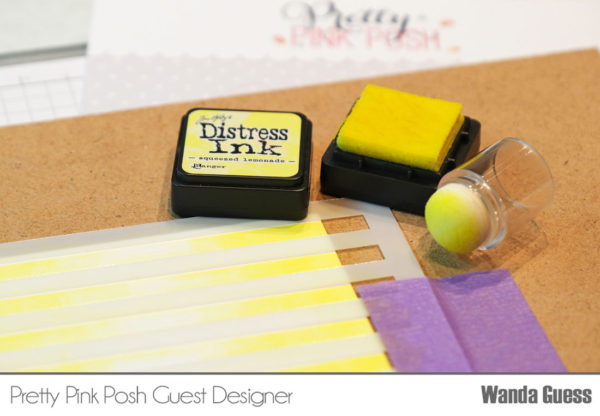
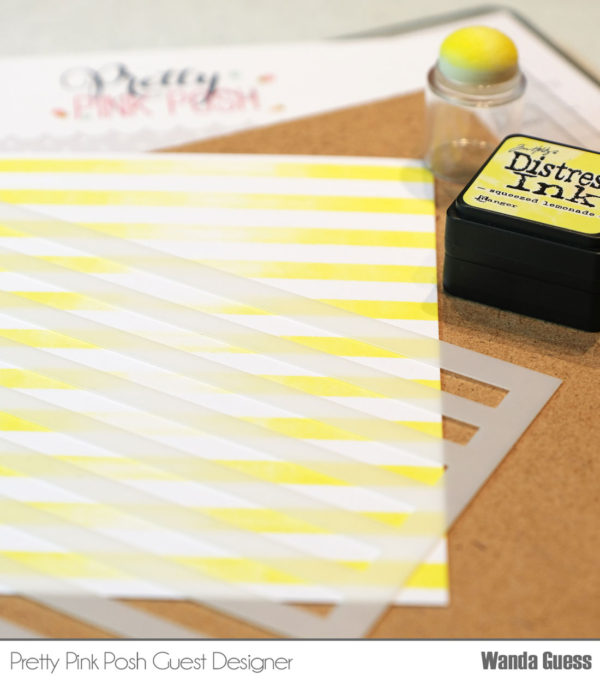
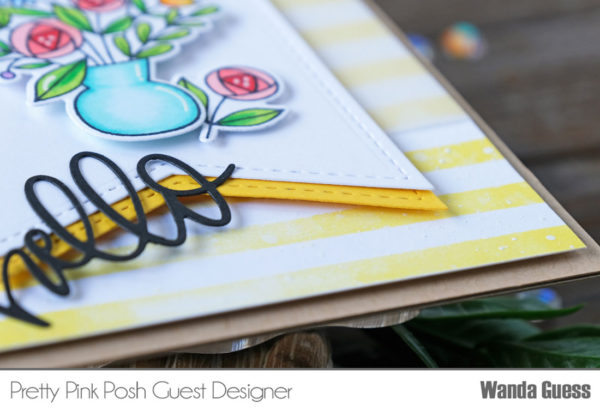
Begin by stenciling the Wide Stripes Stencil using a small sponge dauber and Squeezed Lemonade Distress Ink. Tape the stencil down over your paper using Purple Tape or some other temporary tape. Tamp the ink down with the dauber placing more color towards the outer edges and less color towards middle of the cardstock . Use a water sprayer to lightly mist the inked paper and let it dry. Splatter Copic Opaque White using a small paint brush.
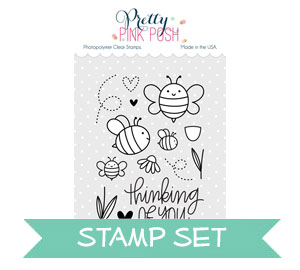
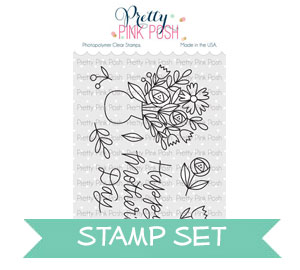
Stamp and die cut the bouquet and small flower from the Mother’s Day stamp set and bee from Bee Friends. Color the images with bright shades of Copic Markers. Add white accents with a gel pen.
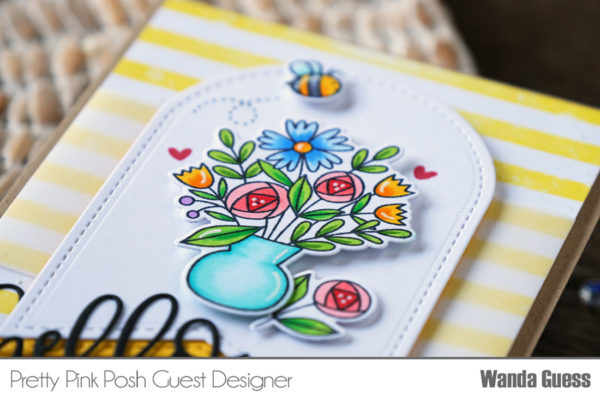
Die cut the Hello Friend Script Die out of black cardstock. Die cut two of the tag shape from the Stitched Banner Duo 2 set– one in white cardstock and one in yellow cardstock to layer.
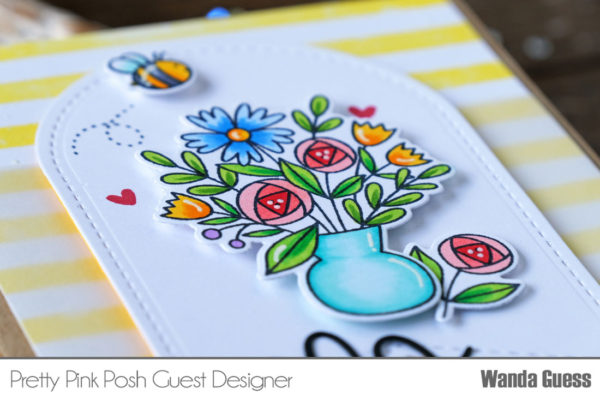
To assemble the card, use a kraft A2 sized card base. Wrap a strip of vellum around the striped panel and affix it on the back side. Attach this layer to the card base using foam tape. Adhere the two tag shapes together with adhesive and then attach them to the card using foam tape.
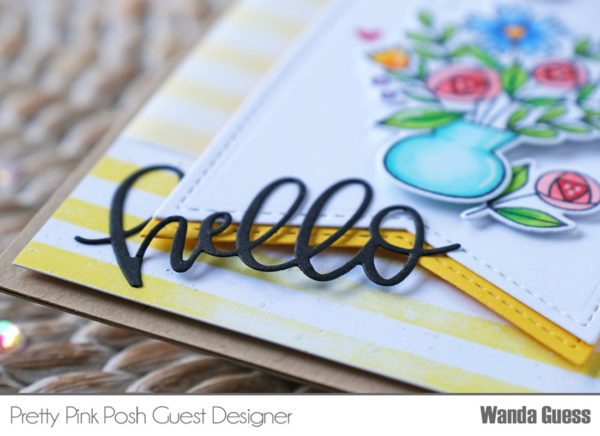
Stamp the bee trail and the two tiny hearts onto the tag. Mount the bee, bouquet and flower to the tag. Using clear glue, glue the word die at an angle across the bottom of the card.
These products work together so beautifully and you can really customize the card to fit the recipient.




This is so beautiful! I love the stenciling! :)
Beautiful card, especially the stenciling of the lines which adds that pop. Love your cards and your sharing.
Really Beautiful!!!
This is such an awesome set and you showcased it perfectly. I think that little bouquet would make an adorable Mom’s card too. Love seeing you here Wanda!
I’m just now exploring the use of stencils. I think they’re pretty cool!
So pretty. I love the stencil idea and awesome colors of the beautiful flowers.