
Spring Butterflies + Three Day Sale!

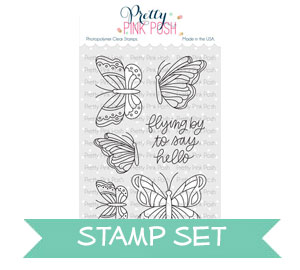
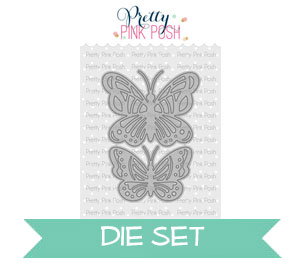
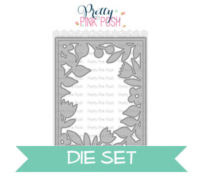
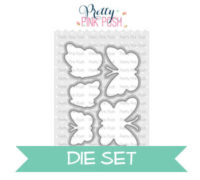
Hello friends, Eloise here and today I have a card featuring the Beautiful Butterflies Stamp Set along with the Bold Butterflies Dies (both are 30% off this weekend!), since they layer so nicely and then I brought in the Spring Frame Die since again, these products work so nicely together and it fit with the design of my card.
To start off I cut out the Spring Frame Die and Bold Butterflies Dies from vellum and set them off to the side for later. I then used my MISTI to stamp out my butterflies from Beautiful Butterflies. I used a smaller and larger one since they layer the best and then I coloured them in with Copic Markers. I used a colour combo from Pinterest which is two shades of Pink, a green and blue to help colour these in as well. Once they were coloured in, I cut them out using the coordinating dies.

Copic Markers Used: R30, R81, R83, R85 / RV10, RV13, RV25, RV19 / YG01, YG03, YG07, YG09 / YG61, YG63, YG67, G28 / BG10, BG11, BG13, BG49 / C00, C0, C1, C3

Now that all my elements were ready to go, I added adhesive to the middle of the butterflies and adhered them on top of the vellum ones. For my background I water-coloured some stripes in coordinating colours and dried them off with a heat tool.

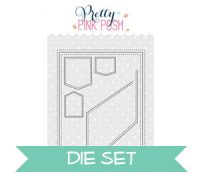
To finish up, I used the Stitched Notes Die Set and cut the frame from a piece of blue cardstock. I used the outer frame and added adhesive onto the back and adhered it to the vellum Spring Frame. I then added foam tape onto the back and adhered it over my water-coloured panel. I cut apart the ‘Flying By To Say Hello’ sentiment from Beautiful Butterflies and stamped that onto the background using my MISTI and black ink.
I adhered my butterflies into place and then scattered some Wisteria Blossoms Confetti Mix around the card.
Beautiful butterflies :)
Gorgeous beautiful card! Thanks for sharing and inspiring.