Sneak Peek: Bunny Friends
Hello everyone! Amy here and I’m so excited to be sharing a look at the new adorable Bunny Friends stamp set releasing March 1st. The coordinating Bunny Friends Dies will be available as well.

Today, I’m sharing a one layer Easter card using the masking technique. Masking is a stamping technique where you cover stamped images so that the other images may be placed over it to create an illusion of depth. The image you stamp first is the one that will appear on the front. The second image will look as though it’s partially behind the first.
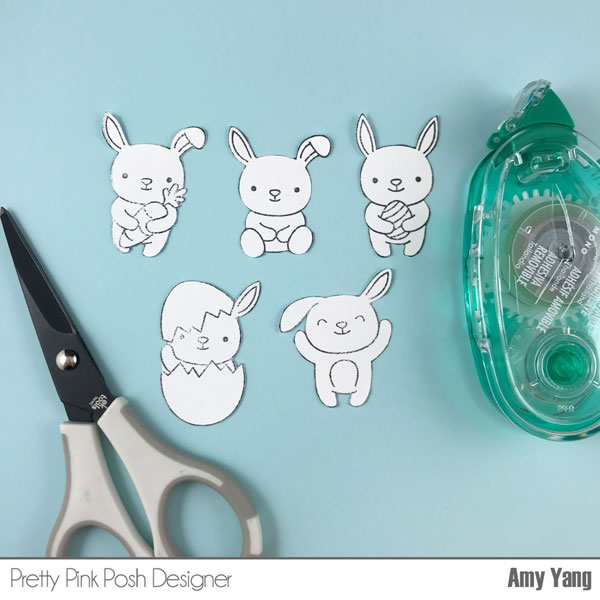
To begin, I stamped the bunnies from Bunny Friends on thin printer paper. I cut them out with a scissor right on the line (see photo 1). Behind the images, I used a removable adhesive tape.
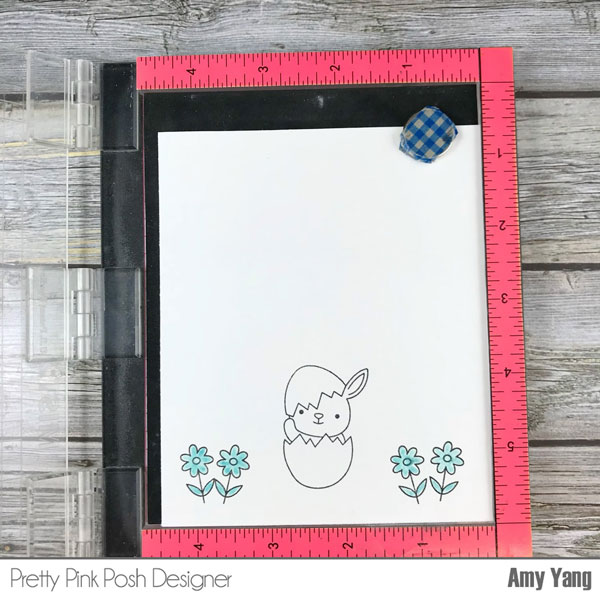

I placed a trimmed Bristol paper inside a Misti Stamping Tool, and stamped the first bunny and flowers (see photo 2). I covered the stamped image with the paper mask, and I used the Molotow Masking Liquid on the flowers (since it would be more difficult to create paper masks for them). I continued masking and stamping until I had all the images stamped.
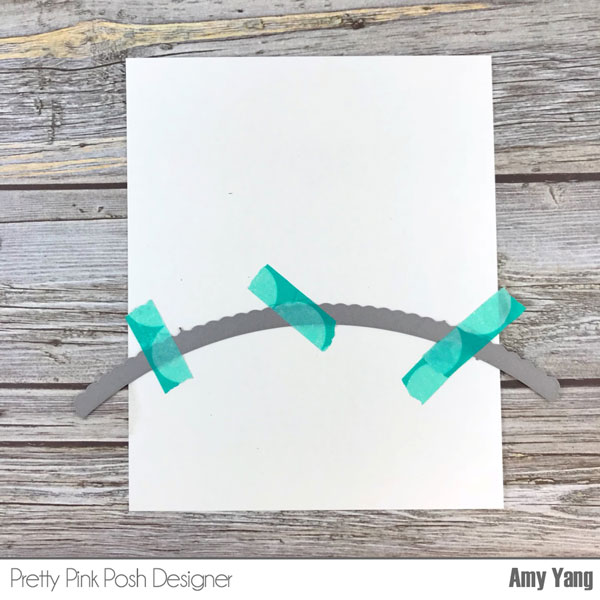
To add color to the panel, I die-cut trimmed paper with a die from the Scallop Borders 2.
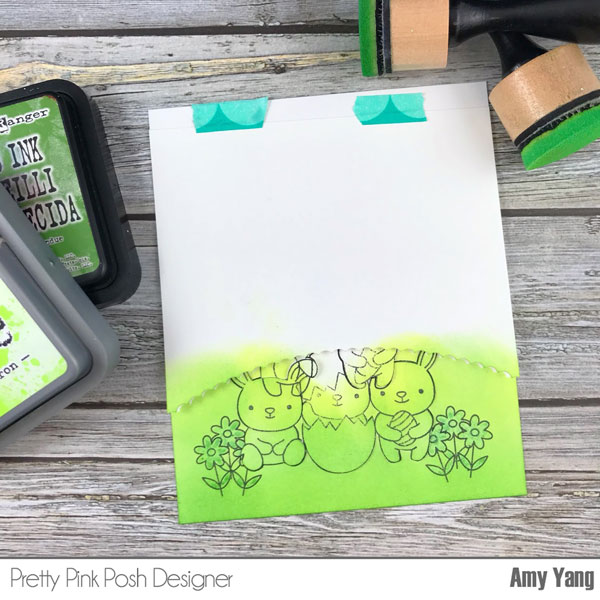

I covered the top of the panel with the die-cut paper and inked the bottom with Twisted Citron Distress Oxide and Mowed Lawn Distress Ink. After, I spritzed it with water for texture. I then covered the bottom and inked the top of the panel with Peacock Feathers and Tumbled Glass Distress Inks. I spritzed it with water as well as splatters of diluted Peacock Feather Distress Inks. Finally, I removed all the paper masks and colored the images with Copic markers.


 Today I’m featuring the exciting follow-up to the unique


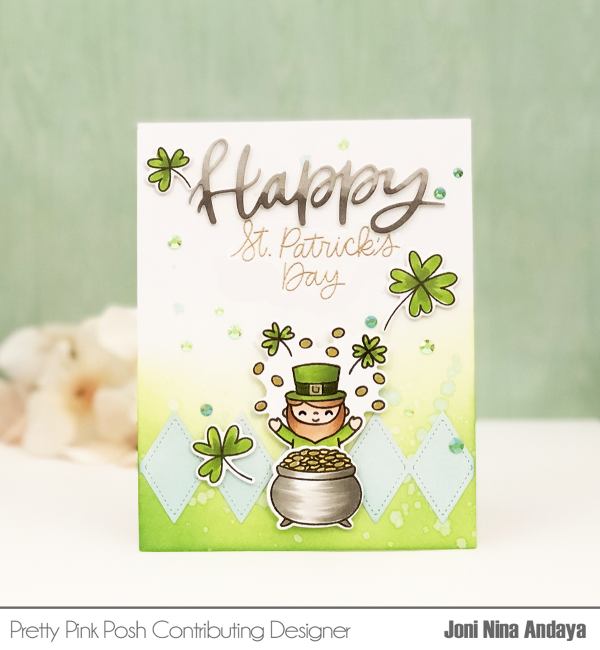
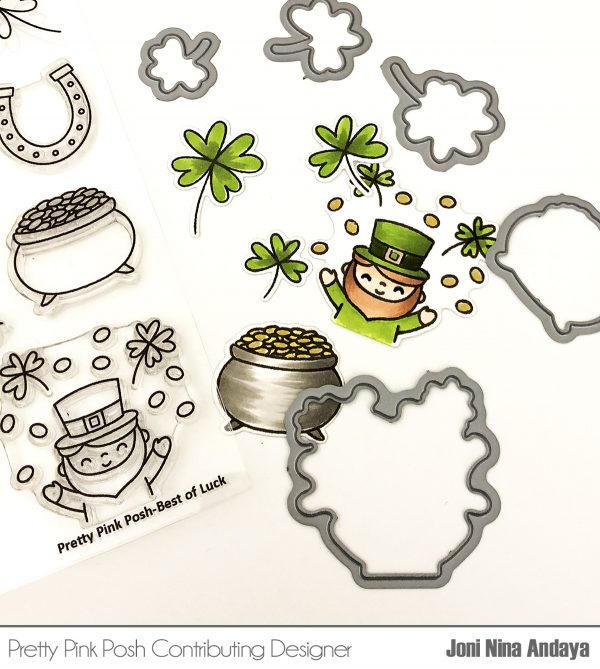
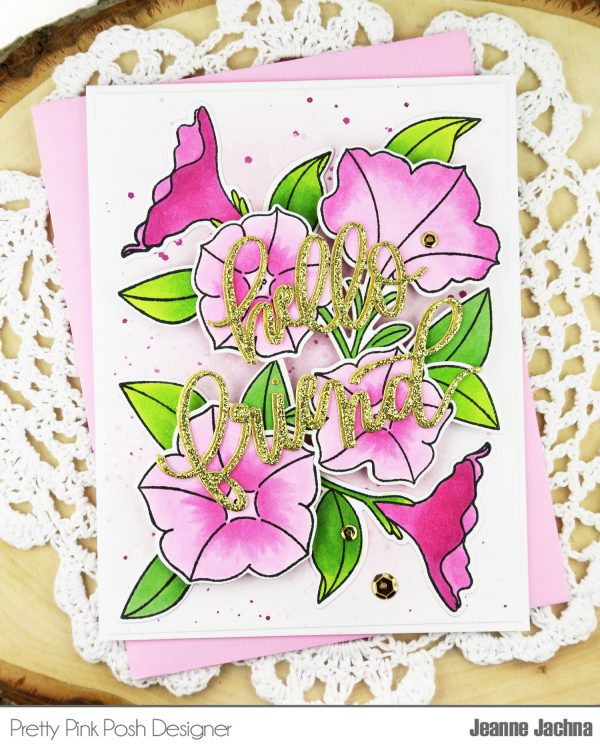
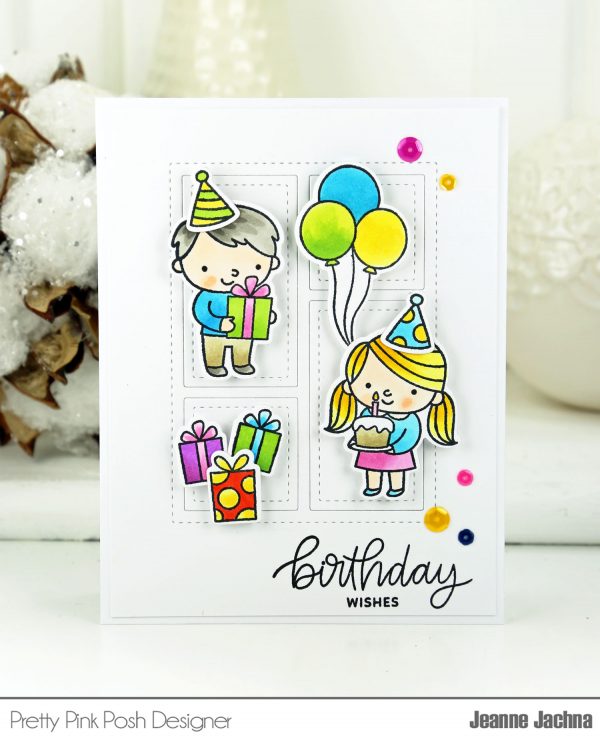
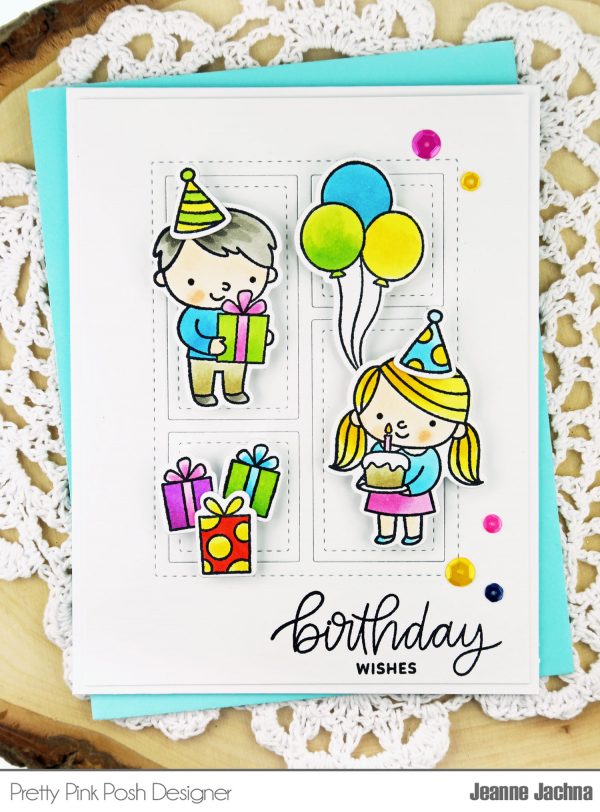
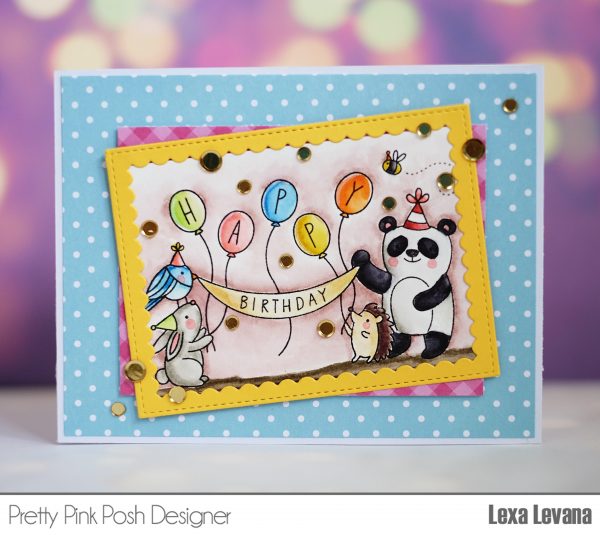
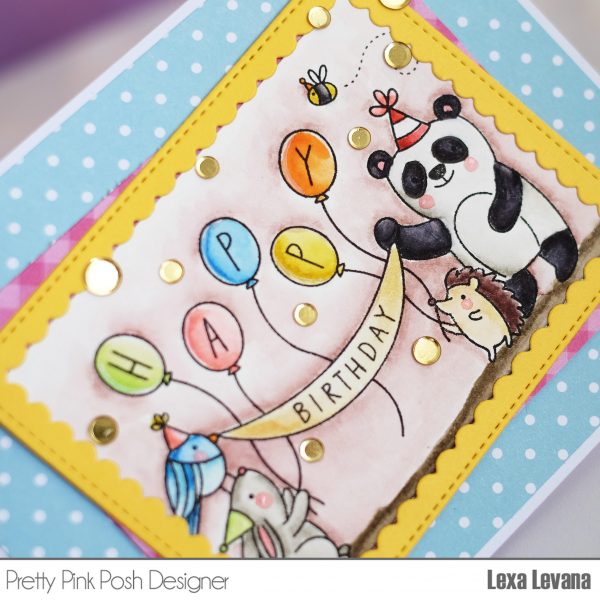
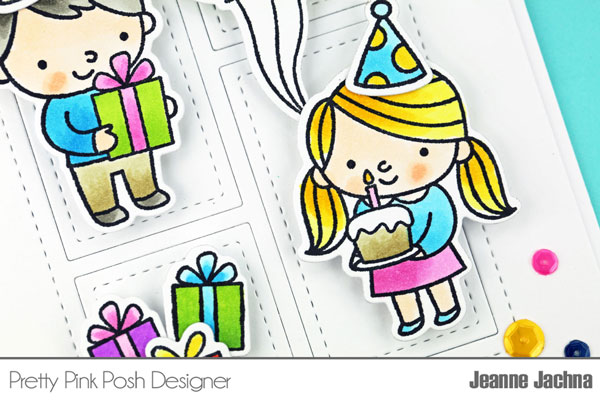 I stamped images from Birthday Friends with Memento Ink and colored them with Copic Markers. The coordinating die cuts make these easy to cut and create with. I left each of the die cut boxes white so they didn’t have to compete with the bright colors of the stamped images.
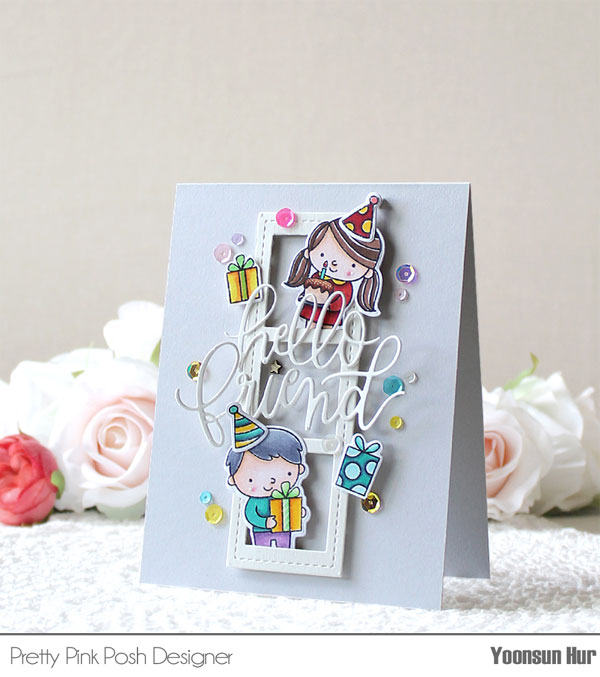
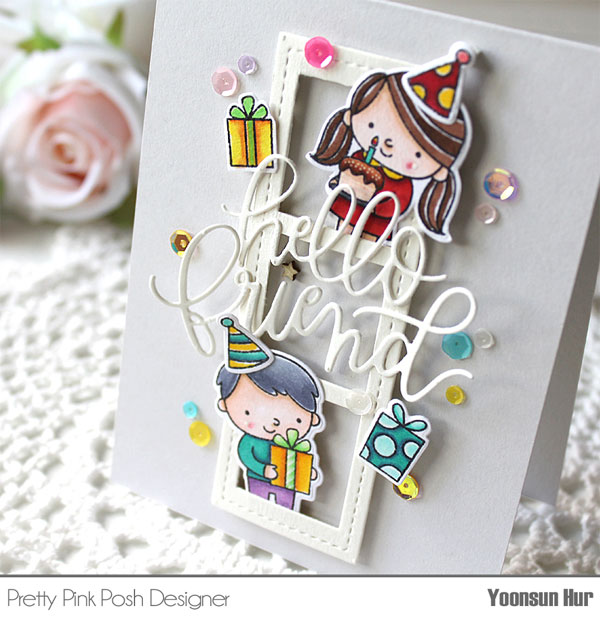
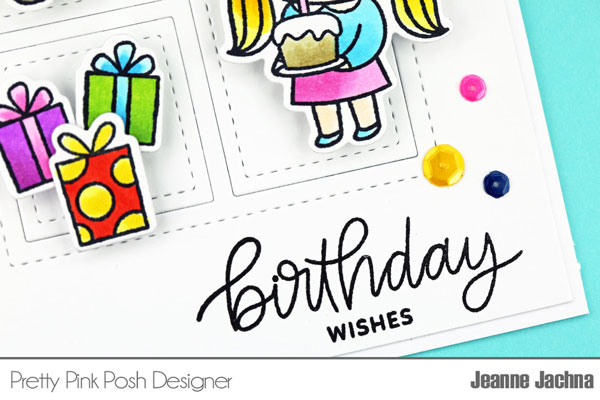 The Birthday Friends stamp set has several different characters complete with lots of accessories!!! Like what? Well… A birthday cake, cupcake, presents and balloons so there’s lots of ways to arrange these!