Sequins

|

Birdie Hello

Hello everyone!

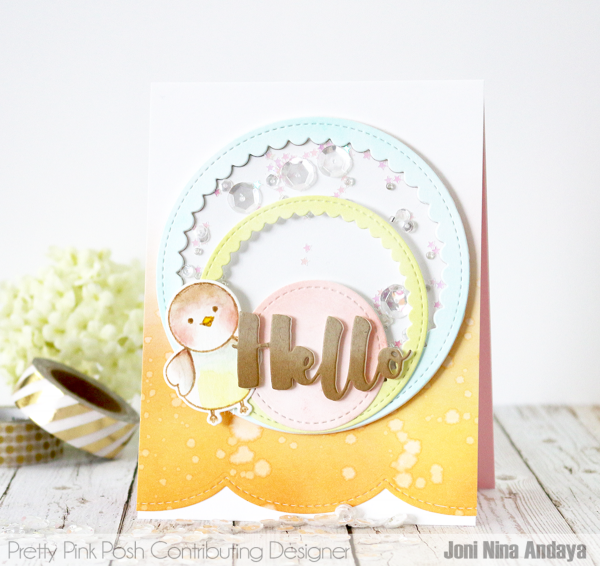
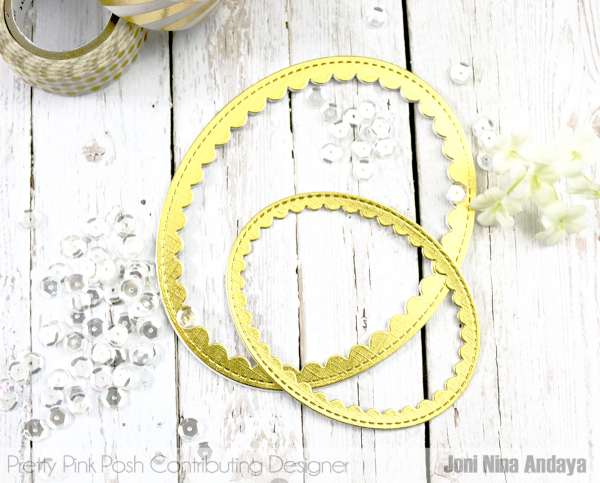
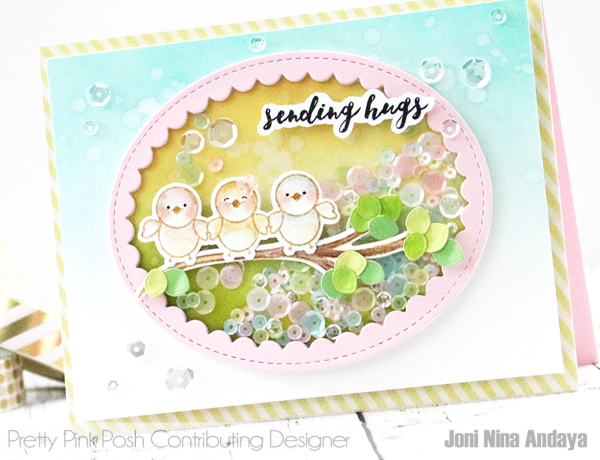
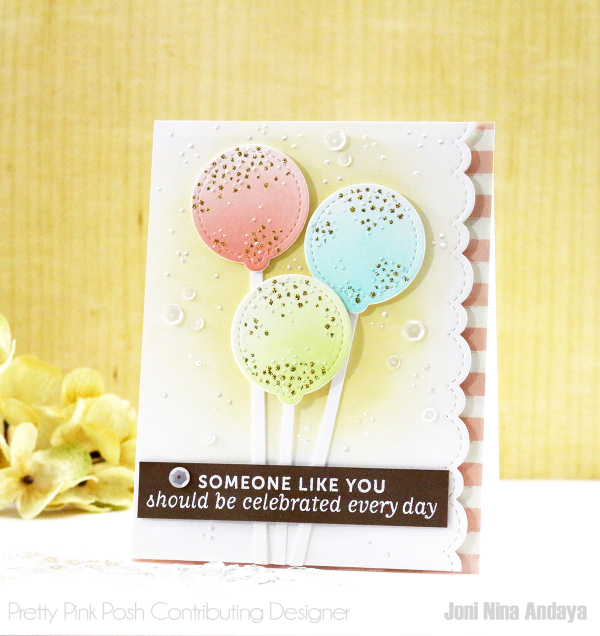
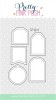
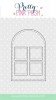
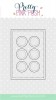
It’s Joni here sharing a project using the new Scallop Circles die setBirdie Friends stamp set and the coordinating Birdie Friends die set. I really love these dies and I know you will too.

Pretty Pink Posh

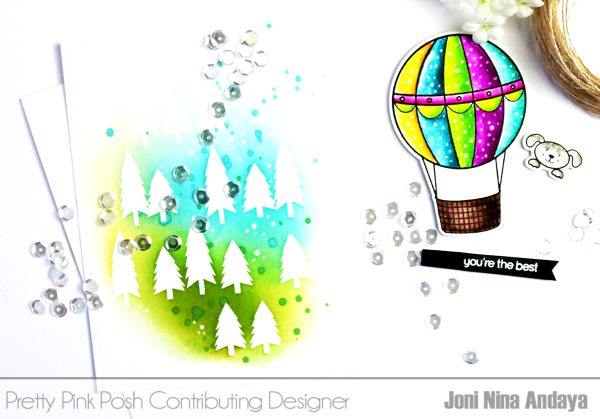
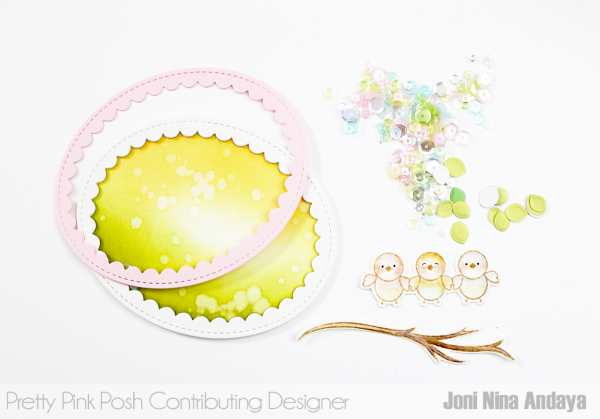
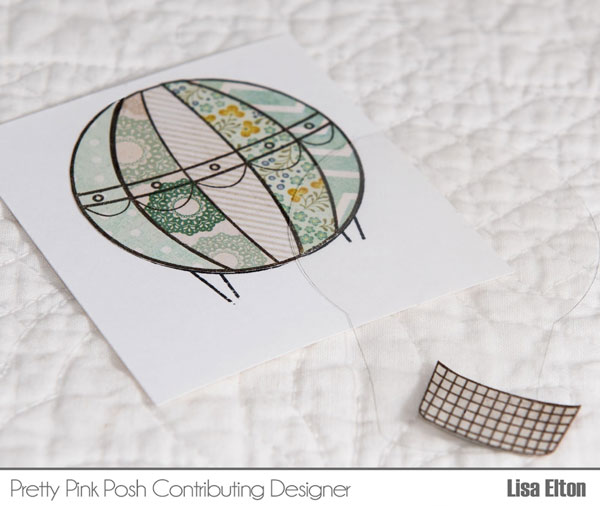
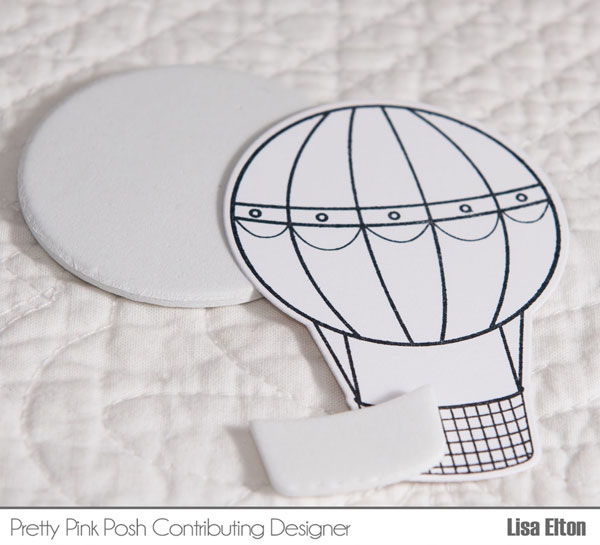
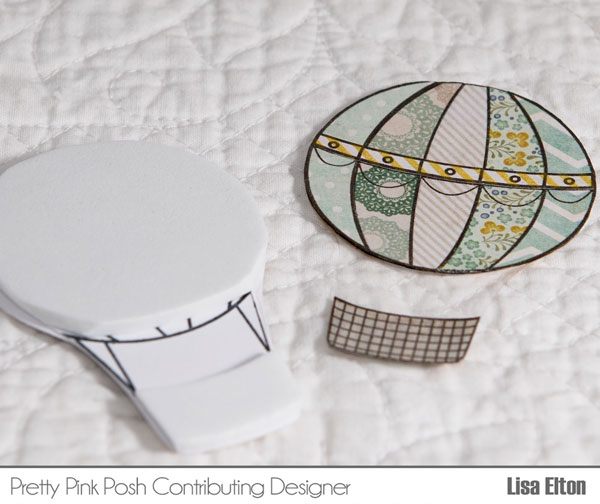
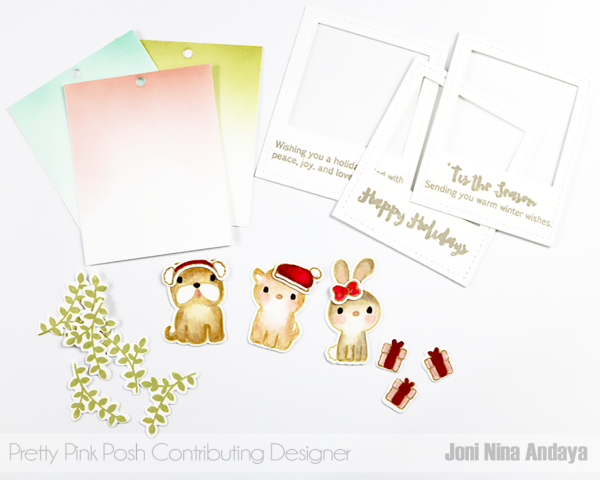
I want to show you below all the elements of this card.

Pretty Pink Posh

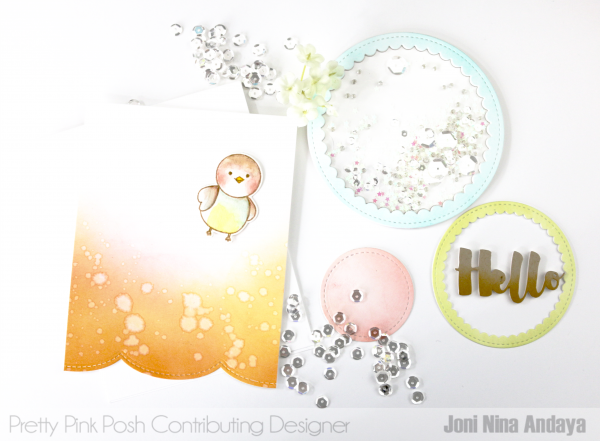
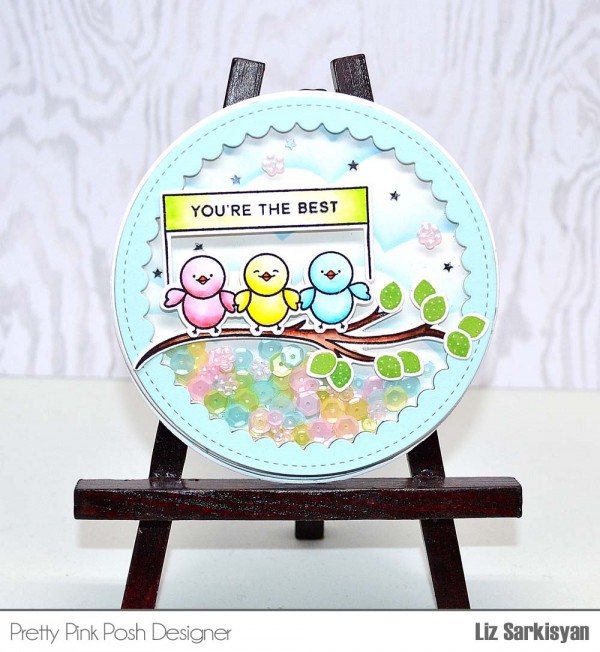
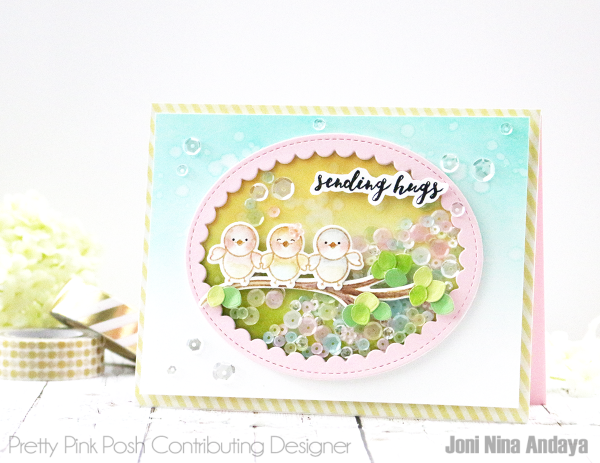
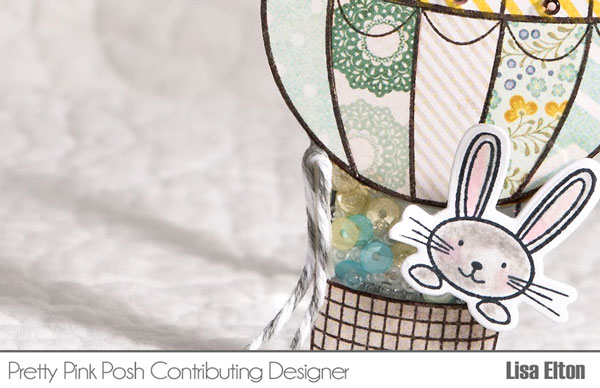
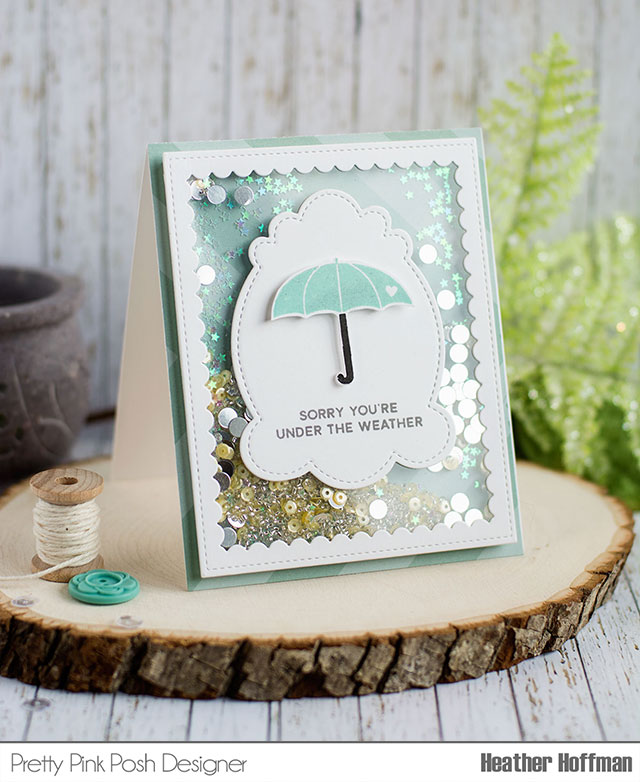
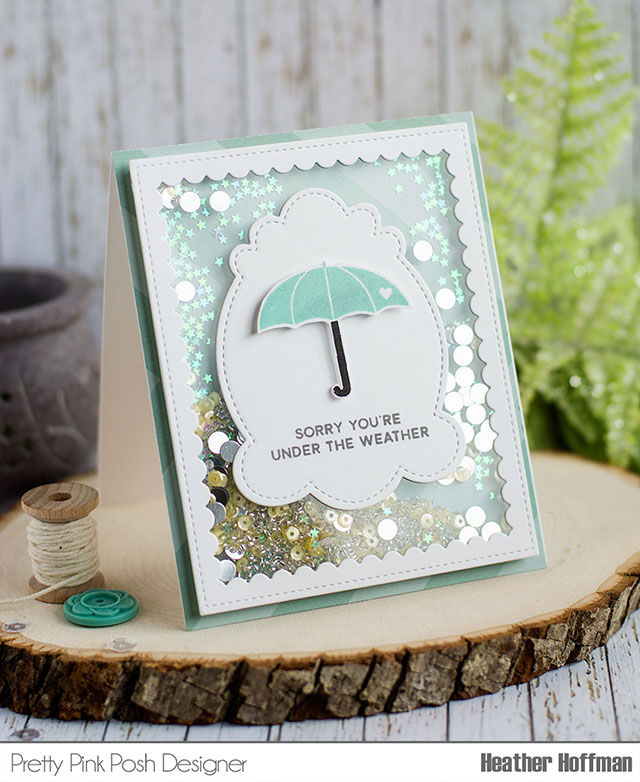
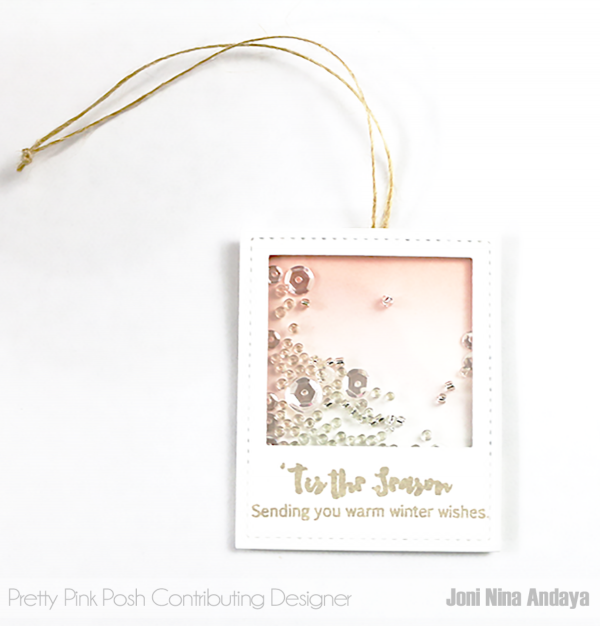
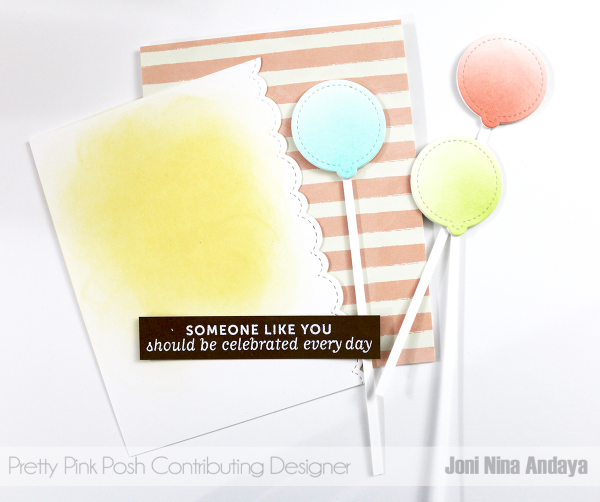
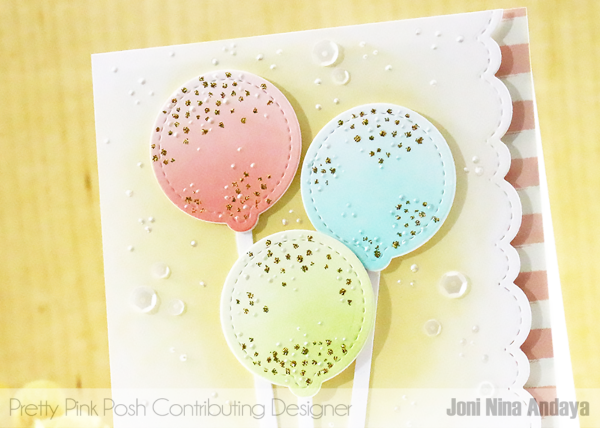
The larger scallop I turned into a shaker using an all-time favorite Sparkling Clear sequins in 10mm, I also used Iridescent Mini Star Confetti and Silver Shimmer Seed Beads. I also cut the small circle scallop to put on top of the larger circle scallop. The small stitched circle you see below if from the Stitched Banner Duo 2 dies. The cute birdie is from the new Birdie Friends stamp set.

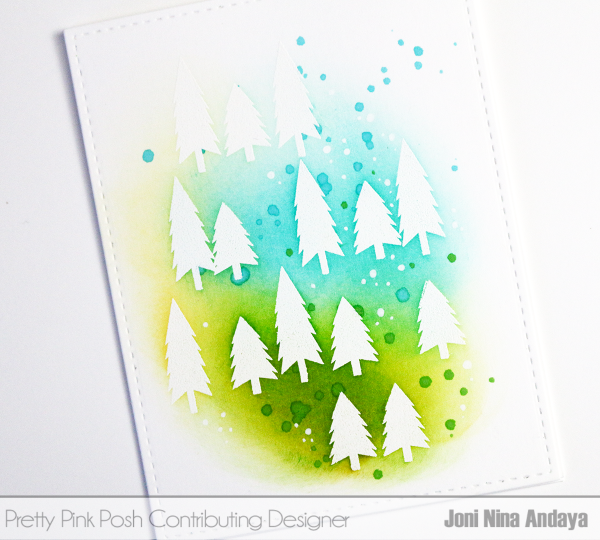
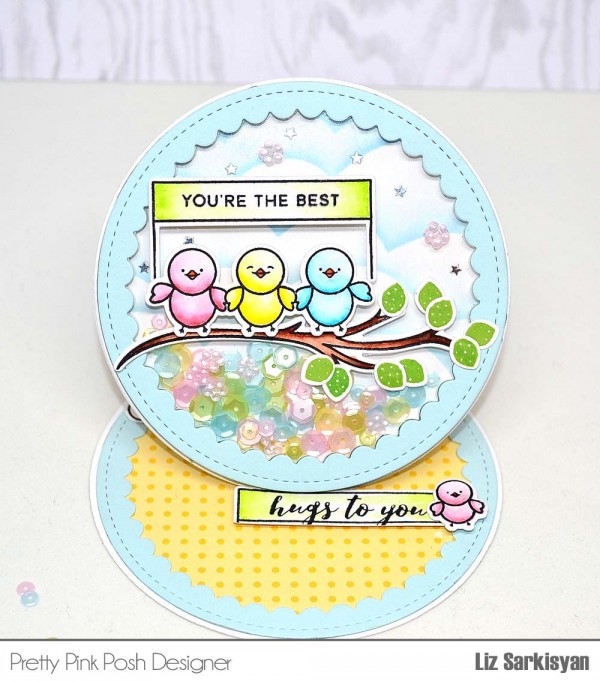
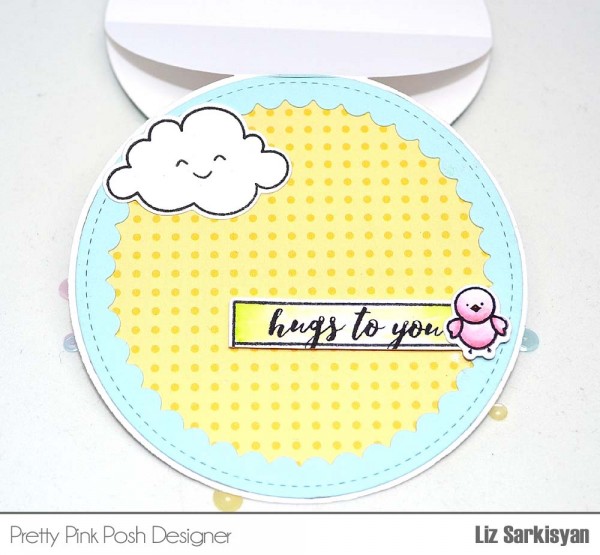
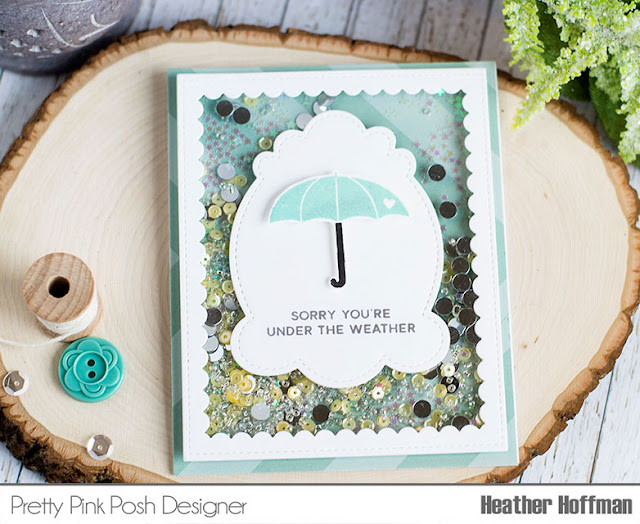
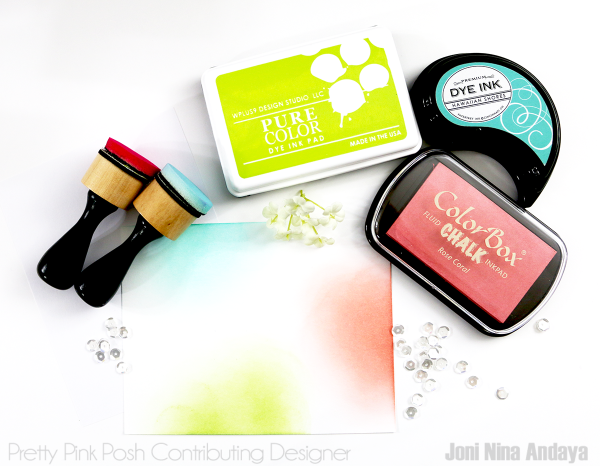
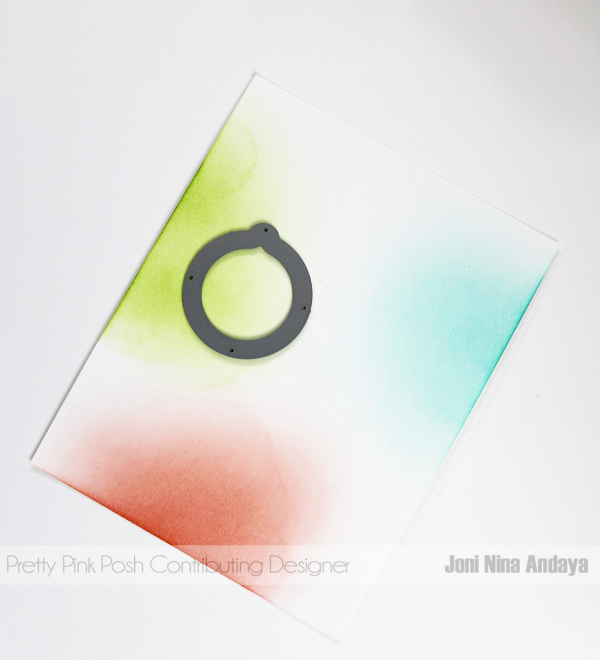
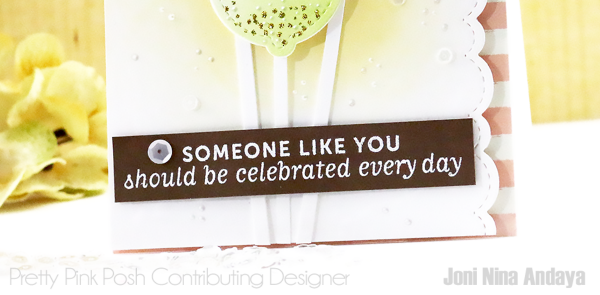
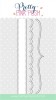
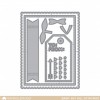
For the card panel, I cut an A2 white cardstock distressed it using Papertrey Ink dye inks in Harvest Gold and Melon Berry and cut the bottom using the new Stitched Border 4 die set. The hello die is from Essentials by Ellen called Brushstroke Hello.

Pretty Pink Posh

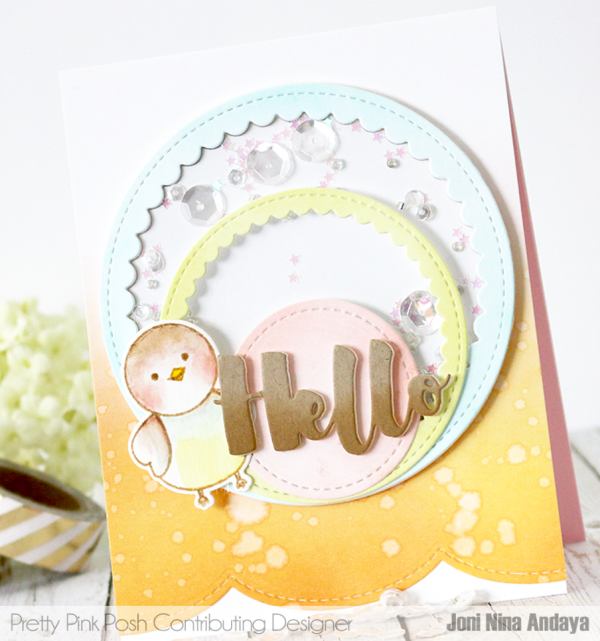
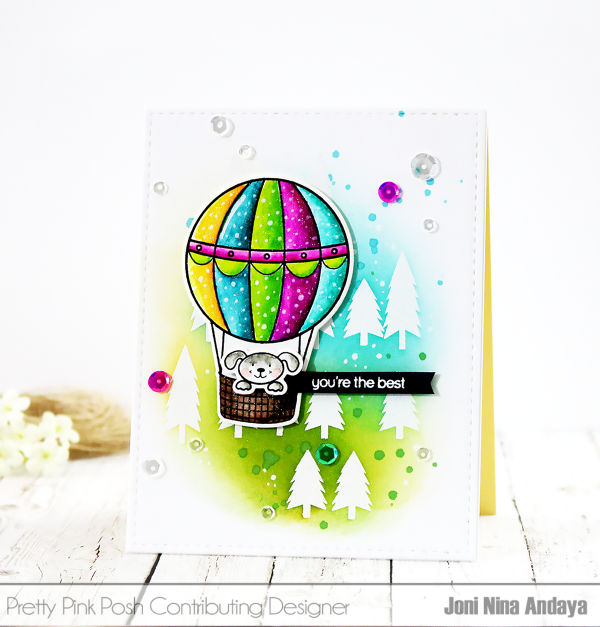
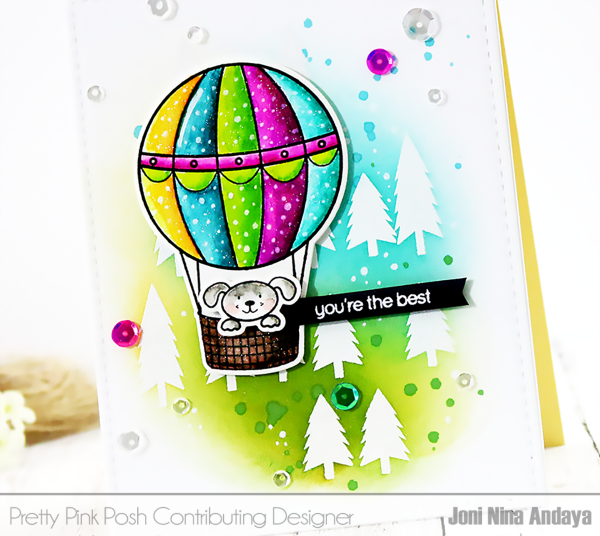
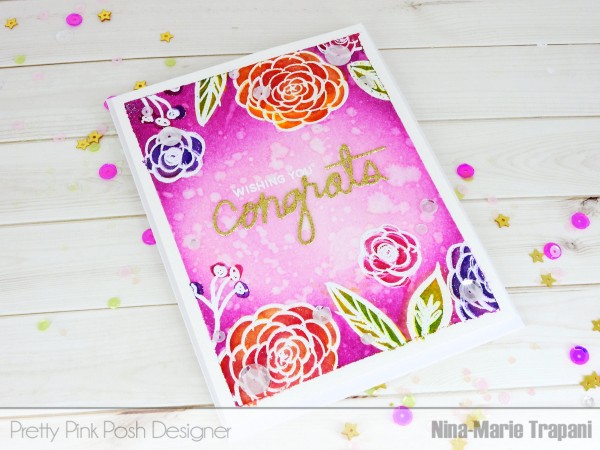
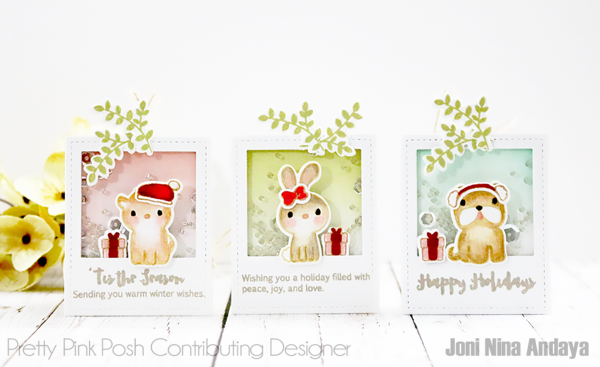
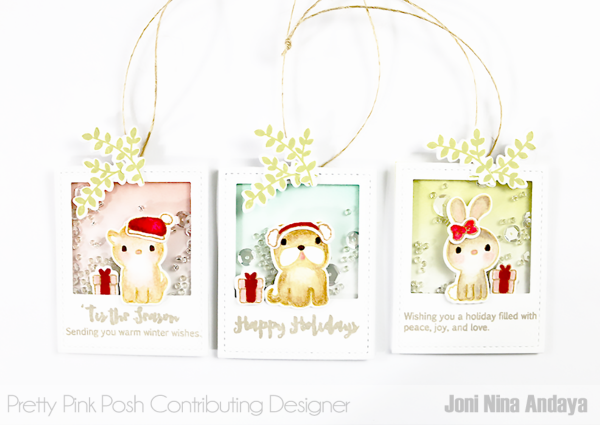
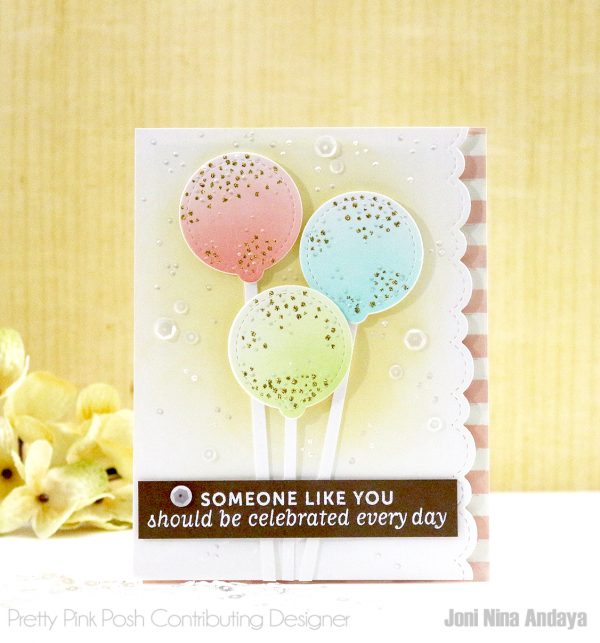
Here’s a look at the card all finished. Look at all the pretty elements in the shaker circles!

Pretty Pink Posh

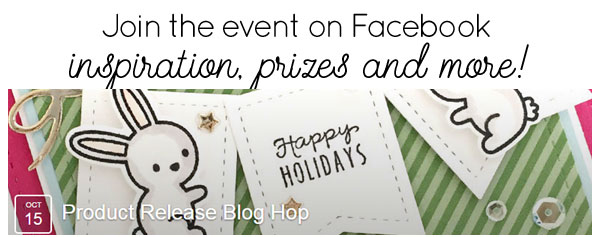
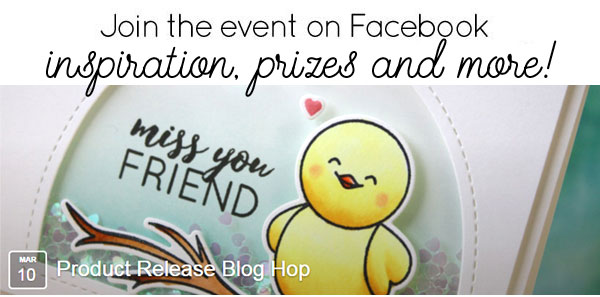
Be sure to mark your calendars for Thursday, March 10th. We have a super fun blog hop that will showcase the new stamp sets, dies, and sequins and there are some amazing special guests joining along in addition to prizes! If you’re on Facebook, be sure to visit the blog hop event page HERE– there will be a special giveaway there soon!

Pretty Pink Posh

I hope you guys enjoyed! Thank you so much for stopping by.

sig name

|

Birdie Friends Circle Card

Today I’m so thrilled to share this adorable card that Liz created using several of the new products from the March release. Let’s take a closer look at this card and the card details she shared…

Pretty Pink Posh

I’m absolutely in love with these new Scallop Circle Dies as it has the most amazing details with the stitching and inverted scallops, not to mention how nicely they cut through cardstock and fun foam to create this upright circle shaker card so that it can sit up wherever you want.  Here I’m using the largest size, which is so amazing in person.

Pretty Pink Posh

For this card I’m using the adorable brand new stamp set called Birdie Friends which I’m also thrilled about as it has several sentiments and different font combinations. Plus, I love all the extra images including this cute banner which fits perfectly above the three little birds and used the matching coordinating dies to cut all the images out and pop them up for dimension.

Pretty Pink Posh

I decorated the inside of the card using the Birdie Friends set along with adding adorable little cloud from the Rainy Days set as it has this cute smiley face that can be stamped inside the clouds and thought it was perfect to add in. For the sentiment, I took the banner sign and cut off the legs and added foam mount to pop it up. This is what helps to hold the card upright so one can place anywhere.

Pretty Pink Poshborder

I hope that you enjoyed this card as much as I did- I literally squealed when Liz shared it with me! Join us tomorrow for another post using the new products.

Thanks for stopping by!

| | |

Mixing It Up With Ellen Hutson!

Pretty Pink Posh

Hi everyone, it’s Nina-Marie here today to share a fun way to combine your distress inks with traditional watercolors and achieve beautiful results!

I created this for Ellen Hutson’s Mix It Up challenge and I hope you’ll stop by their blog too so that you can link up your cards featuring Pretty Pink Posh and Ellen Hutson! This card is full of you products from both Ellen Hutson’s Essentials by Ellen line, and Pretty Pink Posh!

Pretty Pink Posh

I used the Bohemian Garden stamps and Zipper Panel die sets (by Ellen Hutson), along with Pretty Pink Posh’s Rainy Days stamp set and Sparkling Clear mix sequins… I’m telling you, I love the Sparkling Clear sequins; they work for EVERYTHING!

Pretty Pink Posh

Pretty Pink Posh

I used my distress inks for the background and Prima’s Tropical Watercolor Confections palette to add color to my flowers.

I have put together a video showing how I created the card from start to finish, so be sure to check that out below, or over on the Pretty Pink Posh YouTube channel… don’t forget to subscribe too so that you don’t miss any of our future videos!

Watch the video above   I Watch the video in HD on YouTubeborder
Pretty Pink Posh

I hope this card has inspired you to do some watercoloring using any watercolor mediums you have on hand…. remember that watercoloring looks good whether it is “controlled” or “freestyle”. Use the method you like best and give it a try. Then, link up your projects over at the Ellen Hutson blog for a chance to win a $50 gift certificate!

50 Store Credit

Happy crafting and thanks for stopping by today!

xoxo, Nina-Marie

|

New Release Available!

Hi everyone, Joni here sharing some of the new products that was just released in Pretty Pink Posh Shop!

For this project I used the new Birdie Friends stamp set. This set have 17 images and 8 sentiments. I also used the new sweet Scallop Oval die set, which is quickly becoming a favorite of mine. I really love that the scallops of this oval are larger to give that impact showcasing the cute birds.

Pretty Pink Posh

This oval has one large scallops design (large scallops’ teeth) and one small scallops design with (smaller scallops’ teeth) to coordinate with your projects. Below you can see the difference.

Pretty Pink Posh

I created a shaker using this set. First, I die cut the large Scallop Oval in white cardstock 4 times and distress one center of the oval with Papertrey Ink dye inks in Harvest Gold, Limeade Ice, and Ripe Avocado, then added some spritz of water once done. I die-cut another large Scallop Oval die using a light- pink cardstock to put on top of the stack white scallops after putting all the sequins inside. Next, I glued the acrylic cardstock on top of the white stack ovals and then glued the pink di-cut oval on top of the acrylic.

Tip: Make sure the glue is dry before cutting the excess acrylic on the ovals.

For this shaker I used the new upcoming Easter Sequin Mix and added some Sparkling Clear sequins as well in the mix. The birds and the branch images were watercolored and die cuts using the new Birdie Friends coordinating dies. The leaves for the branches were also die-cuts using some green scrap papers.

Pretty Pink Posh

For the background panel, it was also distressed using some dye ink and splattered with water as well.

Pretty Pink Posh

I hope you guys enjoyed the closer look of some of the new products. Paulina will be sharing more inspiration and details about this release soon.

sig name

Tutorial: Shaker Magnet

shakermagnet1Hi friends, Lisa here today!

I’m back to share another project using sequins and seed beads on something other than a card. This month I have a refrigerator shaker magnet for you!

This project begins by stamping and die cutting all of your necessary pieces. I’ve used stamps and dies from the Darling Friends (previously released) and Rainy Days sets. You’ll need one die cut balloon as your backing, one as your base, one from acetate and one to paper piece. Cut four small clouds and one little furry friend.

shakermagnet2

Next, stamp your balloon onto patterned paper to be trimmed out and paper pieced. You’ll see that I’ve stamped on five different patterned papers and once more for the horizontal band. This is a great way to use up little scraps. If paper piecing is not your thing, you can color the balloon!

shakermagnet3

Glue your balloon together then trim off all of the white cardstock.

shakermagnet4

To add dimension for a shaker, die cut the balloon from fun foam. You will only need the top circle and basket portions. Foam tape would work here as well.

shakermagnet5

Adhere the blank balloon die cut to the back of the stamped one. I took this step for added stability. Add fun foam to the stamped/die cut balloon. Adhere the paper pieced balloon and basket to the die cut acetate.

Note: The die cut pieces are larger than the paper pieced balloon & basket. Trim excess acetate, fun foam and paper.

shakermagnet6

Use a thin strip of foam tape on the outer stamped ropes to create the shaker portion of the magnet. Fill this area with 4mm sequins (Lemon Meringue & Aquamarine) and Sparkling Clear Seed Beads. Sandwich balloon pieces together with adhesive or glue. Add a magnet to the back.

shakermagnet7

To cover the foam tape showing through the acetate, glue on twine as tie down ropes. The other side can be covered with the furry passenger!

Glue two die cut clouds together (from the Rainy Days coordinating dies) then add one to the front of the balloon and one to the back for added dimension. Decorate the balloon with seed beads and the clouds with sequins.

shakermagnet8

Below are the links to the Darling Friends set, which PPP designed exclusively for Simon Says Stamp.

Pretty Pink Posh Pretty Pink Posh

There are many dies and sequins in the shop that would make great refrigerator magnets. The possibilities are endless!

Thanks so much for visiting today. See you next month!

lisa2

|

Umbrella Shaker Card

Good morning!

Heather here from Houses Built of Cards. Did you see the new release from Pretty Pink Posh? I am in love with the adorable new Mini Star Confetti! I played with that, and some other PPP stamps, dies, sequins, seed beads, and confetti to put this fun card together – hopefully it would cheer someone up if they weren’t feeling well!

Pretty Pink Posh

I stamped and fussy cut out the umbrella from Rainy Days stamp set – masking the bottom of the handle so I could make the entire think the more thick and solid size. I layered it with the sentiment on the Decorative Tag 1 Die‘s main frame image.

Pretty Pink Posh

I cut the Scallop Frame die in white to make the shaker portion, and filled it with a fun mix of embellies – no skimping here! I filled it with a mix of Iridescent Mini Star Confetti, Silver Shimmer Seed Beads, 4mm Lemon Meringue sequins, and 6mm Silver Confetti. This shaker is full of fun! I adhered the front panel on top of the acetate, so the goodies are free to shake underneath to their hearts content.

Pretty Pink Posh
border

As soon as I saw this card, I knew I had to share it with you all here on the blog. Thank you Heather for sharing this with us today!

birthday1
Tomorrow I’ll be announcing the winners from the last two posts that I had giveaways on. Also, I’ll be sharing a sneak peek at something extra special I’ll be giving away during the birthday celebration, but it’ll be limited in quantity!

Thanks for stopping by.

Tutorial: Shaker Tags

Hello everyone, Joni here!

I am back with another inspiration using the new Pretty Pink Posh released products. For today’s project I want to show you another way to use the new Stitched Photo Frame dies. With the holidays fast approaching, I want to create something that we already have in our stash and just use it a different way. Using the Stitched Photo Frame dies I create a tag that can be hung on the Christmas Tree or just simply a tag for a present.

Pretty Pink Posh: Shaker Tags

To begin I first assembled the pieces using the Stitched Photo Frame dies, I used large frame die to die-cut on a white cardstock and adhered a plastic sheet behind it. I also added the sentiment on the frames from Holiday Pals stamp set. Next I cut the same size white cardstock for the backing of the Stitched Photo Frame dies and distressed each one to add color for the background of the frame tag. I also added the hole on top of the backing using the circle hole shape from the Stitched Labels 1 dies.

Next, I stamped the images from Holiday Pals on a white cardstock and colored the images with color pencils except the ferns. I stamped the ferns using the Papertrey Ink in Spring Moss. After all the images have been colored I used the Holiday Pals die set to die-cut each image.

Pretty Pink Posh: Shaker Tags

Next, I added the foam tape on each of the frame die like the picture below, this will help the sequins and the seed beads move around on the frame. I also added a hole on the backing of the frame and added the twine. Then I added some of the Sparkling Clear sequins and Silver Shimmer Seed Beads on the frame. Then I removed the adhesives on the foam tape and adhered the backing.

Pretty Pink Posh: Shaker Tags

Here’s the look after adhering the backing on the frame.

Pretty Pink Posh: Shaker Tags

Next, I adhered the die-cut pieces from Holiday Pals to finish off the tags.

Pretty Pink Posh: Shaker Tags

I hope you guys enjoyed! Thank you so much for stopping by.

sig name

| |

Tutorial: Cake Pops Card

Hello Everyone, Joni here and I am back with more inspiration using the new Mini Tags dies that we love so much. Cake Pops anyone?

1 - someonelikeyou-p

To begin, I distressed the corners of an A2 flat card panel. I only used three colors, but of course you can use more for your project if you need. 2 - someonelikeyou-p

Next, I die-cut the round tag from the Mini tags die set for my cake top.

3 - someonelikeyou-p

Then, I adhered some strip of white cardstock at the bottom of the point of the round mini tags. I also distressed the white card panel with Wplus9 Hayride dye ink and die-cut the right side of the A2 white panel with my all time favorite Stitched Borders 3 dies. I also added some watercolored stripe patterned paper on the card base.

The sentiment from Mama Elephant Make a Wish stamp set is stamped with Versamark Ink on a brown strip of cardstock and white heat.
4 - someonelikeyou-p

Next, I placed the cake pop on top of the white cardstock panel and adhered with foam tape for dimensions. I also added some Golden Rod Stickles and White Opal Liquid Pearls on top of the cake pop to make look more realistic.

I also added some White Opal Liquid Pearl on the white panel and adhered some Marshmallow sequins in 6mm and 4mm.

5 - someonelikeyou-p

For the sentiment I also added some foam tape for dimension.

6 - someonelikeyou-p

Here’s just another look of the Cake Pop card.

last-p

I hope you enjoyed today’s feature! If you create a card similar to this one, or use Pretty Pink Posh on your projects, don’t forget to tag Pretty Pink Posh so we can see it too!

ig3

Have an Awesome day!!!

sig name

| | |

Trick or Treat + Giveaway

Hello, hello!

I’m back with another Halloween card- this one shows off the darling new Holiday Party Animal set from Lawn Fawn. They included so many adorable little additions in this set- it definitely is a “must have” in my book!

I wanted to start off with a lot of gray and black and then have a pop of color in the middle. Thanks to the squares in the Stitched Duo 3 die set, I was able to accomplish this look easily. You could use this idea with all sorts of colors and it would look great!

halloween5a

I’ve mentioned in previous Halloween cards that the Teeny Star Background from DeNami Design is one of my favorites. I love stamping it with black ink and creating backgrounds, or in this case, filling in some white space. I think it helps bring together the black from the card base and set the scene for a Halloween card.

To finish off the card, I decided to add some twine and a trio of sequins from the Sparkling Clear Mix. Notice the three sizes of sequins? That’s all in one mix, along with another larger size. It’s perfect if you’re just starting to collect sequins, or you’re a fan of the Sparkling Clear.

halloween5b 
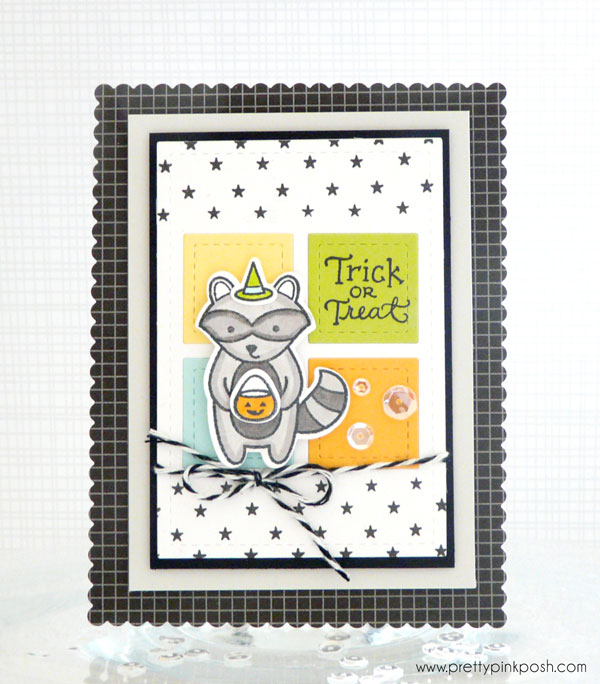
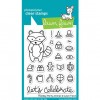
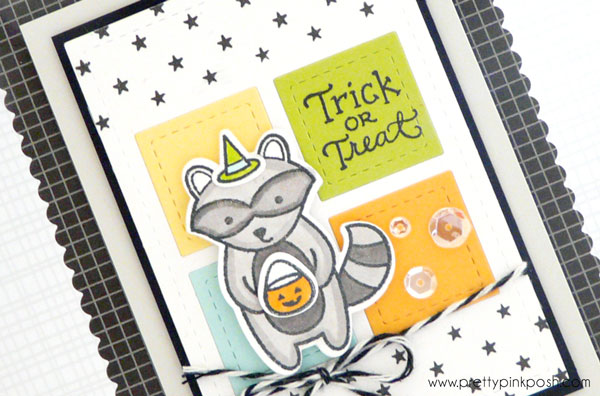
I purchased an extra set of the Holiday Party Animal and want to give it away to one of you, along with a pack of sequins! With these products, you’ll be set to create all sorts of fun holiday cards.

a Rafflecopter giveaway
Be sure to mark your calendars for tomorrow, October 15th. I have a super fun blog hop that will showcase the new dies, sequins and droplets and I’m bringing along the design team and some amazing special guests, and there will be prizes! If you’re on Facebook, be sure to visit the blog hop event page HERE– there are two giveaways happening over there right now!

fb
See you tomorrow!

| |

You’re the Best + Studio Closed

As you probably heard by now, Pretty Pink Posh teamed up with Simon Says Stamp for their STAMPtember event. We designed an exclusive stamp set called Darling Friends, which also happens to be the very first set I’ve ever designed. The whole process was so fun and it was even more rewarding when I began seeing what YOU, my amazing readers, customers and friends, created with the set.

Below are three of the latest ones I spotted…

september3 september1 september2 
You may have seen this card that Joni created to kick off the STAMPtember festivities. She has a way of creating such amazing and vibrant cards, but the techniques can be done by beginners or professionals alike! Let’s take a peek at this fun little tutorial she created for this happy card. 1st- yourethebest-ppp

To begin, I stamped the large and medium trees using a Versamark ink from the Darling Friends stamp set on a white cardstock and heat embossed it with white embossing powder and then distressed it with Distress Inks in Peacock Feathers, Mowed Lawn, and Squeezed Lemonade. Then I smooshed the ink pad on an acrylic block, added water, and splatter it on the cardstock. Once it dries I die-cut the edge using the Wplus9 Gift Card Layers die (large frame).

Next, I stamped the air balloon and the dog image on a watercolored paper using Versafine Onyx Black ink, watercolored the images using the Zig Clear Color Real Brush, then I die-cut the images. I also added some white dots using the Sakura White Gelly Roll pen on the hot air balloon for a finishing touch. For the sentiment I stamped “you’re the best” from the Darling Friends stamp set on a black cardstock using Versamark ink and heat embossed it with white embossing powder.

2nd - yourethebest-pieces -ppp

Here’s the closed up look of the trees with distressed inks and ink splatters.

3rd - yourethebest-trees-ppp

Here’s the close up of the whole card, I added some Pretty Pink Posh Sparkling Clear, Fairytale Fuchsia, and Peacock Feathers sequins to finish off the card.

4th - yourethebest-ppp (1)border

Okay, now onto the winner of the $25 Pretty Pink Posh gift certificate and the Darling Friends stamp set from THIS post. A giant thank you to everyone who left comments- it was fun to read them and see all the well wishes to Joni!

sabrina

In closing, I wanted to let you all know that all orders placed today- September 26th will begin shipping on September 28th. I’ve been working tirelessly the last few months and really need a few consecutive days off to rest up and spend time with family. Then I’ll be back at it for the brand new release on October 1st! Mark your calendars: it’s a GOOD release!

1111