Tutorial: Cake Pops Card
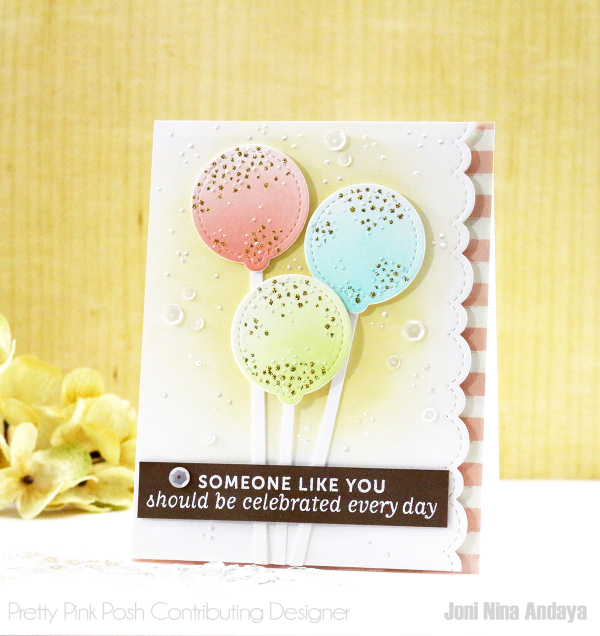
Hello Everyone, Joni here and I am back with more inspiration using the new Mini Tags dies that we love so much. Cake Pops anyone?
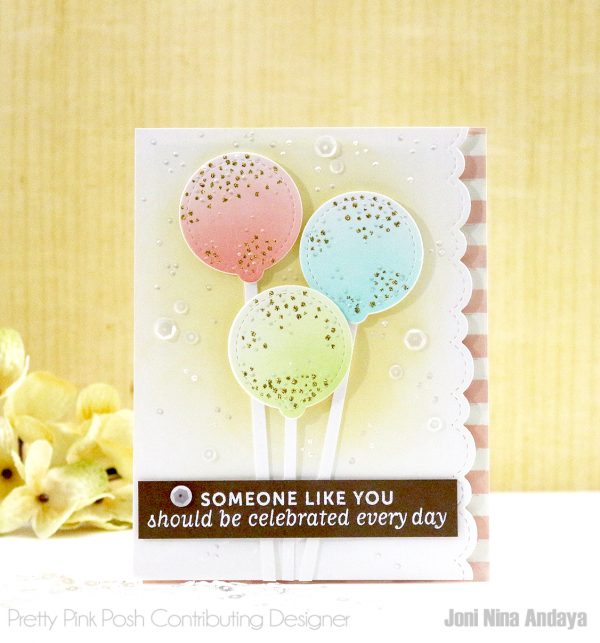
To begin, I distressed the corners of an A2 flat card panel. I only used three colors, but of course you can use more for your project if you need. 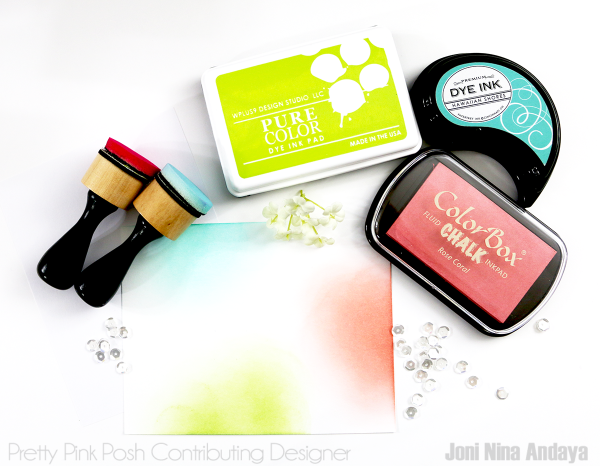
Next, I die-cut the round tag from the Mini tags die set for my cake top.
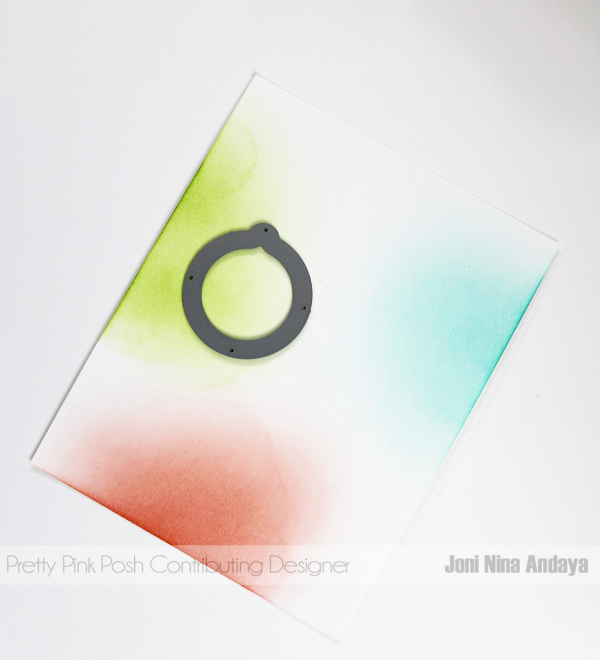
Then, I adhered some strip of white cardstock at the bottom of the point of the round mini tags. I also distressed the white card panel with Wplus9 Hayride dye ink and die-cut the right side of the A2 white panel with my all time favorite Stitched Borders 3 dies. I also added some watercolored stripe patterned paper on the card base.
The sentiment from Mama Elephant Make a Wish stamp set is stamped with Versamark Ink on a brown strip of cardstock and white heat.

Next, I placed the cake pop on top of the white cardstock panel and adhered with foam tape for dimensions. I also added some Golden Rod Stickles and White Opal Liquid Pearls on top of the cake pop to make look more realistic.
I also added some White Opal Liquid Pearl on the white panel and adhered some Marshmallow sequins in 6mm and 4mm.
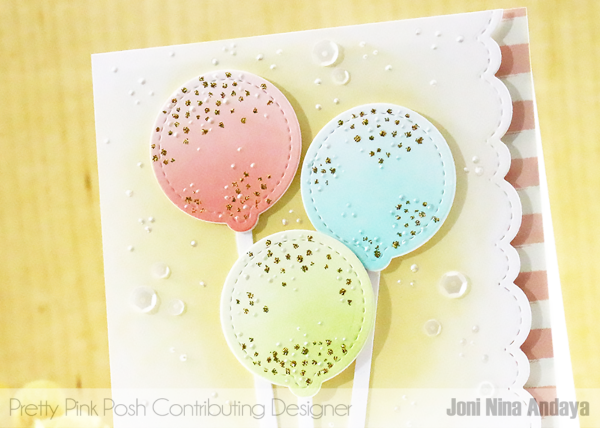
For the sentiment I also added some foam tape for dimension.
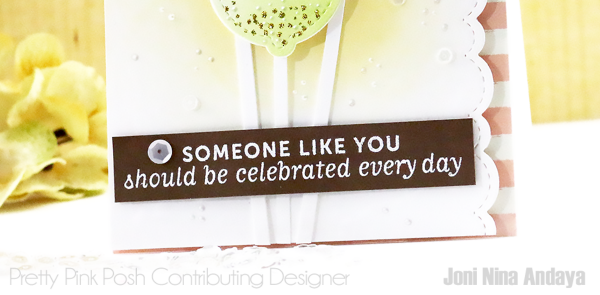
Here’s just another look of the Cake Pop card.
I hope you enjoyed today’s feature! If you create a card similar to this one, or use Pretty Pink Posh on your projects, don’t forget to tag Pretty Pink Posh so we can see it too!
Have an Awesome day!!!


