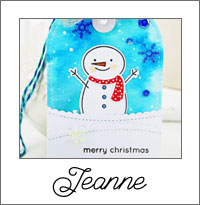
To begin, I first distressed an A2 white card panel with Tim Holtz Distress Ink in Peacock Feather and Shabby Shutters, then die-cut the panel with Stitched Pieces die. The images from Winter Wonderland Stamp set were colored with Copic markers.
Next, I die cut another on a white panel. This will serve as the backing of the tag. I simply secure the back side with a sticker sheet and cut to size, this will help hide the die-cut at the back as well.
Next, I cut the tag to size and rounded the corners.
Then, I adhered some foam tape the front panel and adhered the stitched piece on the white die-cut panel and stamped the sentiment.
For Final touches, I added some white dots using my Uni-ball white gel pen and added some Crystal Stickles on the images.
Here’s another look.
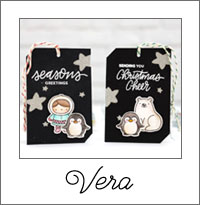
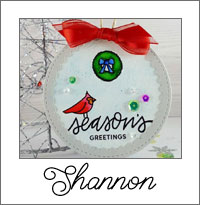
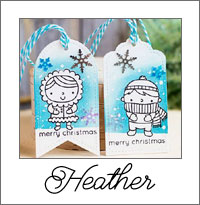
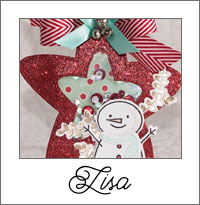
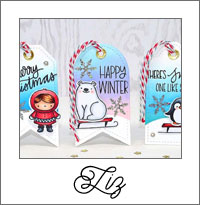
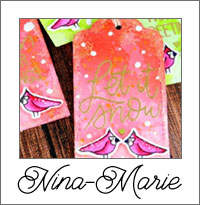
Plus, more inspiration from these designers! Click photos to visit their blog posts.
Be sure to hop along and leave comments on the other designer’s blog. Each of them did such a great job with their holiday tags!
I’m so excited that the day is finally here and I get to share this Valentine treat! If you follow the DeNami blog, you saw on Friday that Dana created a darling photo tutorial. I am utterly in love with Dana’s creative idea and am thrilled that she had the idea for us to do a downloadable PDF based off of her idea. {stay until the end of the post for the link}
Since I’m such a fan of pink and red together, I decided to bring them together for today’s post. Add in some hearts, bling and candy and you have a sweet treat {literally} all wrapped in one.
One of my favorite things about this project? I got to use some of the items I’ve been hoarding and they worked perfectly on this little beauty. A while back Wendy sent me a lot of pom poms, which I’ve been saving for special occasions. After playing with a few different options, I decided that the pink ones HAD to be used on this template. Don’t they look darling?
On the front, I put in some acetate so you could see the candies up close. After putting everything together, I realized I needed bling and added lots of red rhinestones to frame the heart. There just aren’t words about how much I love how this turned out– it’s going to be so hard to part with this basket!
Do you want to create your own adorable Valentine baskets? Click here to add the FREE PDF download to your DeNami shopping cart!
Thanks for stopping by, I hope you were inspired by this Valentine creation!
I’m here today for my post for the DeNami Thoughtful Thank You Blog Hop. I’ll be the first to admit, I had so many ideas on what I wanted to do for this post, but didn’t know if any of them would come to light. With my health being shaky lately, my bouts of crafting have been on and off. I’m SO grateful that I was feeling good one day and was able to knock out this fun little project.
If you started from the beginning of the hop, you should be coming from Pattie Goldman’s blog. If this is your first stop and you would like to start from the beginning, be sure to head on over to the DeNami blog for the complete list of participants.
This is a lengthy post, so let’s jump right into it…..
Lately, I’ve been thinking a lot about Christmas. It’s hard to resist- my mom has already put up our Christmas tree and the stores are all decked out in pretty decorations. I will admit, mentally I’m not prepared for the crazy holiday season, but I DO love creating pretty holiday items.
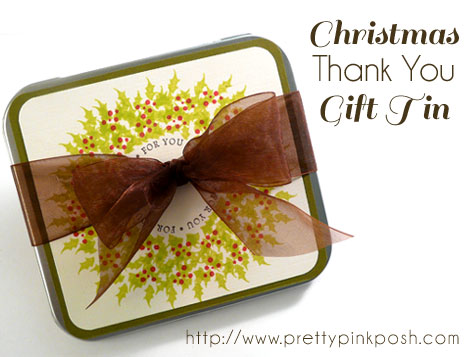
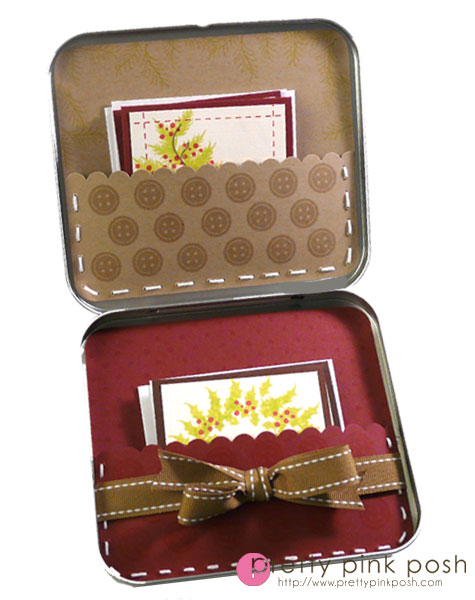
Since my budget will be tight this year, I plan on making some of my Christmas presents. I know quite a few of my friends aren’t super crafty, but appreciate homemade items, so I thought I’d create some little gift sets. Since many people receive Christmas presents, I thought I’d create some mini thank you cards so they can hand them out.
I’ve had these tins forever and thought this was a great time to pull them out. They are super handy- I’ve used them to wrap up gift cards, package cards and now using them for Christmas presents. Yay for versatile items!
I pulled out many stamps on this project- I’ll post the complete supply list below. I always enjoy seeing which stamps work together and these blog hops are the perfect time to do so. :) Hopefully it inspires you to try out new stamp combinations, or maybe introduce you to new DeNami stamps.
I know this was a longer post, so I’ll wrap this up. Your next stop on the hop: Barbara Murphy!This gal is such a sweetheart and also really creative. I’m sure she’ll have a fabulous item to share with us today.
Be sure to leave comments on all of the blog hop stops for your highest chance of winning one of the gift certificates. With the DeNami website offering 10% off for the month of November, the gift certificates will go even further! :)
Enjoy the rest of the blog hop. Thanks for stopping by!

 Hello everyone, Joni here sharing an idea of incorporating your non-tag die and make it into a tag as part of the 25 Days of Christmas Tags event!