Pretty Pink Posh Shop

|

Birthday Cupcake Critters

Hello, Gemma here today sharing a card featuring the Cupcake Critters stamp set. This sweet set was part of the January release and I think it’s a must have for birthday and celebration cards.
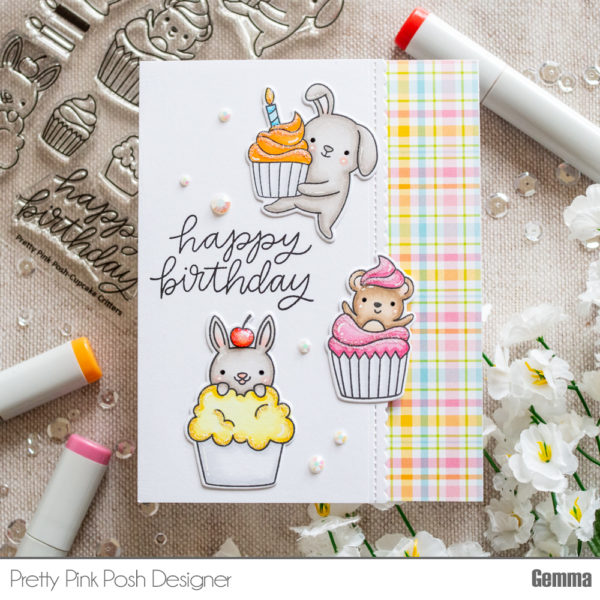
For the colouring of my images, I took inspiration from a piece of patterned paper I wanted to use. I coloured the images with copics, then die cut them with the coordinating dies. To give the look of frosting on the cakes, I used a glue pen to draw over the images where I wanted the frosting to be, then dipped the images in some glitter. I also added some glossy accents to the cherry and candle, and sprinkled some glitter on top before it was dry.
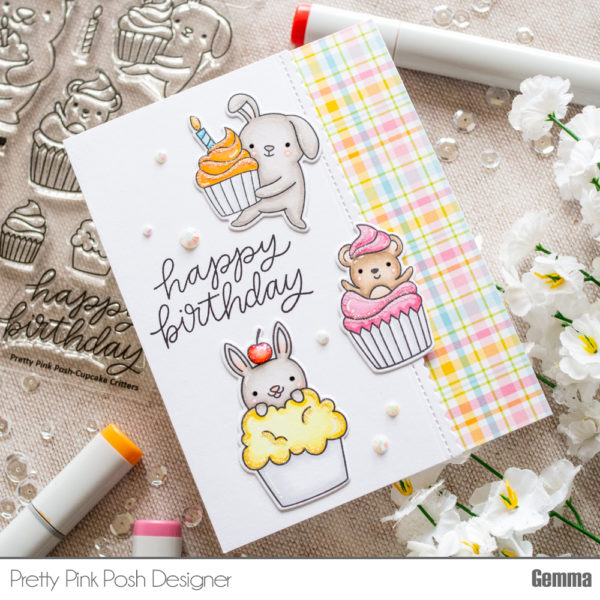
Next, I adhered my paterened paper to the edge of my card. I then took a piece of white card and cut it down with one of the dies in the Scallop Borders 1 set. I’m reaching for these scallop borders more and more recently – it’s a great set to have in your collection.
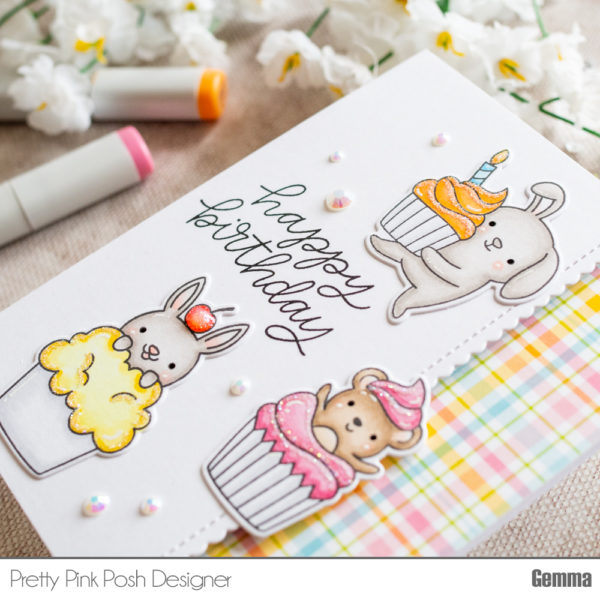
I stamped a sentiment from the Cupcake Critters stamp set onto the white card panel, then used foam tape to add the panel to my card. As I’d used foam tape on the panel, I decided not to add anymore dimension and instead used liquid glue for the critters. Apart from the edge of the mouse, which needed a little foam tape where it sits on the patterned paper.
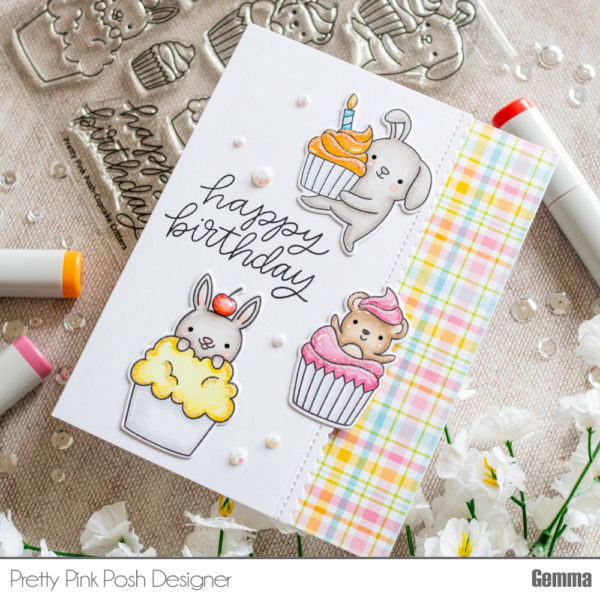
To finish, I added some of my favourite Pearl White jewels around the critters and sentiment.
I hope you enjoyed this card. There are lots of fun possibilities with this stamp set!

|

Organizing Your Embellishments + Giveaway

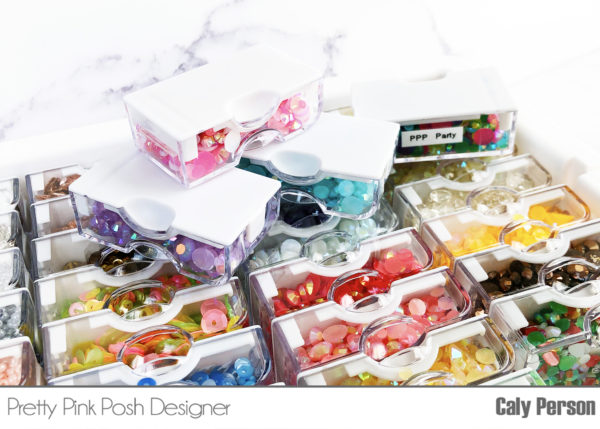
Hi, Friends! This is Caly and I’m really excited to share my new storage system for sequins, jewels, and all the tiny pretty things with you!  I know this system isn’t new for a lot of people, but it’s new to me and it’s exciting and so rewarding to complete.

Previously, I was storing my sequins and jewels in the Craftmates Lockables XL 14 compartment units.  While this is a beautiful system to store my sequins and jewels, I found adding new supplies difficult because I couldn’t easily rearrange the colors (because I love all things in rainbow order).

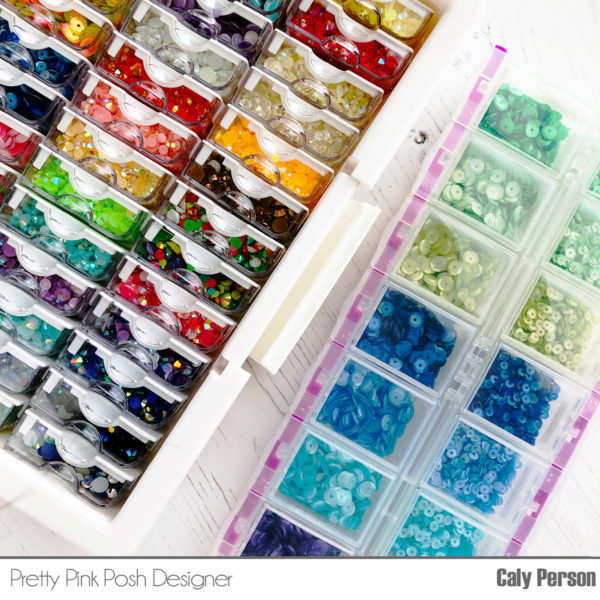
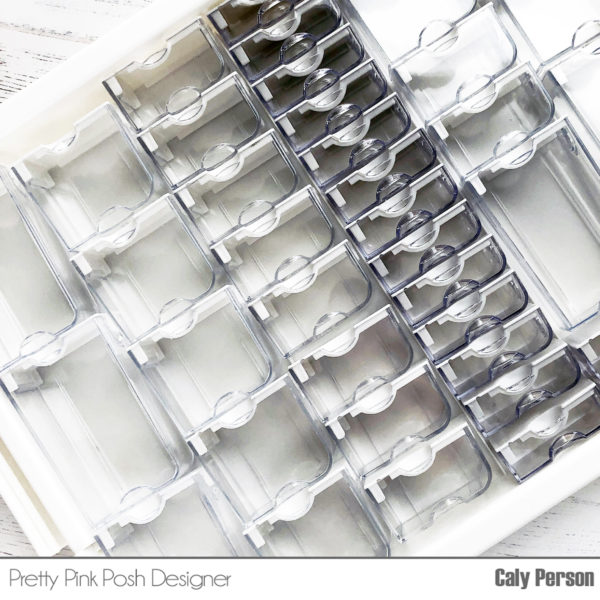
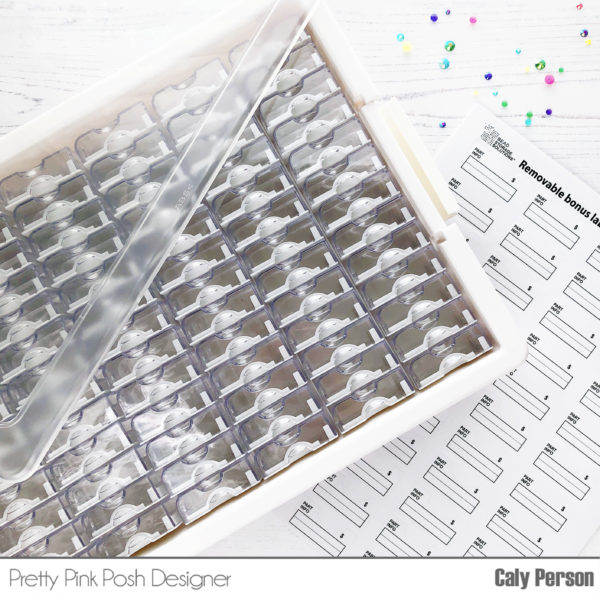
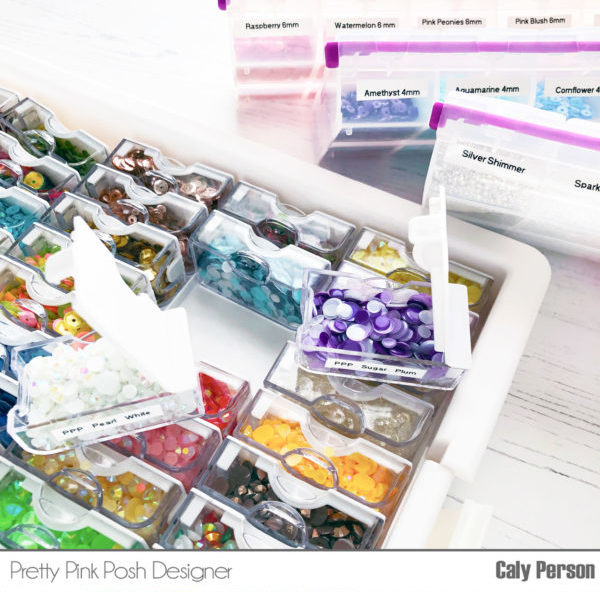
The Darice bead tray is sold 3 ways that are helpful for cardmakers – 82 piece (tray and lid with 78 “tiny” containers), 45 piece (tray and lid with 42 various sizes of containers), 2 piece tray and lid.  I bought an empty tray to customize my own based on need and here’s a picture of what it looks like with the different sizes side by side for you.

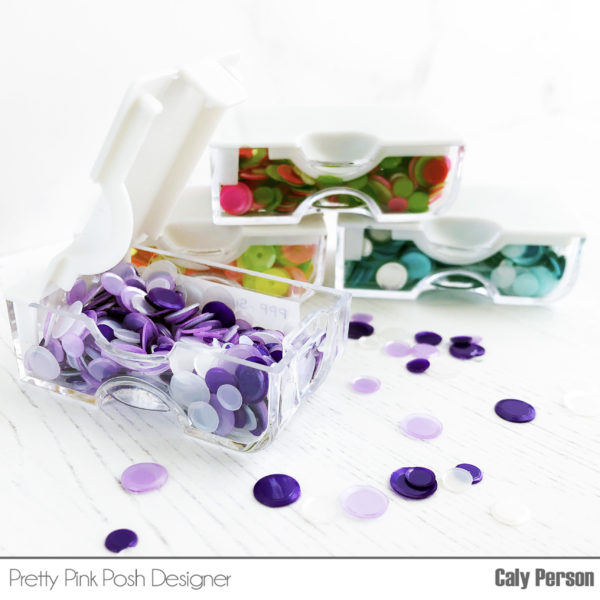
A lot of people like the consistency of having tiny containers throughout the unit and almost all Pretty Pink Posh sequins and jewels fit into the tiny containers for me.  If you don’t like the look of the bigger containers, you can spread the sequins/jewels/beads across more than 1 “tiny” container.

I love that with the new system, the containers are removable and you can rearrange at any time.  I couldn’t do that with my previous system. The kits come with labels, but I used my Brother label machine to make labels and instead of putting them on the top where I think they’re intended to go, I decided to put them on the back.

I can’t stress enough how being able to move things around makes me so happy.  There are always new colors and mixes to add to the ever-growing stash/collection so this system has been the best solution for that.

I sometimes use sequins or jewels as props – so this is also nice to be able to pull them out, use what I need, then put them away without disturbing a bigger storage unit full of other items.

I love my Pretty Pink Posh collection and am really pleased with this new organization set up.  I hope you found this information helpful!

Pretty Pink Posh Pretty Pink Posh
We wanted to have a giveaway in this post that both new sequin collectors, or ones who have been collecting a while, would enjoy. Enter the giveaway to win one of these storage trays and a $50 Pretty Pink Posh gift certificate (so you can fill those trays up even more)!

a Rafflecopter giveaway
 If you have any questions, please don’t hesitate to ask. Paulina or I will be happy to answer them for you! Thank you all for stopping by today!

Caly

|

Watercolor Crocus Flowers

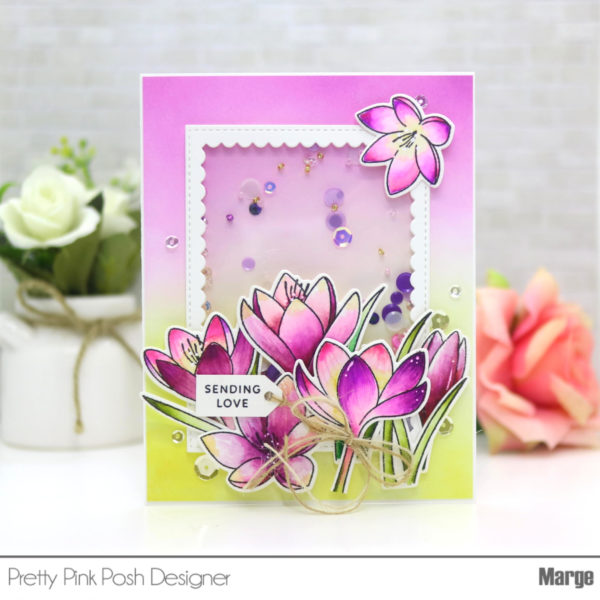
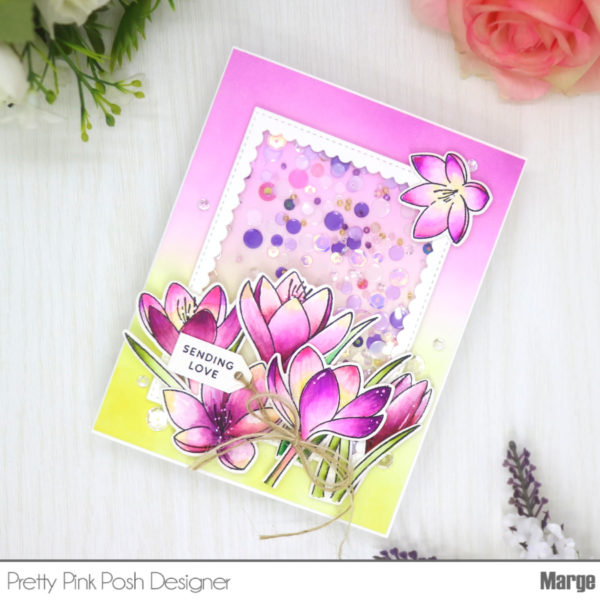
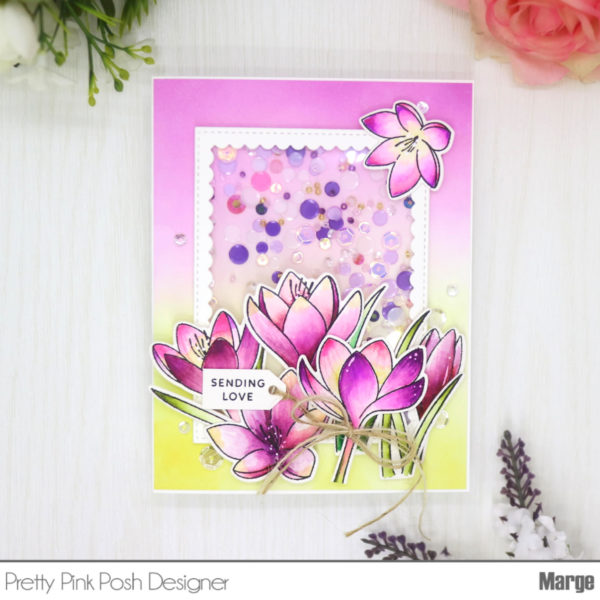
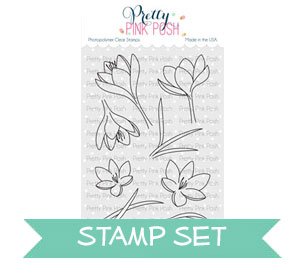
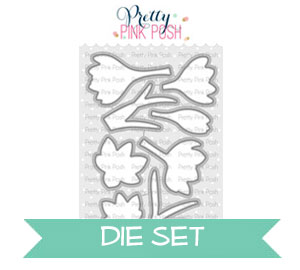
Hi, there! Marge here and today I would love to share a delightful shaker card featuring the Crocus Flowers Set.

I started by watercoloring Crocus Flowers Set using some inks then I cut them all using Crocus  Flowers Coordinating Dies. Next, I ink blended A2 sized Bristol paper using Distress Oxide inks (Seedless Preserves, Spun SugarSqueezed Lemonade, and Fossilized Amber).

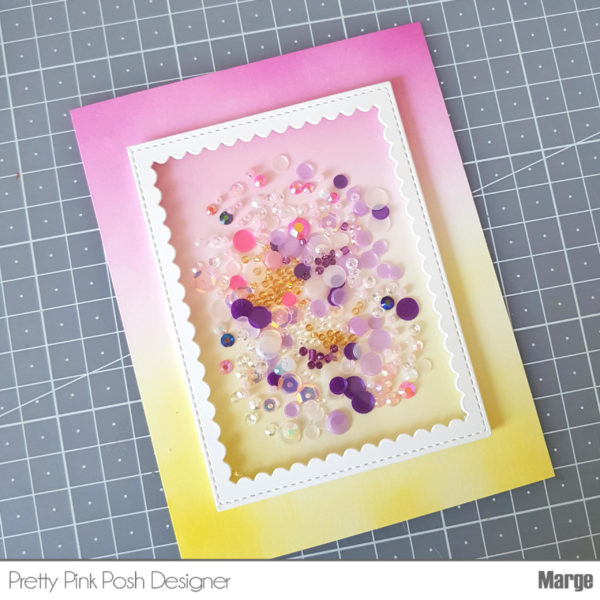
To make a shaker frame, I diecut Scallop Frames out of white card stock, then I adhered a piece of acetate film on back of it. As shown below, I placed Sequins, Jewels, and Seed Beads on the center of my inked panel first, then I foam mounted acetate window frame on them using Thin Strips Foam Adhesives.

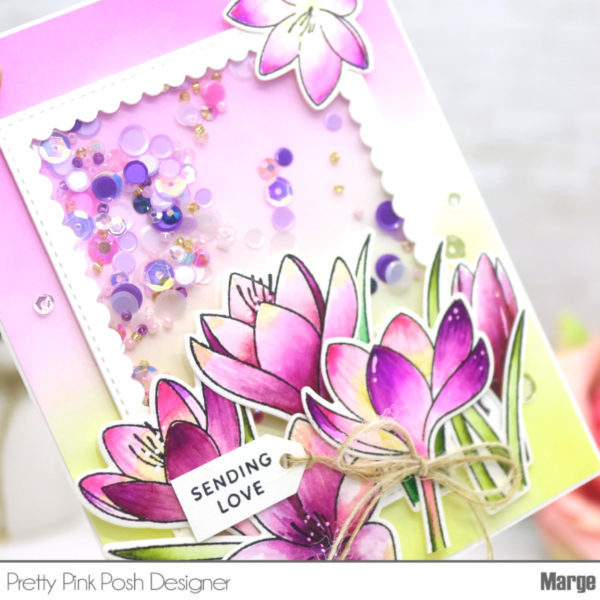
I mixed a little mount of Sugar Plum Confetti MixValentine Confetti MixValentine Jewels Mix6mm Ballerina Pink4mm Ballerina Pink3mm Sparkling Clear SequinsGold Shimmer Seed BeadsSparkling Clear Seed BeadsPurple Seed BeadsCotton Candy Seed Beads and Midnight Black  Jewels to put them into my shaker.

Please be sure to adhere a few sequins on the panel before you assemble shaker so that all elements in the shaker won’t fall down when you hold it straight up.

Once I’m done with my shaker, I adhered the panel onto A2 card base, then I started to put my Crocus Flowers on the bottom and top right corner of the shaker using Mini Glue Dots and Square Foam Adhesives. For the sentiment, I stamped Floral Hearts onto white paper, then I simply cut it freehand to make a little tag. I added twine to the tag then I foam mounted it on flowers. I further embellished my card using twine ribbon, Sparkling Clear Sequins Mix and 3mm Sparkling Clear Sequins.

Thank you so much for reading this post. Have a wonderful day !
| | |

Tutorial: Rose Gold Double Shaker Card

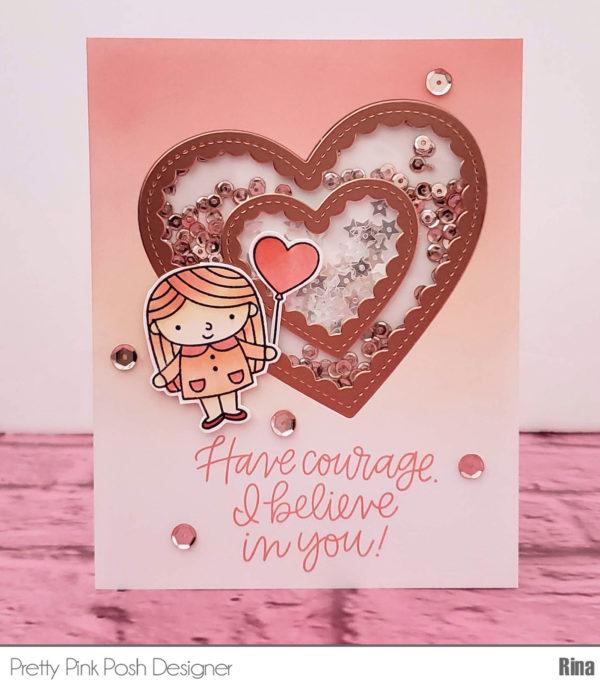
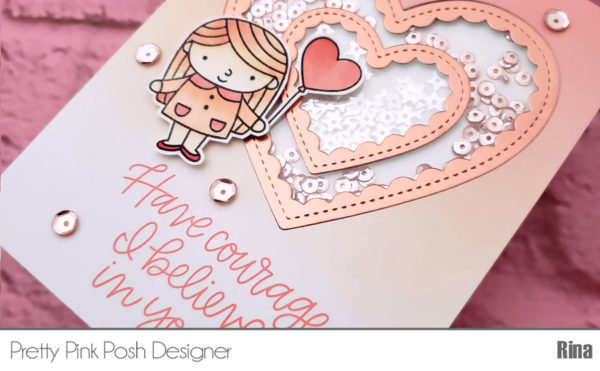
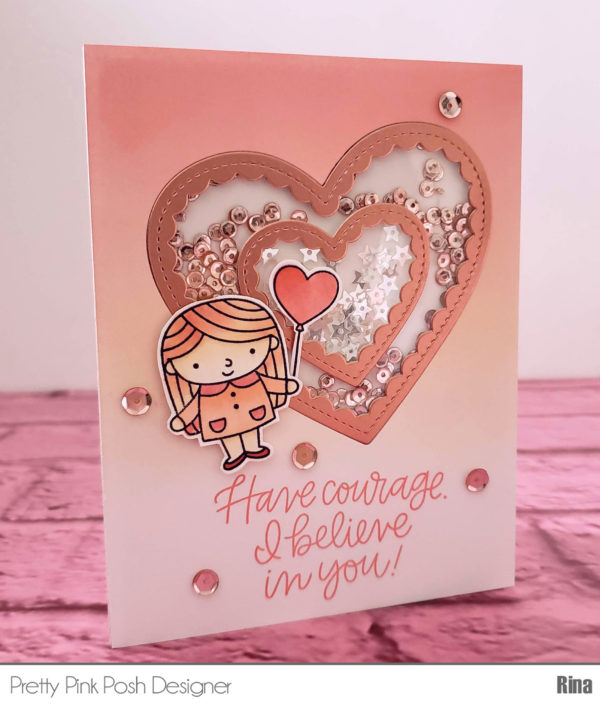
Hi Everyone! Rina here with a fun rose gold double shaker card!  I just adore rose gold and thought it would be the perfect color to use for an encouragement card.  I used the Simple Sayings: Courage Stamp set using the sentiment “Have Courage I believe in you” paired with the Scallop Hearts Dies.  The Scallop Hearts Dies are not only perfect for Valentine’s Day, but also to show a friend your support!  I also used the Friends Forever Stamp set for the girl image and balloon.

Watch the video above  I  Watch the video in HD on YouTube
 

I first colored my images using copic markers using a monochromatic peach theme to pair with the rose gold accents.

Copic Markers Used:

  • E02, E21, E50
  • YR01, YR20
  • R14, R24,R32

I then blended the background using Bristol Smooth Cardstock and the Distress Oxides in Antique Linen, Tattered Rose, and Abandoned Coral.

I cut out Scallop Hearts Dies onto the blended background and also cut out the dies using a Rose Gold Metallic paper to create a fun contrast.  I applied the acetate to the back of the blended background and then applied the rose gold heart cutouts to the front.  I used double sided foam tape behind the acetate to create the shaker wells.  I filled the shaker with my favorite 4mm Metallic Rose Gold Sequins and 6mm Metallic Rose Gold Sequins, and Sparkling Clear Stars Sequins, then applied the shaker back.  Finally, I applied the shaker to a side folding card base.  I hope you give this a try, the shaker dies make it so easy to make!
Thanks for stopping by!

Rina

| | |

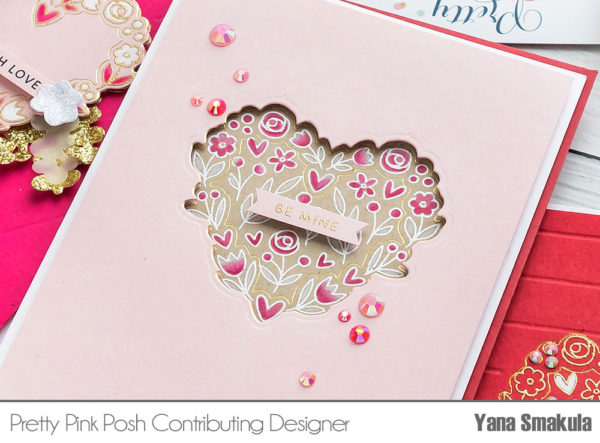
Valentine’s Day Heat Embossed & Hot Foiled Cards

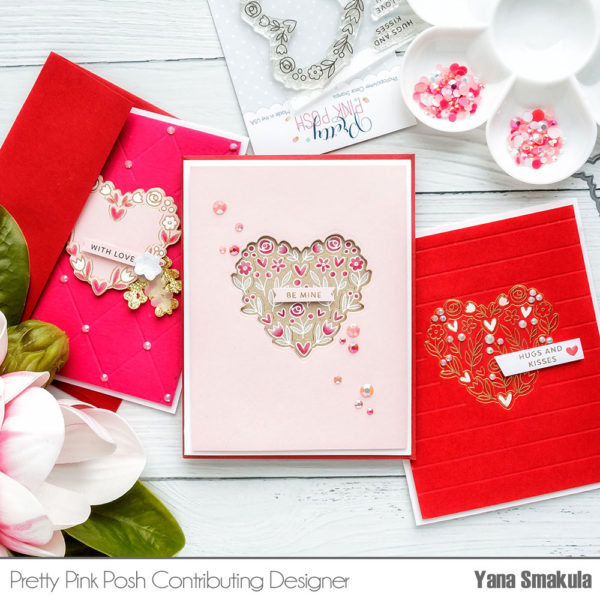
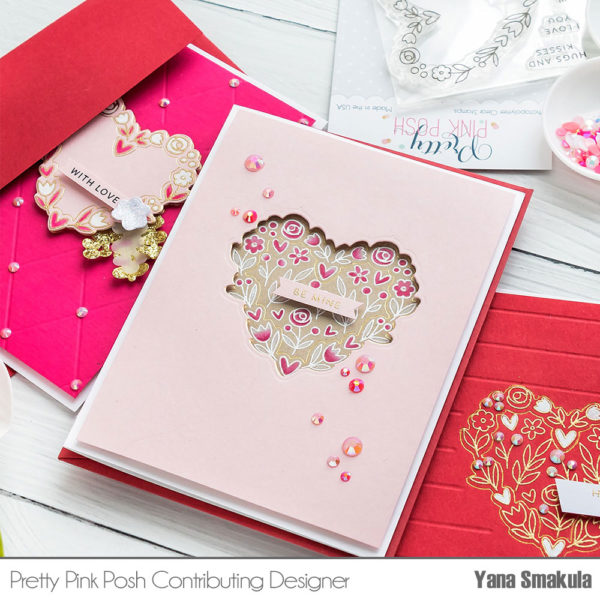
Hello Pretty Pink Posh fans! This is Yana Smakula. I love the look of heat embossing on my cards, it instantly adds a ton of elegance to my projects and wow!

Recently I’ve also became fond of foiling. I’m able to easily take my handmade projects to a new level with the help of foil. In this blog post & video I’ll show you how to combine these 2 technique to create easy to make Valentine’s Day cards. Of course you can apply this to any other occasion cards or even other projects, not only card making.

Watch my video tutorial below to learn how I made this card.

Watch the video above  I   Watch the video in HD on YouTube
 

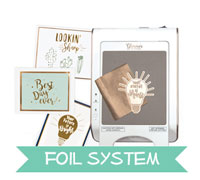
I started working on my cards by doing hot foiling first. This is very easy to do with the Glimmer Hot Foil System. It’s a new tool that basically is an add on to your die cutting machine, it doesn’t work with every die cutting machine, but it is compatible with many machines that accept Steel Rule Dies. What this tool does is it allows you to add foiled effects to your handmade cards with the the help of dies. Pretty cool, right?
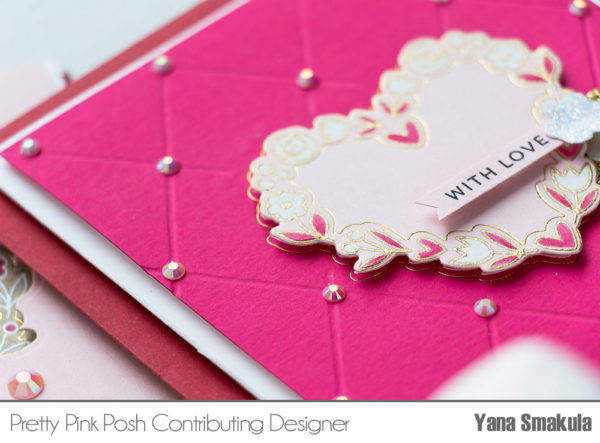
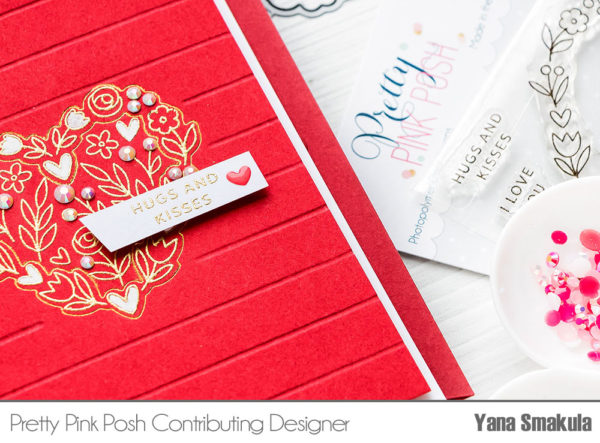
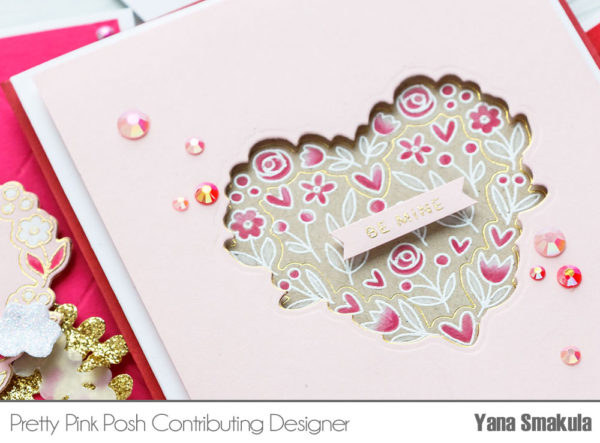
I foiled the heart outline using the coordinating die from my Floral Hearts stamp set on several pieces of colored cardstock using with gold foil. My plan for these cards was heat emboss the heart image inside the foiled outline for some extra wow.

I used gold & white detail embossing powder as well as heart outline image & the inner smaller heart stamp along with the outline for my cards today. To help me position everything and heat emboss perfectly inside the foiled outline I used my Mini MISTI stamping tool.

If you want to recreate these cards be sure to do your foiling first and heat embossing later. First of all, you won’t be able to align the foiled outline around the heat embossed stamped image, it’s much easier to align the stamping inside the foiling; and second, the Glimmer machine applies heat and that heat can potentially mess up all of your heat embossing.

I used a combination of colored pencils (Polychromos by Faber Castell) and white white pen to color the hearts.

To add interest to some of my cards & panels I added some selective manual scoring to the background. It’s a very simple technique that allows you to add some nice texture to the background of the card. It’s not the easiest thing to do, as it can be hard and tiring on the wrist to add all of these score lines, but it does look really nice on the finished card.

I used jewels from the Valentine Mix to embellish my cards and also added some die-cut branches using just the coordinating dies from the Autumn Blooms die set.

I think these cards turned out really beautiful. I hope you like them! Have fun stamping!

|

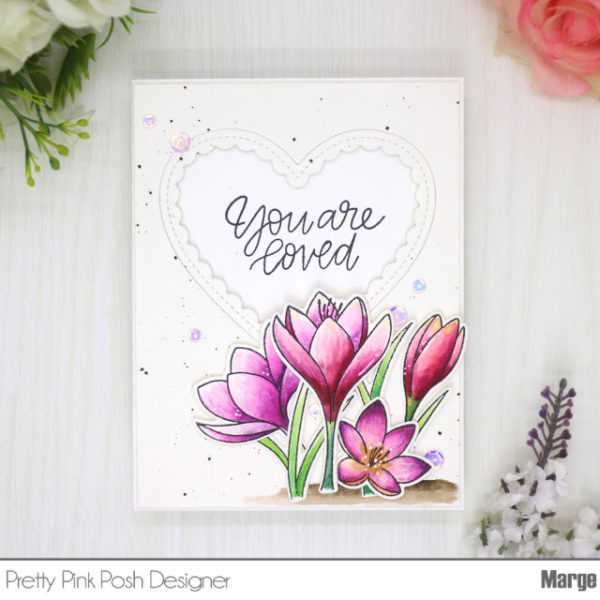
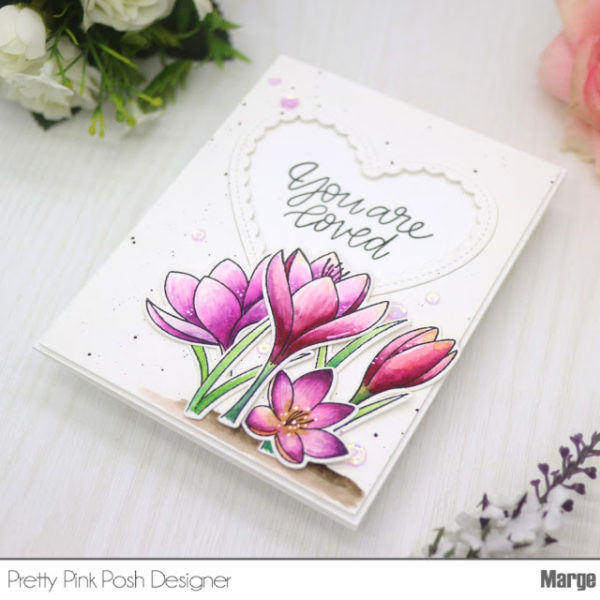
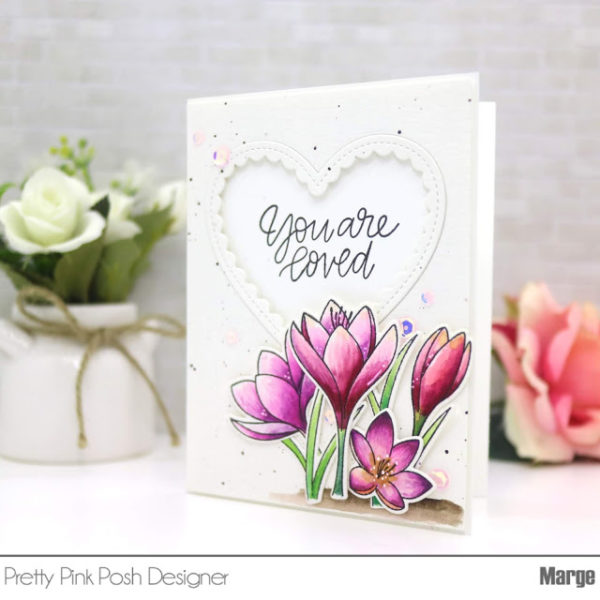
Crocus Flowers Valentine

Hi, friends! It’s Marge here and today I’m going to share a Valentine themed Crocus Flowers card.

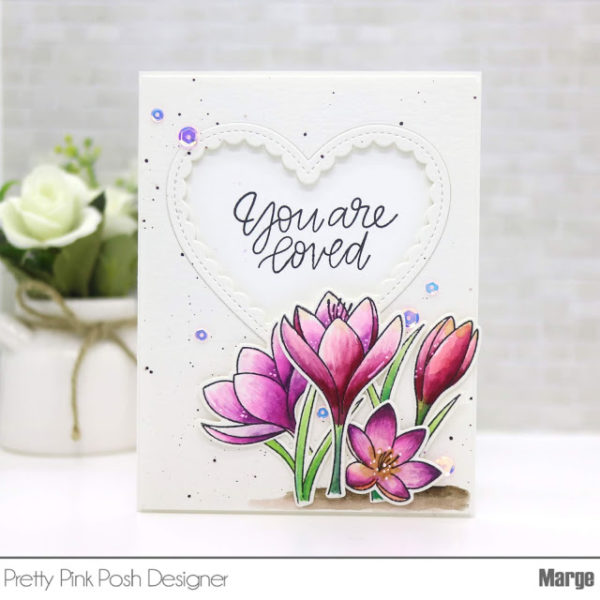
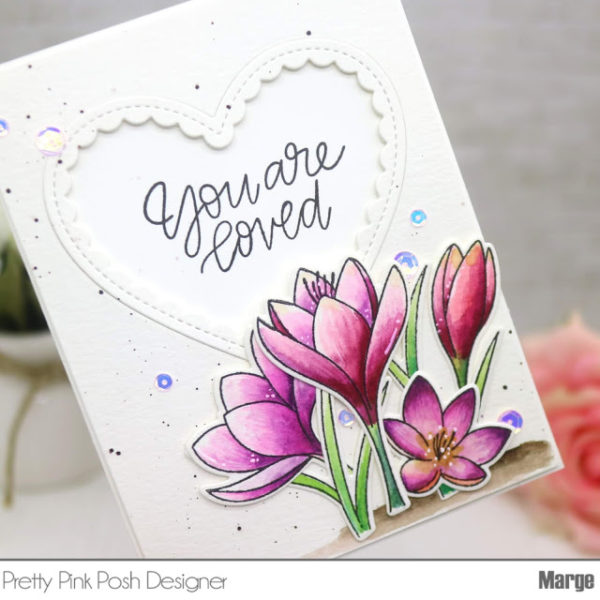
I stamped the images using Versafine Onyx Black and I watercolored them with some watercolor paints. Then I cut them all using Crocus Flowers Coordinating Dies.

Next, I trimmed a piece of Heavy Weight Watercolor paper into A2 size, then I cut out a heart window using the Scallop Hearts Dies. I cut it on another card stock again to make double layer frame.  I further colored ground on Rt lower corner of the panel and splattered with dark inks.

To stamp a sentiment, I place an A2 card base made with 110lb Neenah Paper on Mini MISTI, then I put my heart window on it to place sentiment inside the frame, then I stamped Love Sentiments set on it. After the inks are dry, I foam mounted panel onto the card base, then I adhered Crocus Flowers on it using Glue Dots and Square Foam adhesives.

As a final embellishment, I adhered 4mm Ballerina Pink Sequins and 6mm Ballerina Pink Sequins here and there using Mini Glue Dots and Micro Glue Dots.

Thank you so much for reading this post. Hope you enjoyed it.

|

Valentine Theme Week- Day 7

Hi, friends! Marge here with you for today’s inspiration.

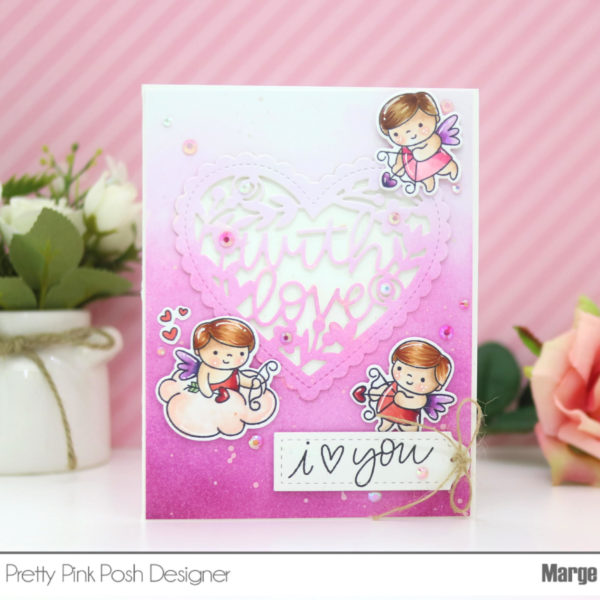
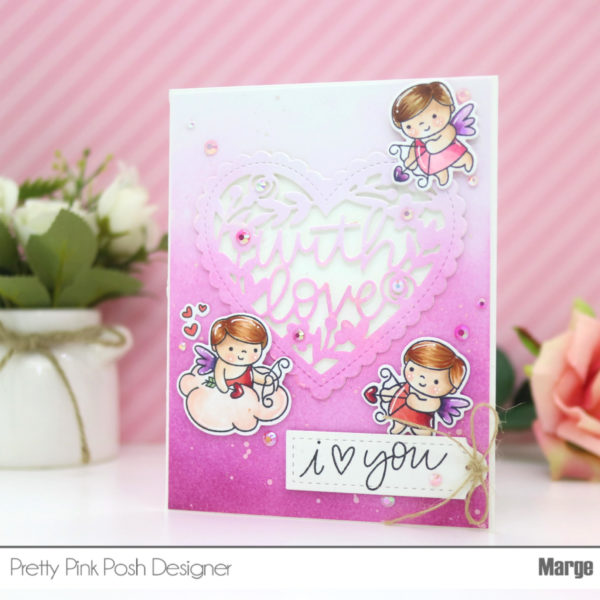
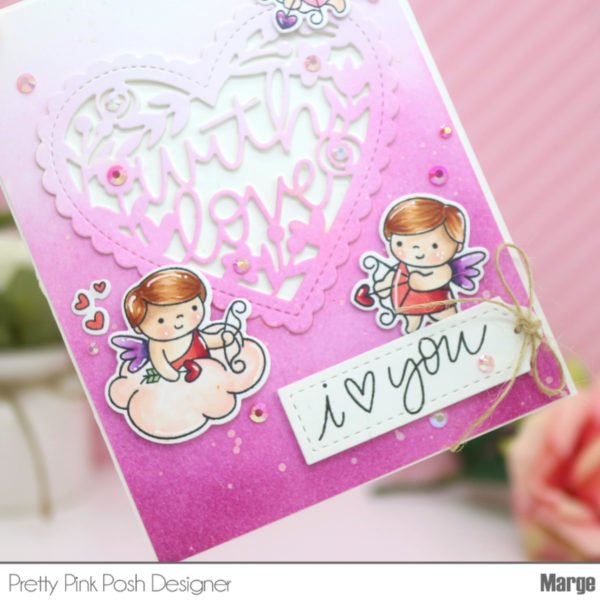
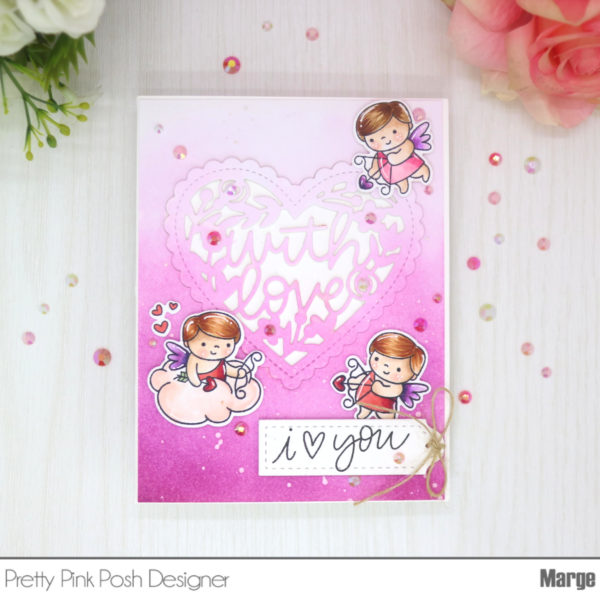
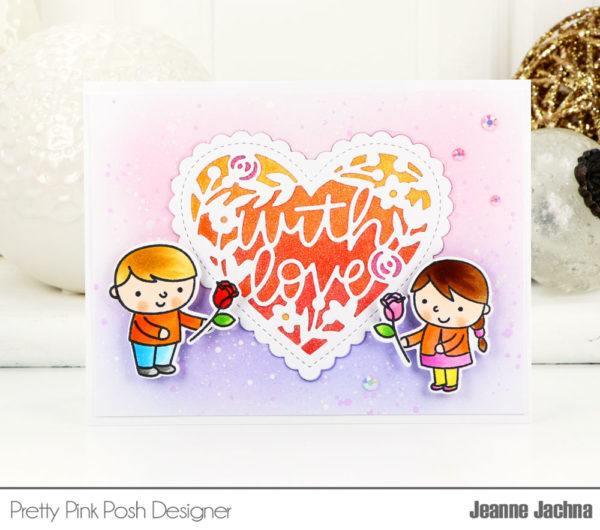
To begin, I stamped Cupid Friends on 80lb Neenah White Paper using Copic friendly ink, colored them with Copic markers and then I cut them using Cupid Friends coordinating dies. Next, I trimmed a piece of Bristol paper into A2 size, then I ink blended it in light to deep pink using my dye inks with splatters of white metallic ink.

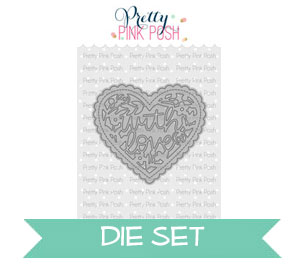
To give dimensional heart frame to my card, I diecut the panel using With Love Shaker Die and I diecut it out of white card stock two times to adhere them layer by layer using Multi Medium Matte. I then adhered my panel onto A2 card base first, then I put With Love Shaker die cut into the empty space of negative cut. In turn, I placed Cupid Friends around the Heart, added a sentiment tag that I made using Love Sentiment and Stitched Labels 1 Dies, then finished off my card by adding Valentine Jewels Mix.

I love how I could give some dimension to your card by using multiple layers of die cut frame even without making shaker from shaker dies. By using lots of jewels all over the panel, I could also get some sparkling effects without making a shaker.


Thanks so much for your visiting and reading today’s post.
|

Valentine Theme Week- Day 6

It’s Valentine Theme Week at Pretty Pink Posh and I’m excited to share a super sweet card with lots of sparkle and shine! The hardest part about making a card for this event was deciding what to use. There are so many beautiful dies and stamps in the store that I love!

I’m mixing a little old with the new. Because all the items in the shop are from the same designer, you know everything is going to coordinate perfectly.

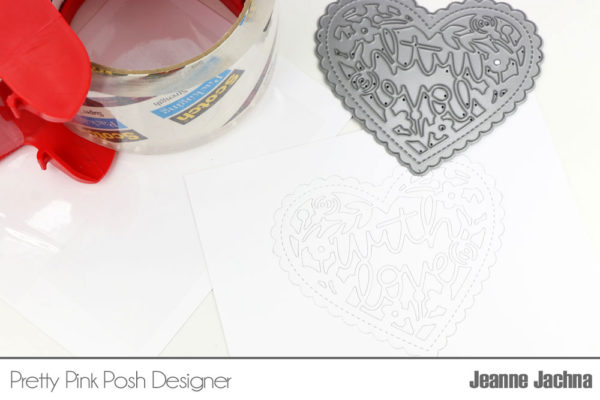
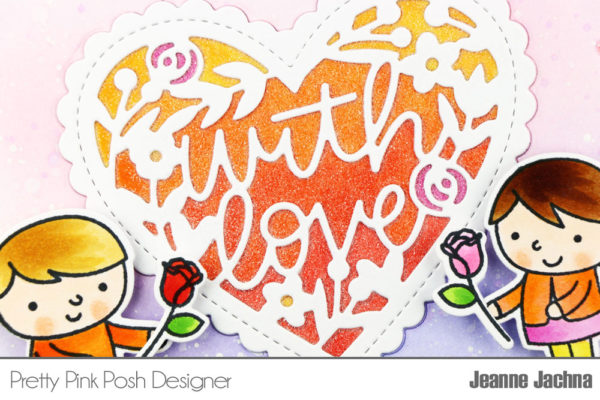
I started my card by cutting the new With Love Shaker die into a panel of white card stock.  I didn’t want it to cut all the way through so I attached some packing tape to the back of the panel before running it through my die cut machine.   The extra thickness from the tape prevents the die from cutting all the way through.

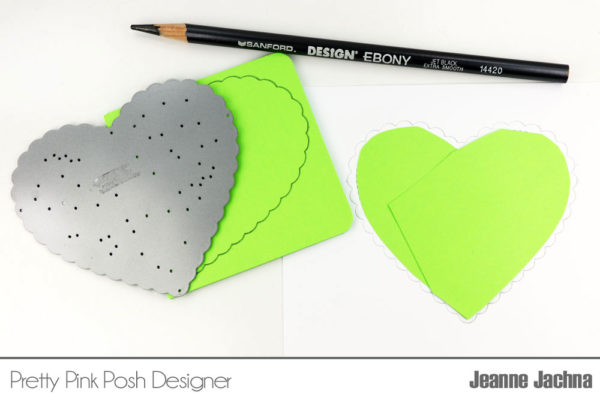
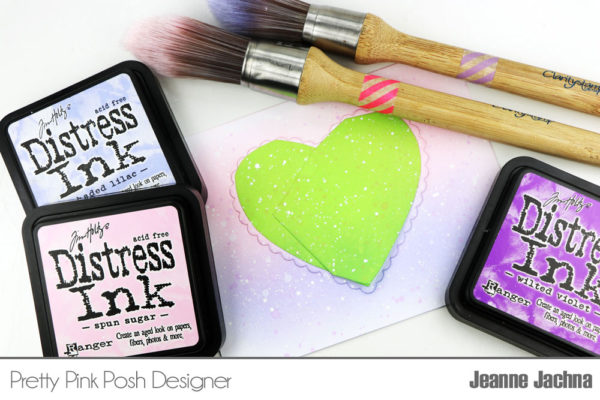
Next I created a mask to cover the heart.  I traced the die on a sticky pad one half at a time.  I cut the paper inside the line so the mask is smaller than the die cut design. Don’t worry if the scallops are exposed, you just want to protect the inside of the heart.

I applied Distress ink in Spun Sugar and Shaded Lilac using a stencil brush so there would be no hard lines.  I splattered the panel with water, some watered down Wilted Violet distress ink, and some white ink. I love Dr. Ph. Martin’s Bleed Proof White Ink.

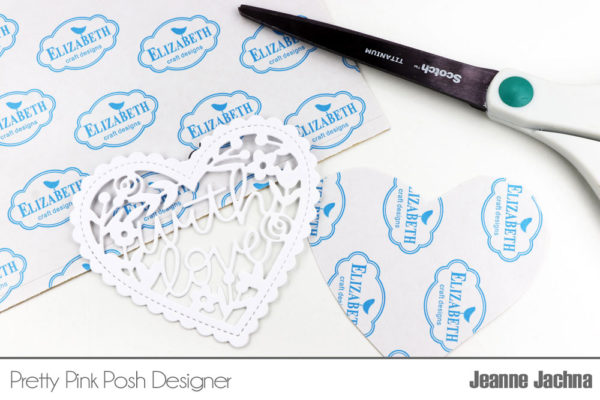
While that’s drying, I cut the With Love Shaker from white card stock and then cut a piece of double sided adhesive to fit under the heart.  Again, don’t worry about the scallop edges, the double sided adhesive should cover the interior decoration of the heart.

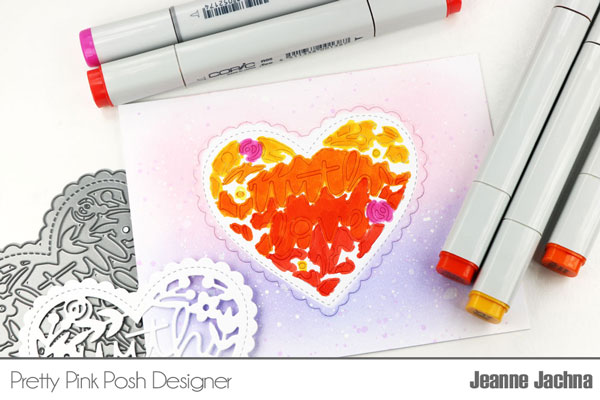
I removed the mask from the card panel and color the inside of the heart with markers. I used Copics, but ANY markers are fine. Use darker shades of ink for more color, and don’t worry about staying in the lines.

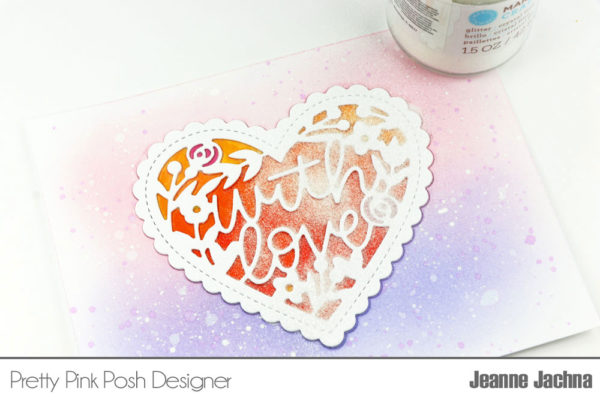
Attach the double sided adhesive sheet to the colored die cut.  Position the white die cut With Love Shaker over the die cut heart and press it in place.  The double sided adhesive will secure it. Lastly pour crystal fine glitter over the heart. Press it into the adhesive with your finger and shake off the excess.

I embellished the card with stamped, colored, and die cut Friends Forever.  I thought they were adorable the first time I saw them, and I still love them today.
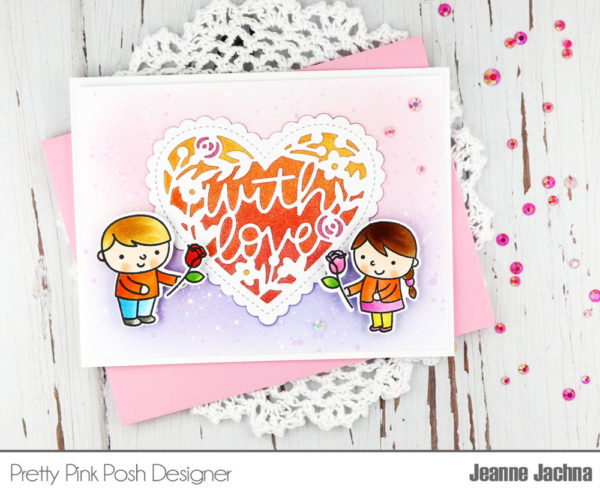
The finishing touch was a little bling!  The Pink Blush Jewels come in lots of different colors so you’re sure to find something to match your project.  I added Pink Blush and Pansy Purple Jewels to the distress ink background.

Whatever your style you’ll find the perfect Valentine makes at Pretty Pink Posh!

|

Valentine Theme Week- Day 5

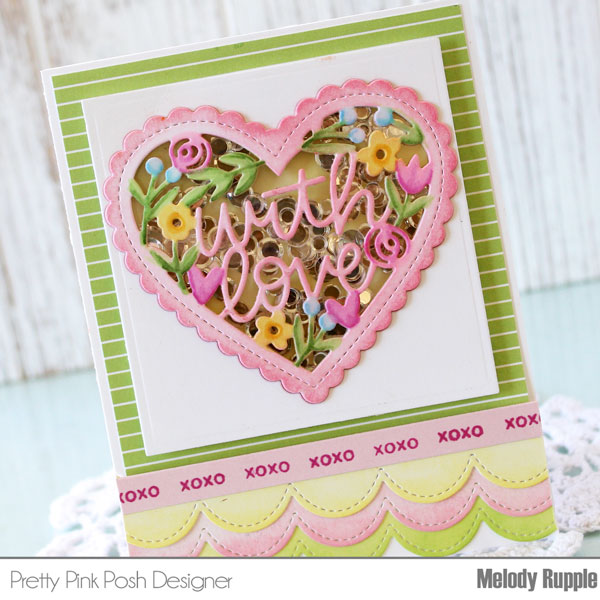
Hi Everyone! It is Melody here on the blog today. Welcome to another day of Valentine Theme Week! I have a Valentine card to share with you that would be perfect for your older daughters or girlfriends. I still enjoy sending Valentines to my daughters even though they are young adults now.

Save 15% off items in the Valentine section during our Valentine Theme Week!

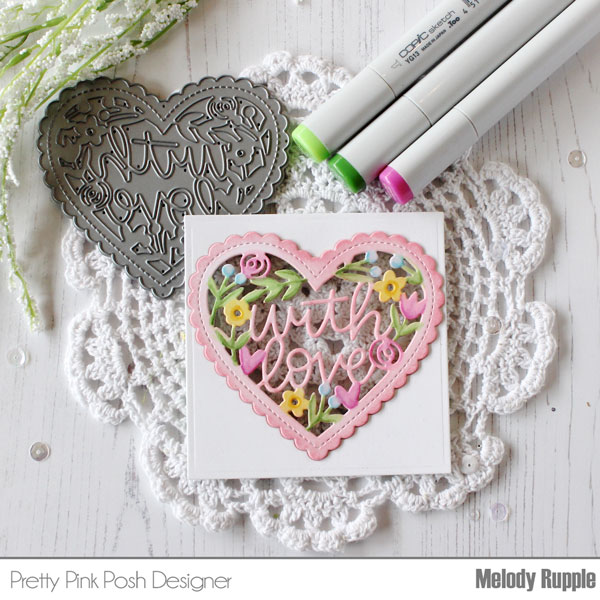
I started by cutting the With Love Shaker Die from white cardstock and adding color with Copic Markers. You could use a number of options to add the color, colored pencil, inks, and watercolors.  I cut a square of white cardstock and cut the With Love Shaker Die directly in the center of the square. I inlayed the colored heart in the white square. On the backside I added clear acetate and foam tape to form the shaker.

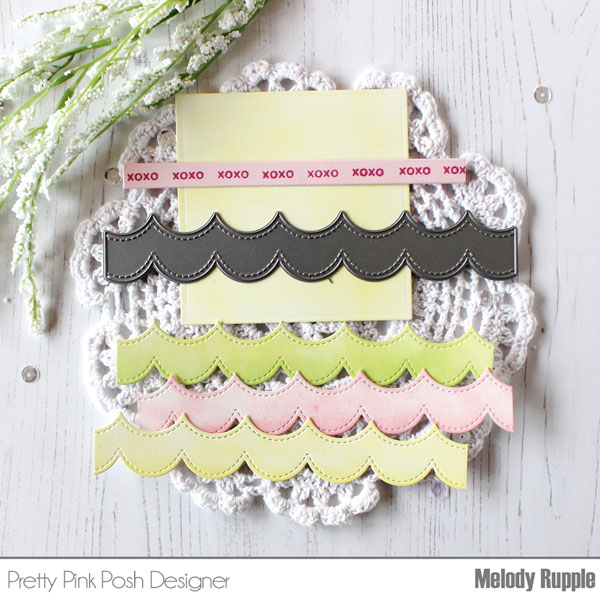
Here are the other pieces I created to add to my card. I cut another square of white cardstock, brushed on Distress Ink in Squeezed Lemonade. This square covers the back of the shaker after the sequins are dropped in. Next I cut a strip of pink cardstock and stamped a sentiment from the Floral Hearts Stamp Set across the strip. I cut three scalloped borders with the Stacked Edges 1 Dies and sponged on Worn Lipstick, Squeezed Lemonade, and Twisted Citron Distress Inks.

I used the Sparkling Clear Confetti Mix for the shaker. Since I used a lot of different colors and patterns on my card I decided the clear confetti would look the best.

There are so many fun possibilities with these products.

Thanks for stopping by today. I hope we have inspired you to starting creating your Valentines! Join us tomorrow for another day of inspiration!
|

Valentine Theme Week- Day 4

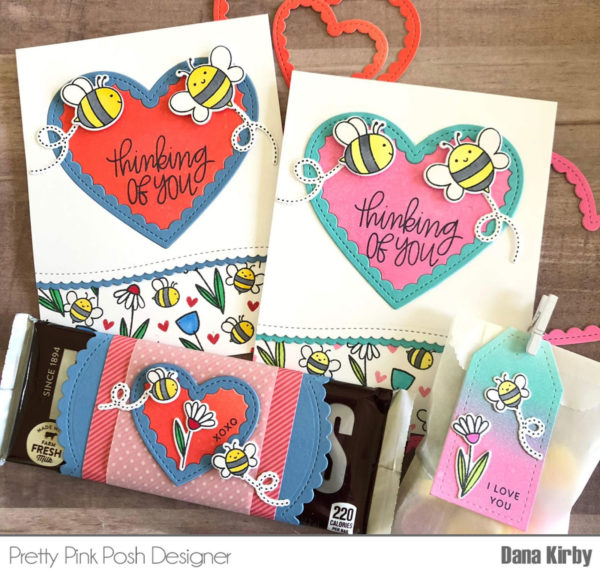
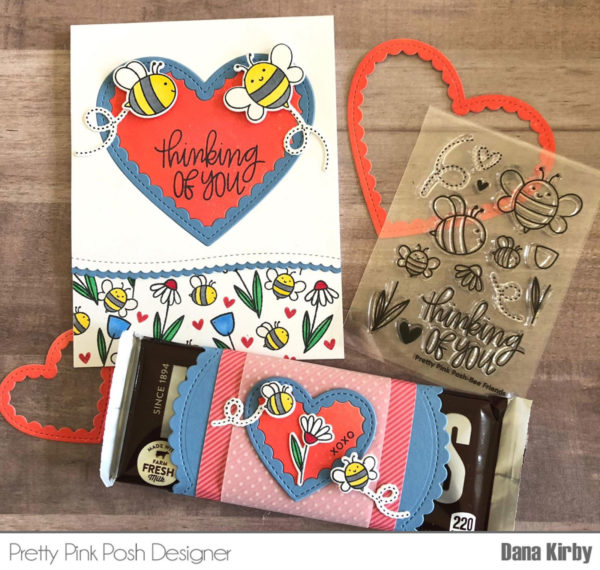
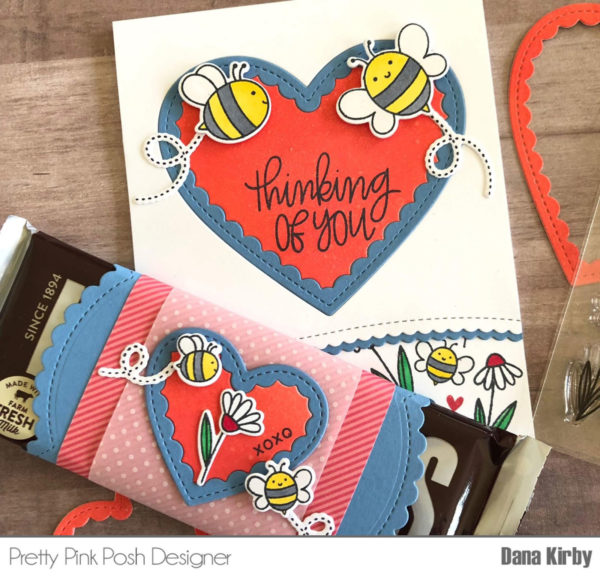
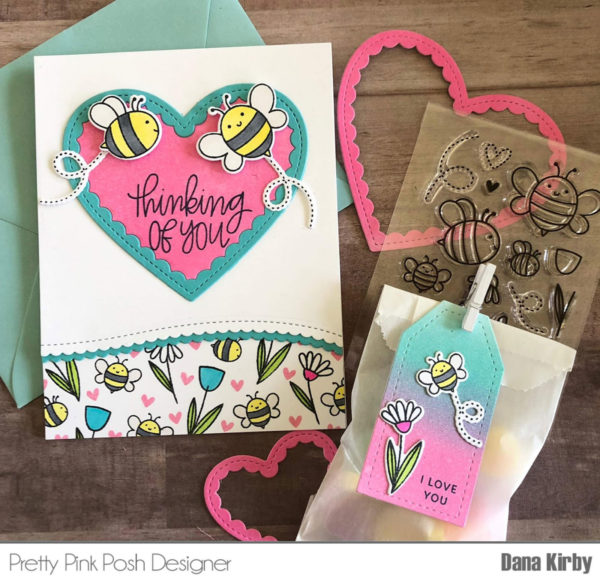
Hi Friends! Dana here today and I am excited to be sharing two Valentine’s Day cards and treats with you all. I love Valentine’s Day and all the fun crafting that goes along with it! I used the Bee Friends stamp set for all of my images and incorporated many other wonderful dies from the Pretty Pink Posh Shop.

On my first card, I started by stamping the small bees and flowers onto the bottom of my card panel. I used a Copic friendly ink, and colored all of the images with Copic markers. Next, I stamped and colored the larger bees from the stamp set. I then used the Bee Friends coordinating dies to cut the bees out.

For my center heart, I used the new Scallop Hearts die set. I began by using Candied Apple Distress Oxide Ink to ink blend my background. I then ran it through my die cut machine. Next, I stamped the Thinking of You sentiment from the Bee Friends stamp set. To finish my card, I used the Scallop Borders die set to create my decorative edge.

I thought it would be fun to also create a candy bar wrap. I used the same stamp set and supplies so that it would coordinate with my card. For my sentiment, I used the Floral Hearts stamp set. I love the fact that this stamp set included a variety of smaller sentiments that fit perfectly in small spaces!!

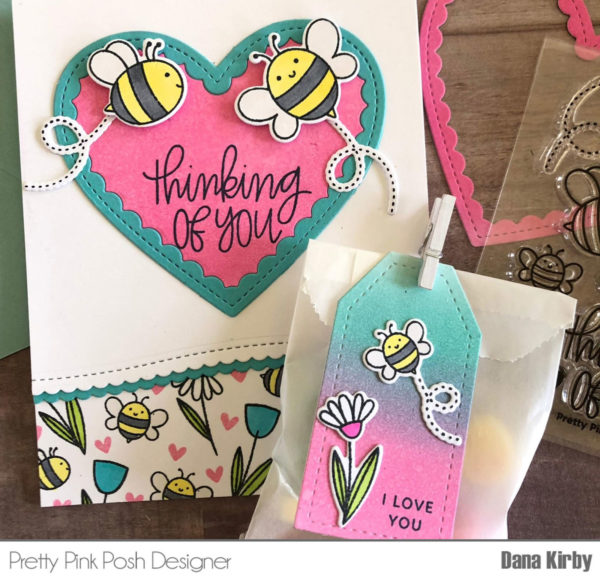
On my next set, I followed the same format as above. Though this time, I used Picked Raspberry Distress Oxide Ink for my ink blending.

For my treat bag, I began by die cutting the Stitched Tag Die. I ink blended Distress Oxide Ink in Picked Raspberry and Peacock Feathers onto my tag. Next, I added the small bee and flower and another small sentiment from the Floral Hearts stamp set. To finish my treat bag, I filled a small glassine bag with Conversation Hearts and attached my tag with a small clothespin.

I hope I inspired you to create a few Valentine treats for your friends and family! Join us tomorrow for another day of Valentine inspiration!

Stop by the Pretty Pink Posh Store this week and you will receive a 15% discount on all items in the Valentine’s Day section!

Dana