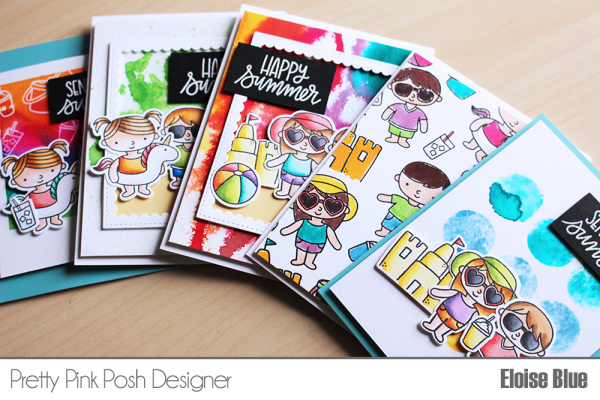
One Stamp Set // Three Cards + Video
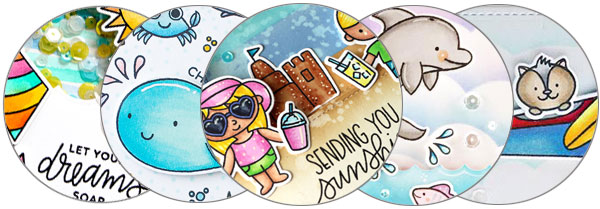
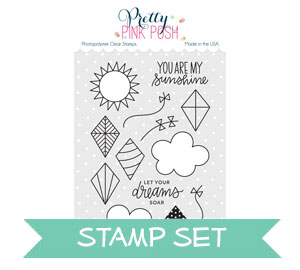
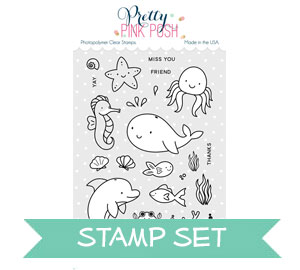
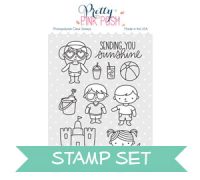
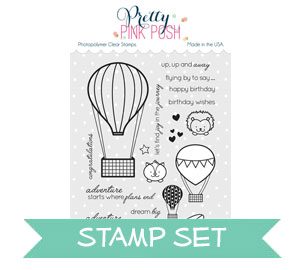
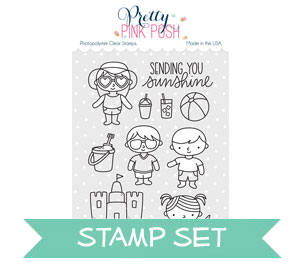
Hello everyone, Eloise here and today I have another 3 cards 1 stamp set video for you all using the Sea Friends stamp set along with several other dies from Pretty Pink Posh also. This stamp set is absolutely perfect, with the large variety of sea animals, I just love it!
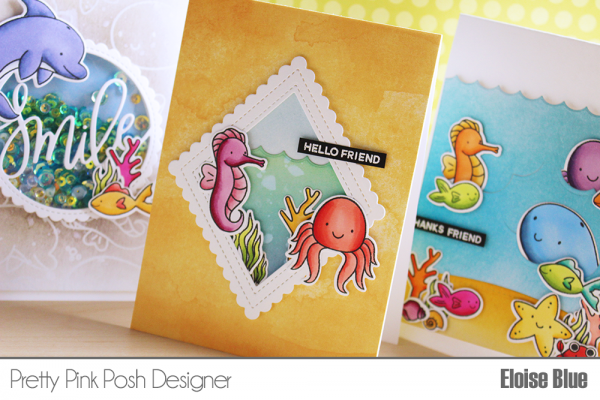
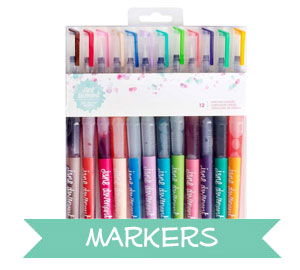
To first begin my cards I stamped a ton of images from the Sea Friends stamp set and coloured them with Copic markers then die cut them all out using the coordinating dies.
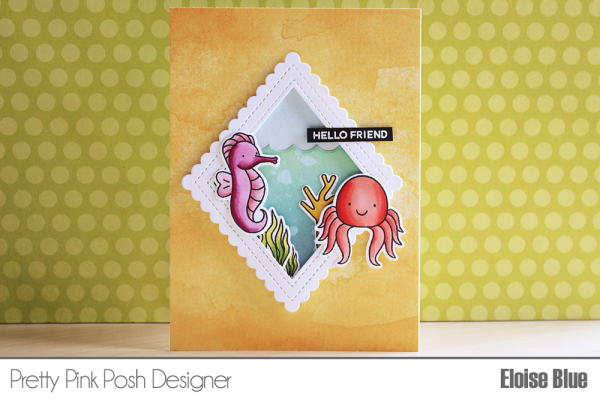
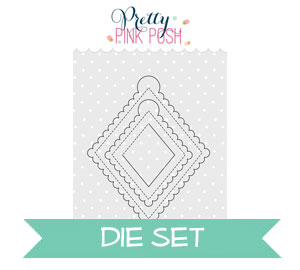
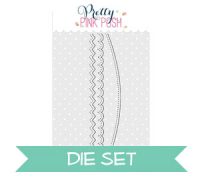
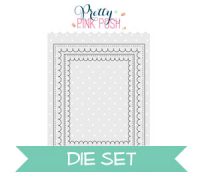
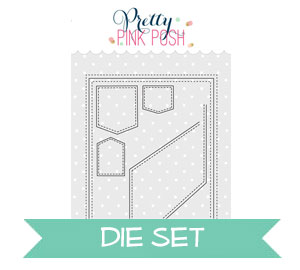
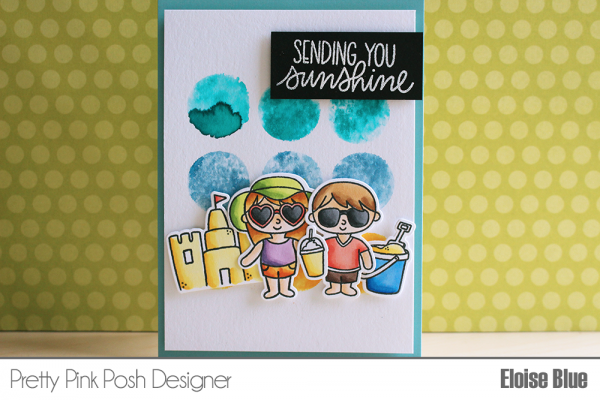
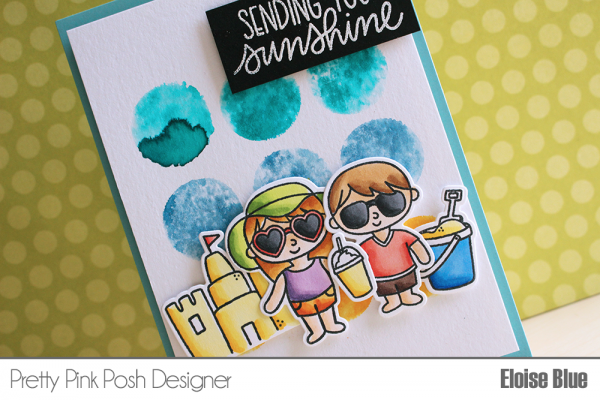
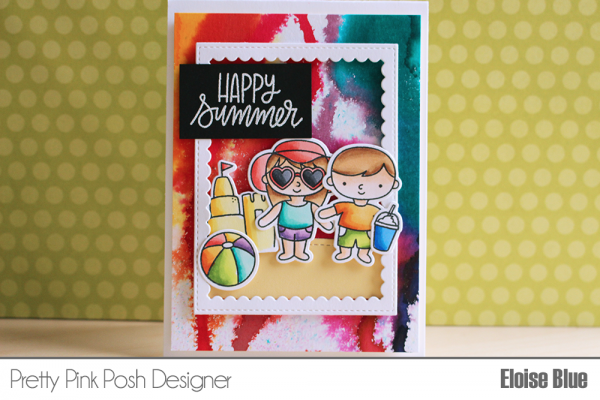
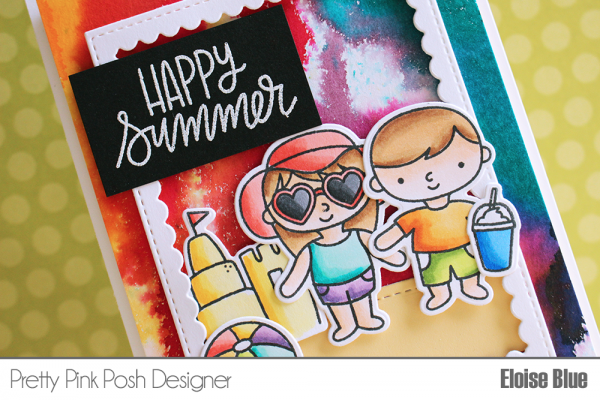
To begin my first card, I used the Scallop Diamond Tags Dies along with the Stitched Diamonds Dies, I first cut the largest tag die from some white cardstock, flipped the die around on top of the previously die cut tag (180 degree turn) and ran it through again. This way I altered the die so I didn’t have that tag piece at the top anymore. I then took the 2nd largest diamond die from the Stitched Diamonds die set and placed that on the middle and ran it through again to create a frame. Once my frame was created I took some watercolour cardstock and used the Stitched Border 1 Dies and cut out the scallop from the paper. I then used the negative piece as it looked like waves and ink blended some colour onto that piece using Distress Oxide inks in Broken China, Cracked Pistachio and Faded Jeans to colour in the piece. Once that piece was coloured I used some of the scrap paper to ink blend on a little Tumbled Glass ink to use as a sky. Once I had coloured all my pieces, it was time to assemble.

I used some of the images I had previously coloured and cut out and arranged them over my scene to make sure they fit well. I then adhered my sky and ocean to the back of the frame with foam tape. Added in my images using flat adhesive and foam tape and then adhered the panel to a yellow piece of watercolour cardstock from Lawn Fawn and then adhered that piece onto a white card base. For my sentiment I white heat embossed the ‘Hello Friend’ sentiment onto a strip of black cardstock and adhered that also.
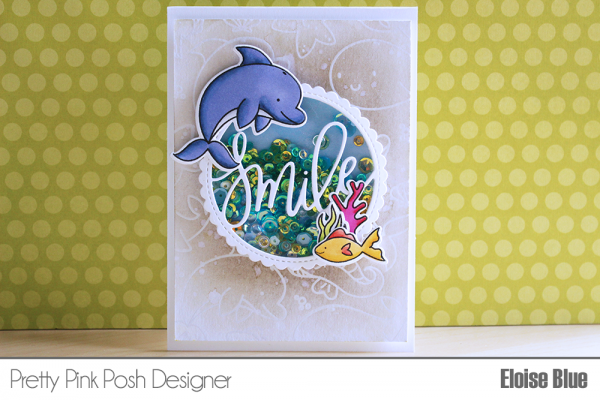
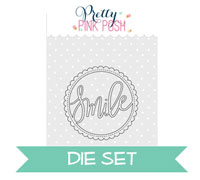
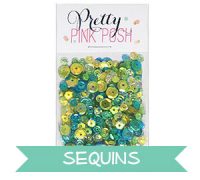
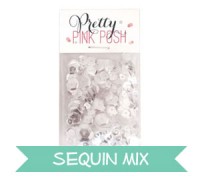
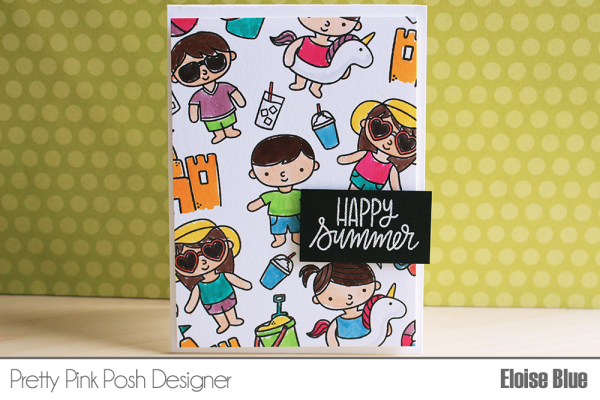
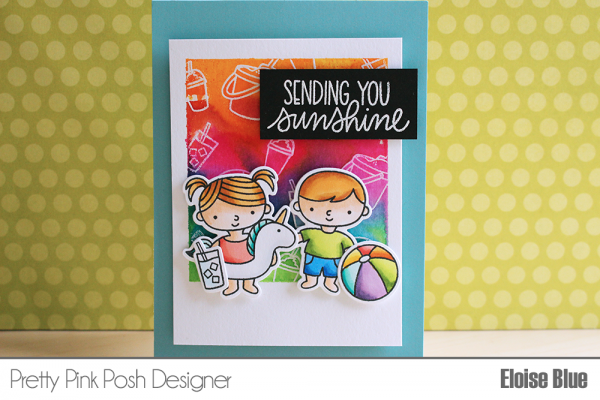
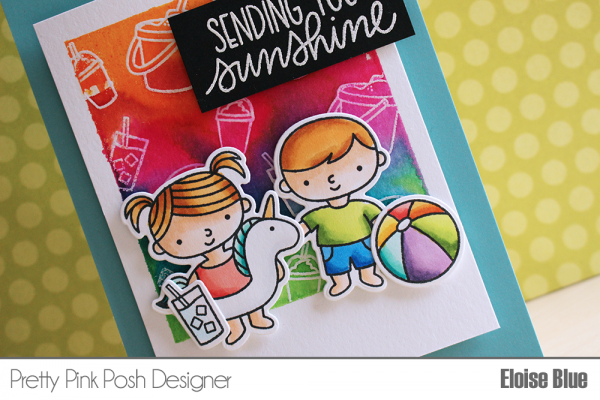
For my second card I first pulled the Sea Friends stamp set and stamped a lot of the images onto another piece of watercolour cardstock with Versamark Ink and then clear heat embossed over the images. I took some Pumice Stone Distress Ink and ink blended over the top of the images and then I used some water to fade it out and make the piece light and more blended. I dried it off and moved on to my focus piece. I die cut the Smile Shaker die from some white cardstock and added two layers of foam tape around it. I used the Mermaid Mix as well as Cornflower sequins to fill my shaker and then I added a piece of blue cardstock behind it. I then adhered to the centre of my card with some tape adhesive.
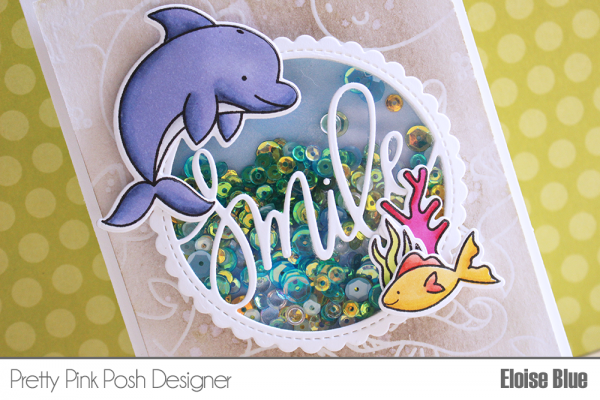
I pulled some images I had previously coloured in and adhered them around the shaker panel. Lastly I added my panel onto some fun foam and then onto a white card base and that finished up card number two.
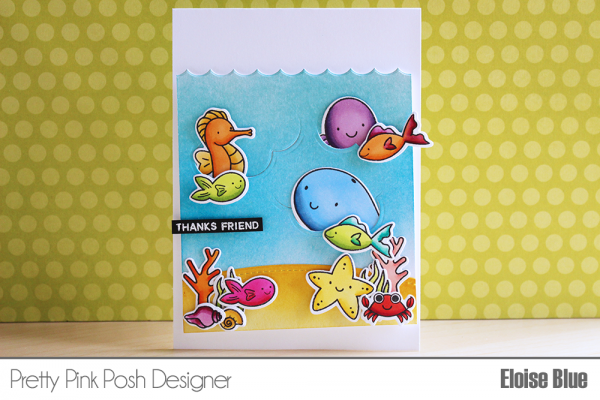
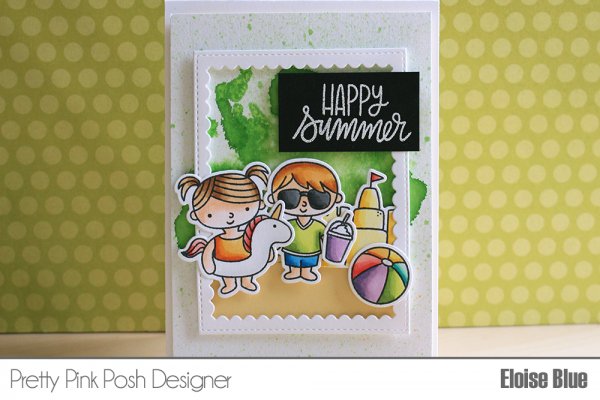
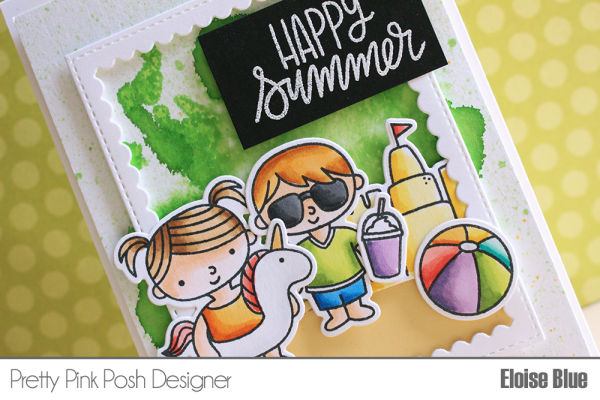
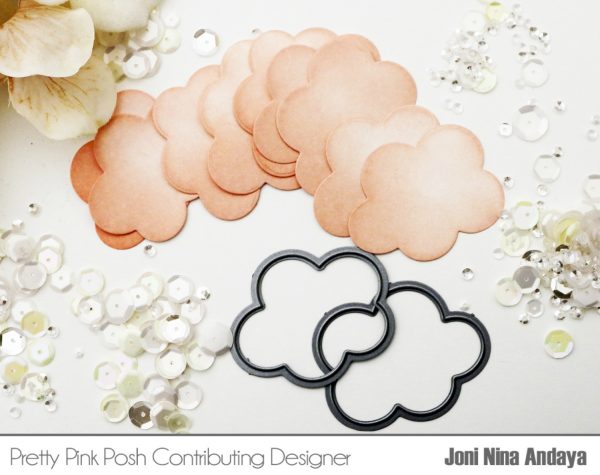
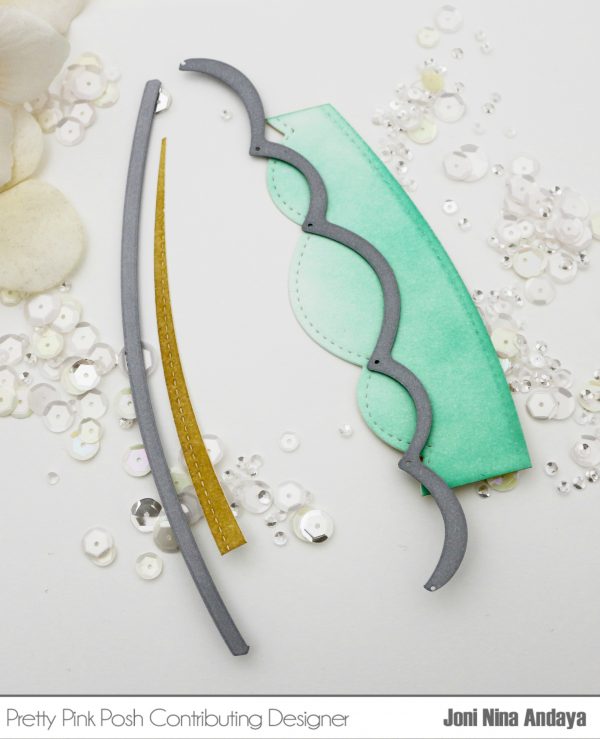
For my final card I went ahead and used a piece of watercolour cardstock as well as the Stitched Borders 1 dies once again. I used the scalloped border on the top of the cardstock and the curved die in the set at the bottom of the cardstock. I used Distress Inks to colour both pieces in. Using Mustard Seed and Fossilized Amber for the sand and Tumbled Glass and Salty Ocean for the ocean piece. Once both pieces were coloured I went ahead and used the cloud dies included in the Fly A Kite coordinating dies set and partially die cut some of the bottoms of the clouds as waves into my ocean piece so I could slip some critters inside.
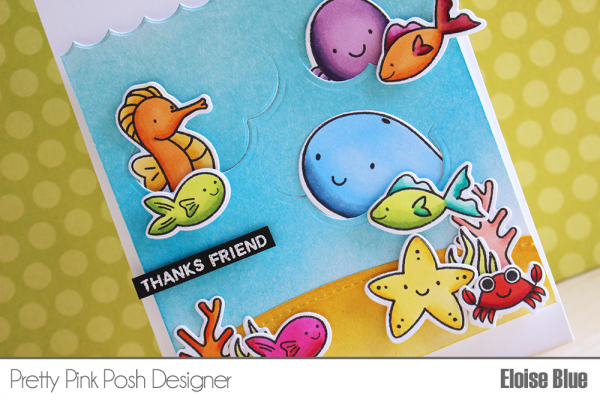
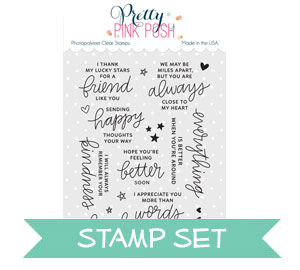
I then used the images I previously coloured and cut before hand and adhered them to my panel. I added some fun foam onto the back and adhered my panel on angle onto a white card base. I then white heat embossed the ‘Thanks Friend’ sentiment from Sea Friends and added it onto my card with foam tape also and that finished up my last card.


 I used a light pink ink color for my stamping, but you can go with any color you like. I was going for a soft and feminine card. I started stamping in the center of my panel, first stamped the middle row and later added rows on the left and right hand side to make sure my stamping was centered.
 You can combine multiple messages to create a background like this, but I always like to use just one. If you feel your pattern is lacking you can always add additional elements such as hearts or stars. I used a large and small heart images and stamped them in between my messages. You can also take your background even further – use several colors of ink for stamping and/or incorporate heat embossing. After stamping large hearts I heat embossed them in


 Ladies, email me within 7 days and I’ll send over the gift certificates so you can shop!