Easter Theme Week- Day 6

Good morning Pretty Pink Posh fans! Heather here this morning to join in the Easter Theme week fun here on the Pretty Pink Posh blog with these two soft and sweet Easter shaker cards!
Save 15% off items in the Easter section during our Easter Theme Week!

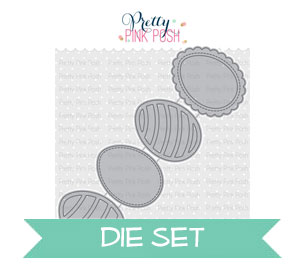
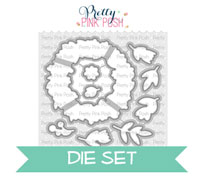
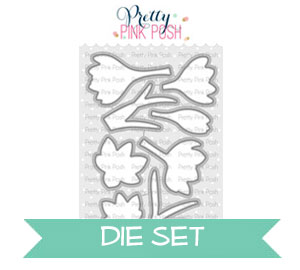
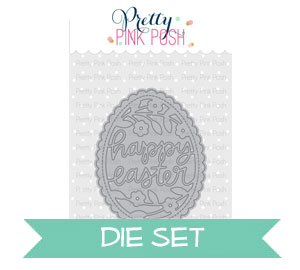
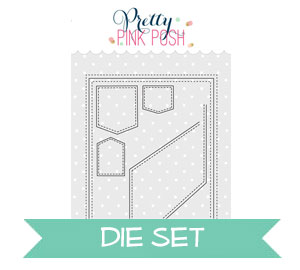
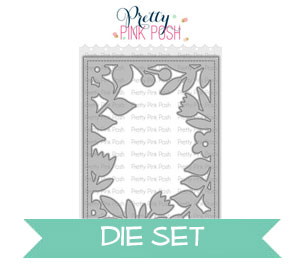
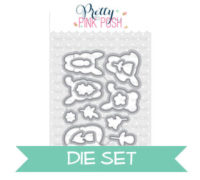
I created these with the fun Easter Egg Shaker die, paired up with the stitched rectangle from Stitched Notes Dies. I die cut the shaker die, punched out the details in the image, then inset it back in the window created and added acetate behind it to create my shaker.

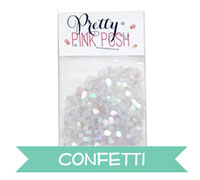
The backgrounds behind are Distress Oxide ink blended backgrounds. For this first card I used a combo of Shabby Shutters, Dried Marigold, and Abandoned Coral. I also added some Pink Blush Jewels to accent this one.

For this second one, my ink blended background was created with Mermaid Lagoon, Cracked Pistachio, and Wild Honey. This one has a few Sea Glass jewels on it as accents.

I added some solid color cardstock in a coordinating color to tuck behind that panel and help it pop against my white cardbases.

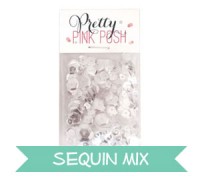
The shakers are filled with one of my favorite shaker fillings- Iridescent Mini Circles. LOVE how sparkly and fun it is – and it moves so easily in the shaker which is fabulous as well!


Thanks so much for stopping by today- hope you have a wonderful day!


 I started by die cutting 3.5″ x 4.75″ stitched rectangle panel from thick white card stock using the
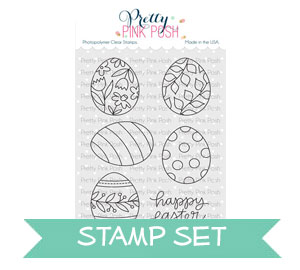
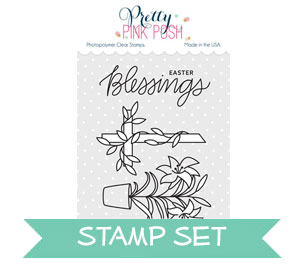
  I die cut Easter egg from watercolor paper using the Happy Easter Shaker Die again, then inked up the floral Easter egg die cut with Fossilized Amber & Worn Lipstick Distress Oxide Inks. I stamped hummingbirds from the
  I added