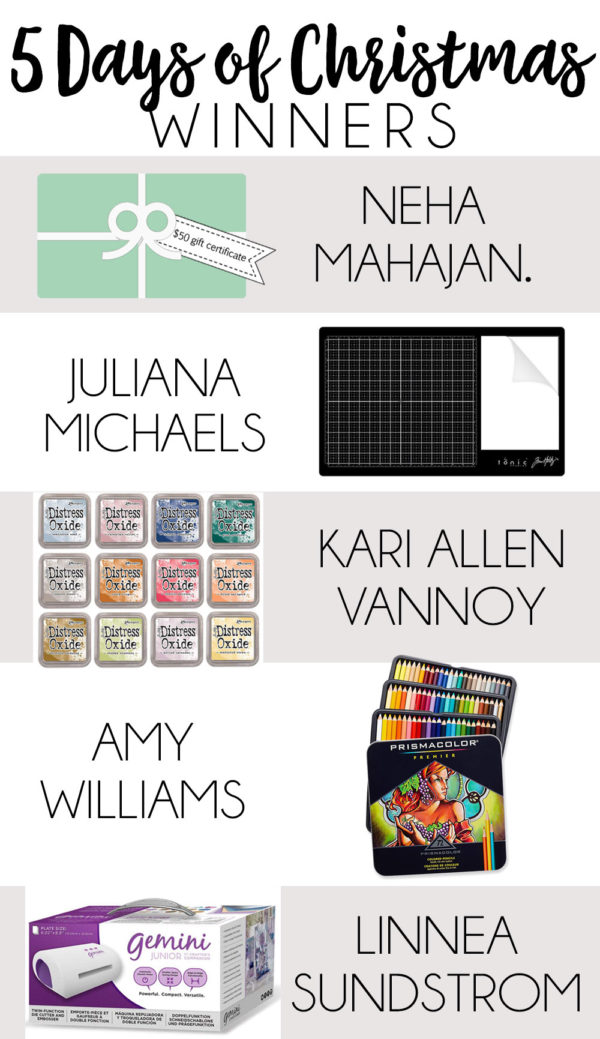
5 Days of Christmas Giveaways- Day 4
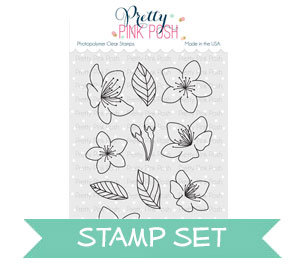
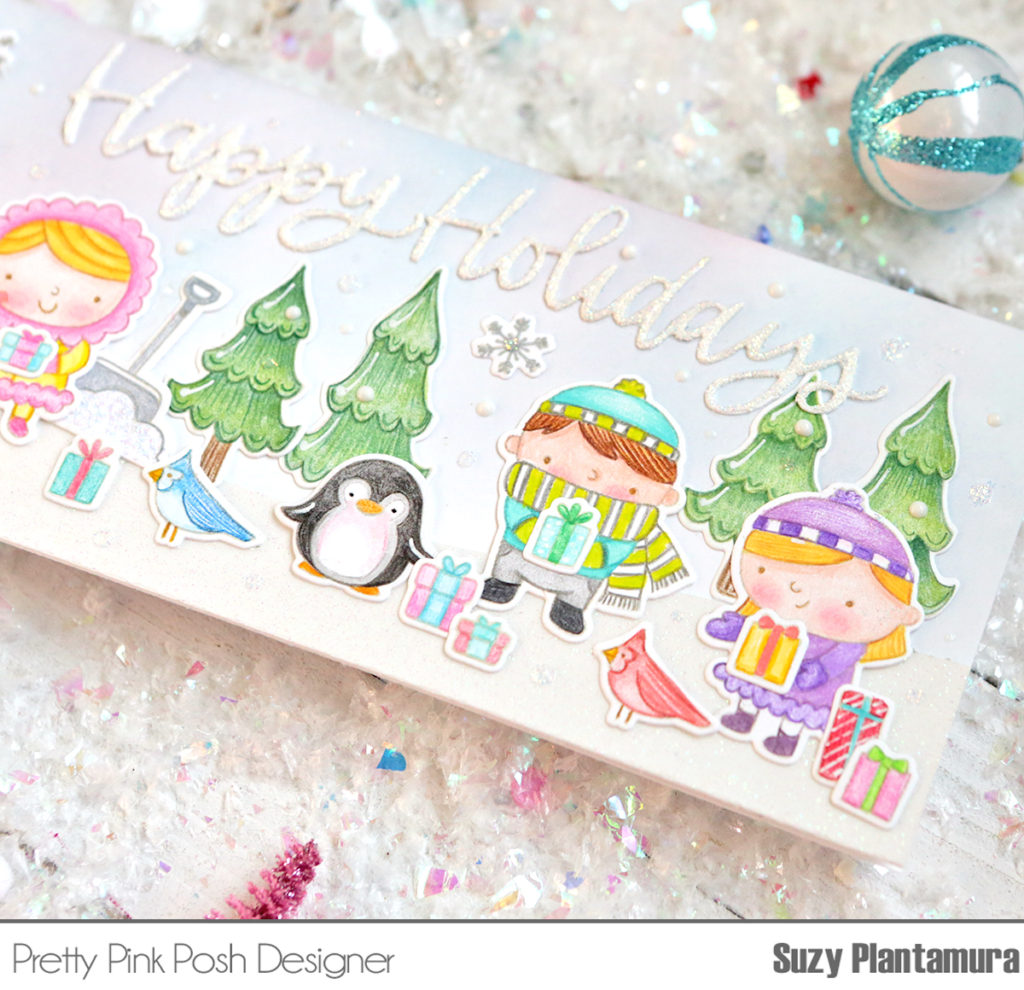
Hi everyone! It’s Suzy here on the Pretty Pink Posh blog today with a card uses several older Pretty Pink Posh stamp sets including Winter Wonderland, Holiday Pals, and Christmas Friends.
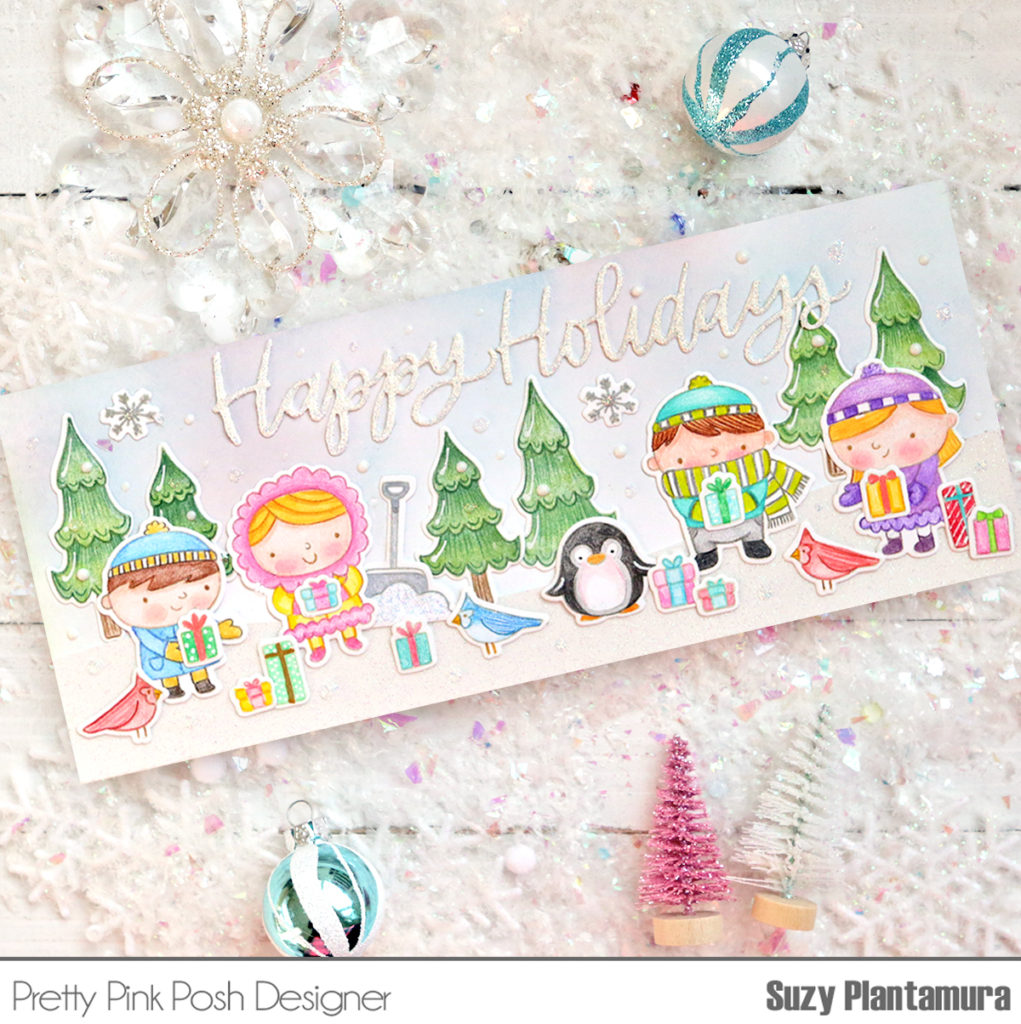
I wanted to create a holiday scene using lots of images, so I made this card a slim-line, which measures 7” x 3.5”. I started by using Distress Inks on the background and cut some white glitter paper into a snow bank.
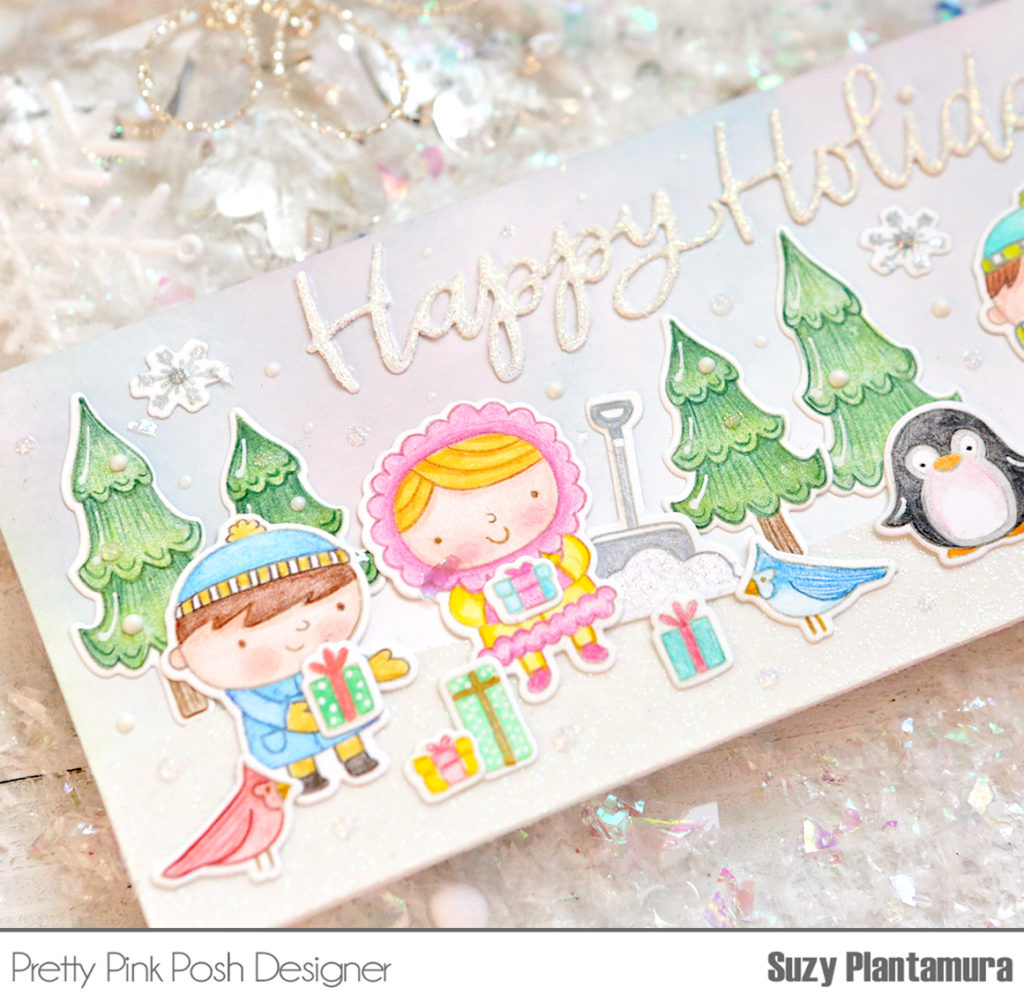
I stamped images from the 3 stamp sets on white cardstock with a light color of ink. I colored in all of these with colored pencils. I like how they leave such a soft look and let you add texture and shading. I colored 6 trees from the Holiday Pals stamp set to use on the background of the card. I stamped the four cute little friends from the Christmas Friends stamp set and arranged them in front of the trees.
I added some of the little birds from the Christmas Friends stamp set and then gifts from all three of these stamp sets. I arranged all of these into a little Christmas scene. I used the Happy Holidays Script Die for the sentiment. I die-cut it out of white cardstock and then applied clear glitter glue to the top of it for texture. I finished the card with some glitter drops and white glossy drops around the elements for snow. I also added a couple of the snowflake stamps from the Holiday Pals stamp set.
GIVEAWAY
For today’s giveaway we are giving away the popular 72 pack of Prismacolor colored pencils! All you have to do is leave a comment on this post sharing your favorite color medium (markers, colored pencils, watercolors, etc…) For bonus entries, like the Pretty Pink Posh Facebook page, subscribe to us on YouTube or follow us on Instagram
Thanks so much for visiting today and being part of the Pretty Pink Posh’s 5 Days of Christmas Giveaway Week celebration! Have a great holiday season friends!