Sneak Peek: Decorative Pumpkins
Hello, Gemma here today and I’m excited to share a sneak peek of the Decorative Pumpkins stamp set, part of the August release.
New release will be available August 7th
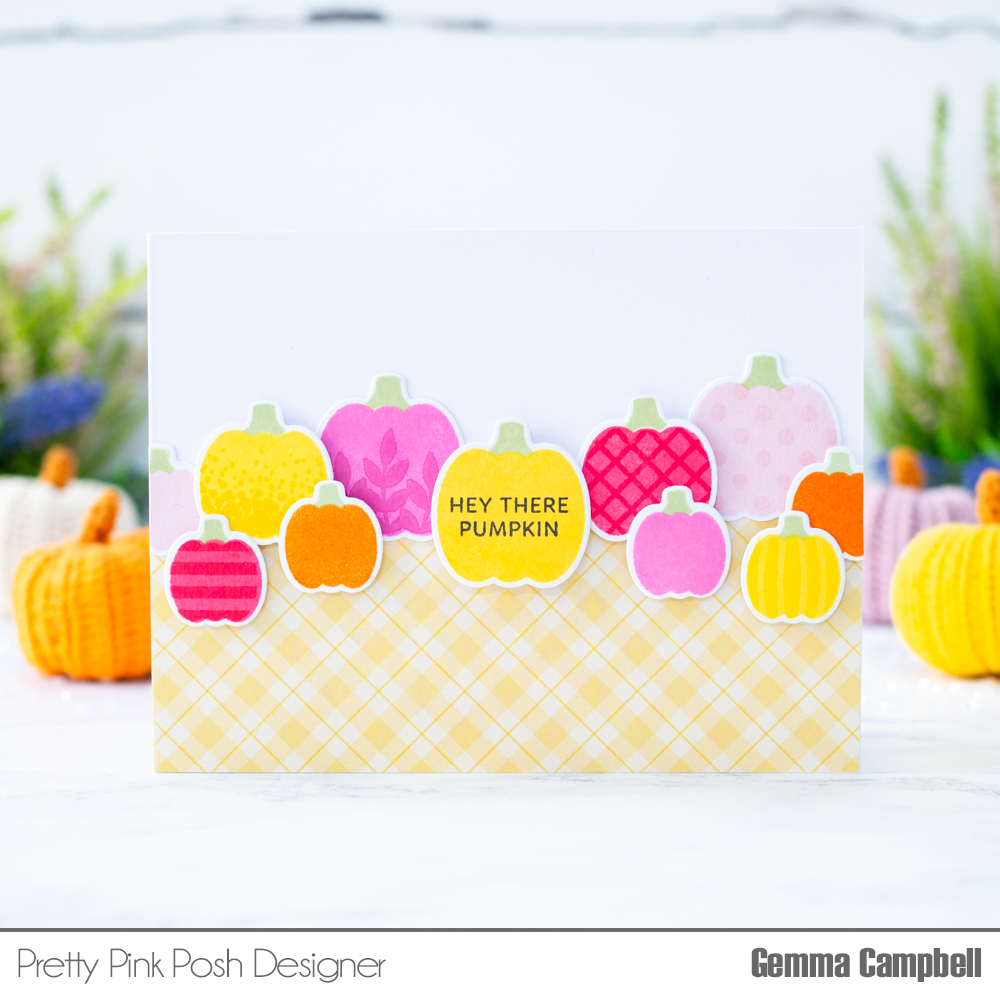
Similar to the Birthday Balloons stamp set before it, this set has both outline and solid pumpkins in 3 sizes, along with decorative patterns and sentiments to add to the pumpkins.
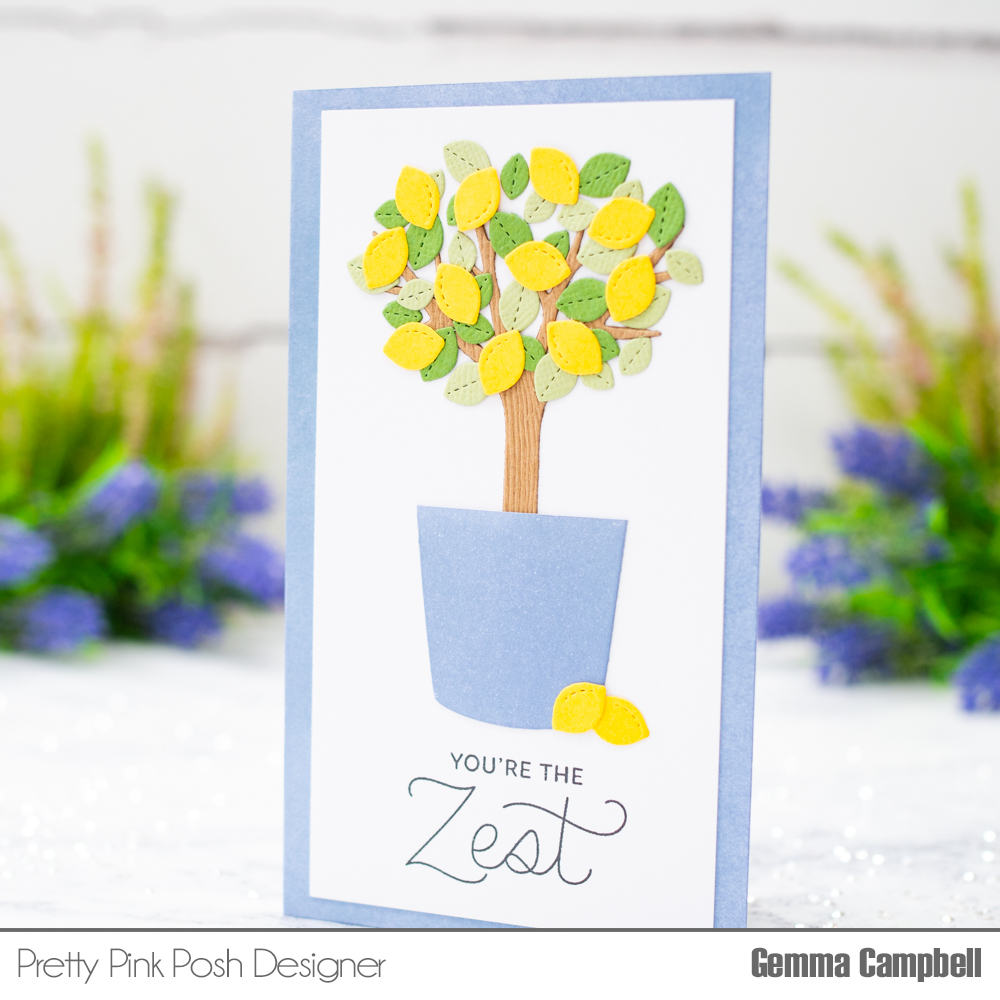
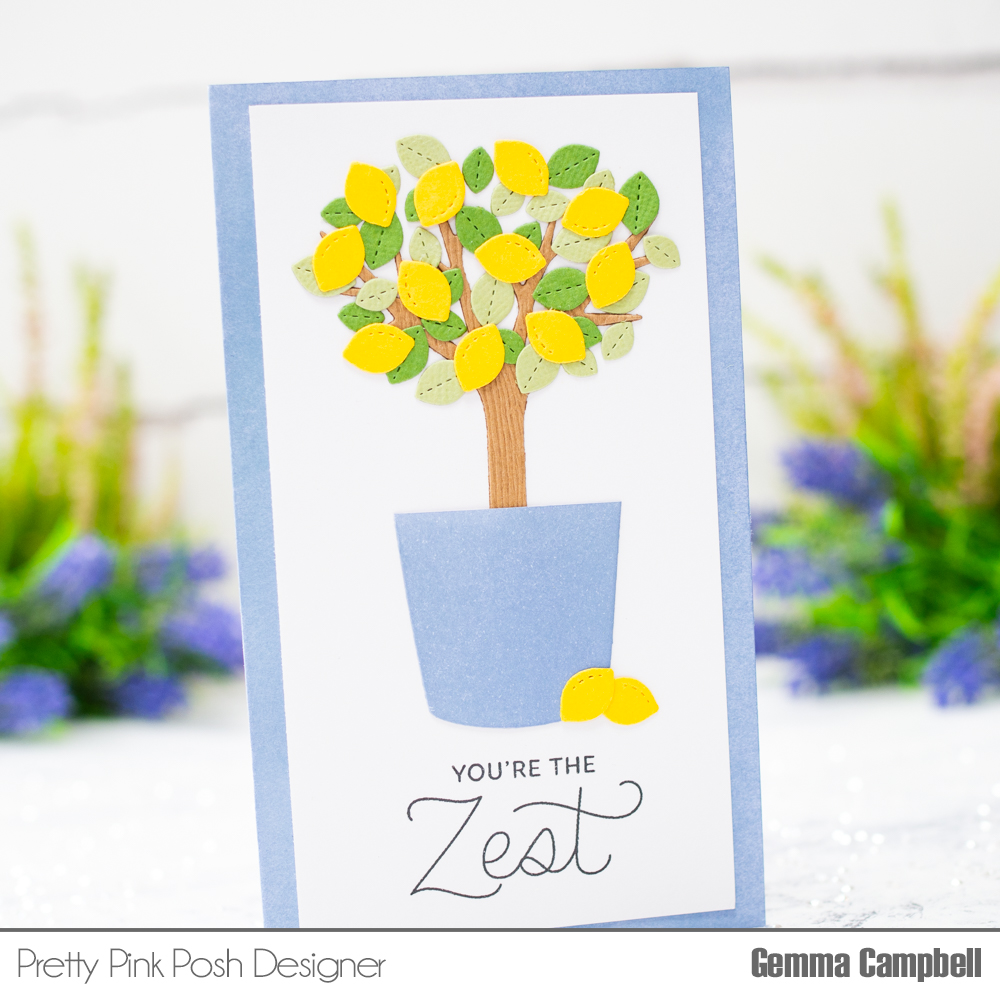
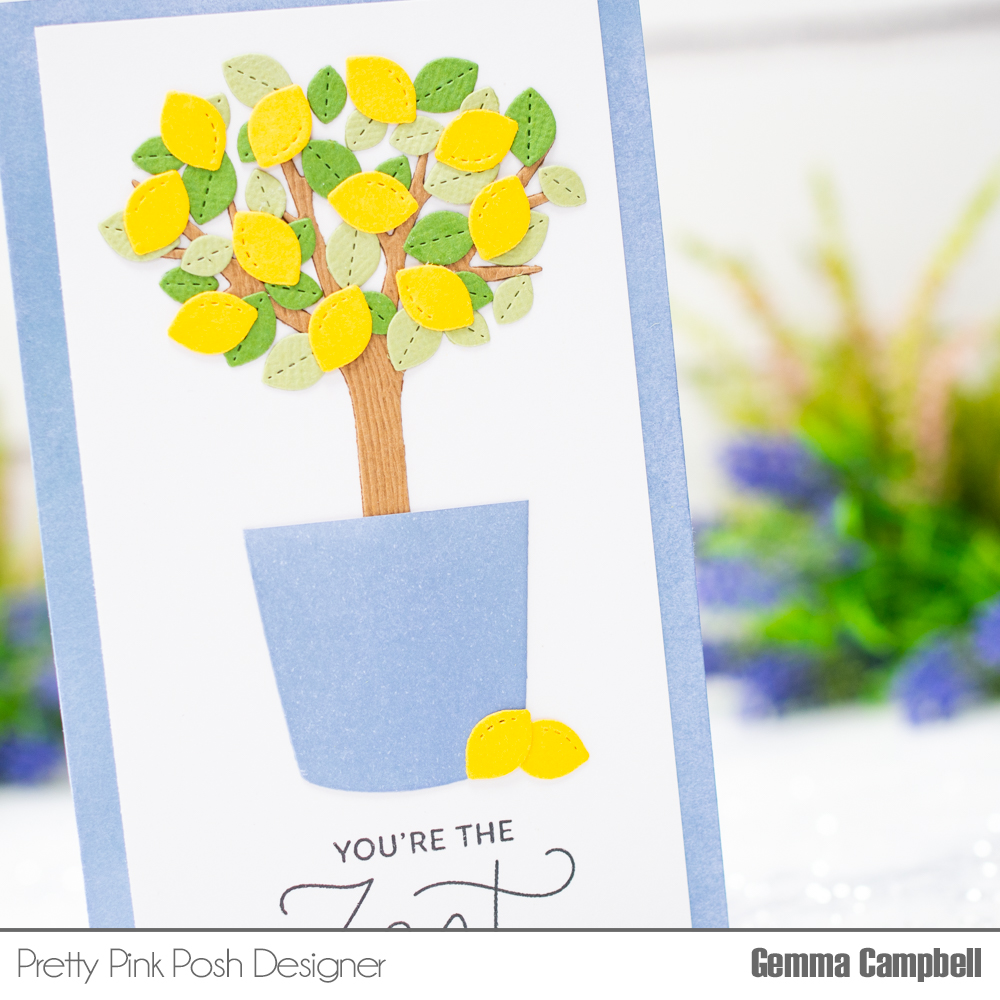
Using the solid outline pumpkins, I stamped them out in pinks, yellow and orange, then die cut them out with the coordinating dies. The pumpkin stalks are separate stamps and I found it easy to add these after the pumpkins were die cut.
Next, I added decorations to the pumpkins. I used the same inks for the patterns, to create a tone on tone look. On one of the largest pumpkins, I stamped a sentiment from the Decorative Pumpkins set in black ink.
I adhered a strip of patterned paper to an A2 landscape card base, then added the pumpkins. I used a mix of liquid glue and foam tape to get dimension. The sentiment pumpkin is popped up with two layers of foam tape.
I didn’t feature these on my card today but there are also images of Halloween pumpkin faces in the stamp set, plus two additional sentiments, making this a versatile set to add to your collection.
Thanks so much for joining me today! Stop by tomorrow for another sneak peek of the August 7th release!