Sneak Peek: March 2024 Dies
Good morning! It’s Lindsey here, and I am so excited to share sneak peeks of the new dies today. You are going to love them! They are everything that makes a heart happy in the spring. Not only that, but you will probably also be delighted to hear that the dies are no longer wired together, which means they are ready for crafting right out of the package. Yay!
New release will be available March 6th
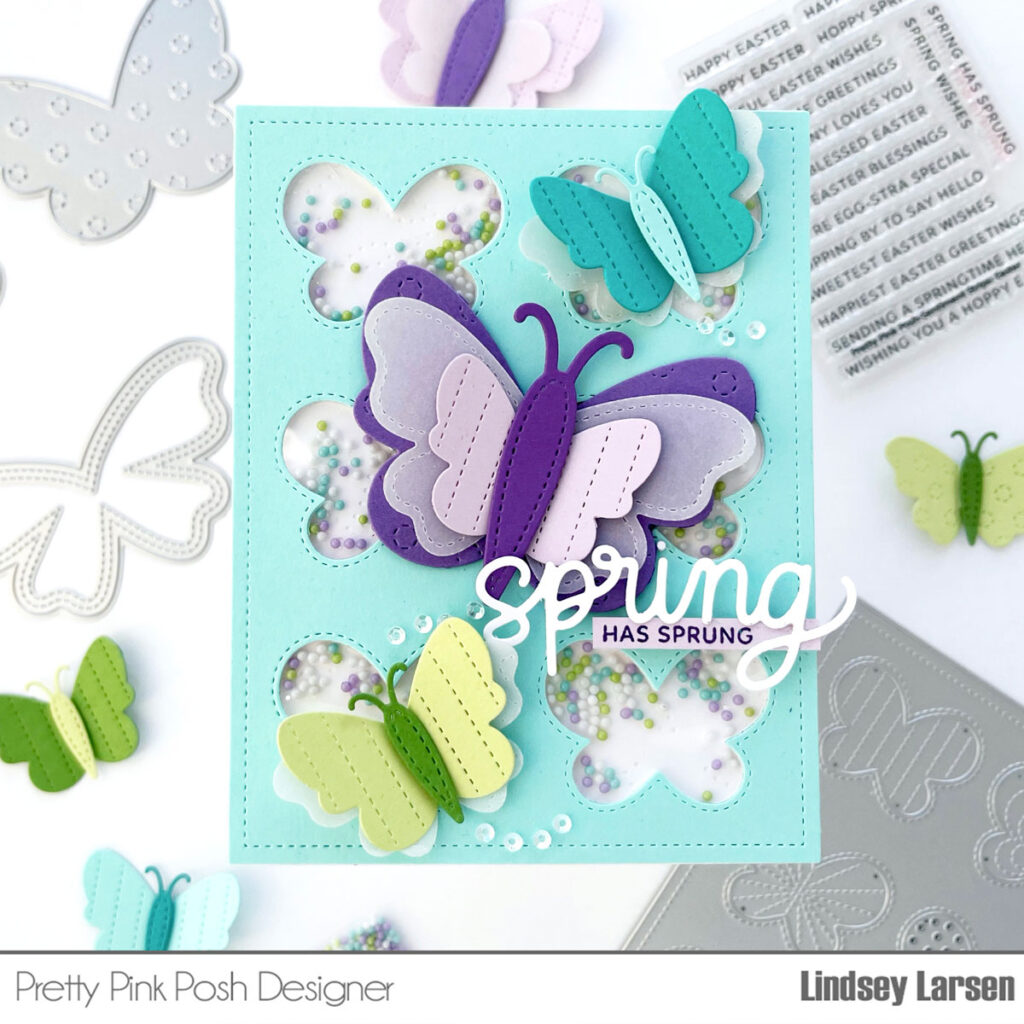
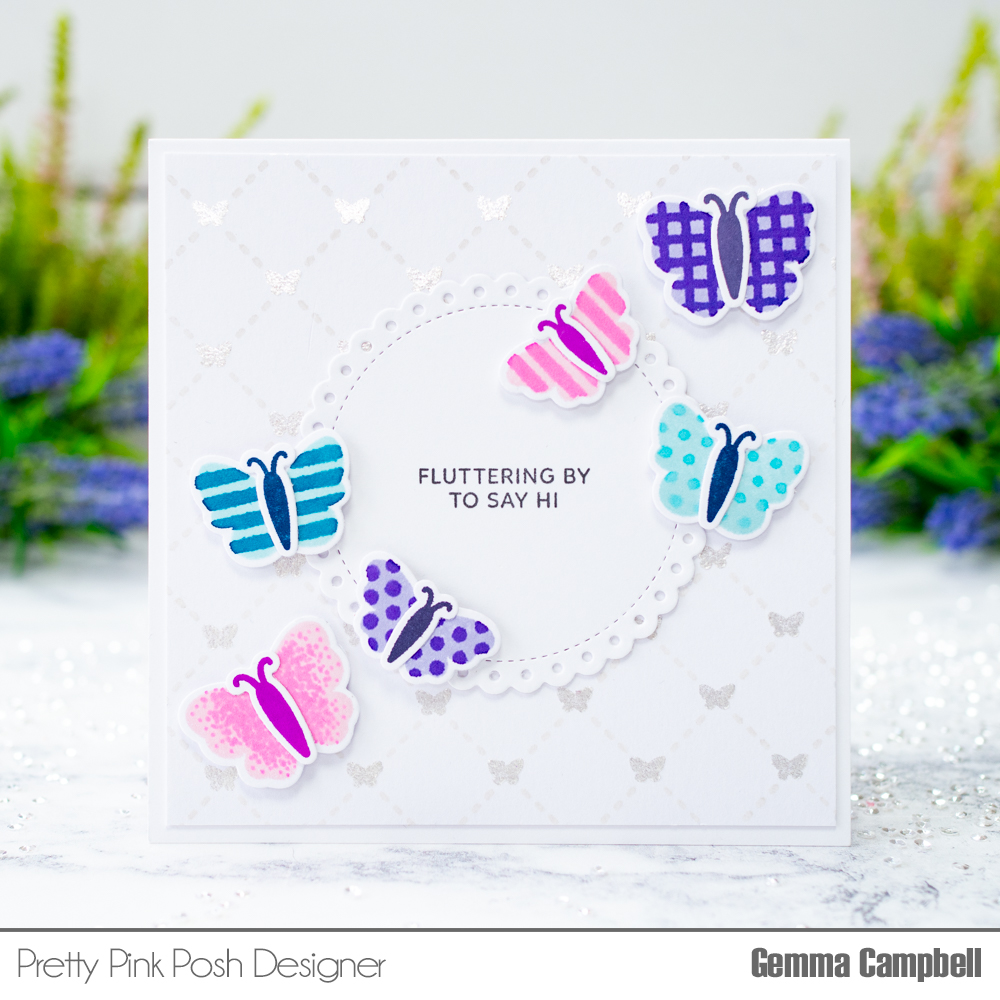
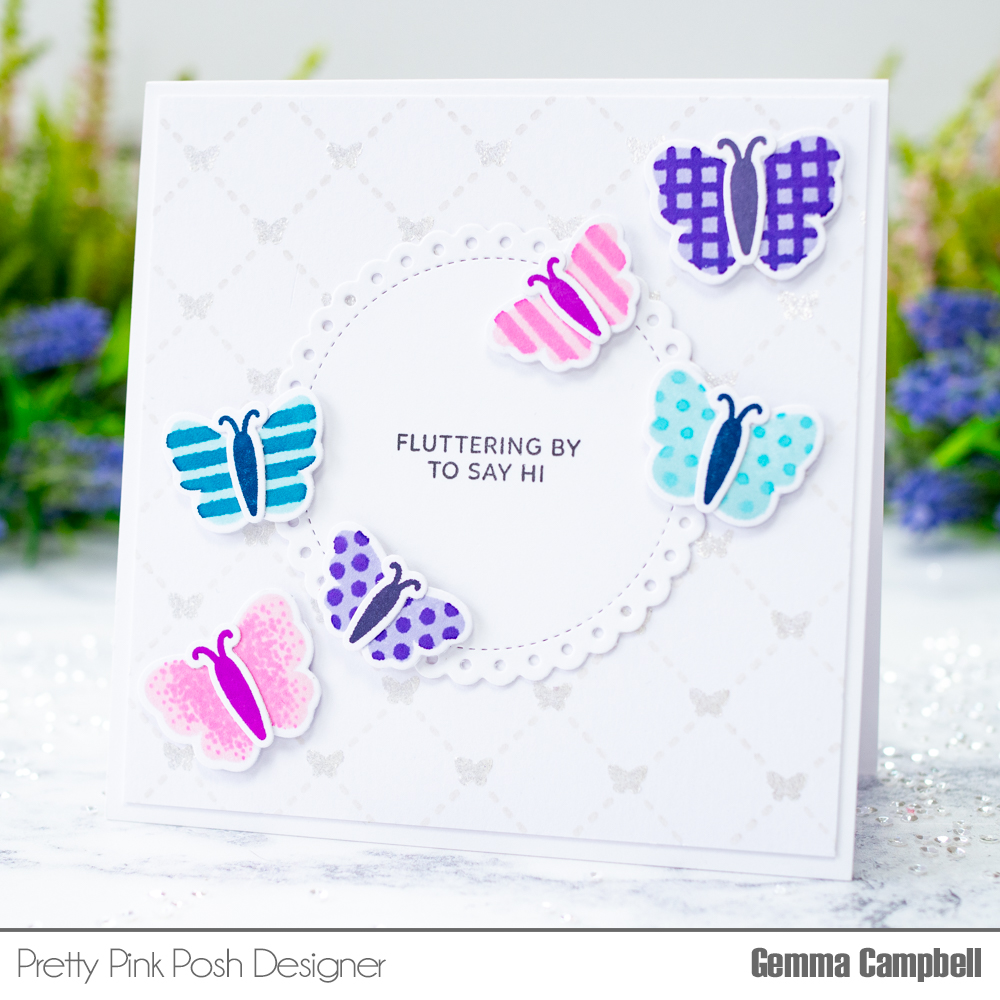
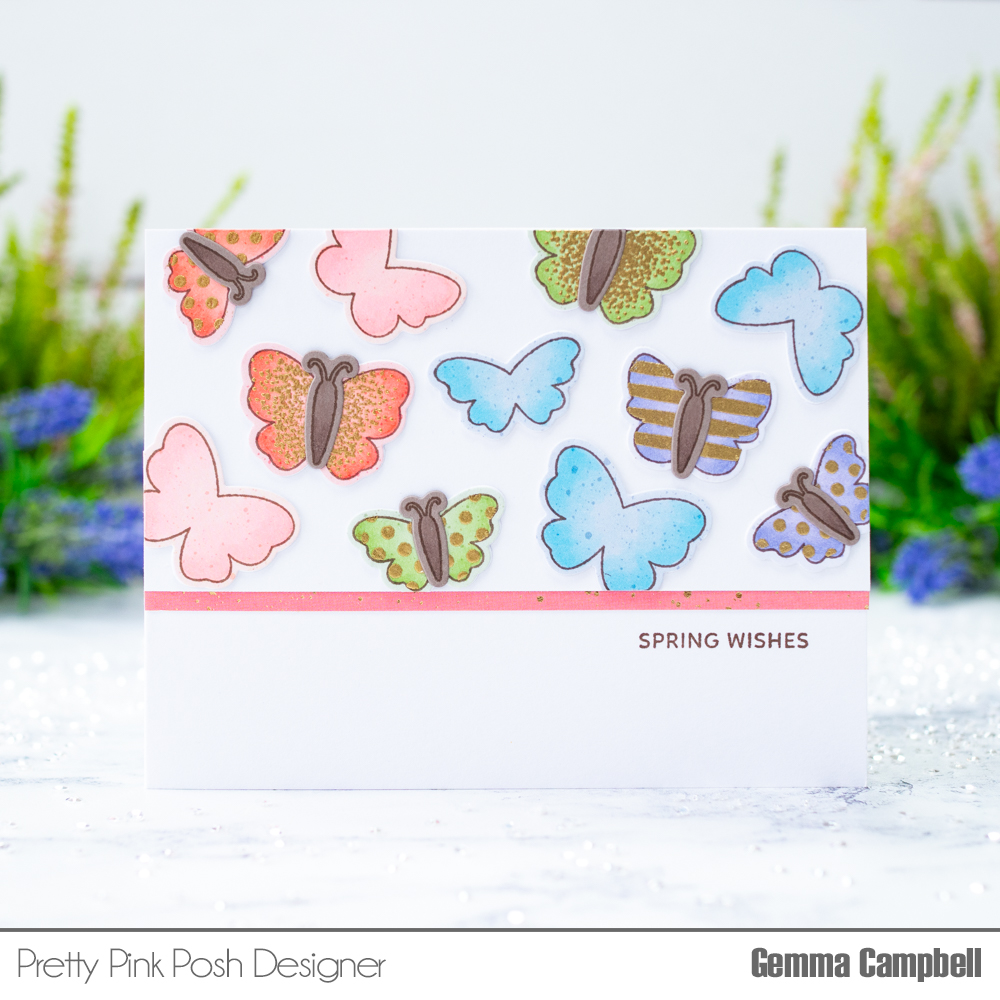
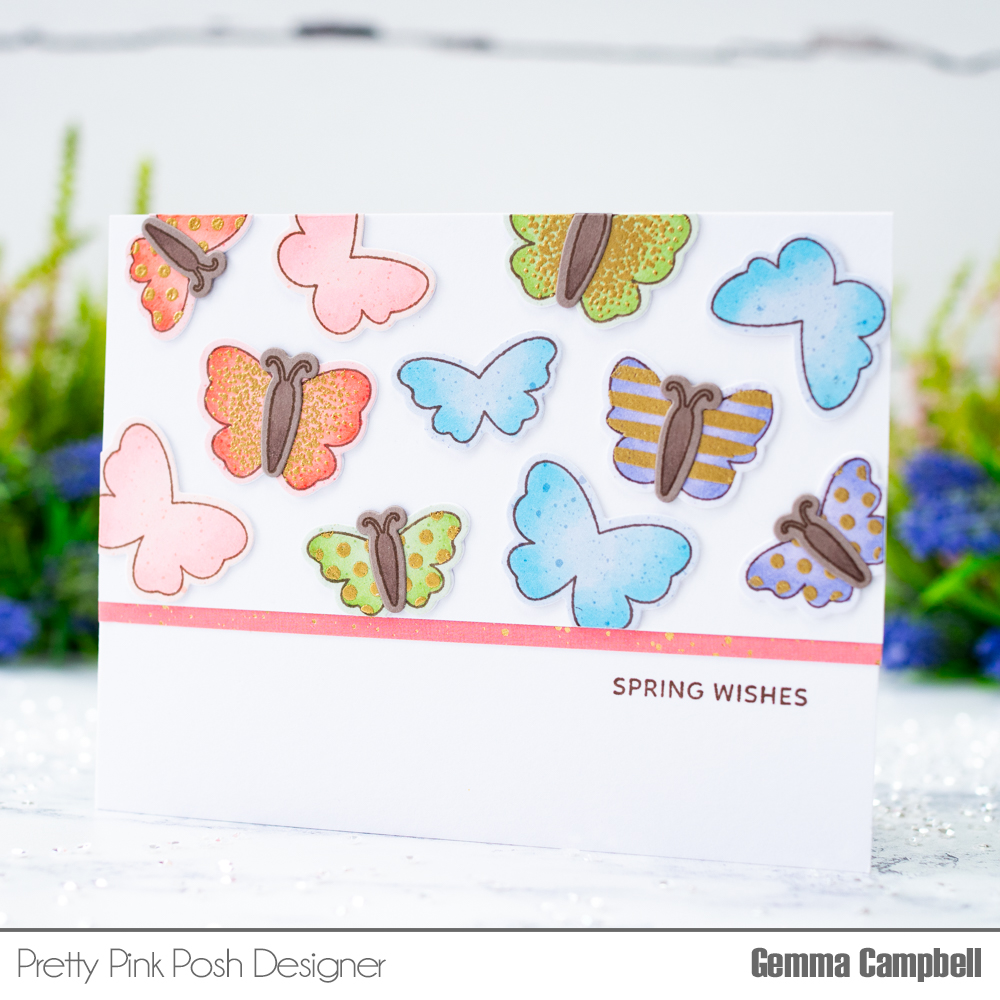
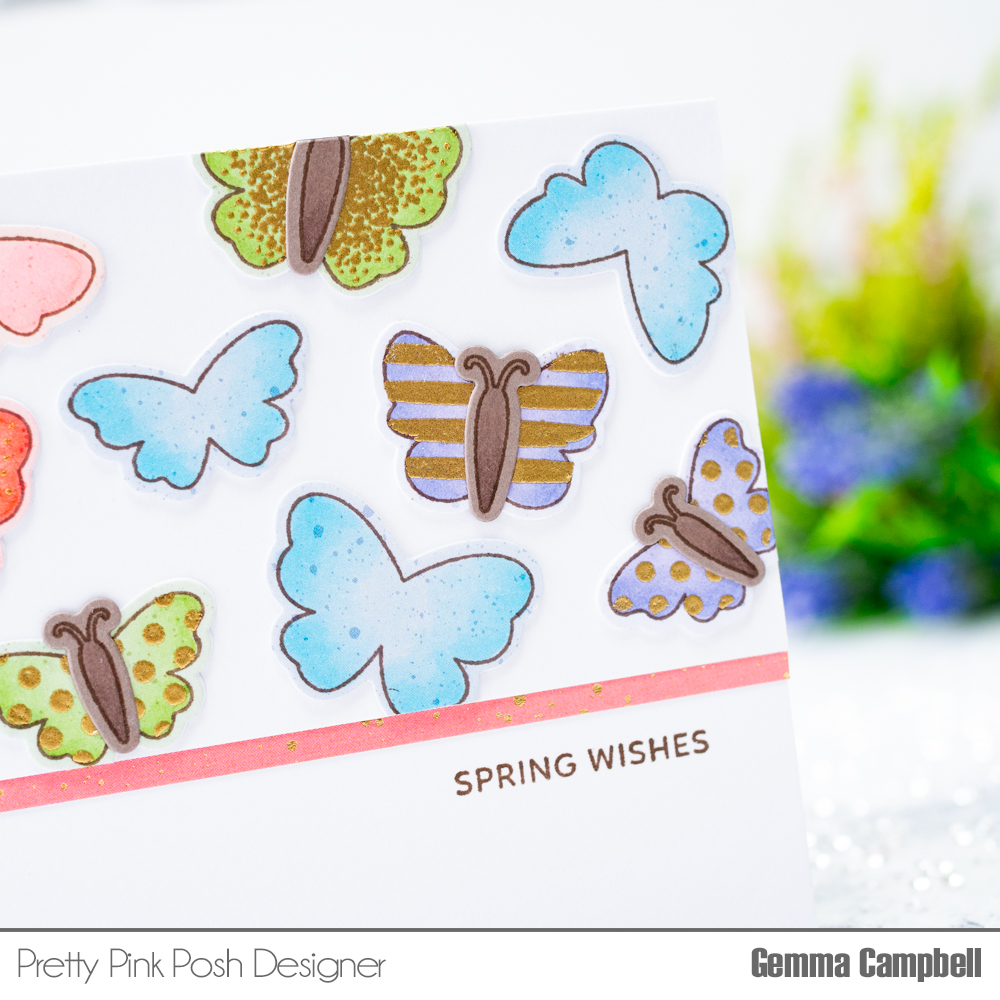
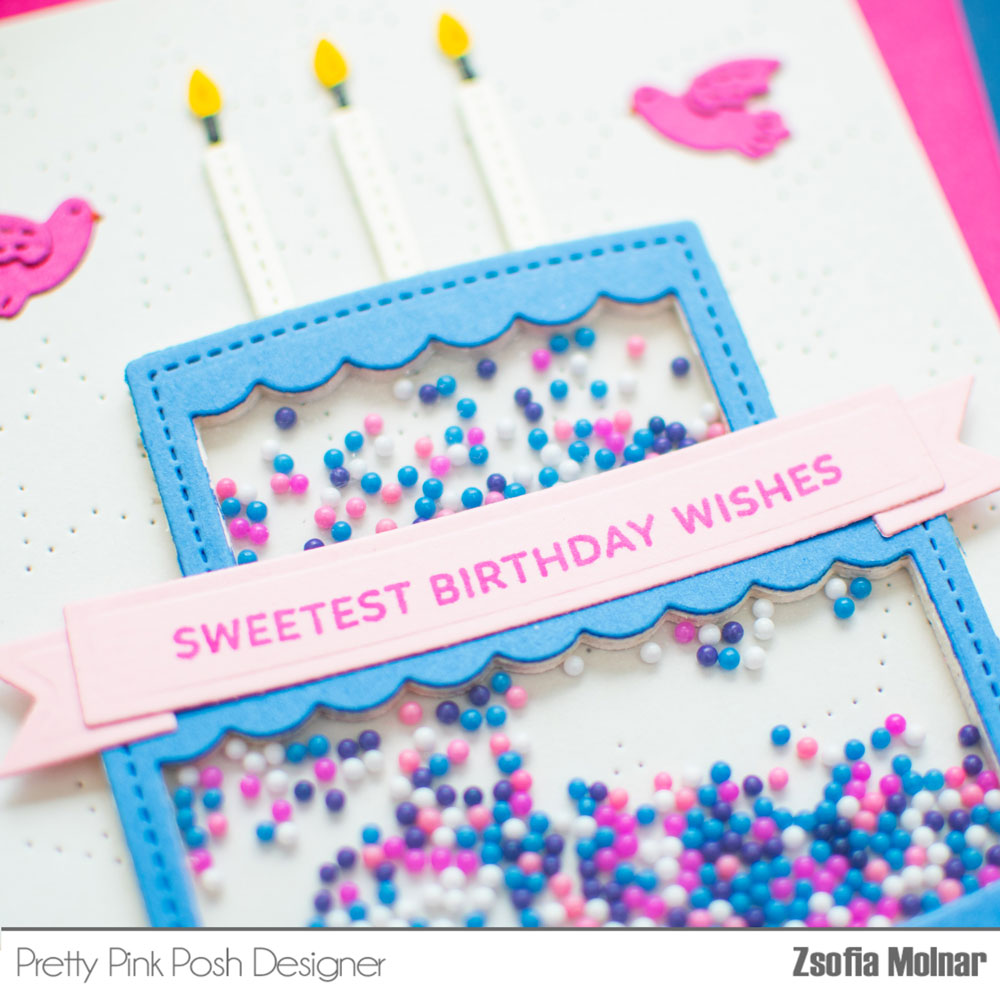
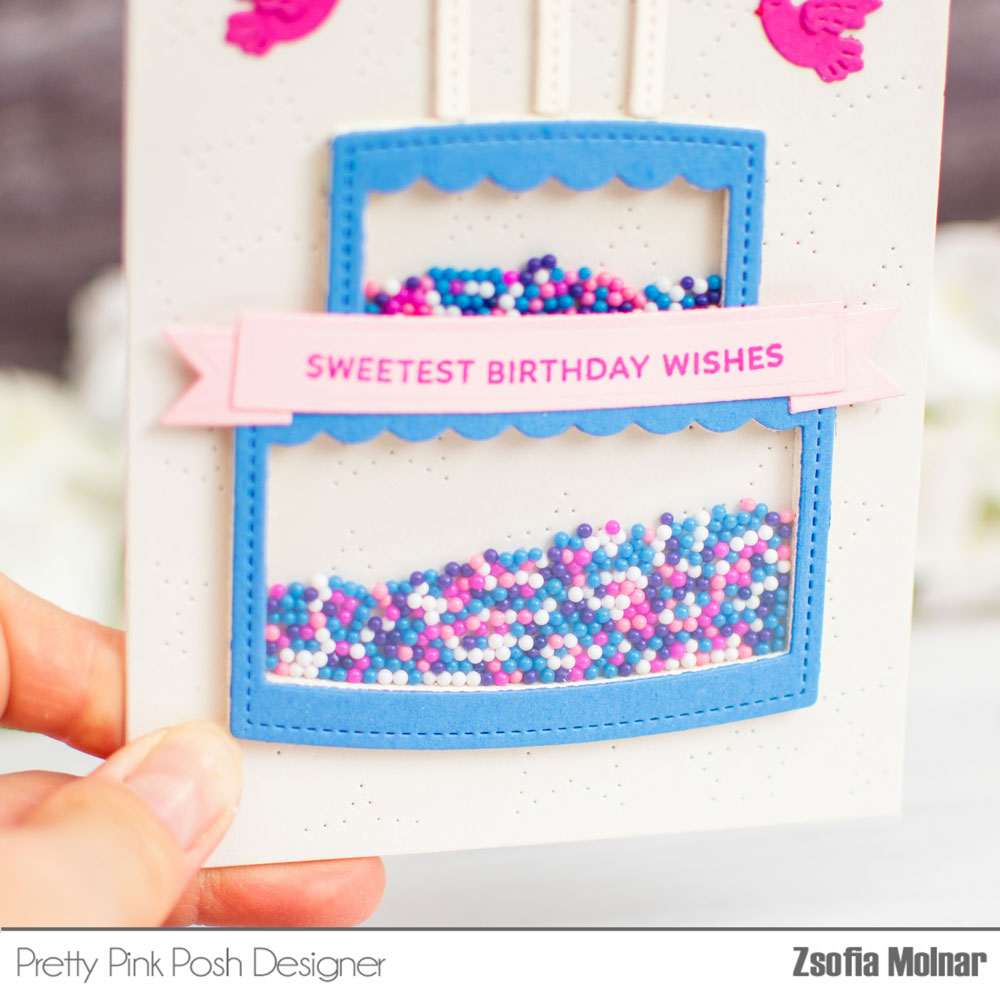
For all of you butterfly lovers out there, this release is going to make you really happy. The new Butterfly Cover Plate and Stitched Butterflies are fabulous! I used both on my card today. I pulled my color scheme from the new Pastel Party Shaker Beads, so naturally I needed to make a shaker card. I just love the way the beads sound!
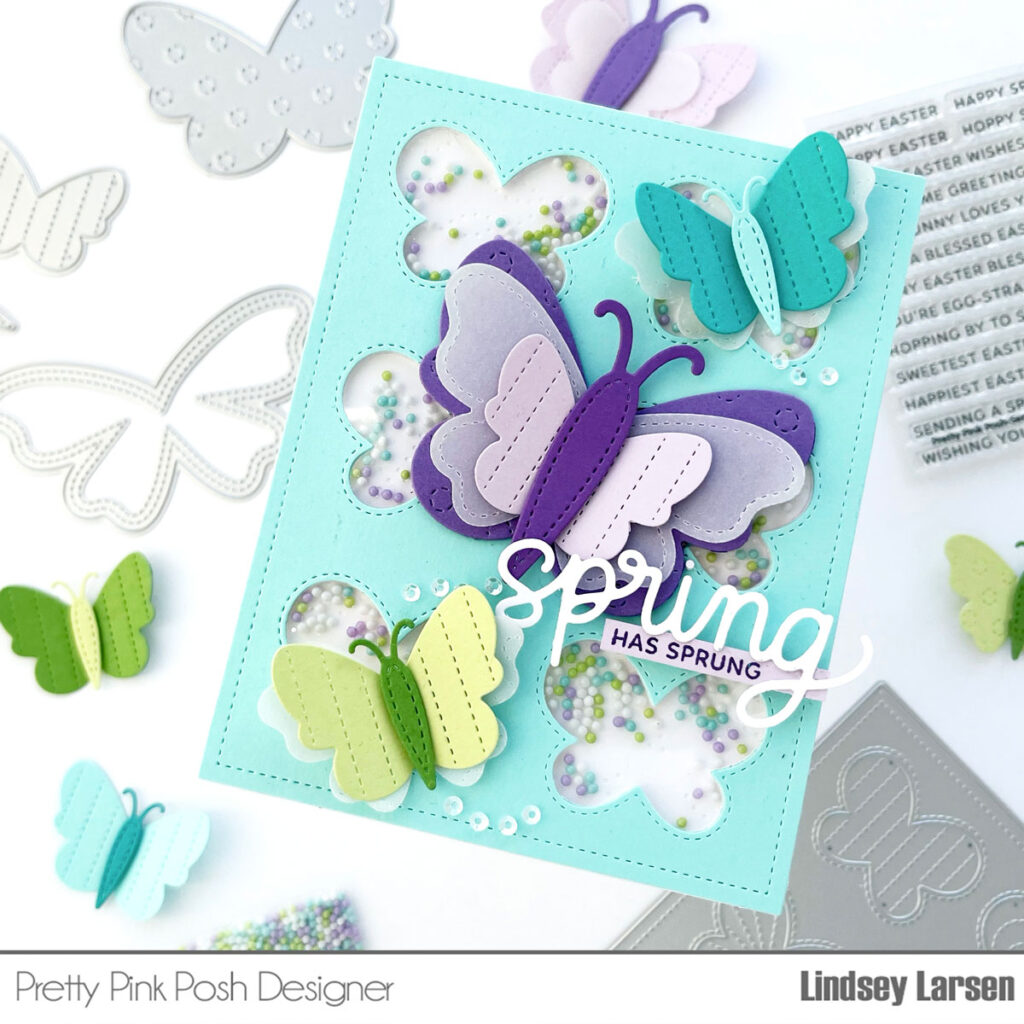
After die cutting several of the Stitched Butterflies with cardstock and vellum, I layered them together. You are going to love the variety of sizes and styles! I wanted them to playfully fly across my card, so I added little flight trails using 3mm Sparkling Clear Sequins.
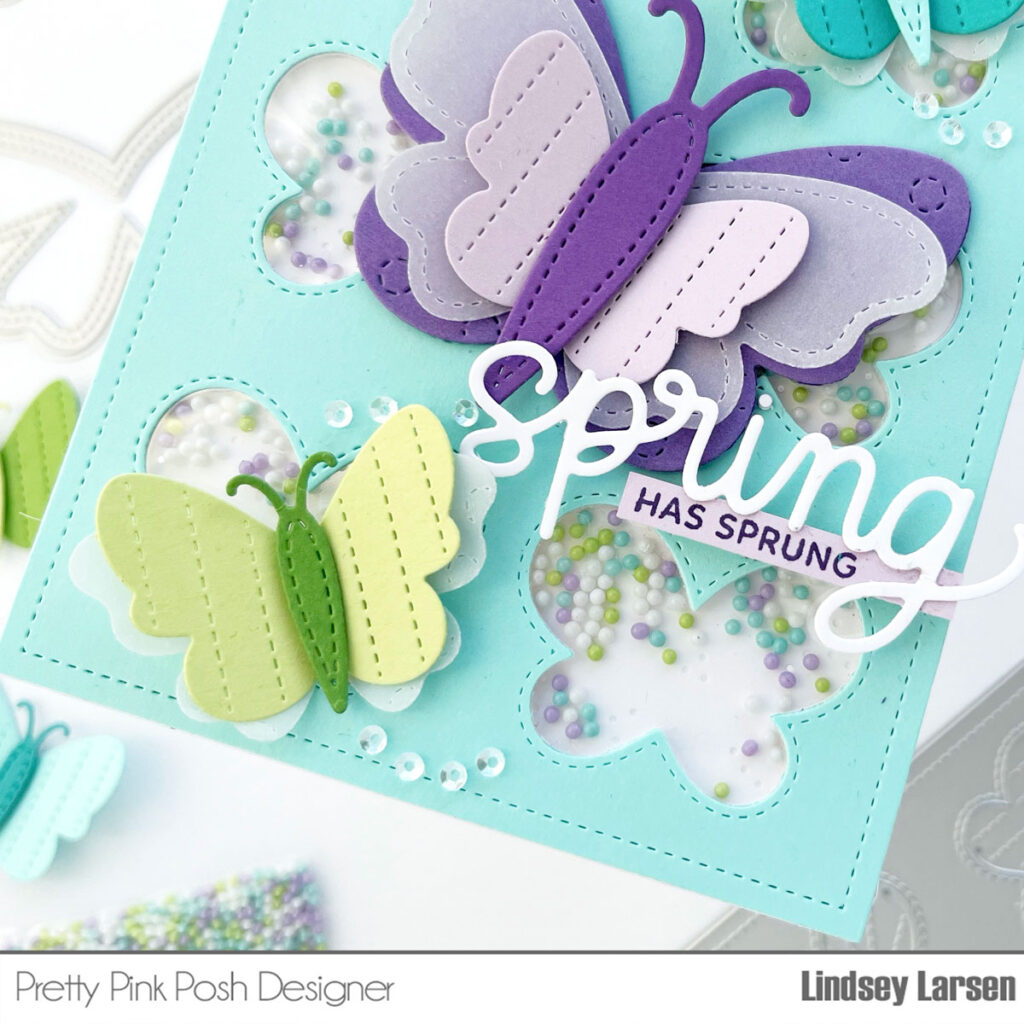
PS If you look closely inside the butterfly windows, you will also see a peek of the new Pierced Leafy Vines Plate that I used on my card base.
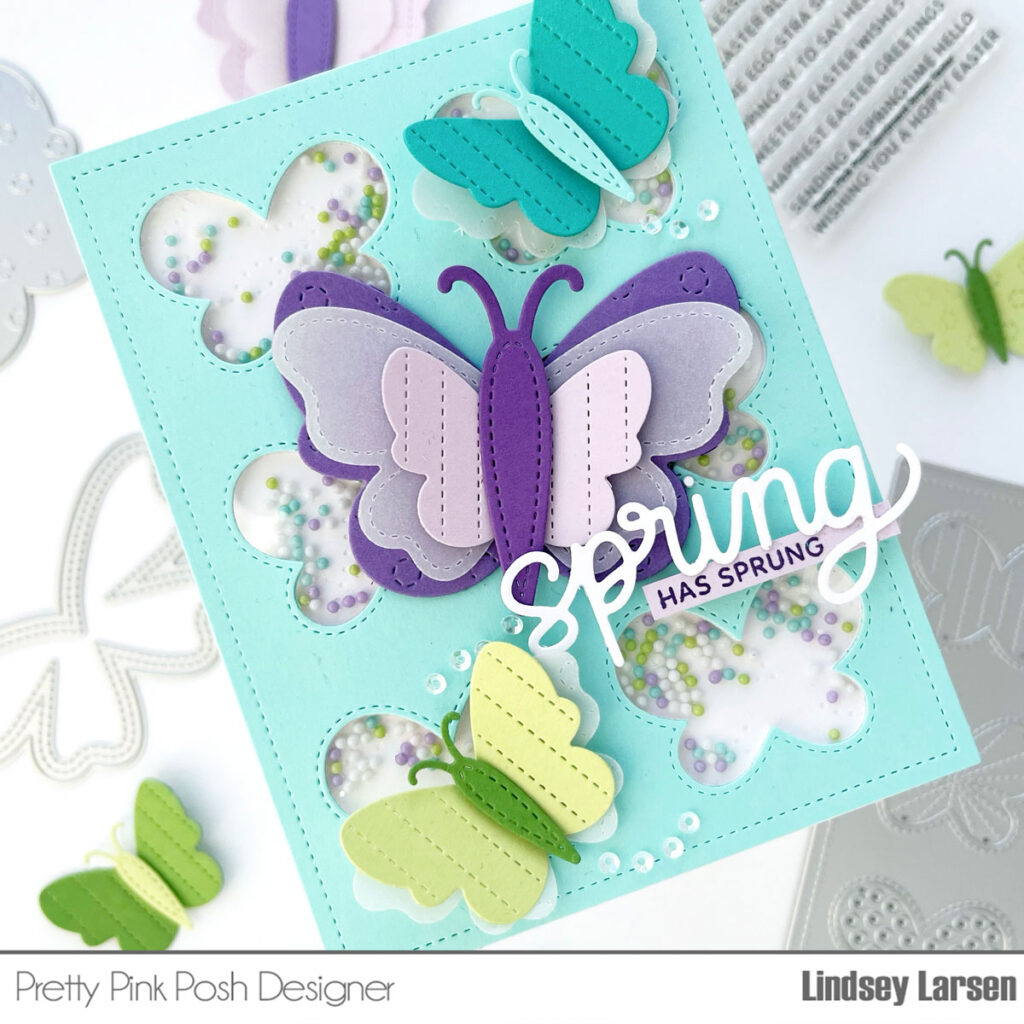
I finished the card with the new Spring Script Die and a sentiment from Sentiment Strips: Easter.
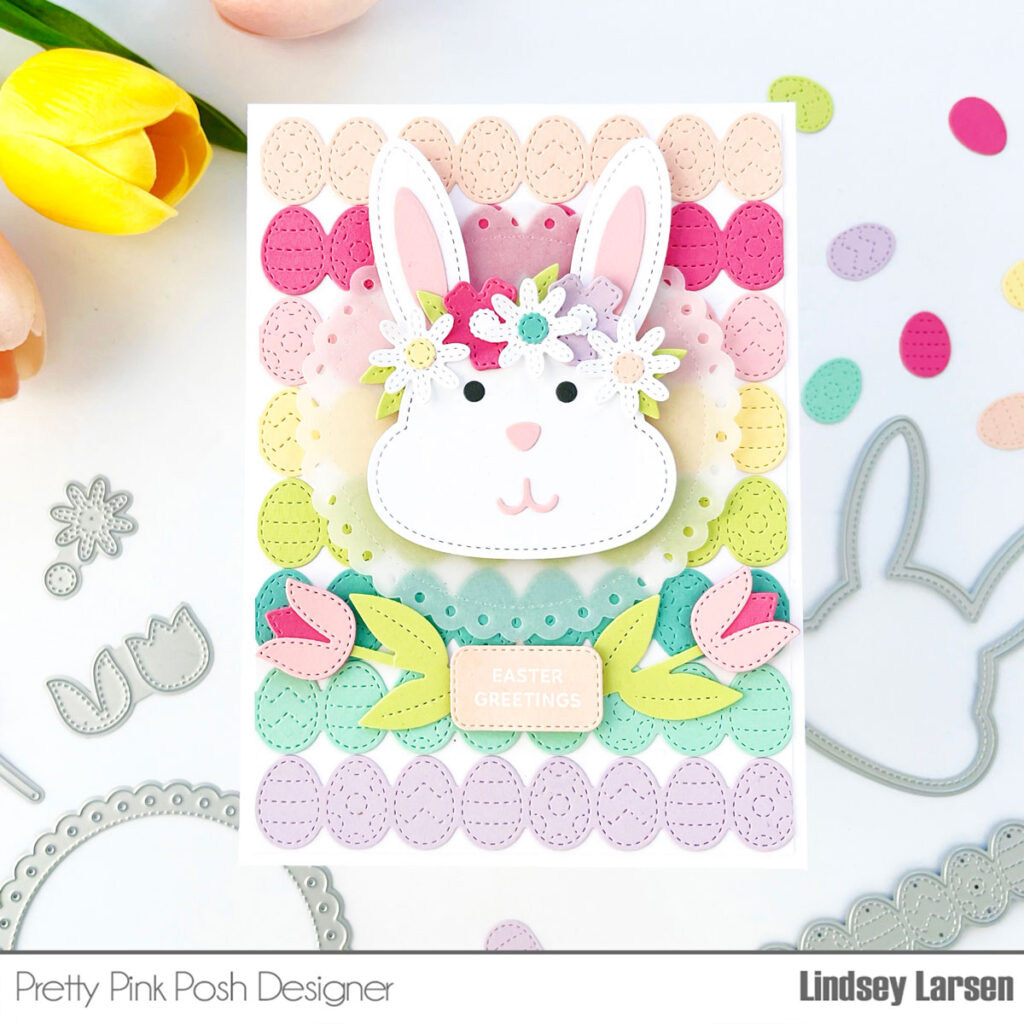
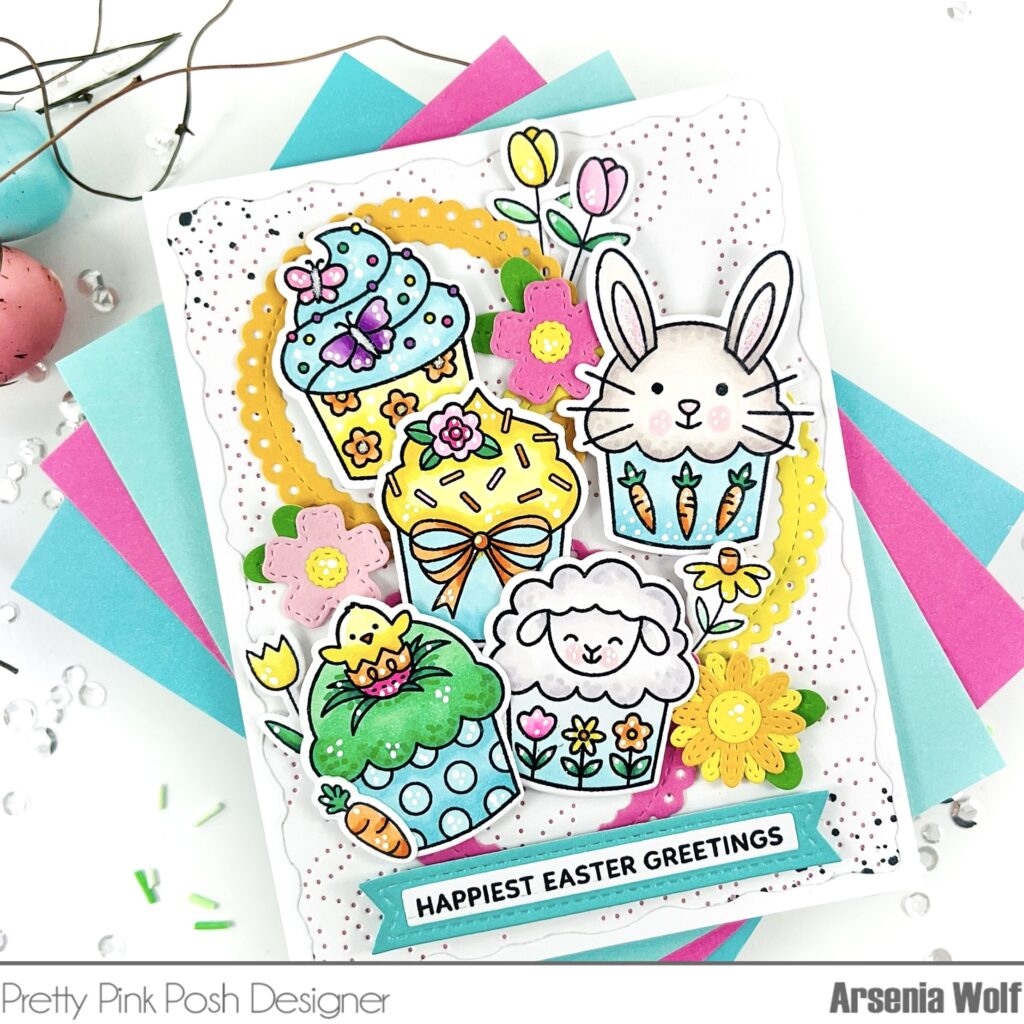
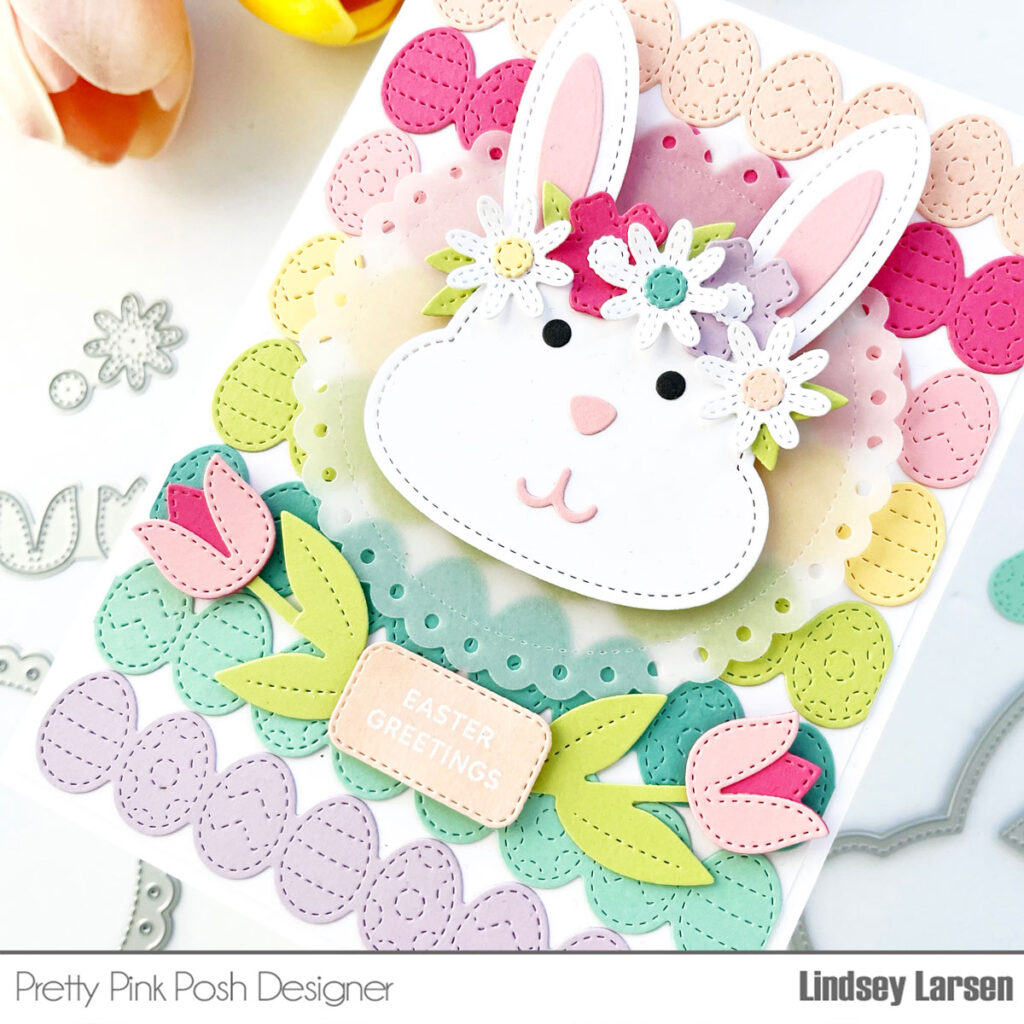
My next card just screams spring (but in the happiest way). The new Bunny Face Shaker is absolutely darling! I decided to make her a little girl bunny, and gave her a flower crown using the new Spring Mug Additions. (No worries, though…I made a little boy bunny on a different card and they are equally adorable.)
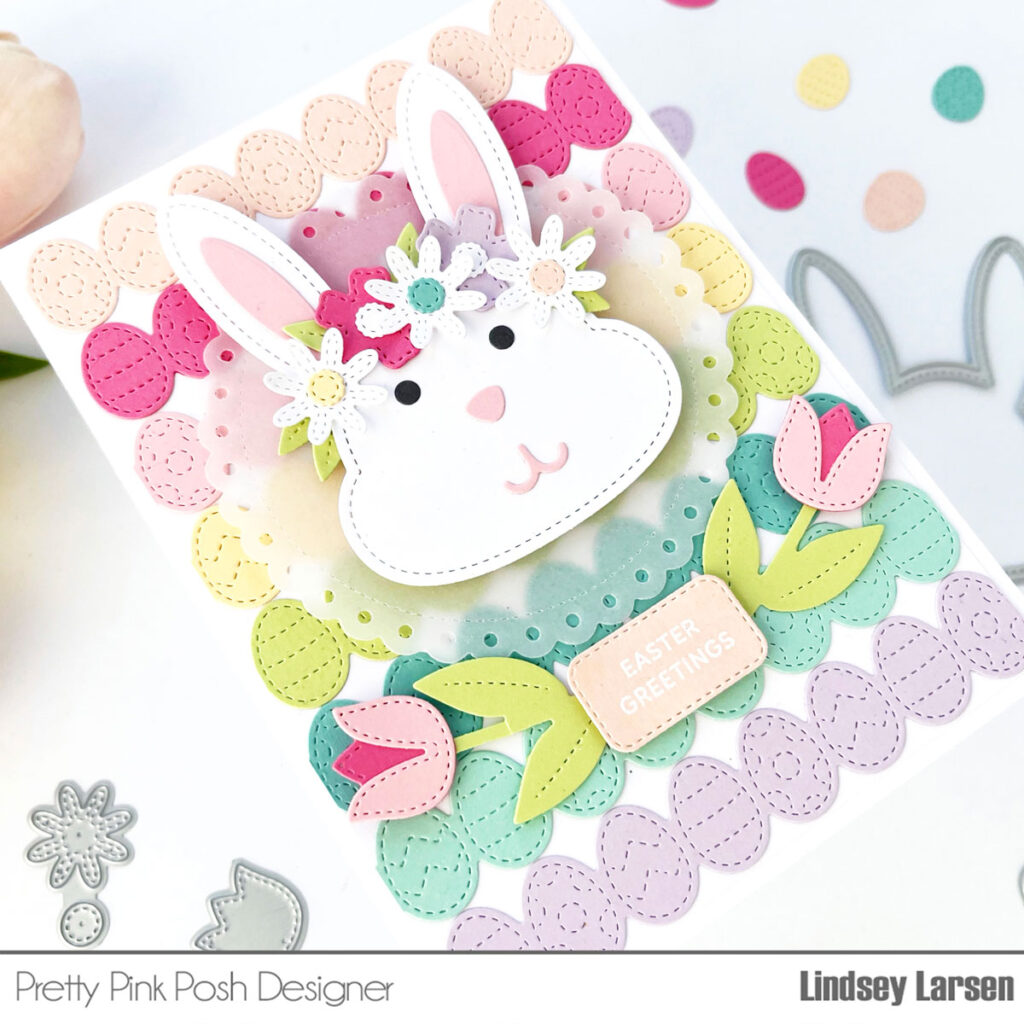
I created a colorful background using the Easter Egg Border Dies and used a vellum circle cut with the largest Eyelet Circle Die, so the sweet bunny would still stand out from the busy background.
Then I embossed a sentiment from the previously released Easter Wreath Stamp Set onto a rounded stitched rectangle found in the Big Easter Cupcake Dies. Finally I framed the sentiment with two tulips from the Spring Mug Additions.
This card instantly makes me smile every time I see it. I hope it makes you smile, too!
Thanks so much for joining me today! I used many of the new dies on my cards, but there are a few more that I haven’t shared yet, so make sure you come back all week to see more of this fabulous new release. You won’t want to miss any of it!