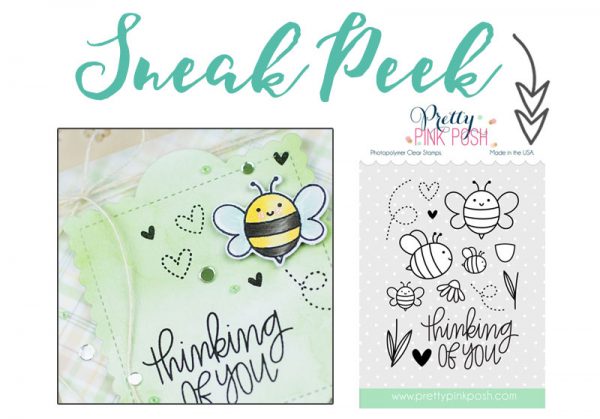
Sneak Peek: Free Gift(s) in March!
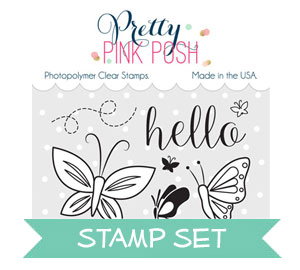
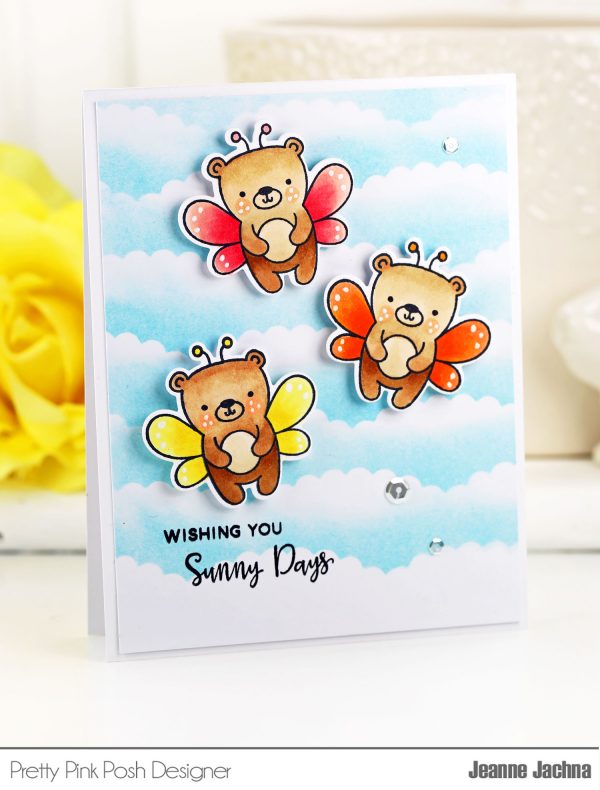
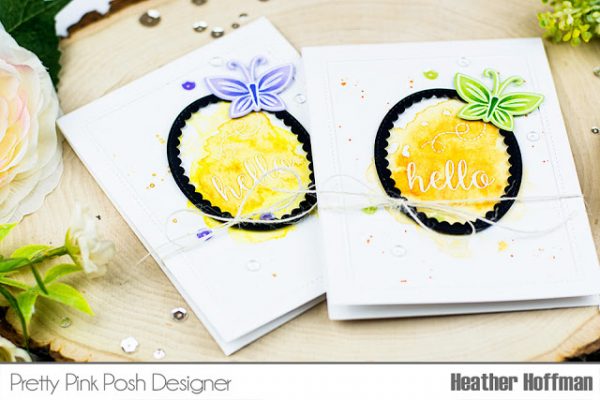
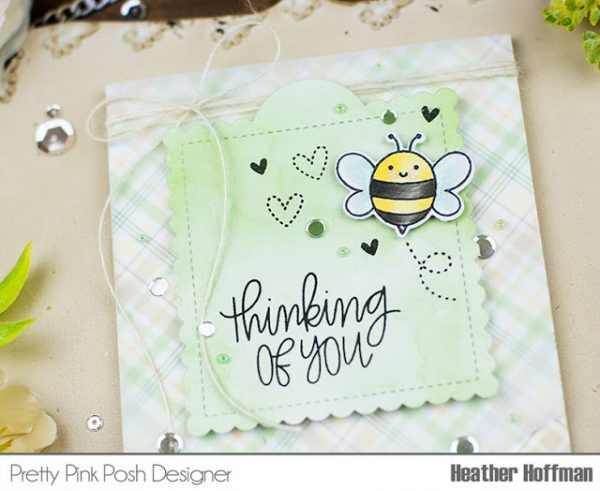
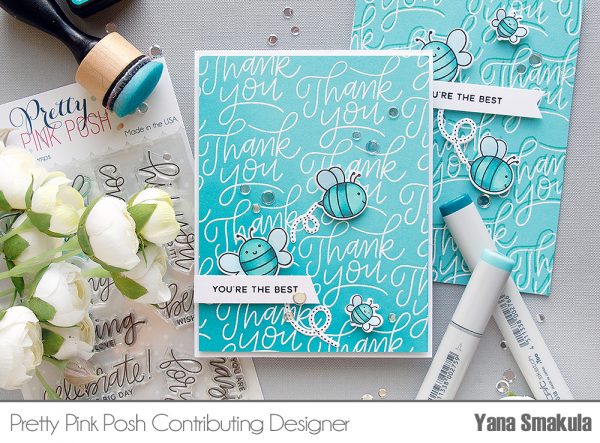
Good morning! Is anyone else excited the adorable new release from Pretty Pink Posh? Lots of cuteness coming your way in just two days! Today I’m sharing a card featuring the new free gift stamp called Bee Friends. This new stamp set and coordinating dies will be free with a qualifying purchases in March 2017, while supplies last! I also have a few other new release goodies hiding on this card as well! :)
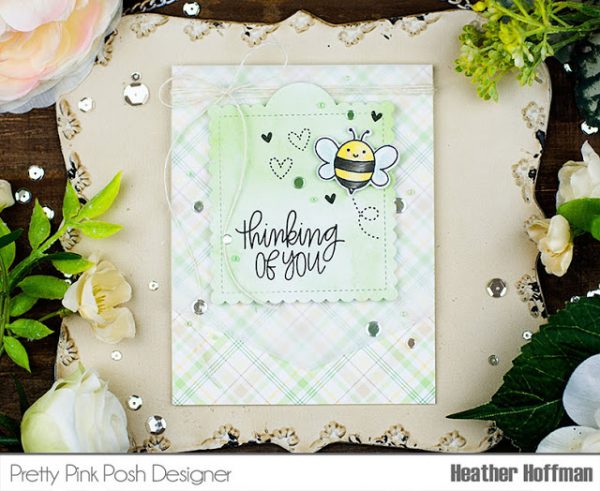
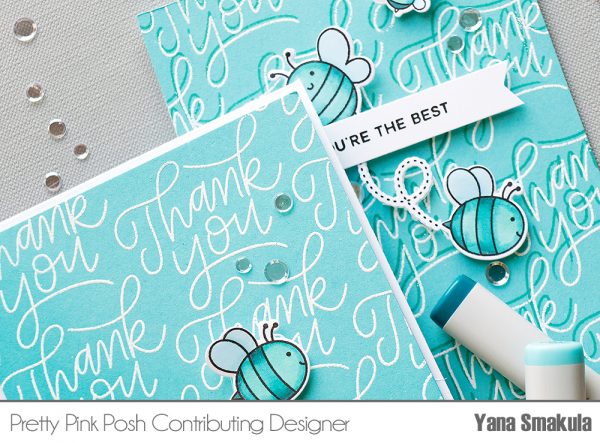
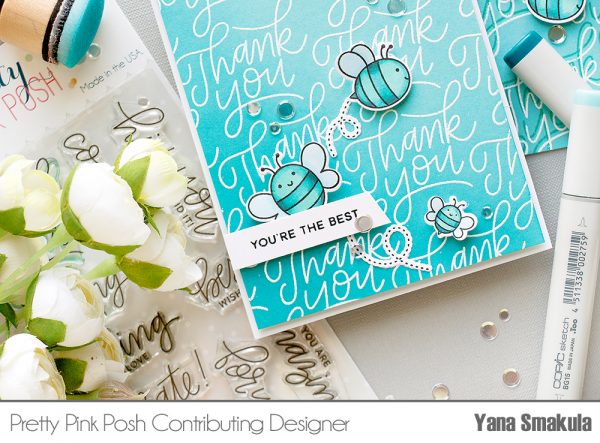
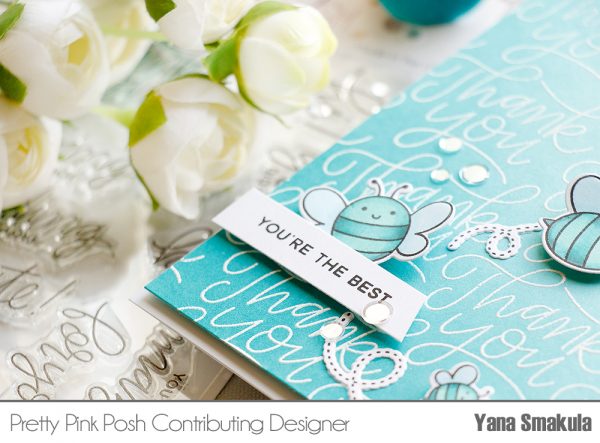
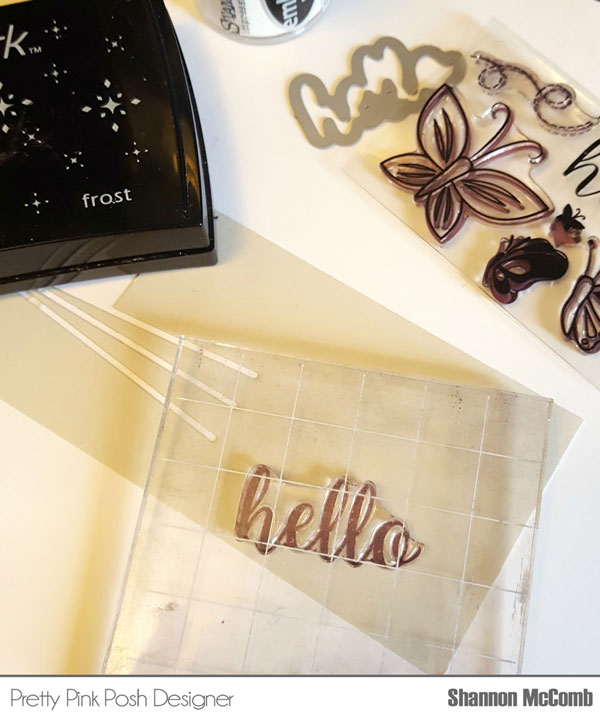
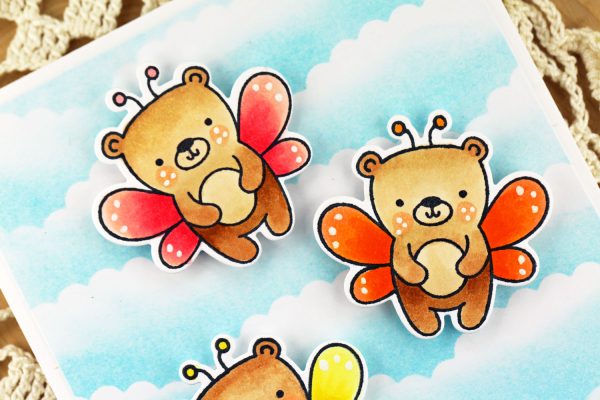
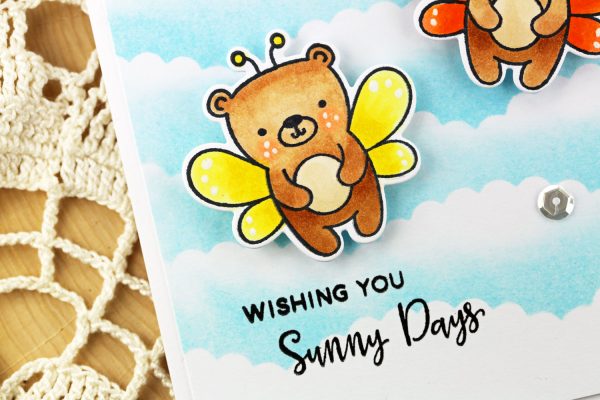
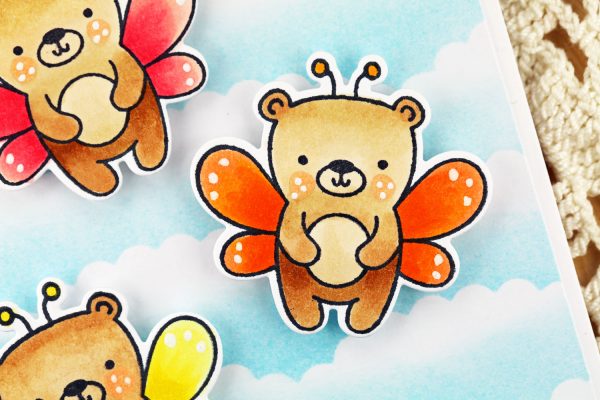
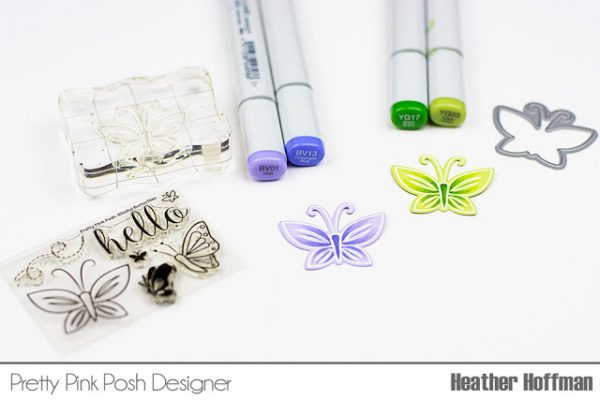
This little bee was super fun to color – I added some white gel pen accents and Glossy Accents to the wings, then die cut with the coordinating dies. The hearts, flying trail, and sentiment are all from the same stamp set – don’t you love that font?
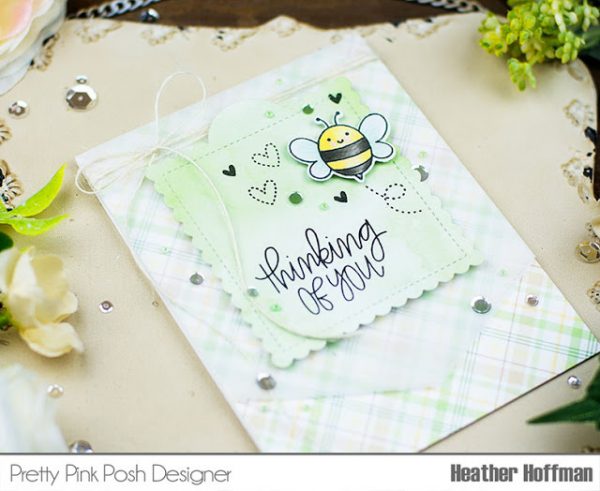
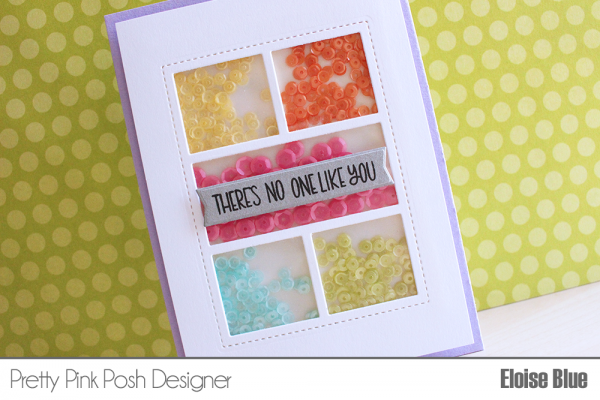
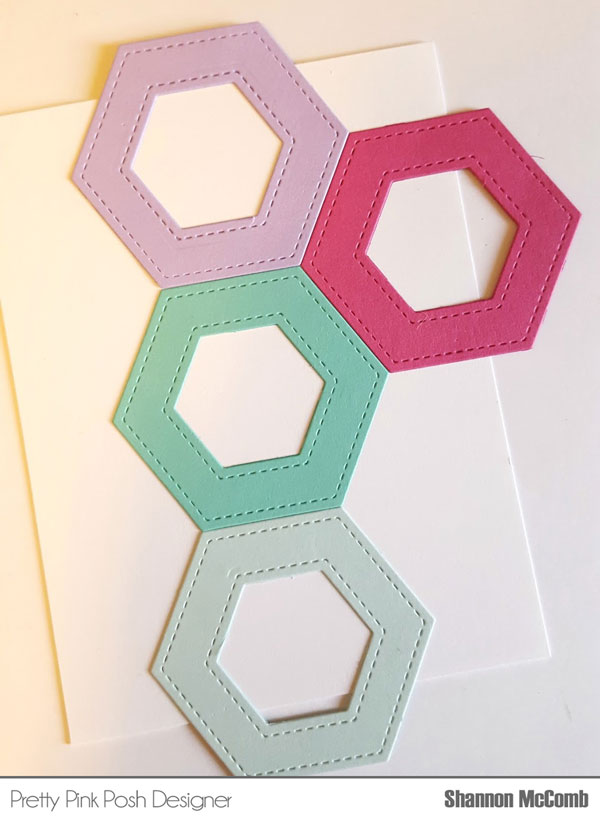
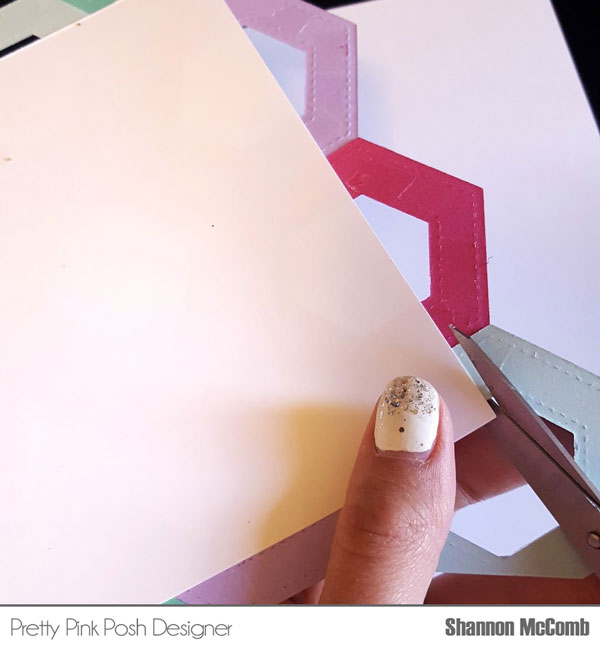
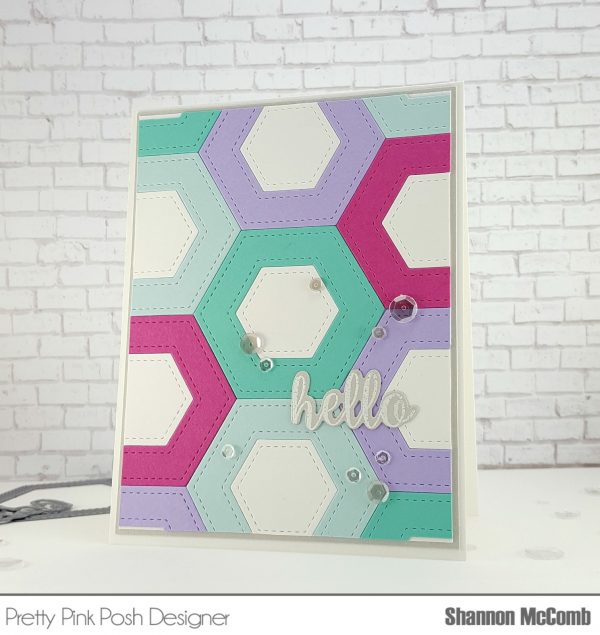
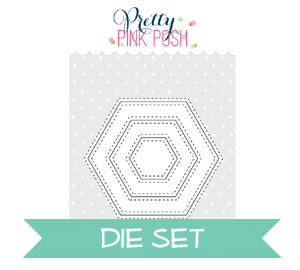
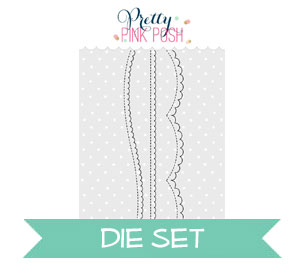
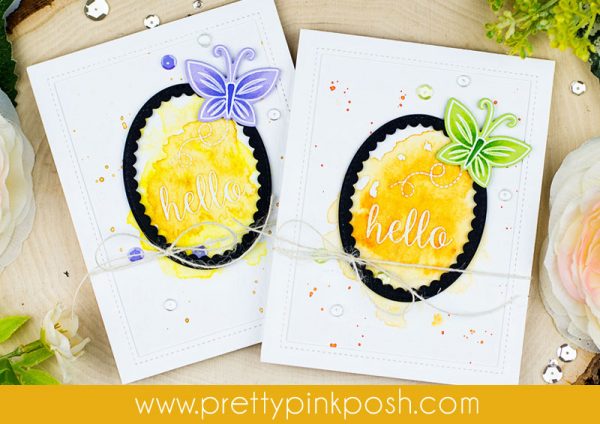
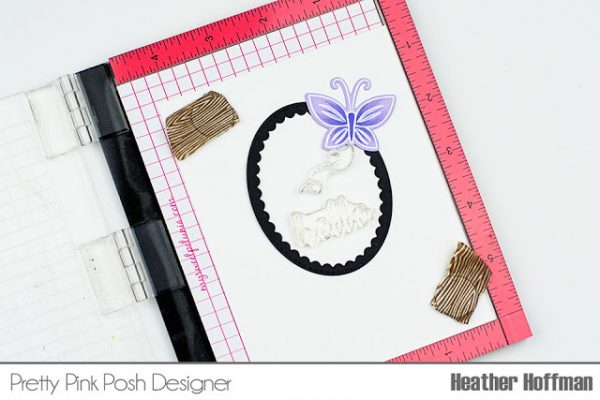
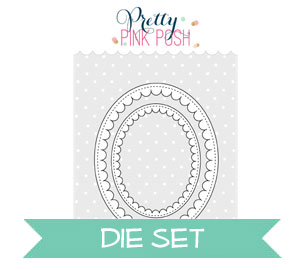
I have it all nestled on a die from one of the new sets, and layered on some plaid pattern paper, with a layer of vellum underneath that is also die cut with the new Scallop Square Tags. And then – I added some fabulous new embellishments! A mix of sizes of Sparkling Clear Confetti – and a few tiny Spring Green Seed Beads that perfectly matched my pattern paper!
 Hello, Pretty Pink Posh fans! This is


 Hello, Pretty Pink Posh fans! This is