Sneak Peek: Darling Dragonflies + Simple Sayings: Miss You
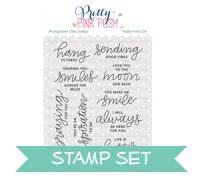
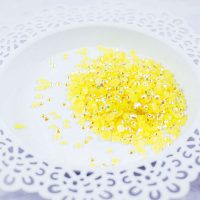
Good morning Pretty Pink Posh friends! Heather here this morning with a peek at some of the upcoming Pretty Pink Posh Release! I get to share a sneak peek with you featuring the CUTEST little dragonflies ever – as well as a fabulous new sentiment set! On my second card I also used a few of the new colors of seed beads that are part of this fabulous release!

First up, I created this watercolor card, using the colors I think of when dragonflies come to mind. I used my Peerless watercolors to create a pretty ombre watercolor background, then added some gold splatters with my Gansai Tambai Starry Colors Palette.

I stamped and colored the adorable dragonflies from the new Darling Dragonflies stamp set, then cut them with the coordinating Darling Dragonflies coordinating dies. I added some Nuvo Honey Gold Glitter Drops to the wings for some extra sparkle as well!

I stamped my sentiment from the new Simple Sayings: Miss You, then mounted the dragonflies around it with foam adhesive. I matted that panel with a bit of white cardstock, then mounted on a cardbase made with deep purple cardstock. Finished off with a few Metallic Gold Jewels – the perfect finishing touch!

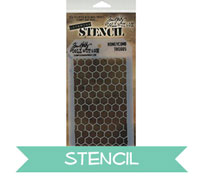
Next up, I pulled out an older die, Stitched Film Strip, and created a fun little scene with some of the additional images in the stamp set – and turned it into a shaker card filled with some of the pretty new seed beads!

I love the little grass and cattail stamps in Darling Dragonflies – so cute for scene building! And the grass fit PERFECTLY behind each of the windows on the Stitched Film Strip. I separated each window of the die to create the shaker element, and filled each window with a different color of beads (Cotton Candy, Aquamarine and Blush).

I stamped my sentiment underneath, again from Simple Sayings: Miss You using an aqua ink that coordinated with the Stitched Film Strip, and added a couple extra cattails next to the sentiment. Finished off with some Golden Sunset Nuvo Drops on the cattails, and some White Blizzard Nuvo Drops on the wings for lots of sparkle!

Hope you enjoyed today’s sneak peek! Join us tomorrow for another sneak peek of the June release!


 After I finished watercoloring as shown in the picture above, I added more details on those blossoms by using
  Just compare the two photos of before and after adding pencil detailing. It is always fun to look how the images come to life by a little bit of pencils touch.
 After coloring was done, I added splatters of dark watercolor ink and white acrylic ink onto the panel and let them dry. In the mean time, I diecut
 That’s it from me today. Thank you so much for visiting and reading this post.