Easter Theme Week- Day 7

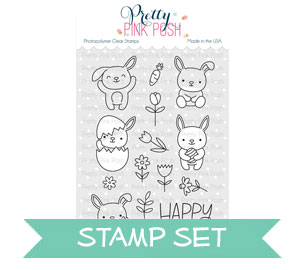
Hi there, Nicky here. We’re having an Easter theme week here at Pretty Pink Posh to inspire you all with your own projects. For my watercolour painted card I have returned to an old favourite stamp set- Bunny Friends.
Save 15% off items in the Easter section during our Easter Theme Week!

A panel of Bristol Smooth was randomly stamped with the images from Bunny Friends using Ranger Archival Ink in Potting Soil. All images were watercolour painted using the following:-
Arteza Real Brush Pen in Light Magenta/A184. Kuretake Zigs in Beige, Gray Brown, Yellow, Orange, Bright Yellow, Light Green and Light Pink.
Points were highlighted with a white gel pen and the panel die cut simply with a faux stitched edge. This panel was then adhered to a 110lb white cardstock base.

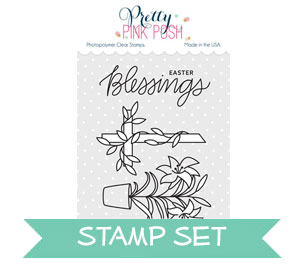
I die cut the Picket Fence from white cardstock and backed it with slim strips of dimensional foam tape and applied it to the bottom of the card. I stamped the sentiment in the Potting Soil Ink again and applied this also with foam tape. I embellished the panel with Clear Droplets which seemed appropriate for a Spring garden themed card.
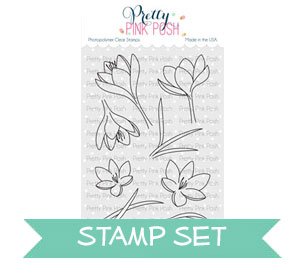
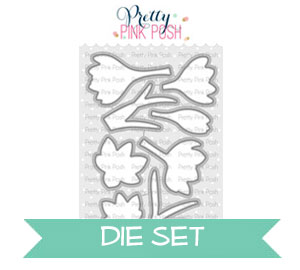
The final step was to stamp all the floral images on more Bristol Smooth cardstock and watercolour paint them using the same colour scheme listed above. Since I don’t have the coordinating dies for this stamp set I spent a long time fussy cutting the flowers but it was worth it to my mind. I layered them behind the picket fence using little pieces of foam tape and they just seem to be bursting out and reaching for the sun!


 I started by die cutting 3.5″ x 4.75″ stitched rectangle panel from thick white card stock using the
  I die cut Easter egg from watercolor paper using the Happy Easter Shaker Die again, then inked up the floral Easter egg die cut with Fossilized Amber & Worn Lipstick Distress Oxide Inks. I stamped hummingbirds from the
  I added