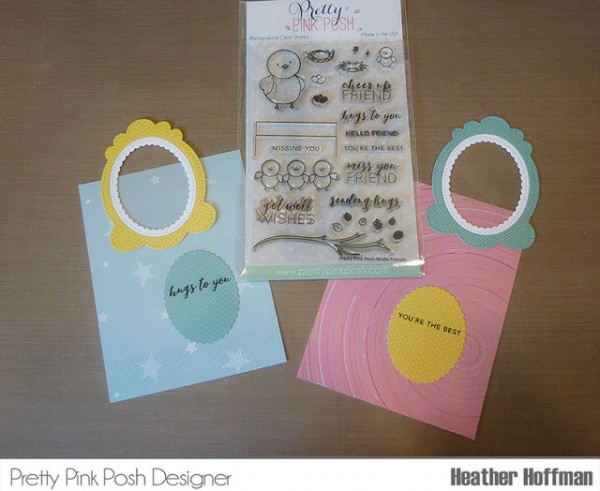
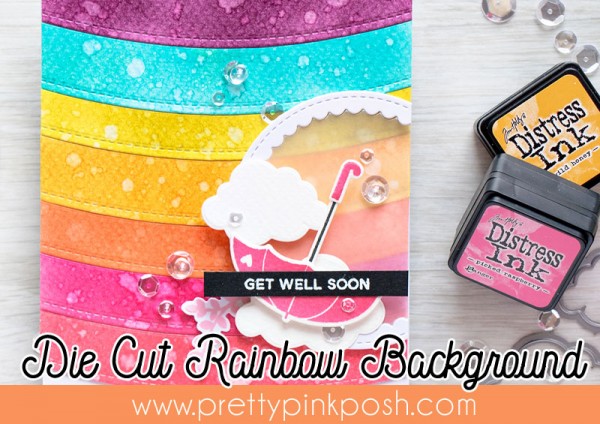
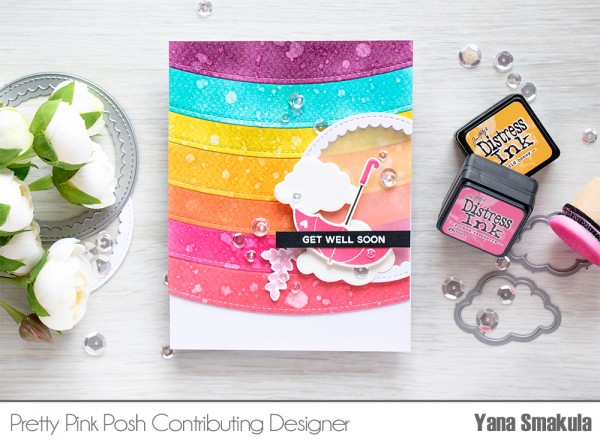
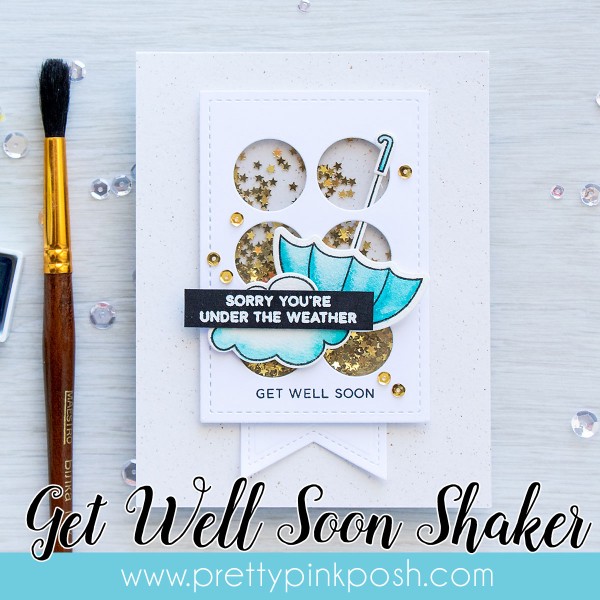
Tutorial: Get Well Soon
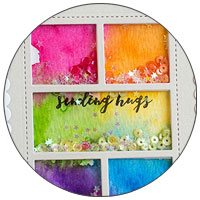
Hello, Pretty Pink Posh fans! This is Yana and I’m excited to share a simple see-through shaker card tutorial today. I’m usually not a big fan of shakers, but with the right tools (and by tools I mean dies designed specifically for shakers) I’m starting to enjoy this type of cards more and more.
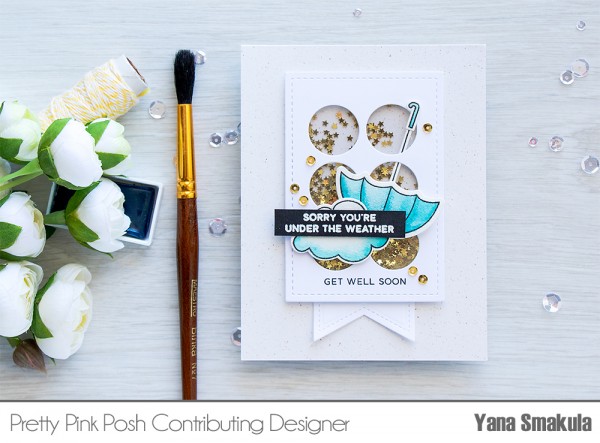
My today’s shaker is a see-through one, I’m using a card base with some printed texture/design and you can actually see that print through the window and through the sequins. Typically I close my shakers with white cardstock, but for this card I used clear acetate on both front and back of the shaker piece.
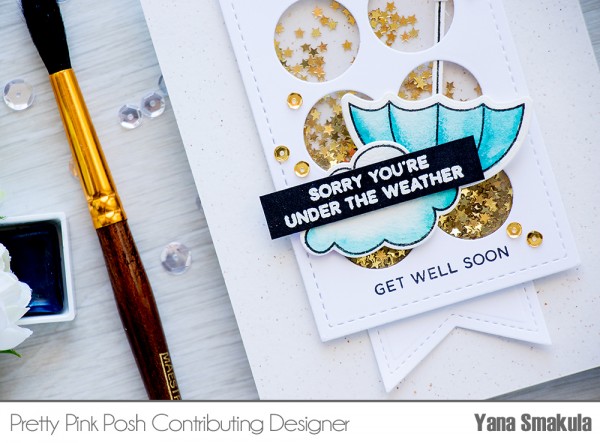
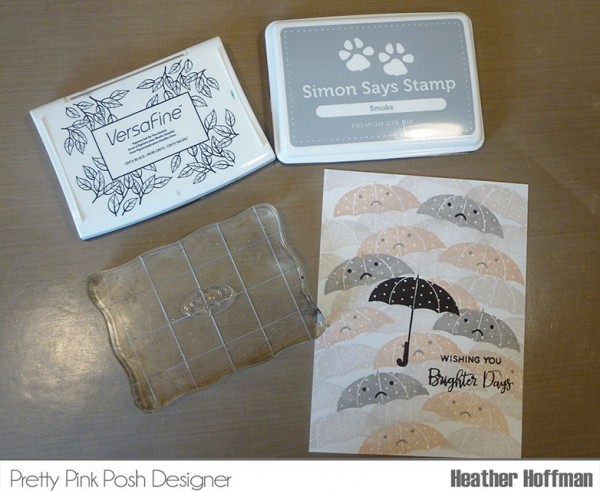
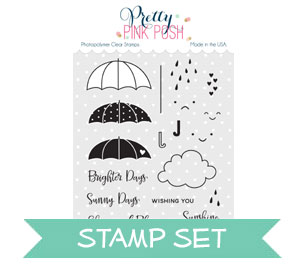
To create this card you’ll first need to create a few elements, I’m using the Rainy Days stamp set and matching dies along with Versafine Onyx Black ink, watercolor paper and watercolors to create mine. I stamped the umbrella and a cloud in black ink, heat set with my heat tool, did some very quick watercolor in blue and cut the shapes out using matching dies.
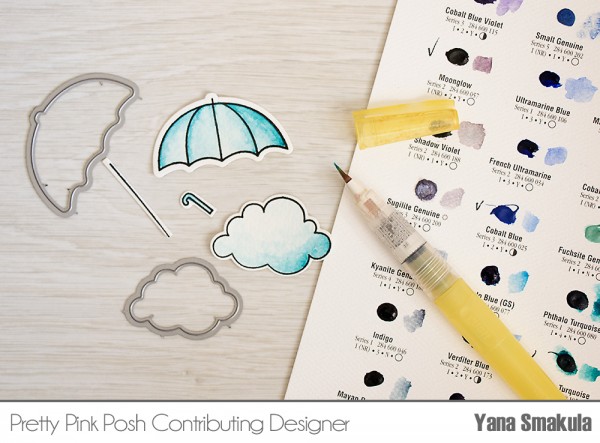
For my watercolors I used Daniel Smith watercolor sampler sheet (simply because there’s a huge number of blues to choose from), but these can be colored using any colors or any mediums really.
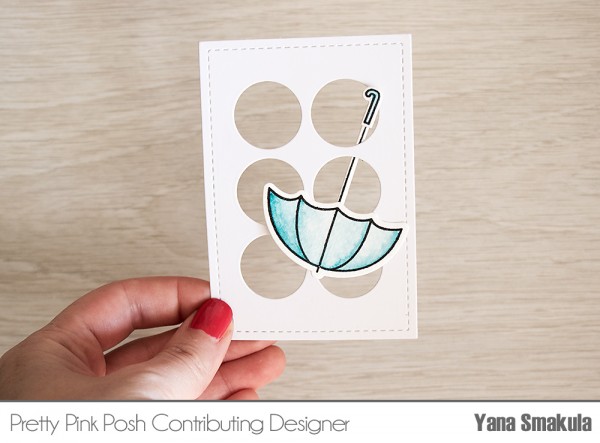
After you’ve stamped, colored and die cut the umbrella use glue and adhere the pieces together. I used Multi Medium adhesive in Matte.
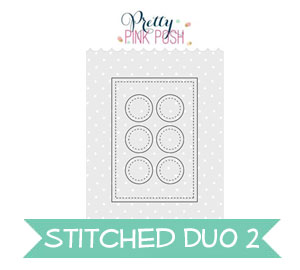
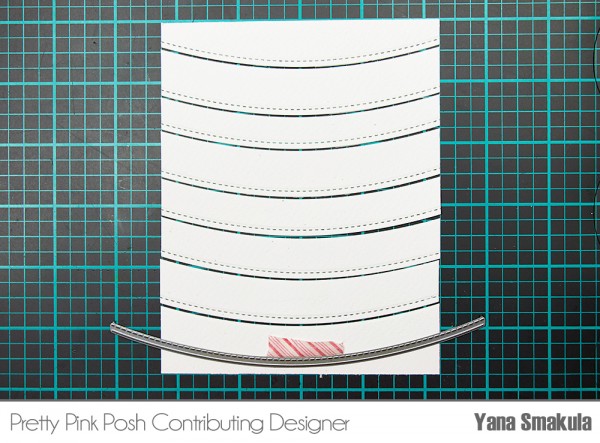
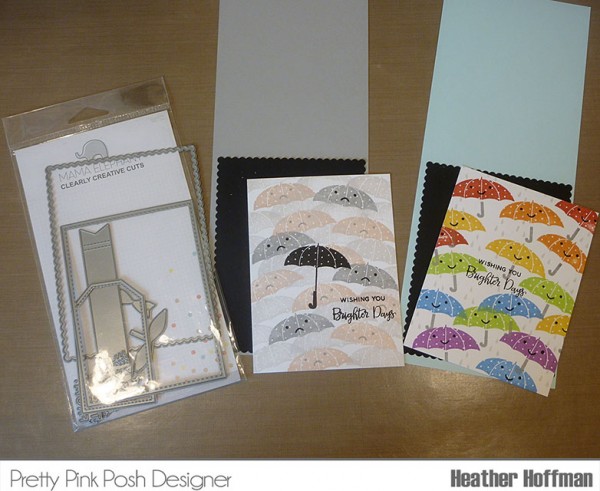
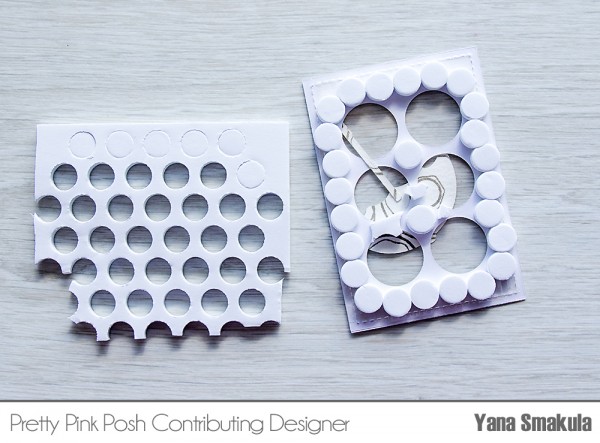
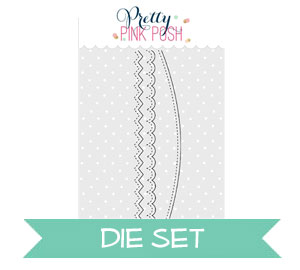
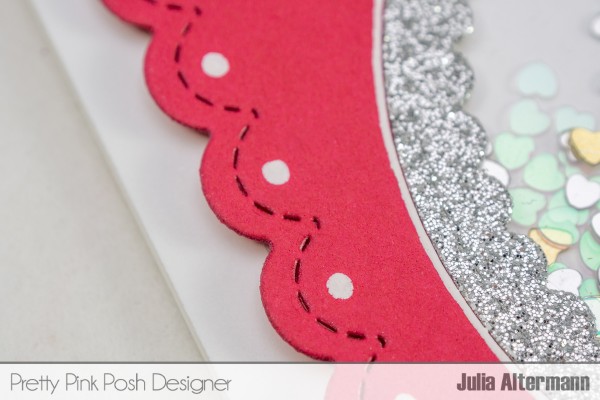
While glue on the umbrella is drying go ahead and die cut the shaker front panel – I’m using Stitched Duo 2 dies and white cardstock. I’ve cut my dies apart as I recently used the inner die to create a continuous pattern for my card, you can see it here so I used washi tape to hold them together and I also used the connector pieces (what’s left of them) to alight the two dies perfectly. I also used a die from the Stitched Essentials 1 set and die cut just a little tail to go under my shaker. I didn’t need to cut the entire shape out as it would have been hidden anyways and I was making a see-through shaker so I needed it to actually not be there to look pretty.

Next go ahead and slide the umbrella through the Stitched Duo 2 dies and secure in place. You can skip this and just adhere the umbrella on top, but I thought it looked extra fun this way. I also die cut two rectangles out of clear acetate using the outer die from the Stitched Duo 2 set. This can be done using scissors, but if there is a die for that, why not use it, right? I adhered one from the back of my die cut cardstock piece.
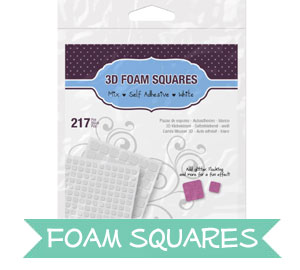
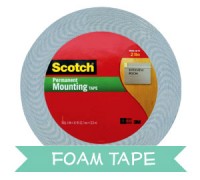
Use foam adhesive to build the walls of your shaker. I usually use various types and brands of foam adhesive for that, but recently I came across this super thick foam dot adhesive from Studio G (you can find it at Michaels and similar stores). I rarely use adhesive that is this thick for my usual cardmaking as I find it to be just too dimensional, but it works perfectly for shakers and it’s very inexpensive too.
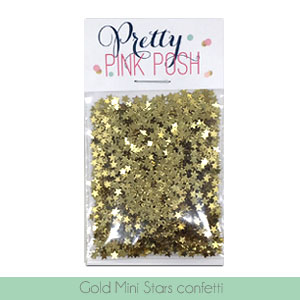
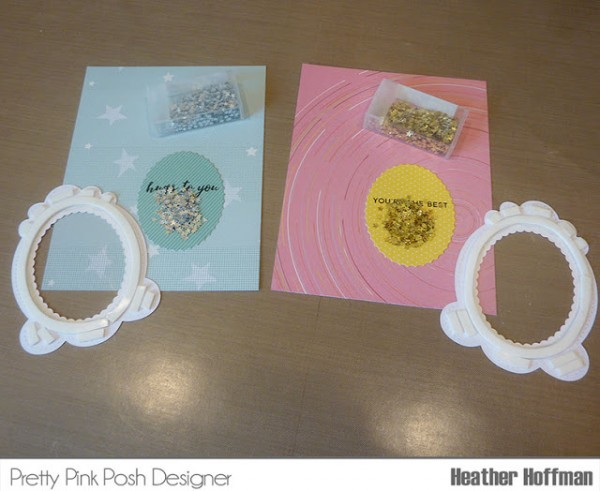
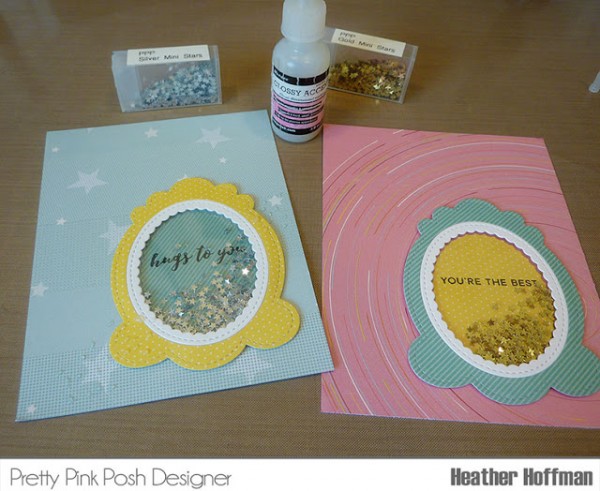
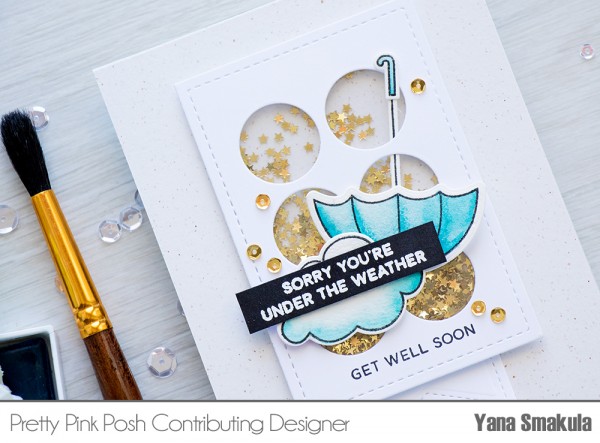
So build your shaker walls, use an anti static powder tool to eliminate the stick on the sides of the foam adhesive and add the sequins of your choice. For this project I went with the Gold Mini Star Confetti. I love these tiny confetti sequins and I’ve actually used a few packs to make an oversized layout shaker, you can see it here. Close up the shaker with another piece of clear acetate and continue making your card.
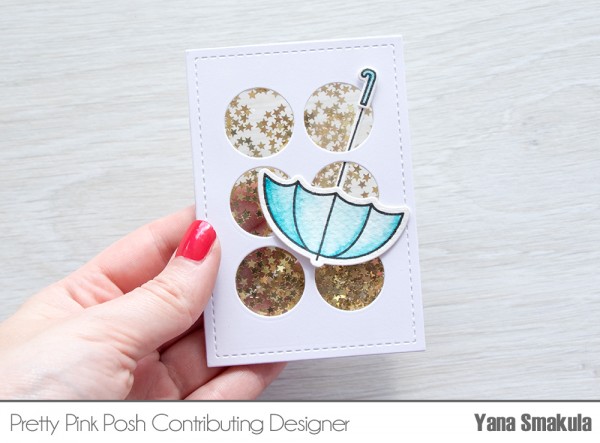
To finish this project I adhered my shaker onto an A2 top folding card base, foam mounted the watercolor cloud and added a sentiment. I stamped Get Well Soon onto the shaker itself and also heat embossed Sorry You’re Under The Weather in white onto black cardstock.
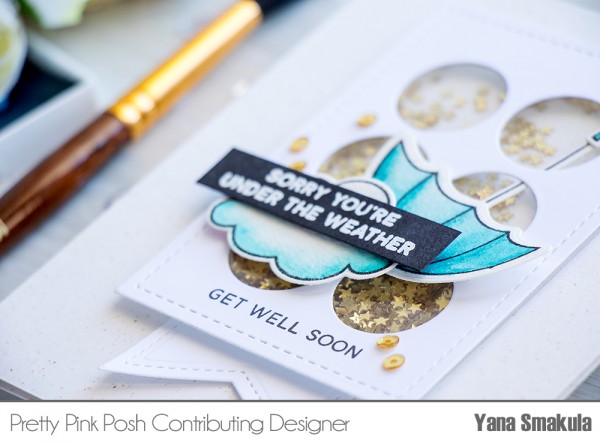
I couldn’t resist adding a few more sequins, so I adhered several 4mm Metallic Gold sequins to complete this card.


- Stitched Duo 2
- Rainy Days stamp set
- Gold Mini Star confetti
- Foam Squares: Amazon // Ellen Hutson // Simon Says Stamp
- Daniel Smith Watercolors: Amazon // Ellen Hutson
Happy cardmaking! Thanks for joining us today!
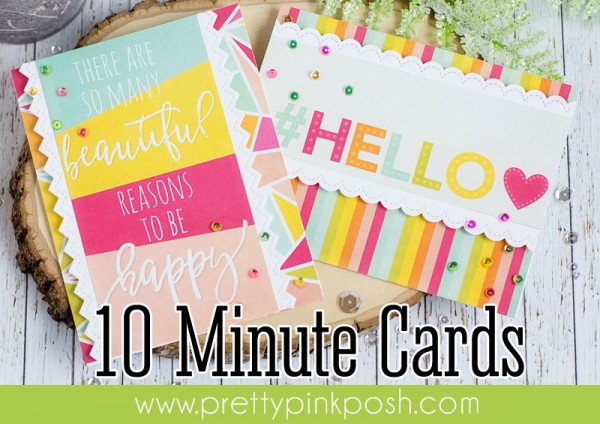
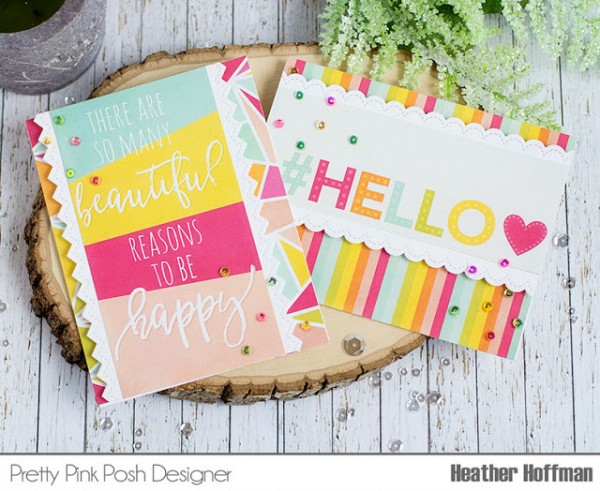
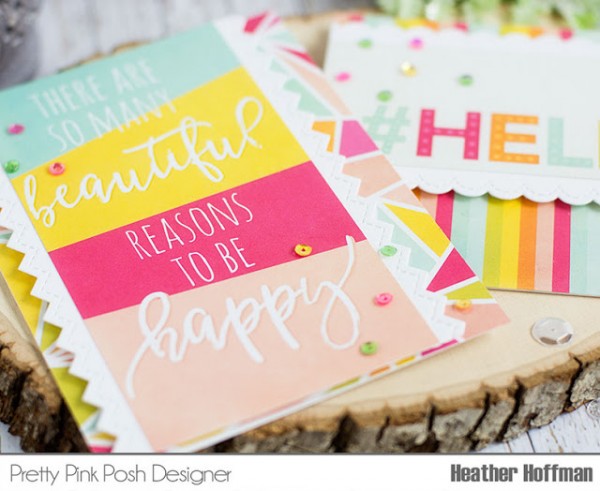
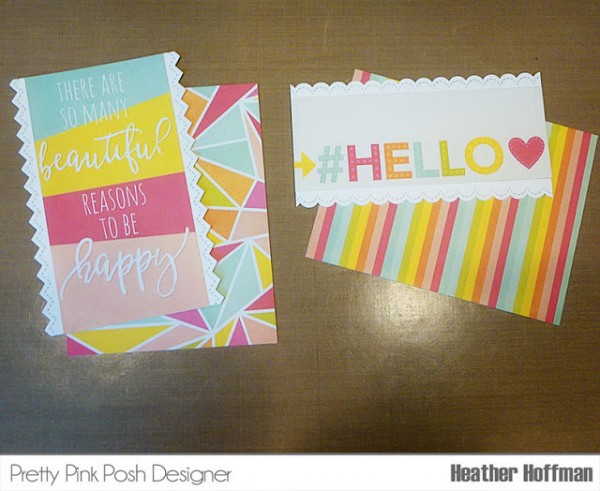
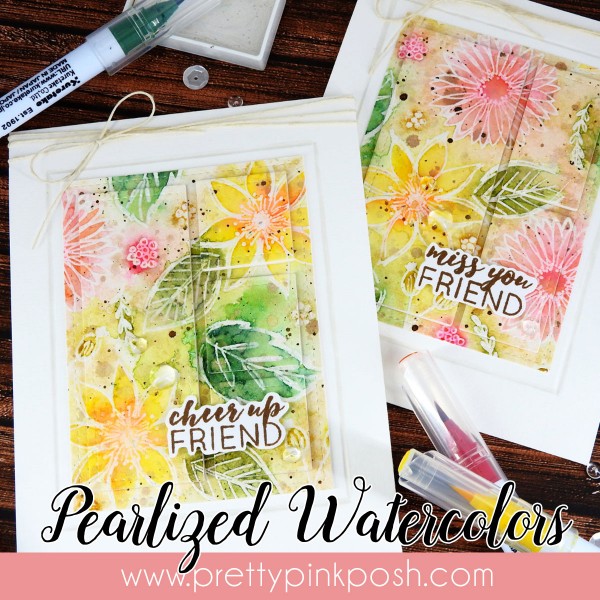
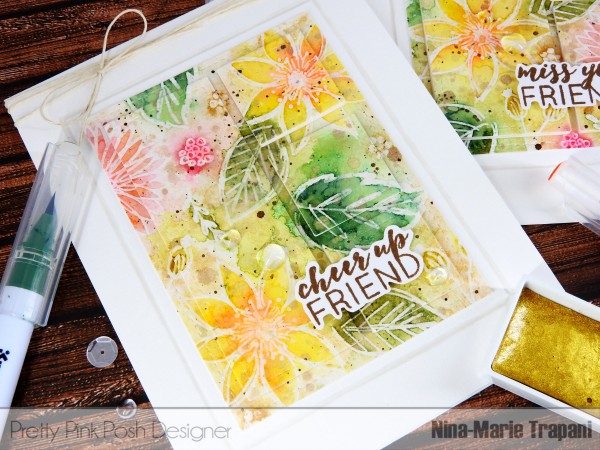
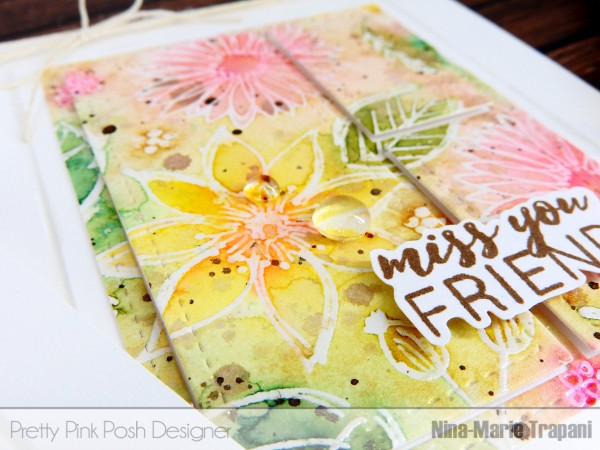
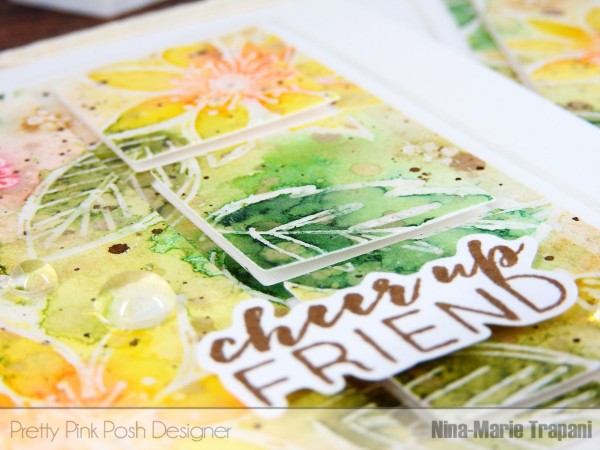
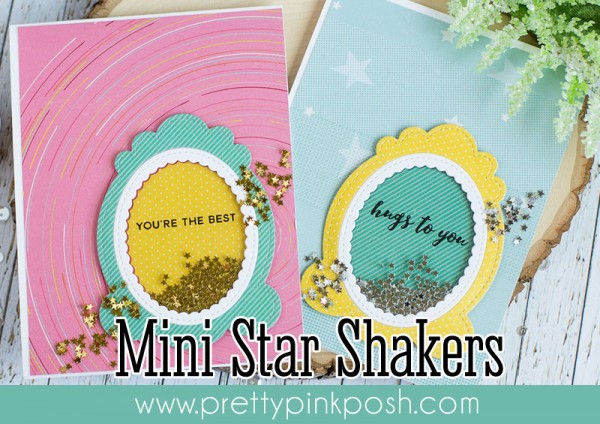
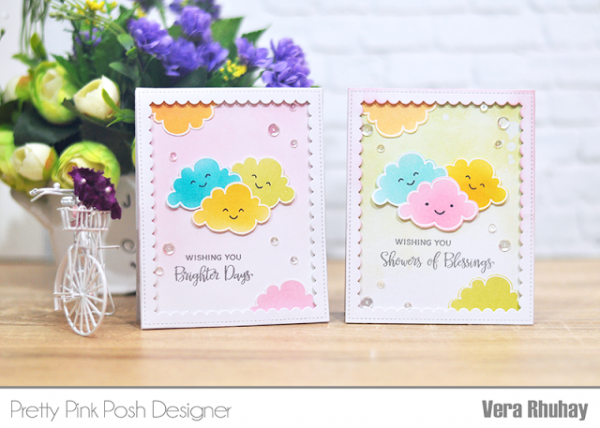
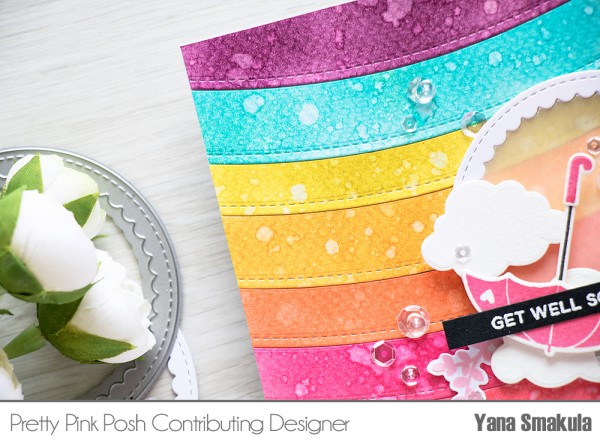
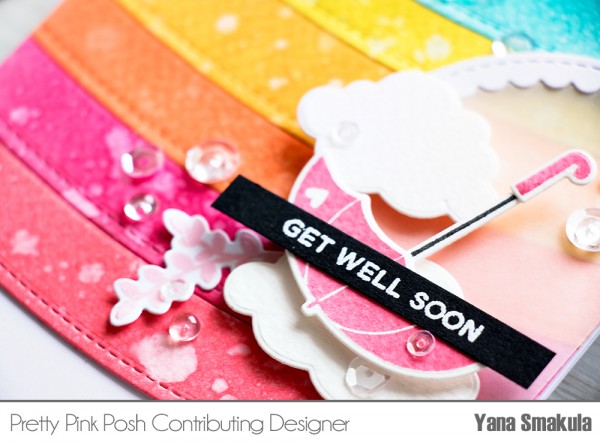
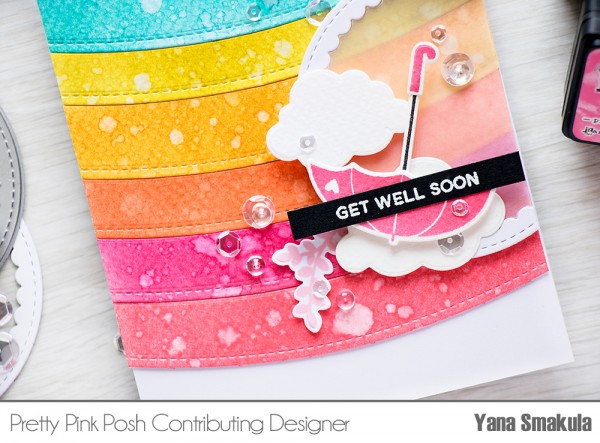
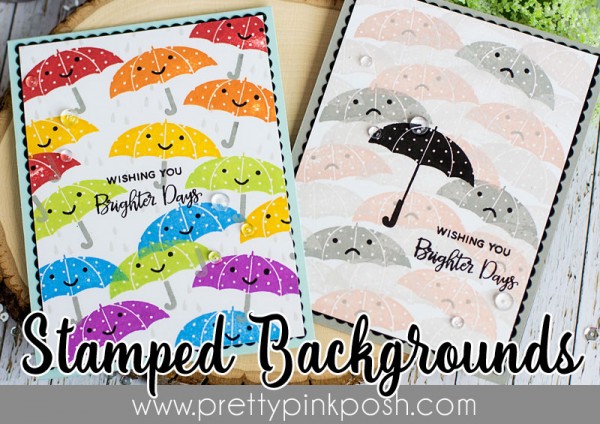
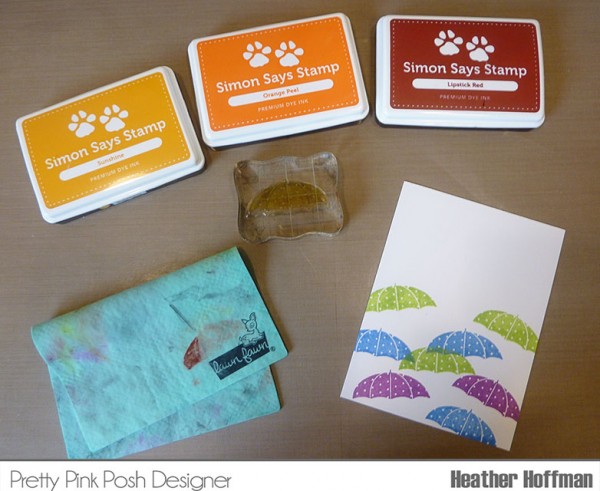
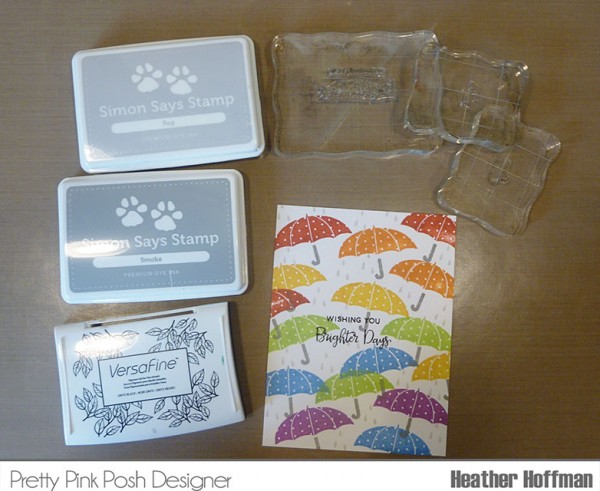
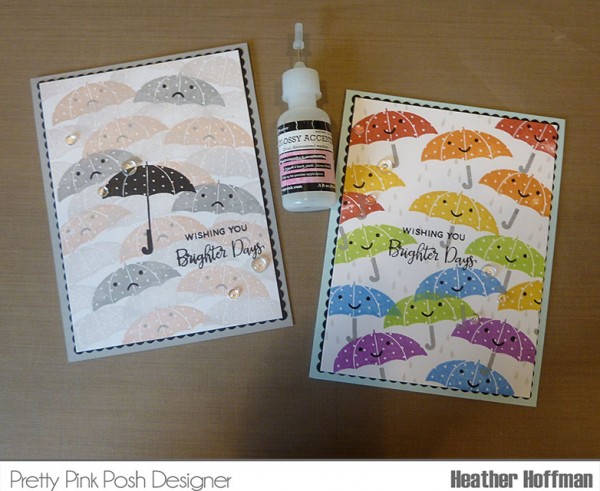
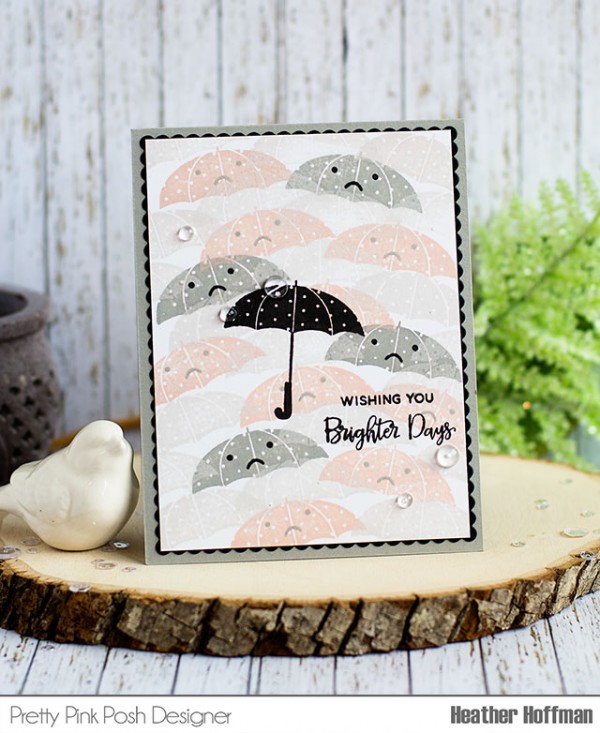
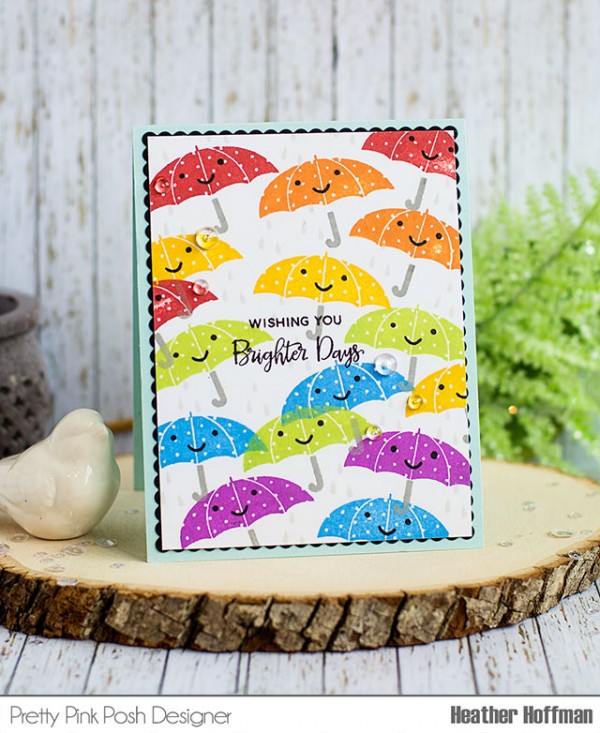
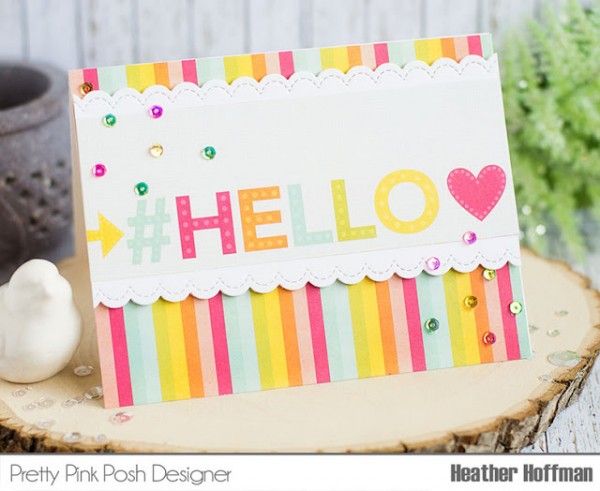
 Here are close ups of the two finished cards – I absolutely adore the bright happy colors of this paper pad!!!
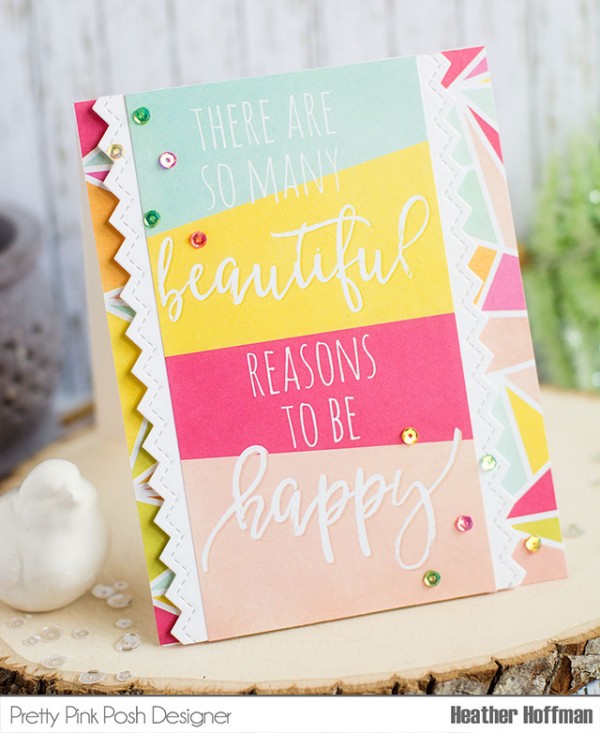


 Hello, Pretty Pink Posh fans! This is