
October Intro: Sneak Peek Day 3
It’s the last day of sneak peeks for the October 12th release. From adorable gingerbread and reindeer to sweet cookies, interactive shaker dies, and more—there’s so much holiday crafting fun packed into this release! Today we’ll be taking a look at the five new stamp sets!
Watch the video above I Watch the video in HD on YouTube
Hello Crafty Friends! It is Hanh here with you today and I am thrilled to show you a little sneak peek of the upcoming October Release. This Christmas release is filled with so many fun goodies. I had so much fun playing with this release and have three cards to share with you today showcasing the soon-to-be-released stamp sets.
Merry Christmas! My first card features the super cute Christmas Gingerbread Stamp & Dies, Merry Greetings Stamp & Dies and Layered Sweet Candies Stencil.
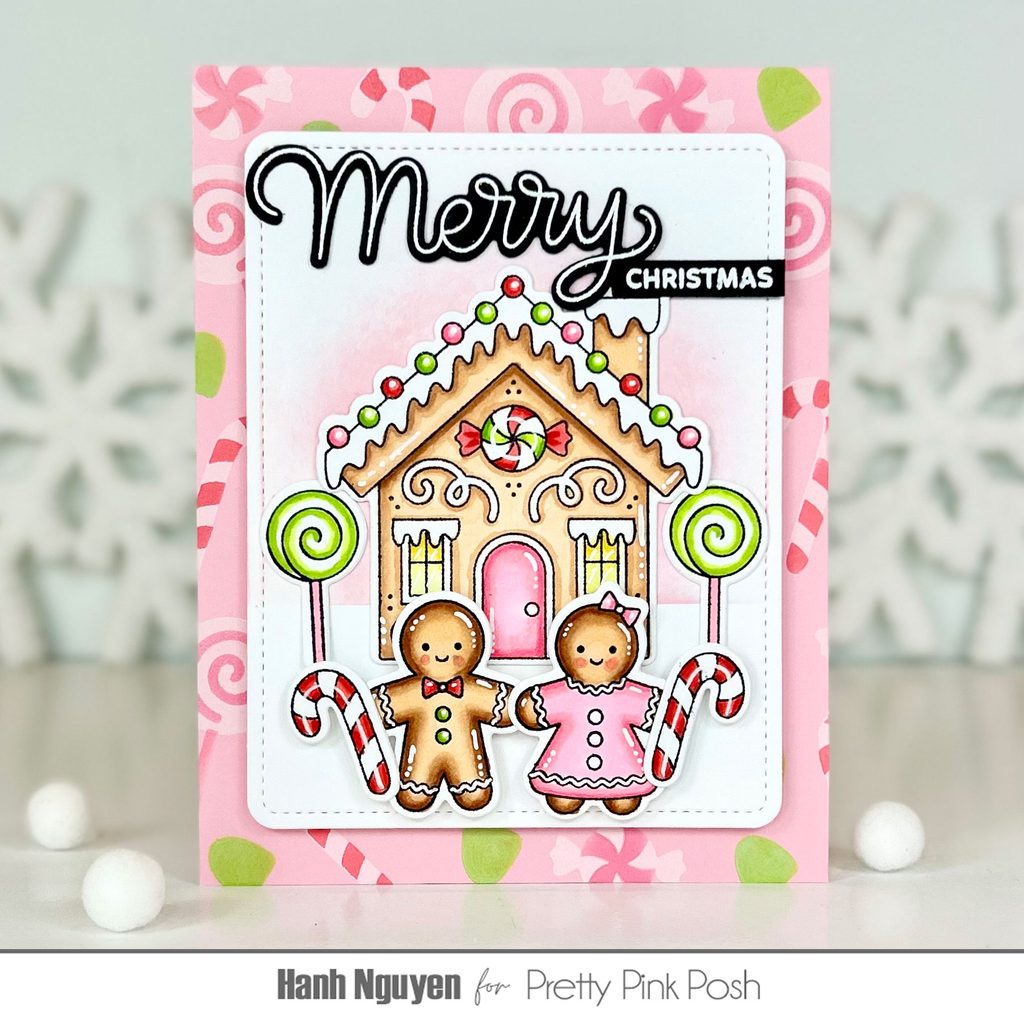
I stamped the images from the Christmas Gingerbread stamp set onto a piece of Neenah Solar White 110 lb cardstock with Memento Tuxedo Black ink and used the coordinating Christmas Gingerbread Dies to diecut them out. I colored with Copic markers and highlighted with a white gel pen.
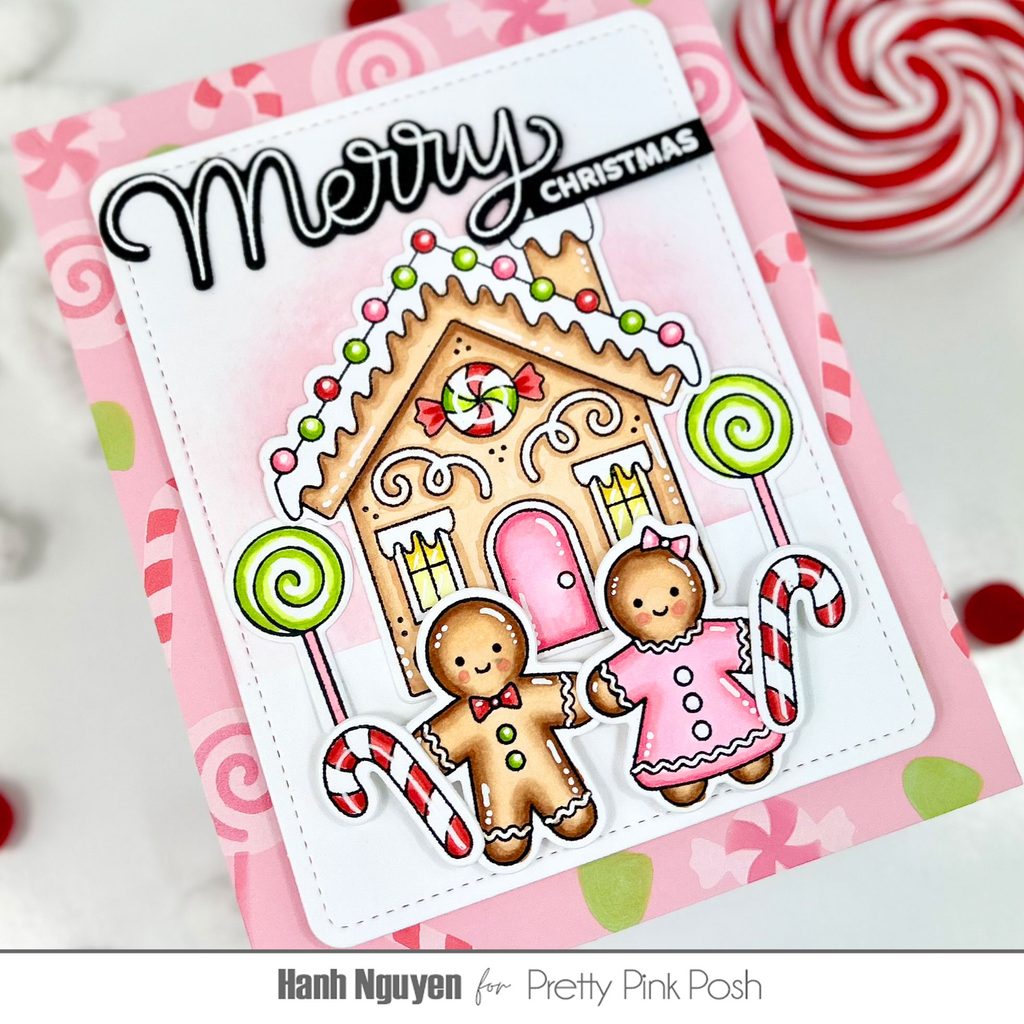
COPIC COLORS:
Gingerbread men: E51/53/33/99, R20
Gingerbread house: E51/53/33, Y11/13/15
Pink: RV10/21/13
Green: YG01/03/25
Red: R22/14/24
For the layout, I used the Layered Sweet Candies Stencil, Hero Arts Unicorn White Pigment ink Saltwater Taffy and Twisted Citron Distress Oxide to add a subtle design to a piece of pink cardstock (4” x 5.25”). Next I used the Rounded Stitched Rectangles Dies to diecut a panel out of white cardstock. I used Spun Sugar Distress Oxide ink to lightly ink blended a little color to the white panel. I added a piece of craft foam to the back of the white panel before adhering it to the stenciled pink panel.
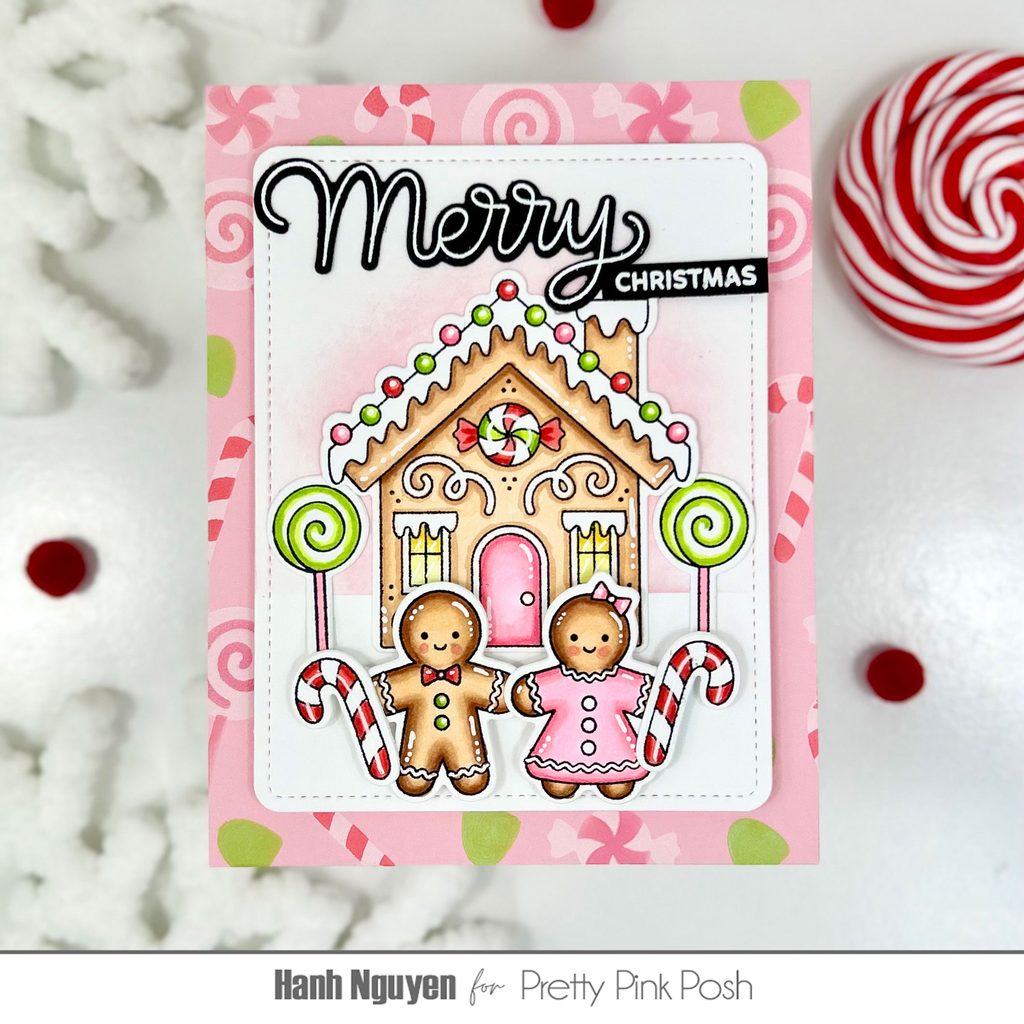
For the sentiment, I stamped the “Merry” and “Christmas” from the Merry Greetings stamp set with Versamark Watermark ink onto a piece of black cardstock and heat embossed with White Detailed Embossing Powder. I used the coordinating Merry Greetings Dies and the Sentiment Strips Dies to diecut them out.
I adhered the colored images and sentiment to the card front with a combination of liquid glue and foam tape for a bit of dimension. Finally, I adhered the panel to a white A2 cardbase (4.25” x 5.5”).
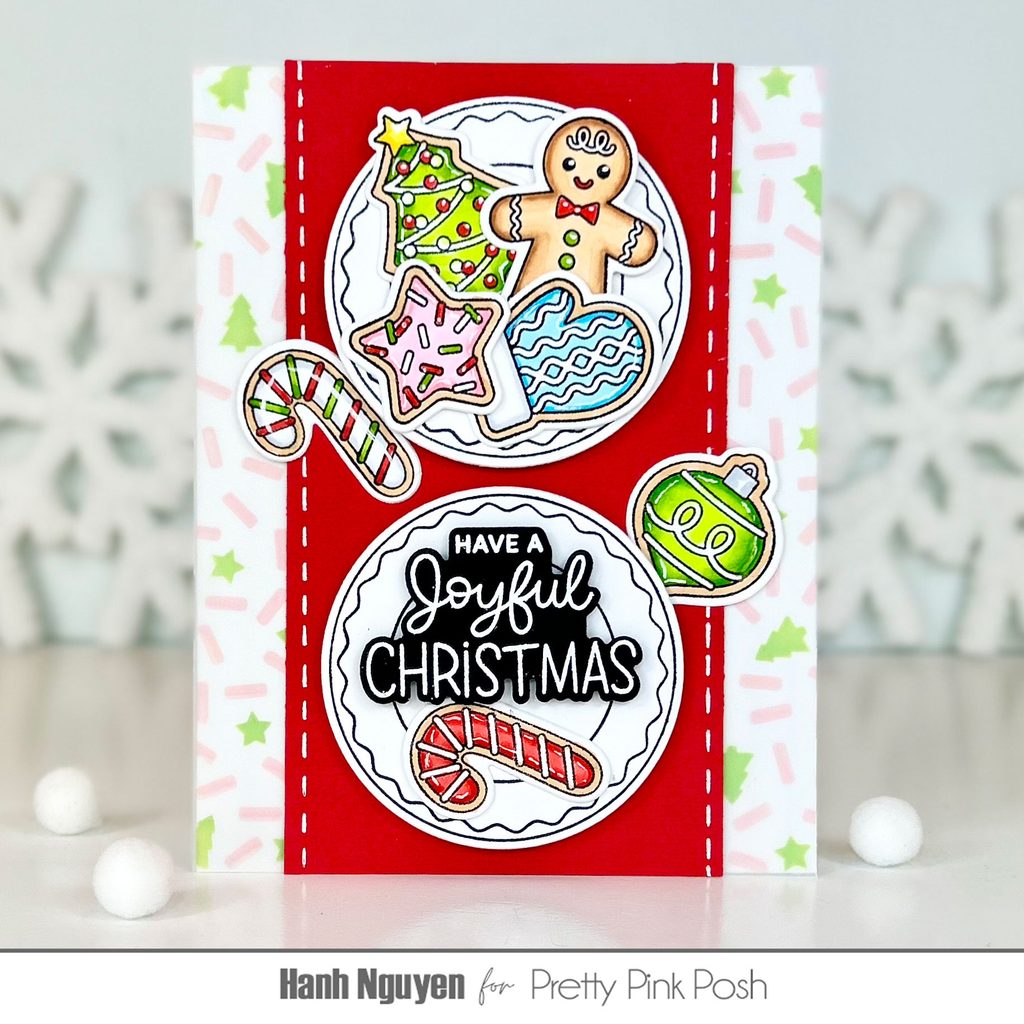
Have a Joyful Christmas! My second card features the adorable Sweet Christmas Cookies Stamp & Dies, Inside Sentiments: Christmas Stamp & Dies and Layered Holiday Sprinkle Mix Stencil.
I stamped the images from the Sweet Christmas Cookies stamp set onto a piece of Neenah Solar White 110 lb cardstock with Memento Tuxedo Black ink and used the coordinating Sweet Christmas Cookies Dies to diecut them out. I colored with Copic markers and highlighted with a white gel pen.
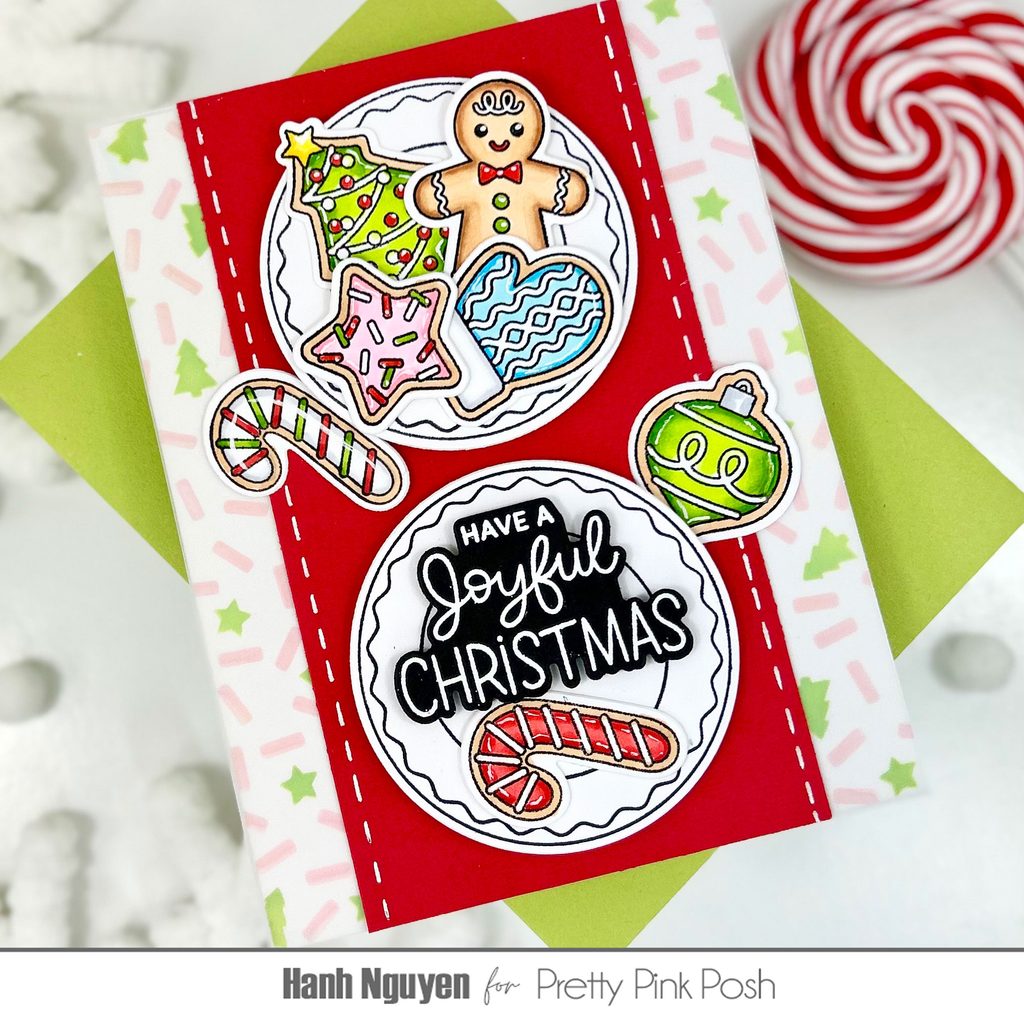
COPIC COLORS:
Cookies: E53
Gingerbread men: E51/53/33, R20
Green: YG01/03/25
Yellow: Y13/15
Red: R22/14/24
Pink: RV10/21/13
Blue: B00/02
White: C00/1
For the layout, I used the Layered Holiday Sprinkle Mix Stencil, Spun Sugar and Mowed Lawn Distress Oxide to lightly ink blend a subtle design to a piece of white cardstock (4” x 5.25”). I used a piece of vellum to soften the design on what reminded me of a festive Christmas tablecloth. Next I trimmed a piece of red cardstock and added some stitched details with a white gel pen to represent my table runner.
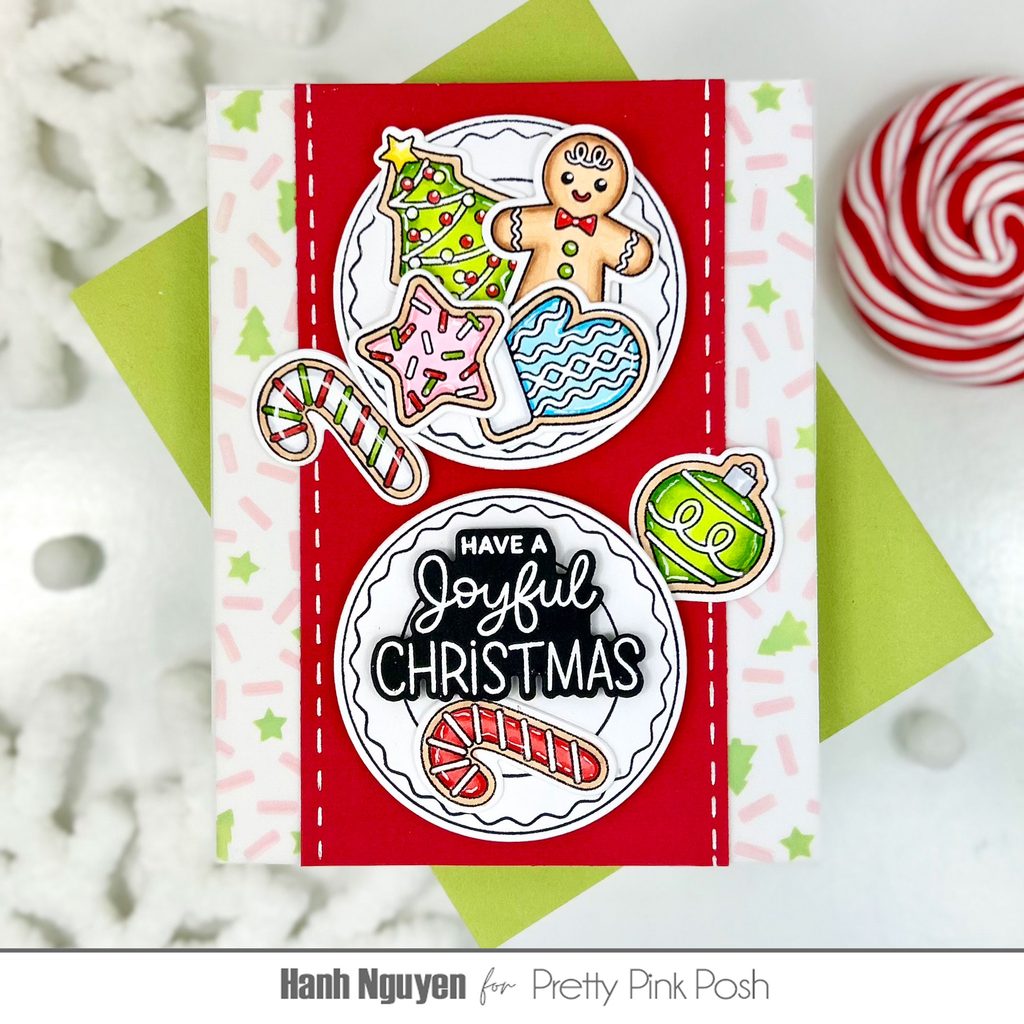
For the sentiment, I stamped the “Have a Joyful Christmas” from the Inside Sentiments: Christmas stamp set with Versamark Watermark ink onto a piece of black cardstock and heat embossed with White Detailed Embossing Powder. I used the coordinating Inside Sentiments: Christmas Dies to diecut it out.
I adhered the colored images and sentiment to the card front with a combination of liquid glue and foam tape for a bit of dimension. Finally, I adhered the panel to a white A2 cardbase (4.25” x 5.5”).
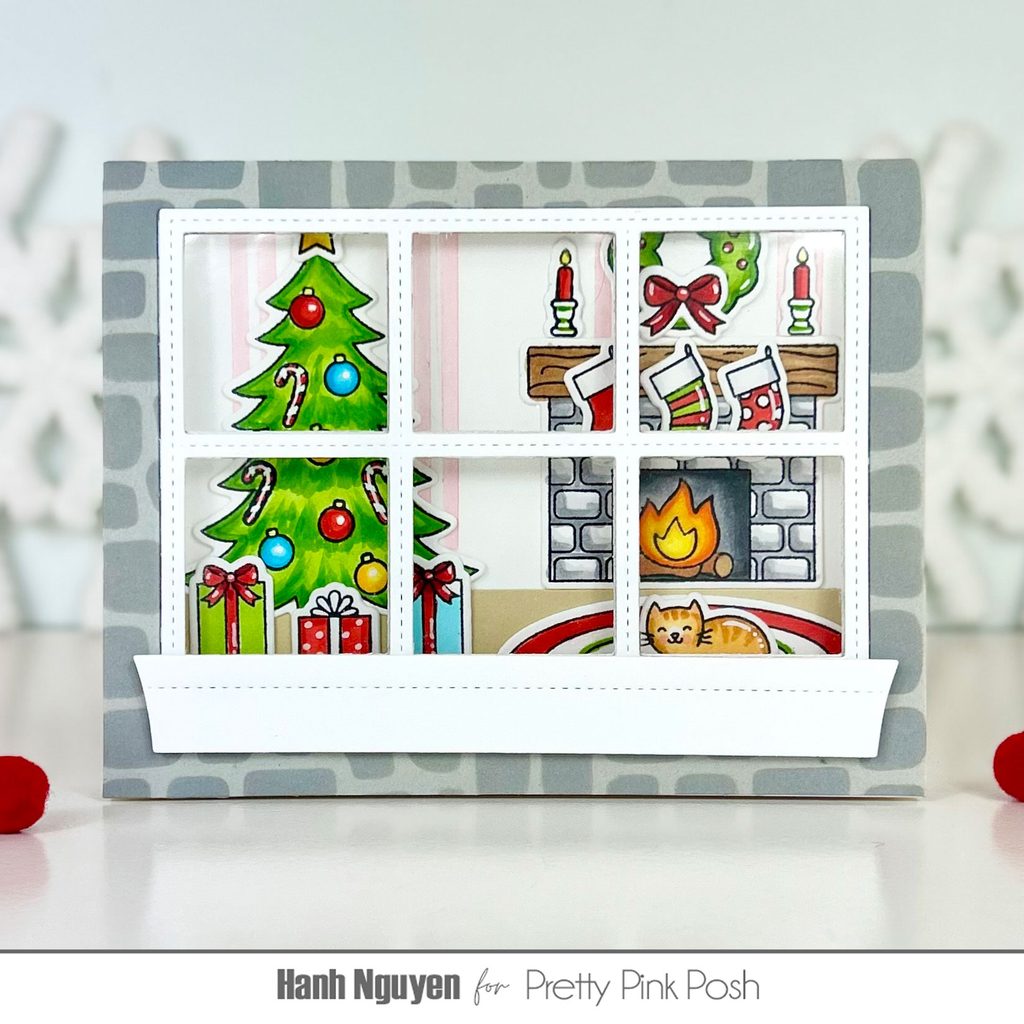
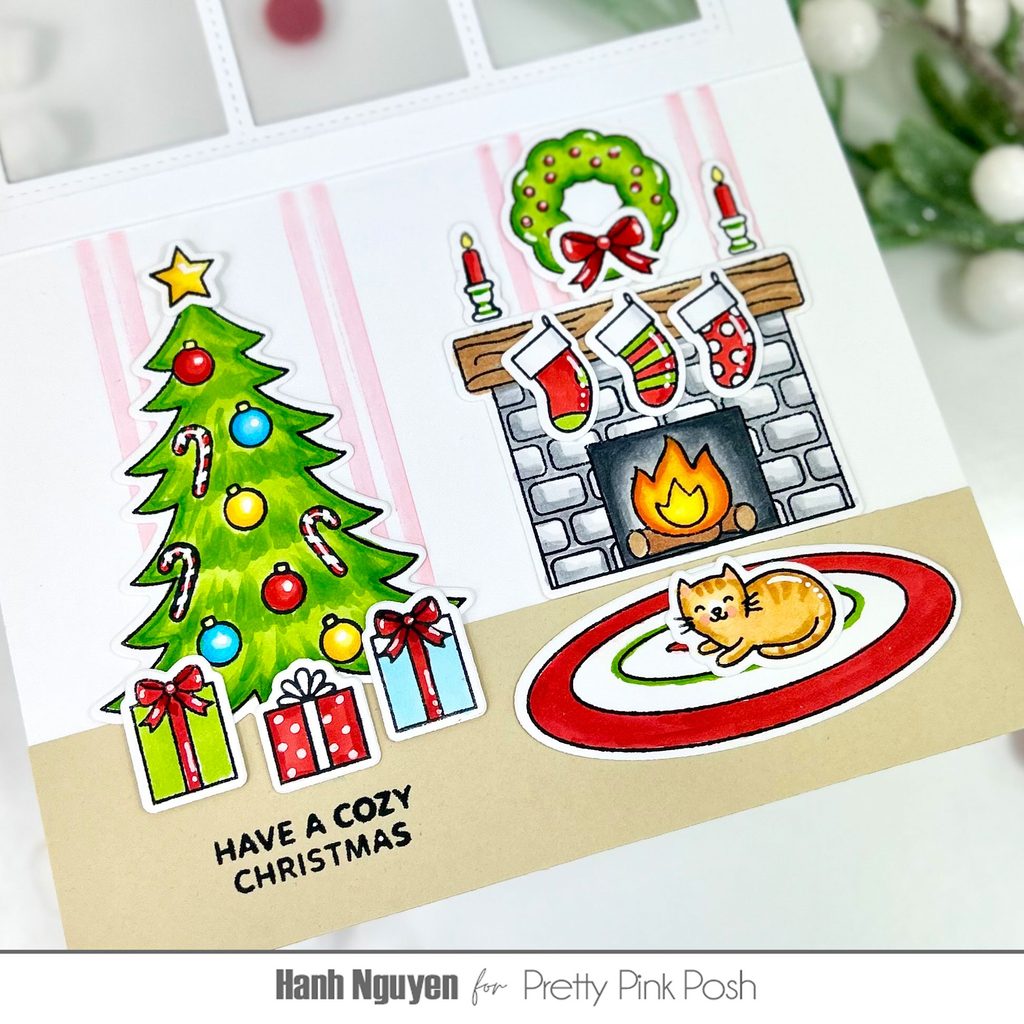
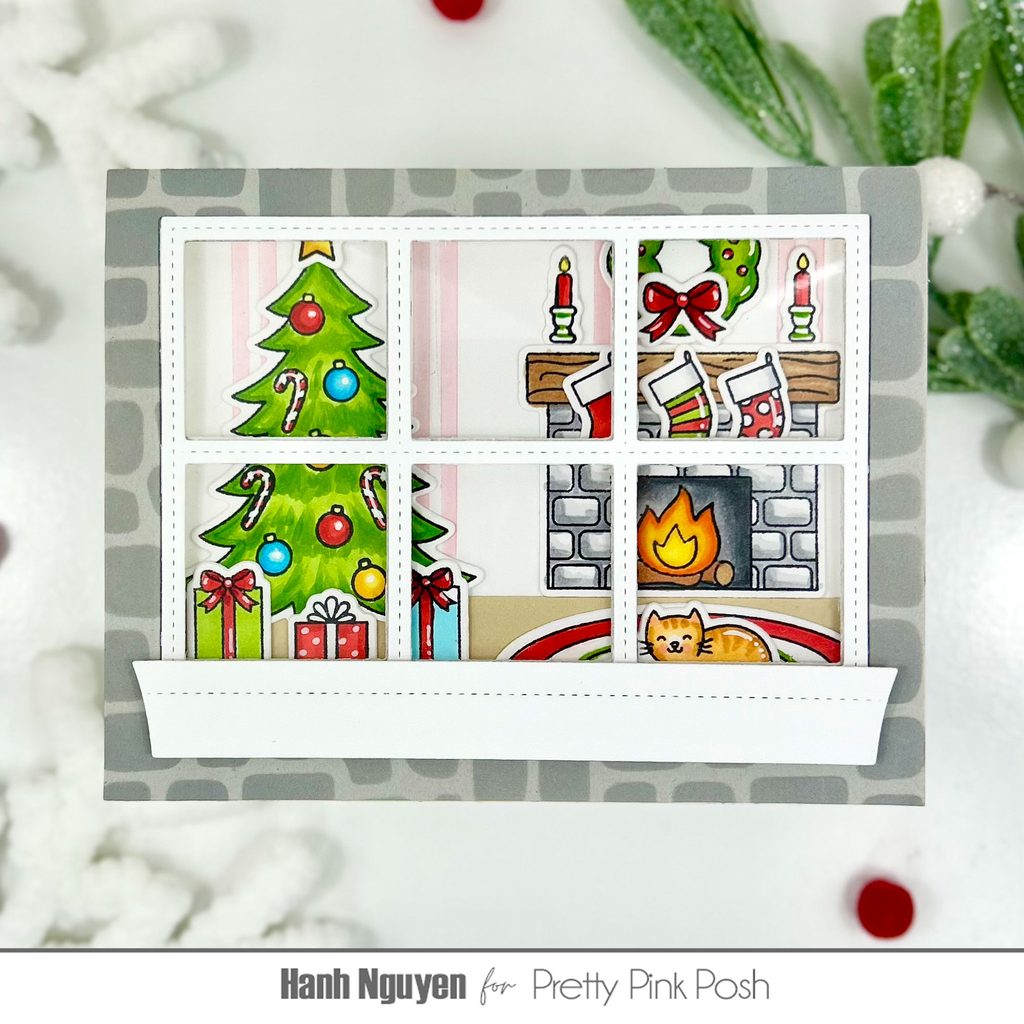
Have a Cozy Christmas! My third card features the super fun Cozy Christmas Stamp & Coordinating Dies, Stitched Windows 2 Dies and Cobblestone Stencil.
I stamped the images from the Cozy Christmas stamp set onto a piece of Neenah Solar White 110 lb cardstock with Memento Tuxedo Black ink and used the coordinating Cozy Christmas Dies to diecut them out. I colored with Copic markers and highlighted with a white gel pen.
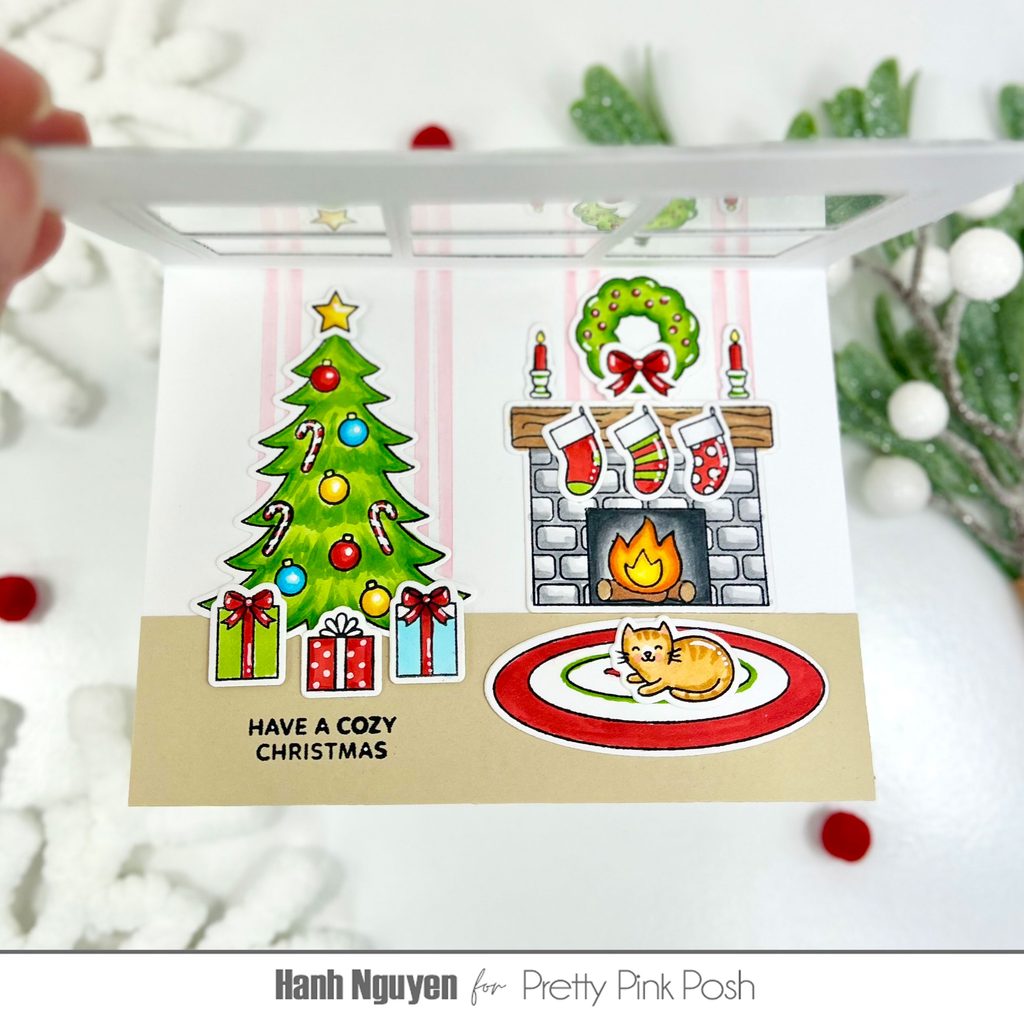
COPIC COLORS:
Tree/Wreath: YG03/25/17
Fireplace: E31/43, N0/1/2/3, N1/3/5, Y13/15/17/38 YR04, E31/33
Cat: YR21/24, R20
Yellow: Y13/15/19
Red: Y22/14/24/29
Blue: B00/02
Green: YG01/03/25
White: C00/1
I used the Cobblestone Stencil and some Hickory Smoke Distress Oxide ink to ink blend the stone texture to a piece light gray cardstock (5.5” x 4.25”) to represent the exterior wall of my house.
Next, I used one of the two Stitched Windows 2 Dies to diecut a window into the middle of my gray panel as well as the front panel of a top-folding white A2 cardbase (5.5” x 4.25”). I used the same die to diecut an additional white window frame as well as a long white window sill. I love that this new set has two different sizes of window sill dies to allow for a vertical or horizontal window placement. I adhered a piece of clear acetate to the back of my gray panel. I adhered the gray window frame to the additional white window frame before adhering it to the window opening of the gray panel (on top of the acetate. I adhered this gray panel to the front of the white cardbase making sure to align the window openings. Then, I adhered the white window frame back into the window opening of the cardbase (so as to hide the adhesive from the gray panel).
For the inside of the cardbase, I masked off the top and bottom and used the Windowpane Plaid Stencil and Spun Sugar Distress Oxide to lightly ink blend a subtle stripe wallpaper design.
For the sentiment, I stamped the “Have a cozy Christmas” from the Cozy Christmas stamp set onto a piece of tan cardstock with Memento Tuxedo Black ink. I adhered this piece of tan cardstock onto the bottom of the inside scene to represent my carpet.
I adhered the colored images with liquid glue to keep a low profile for the inside of the cardbase. I adhered the window sill to the card front with foam tape for a bit of dimension.
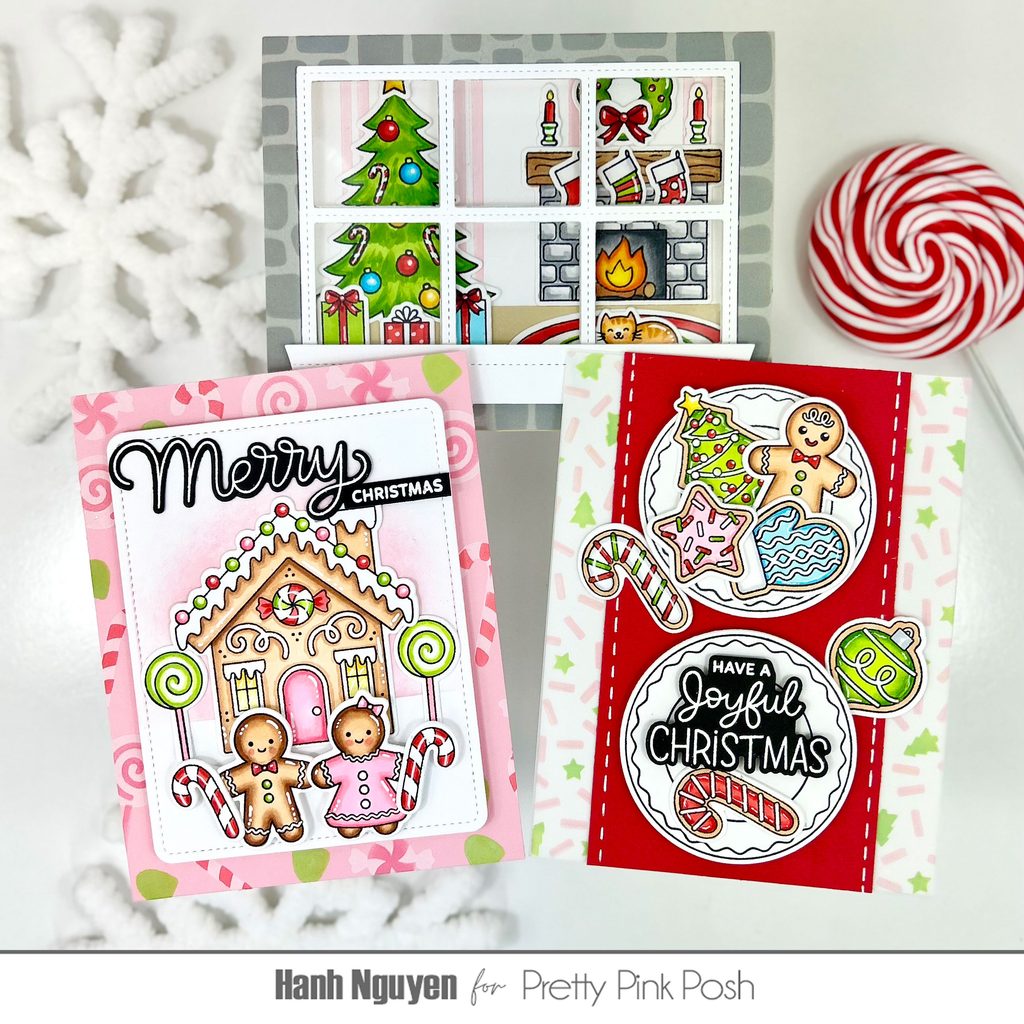
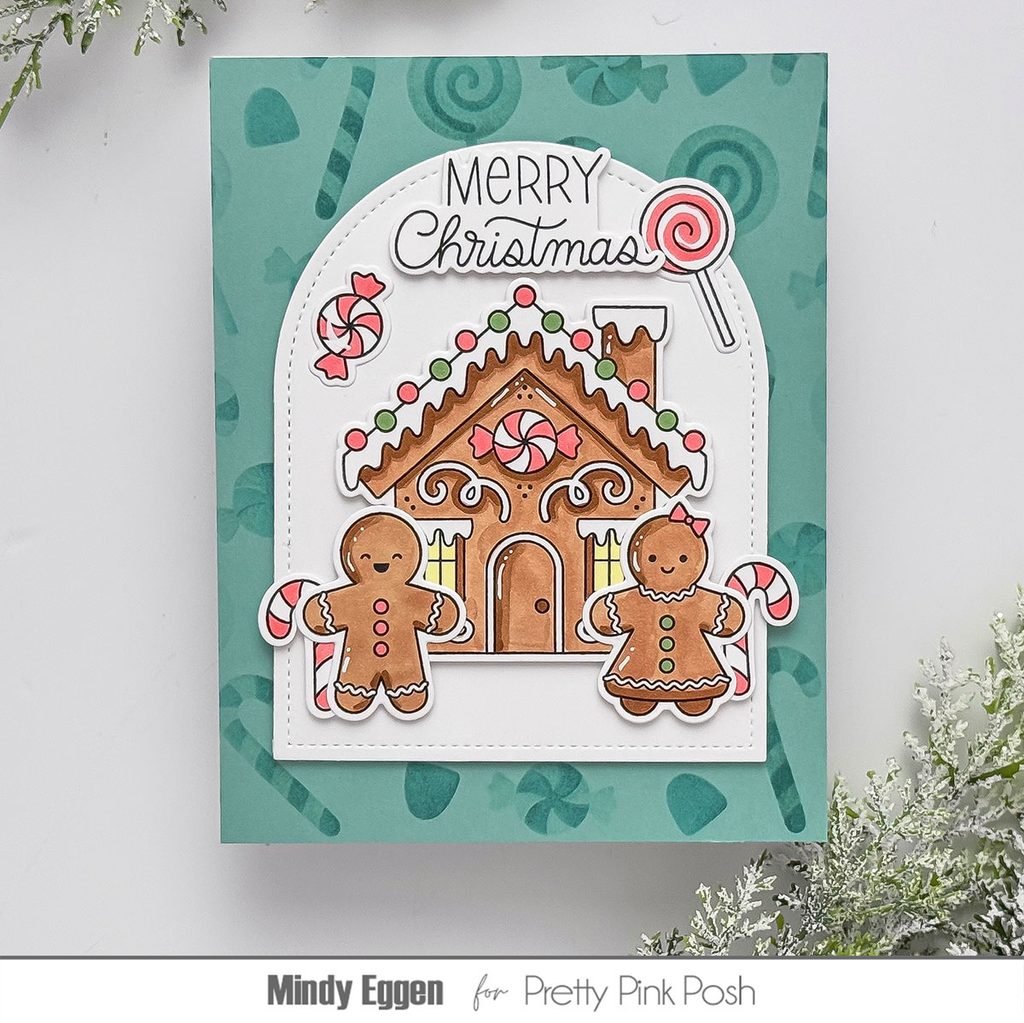
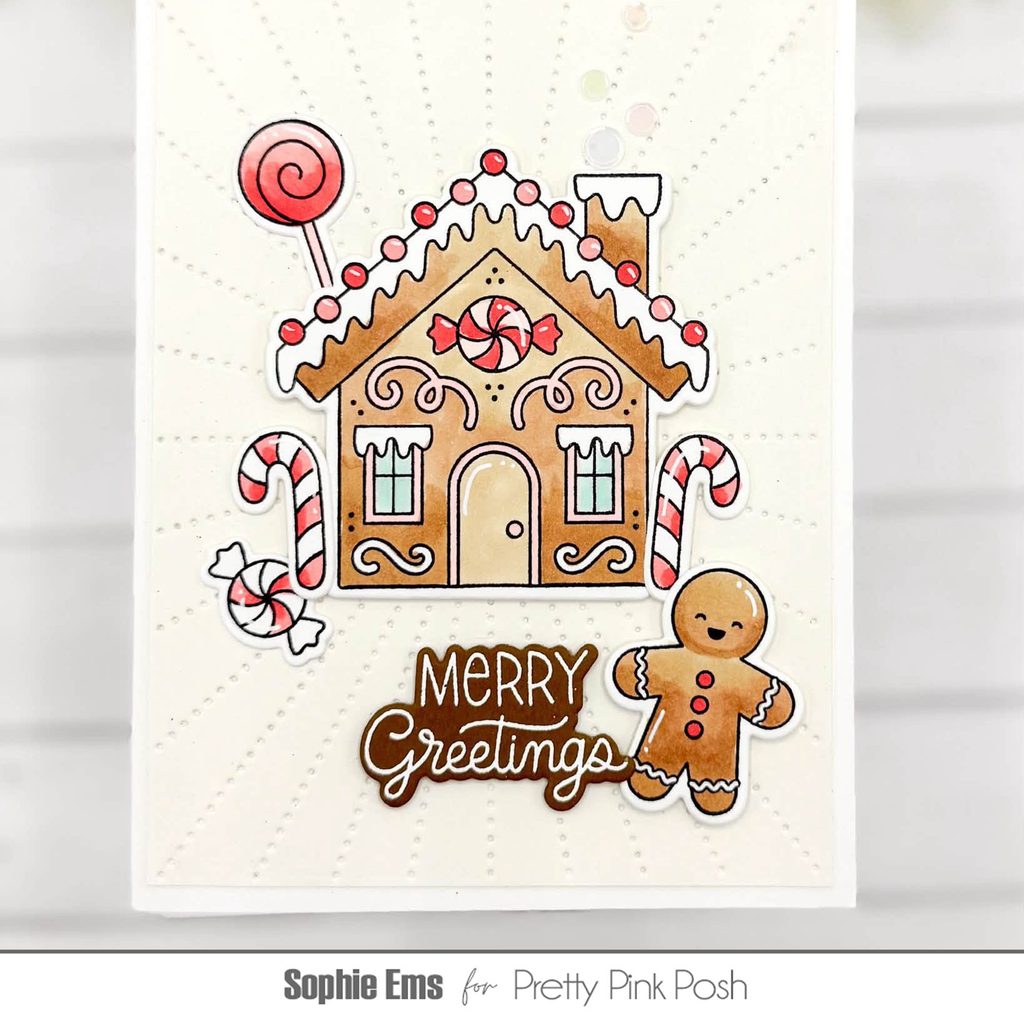
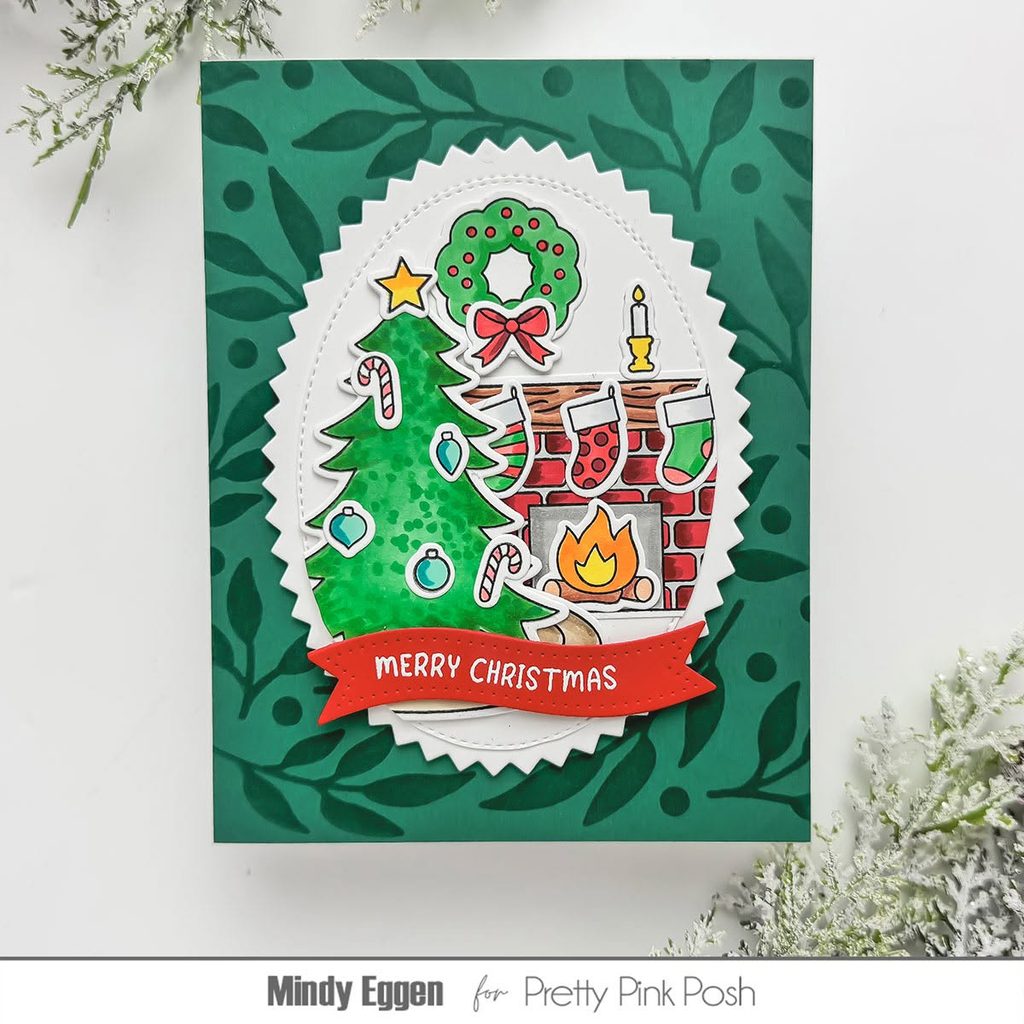
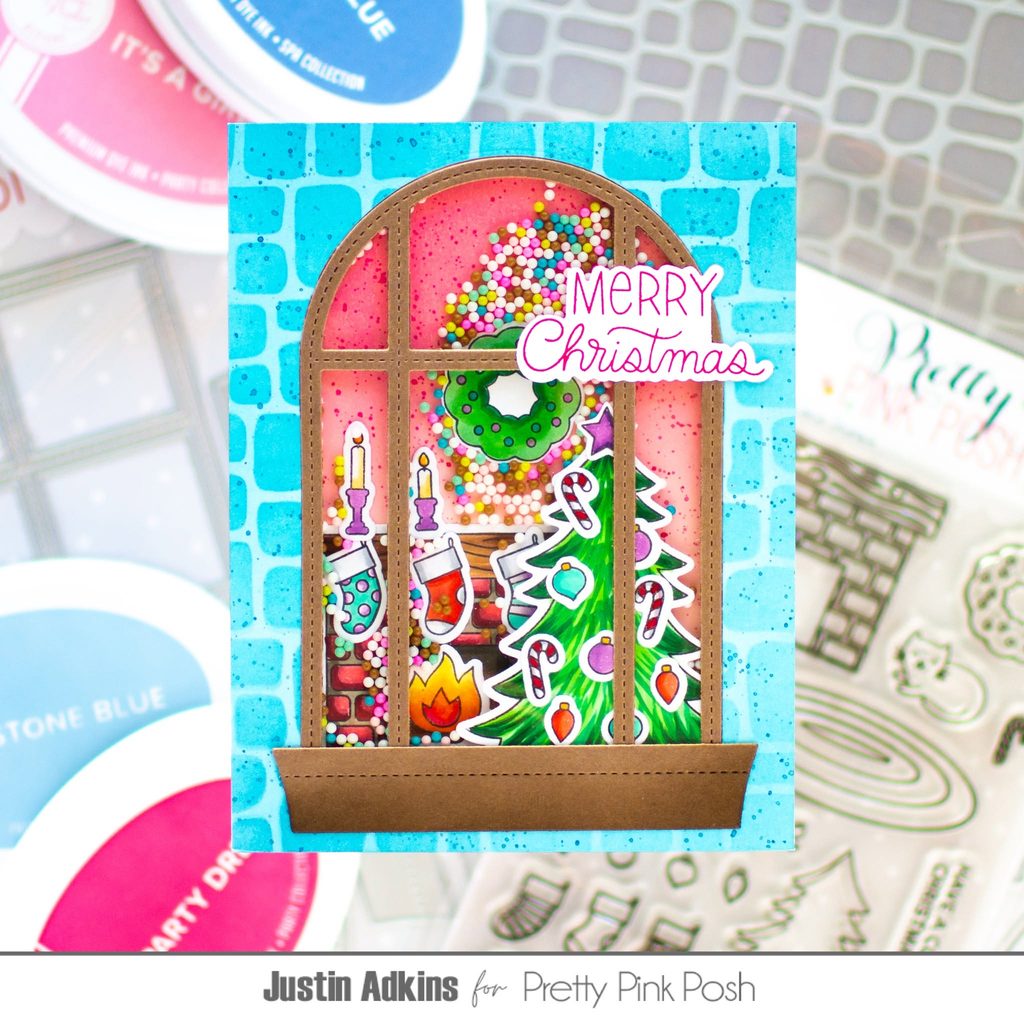
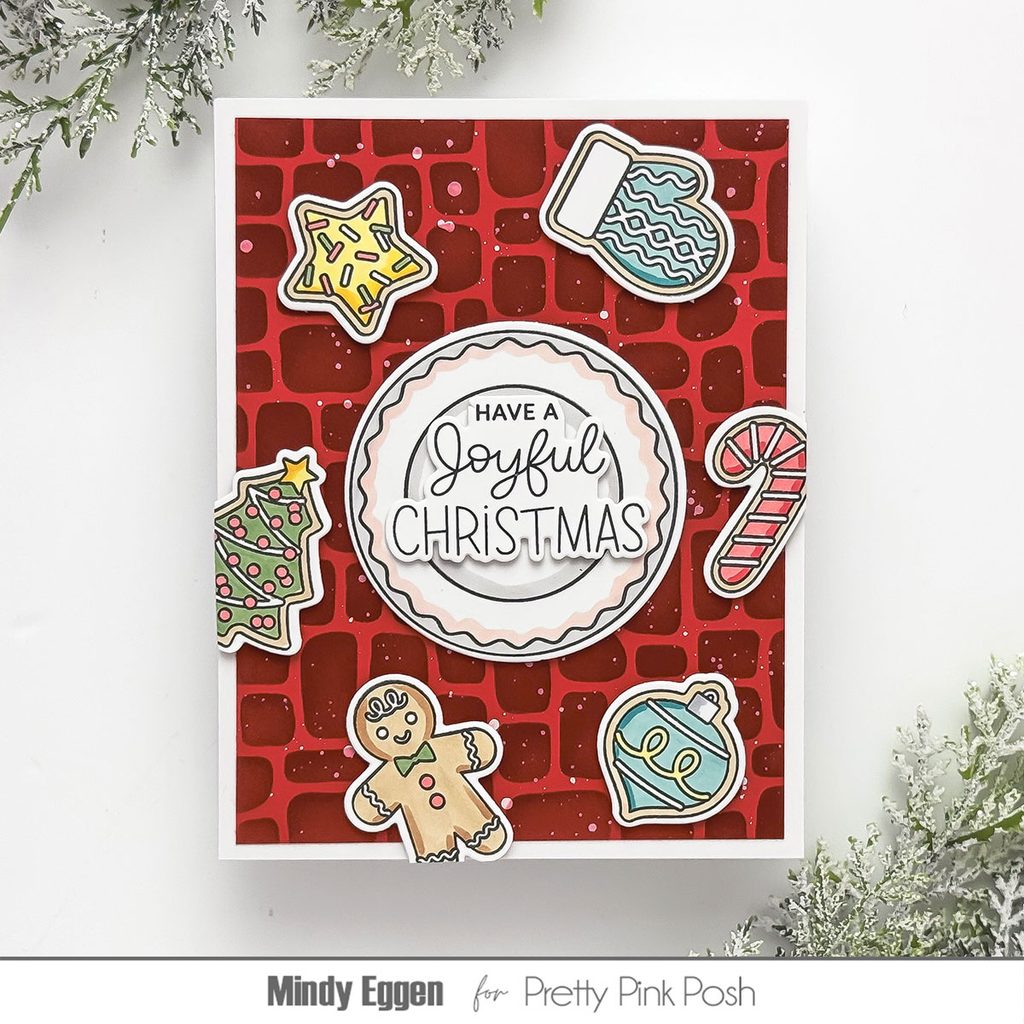
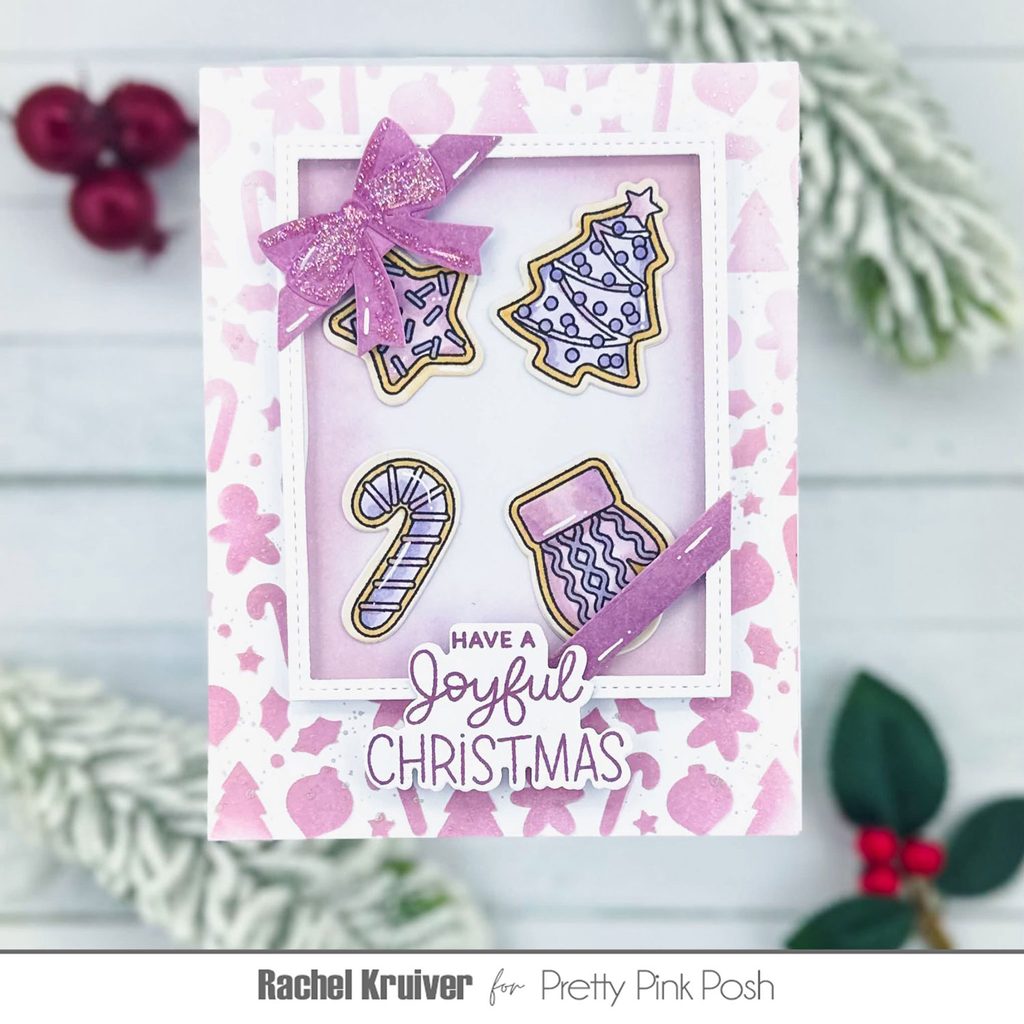
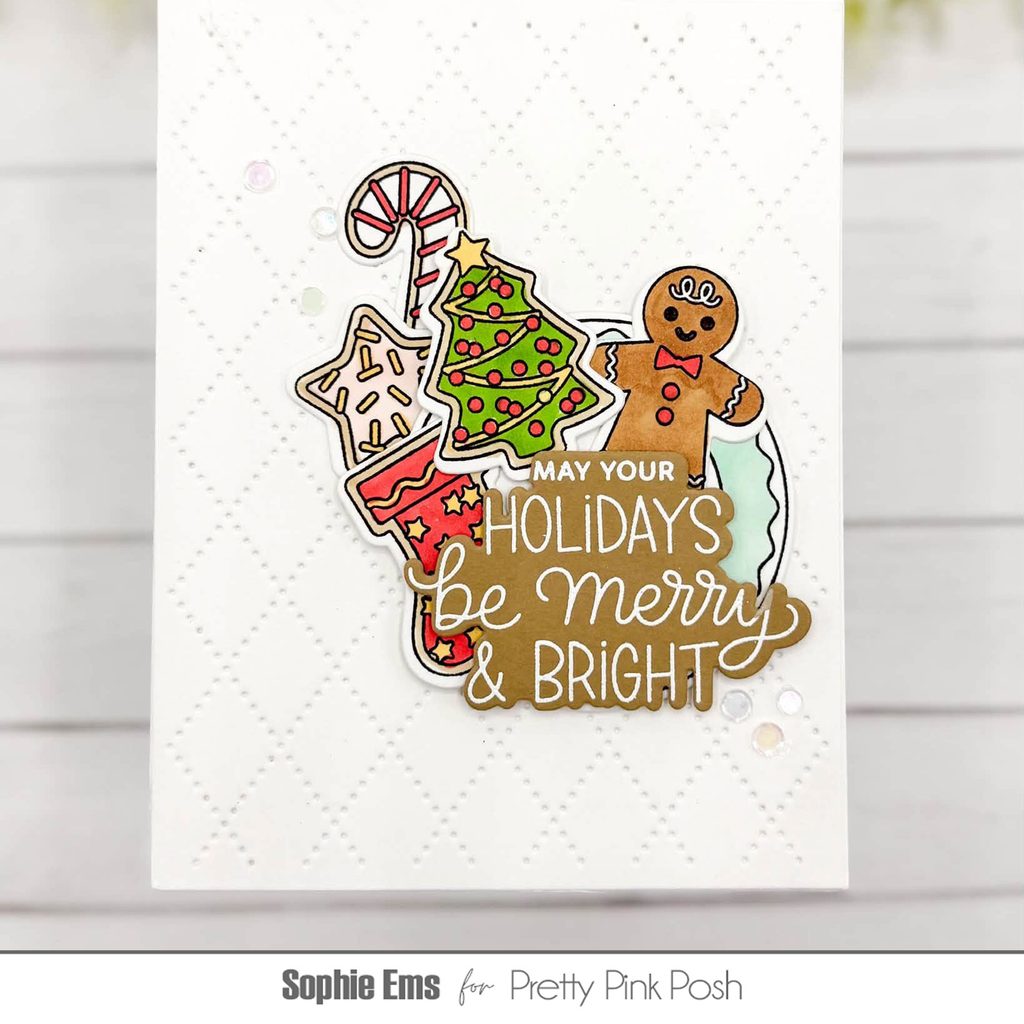
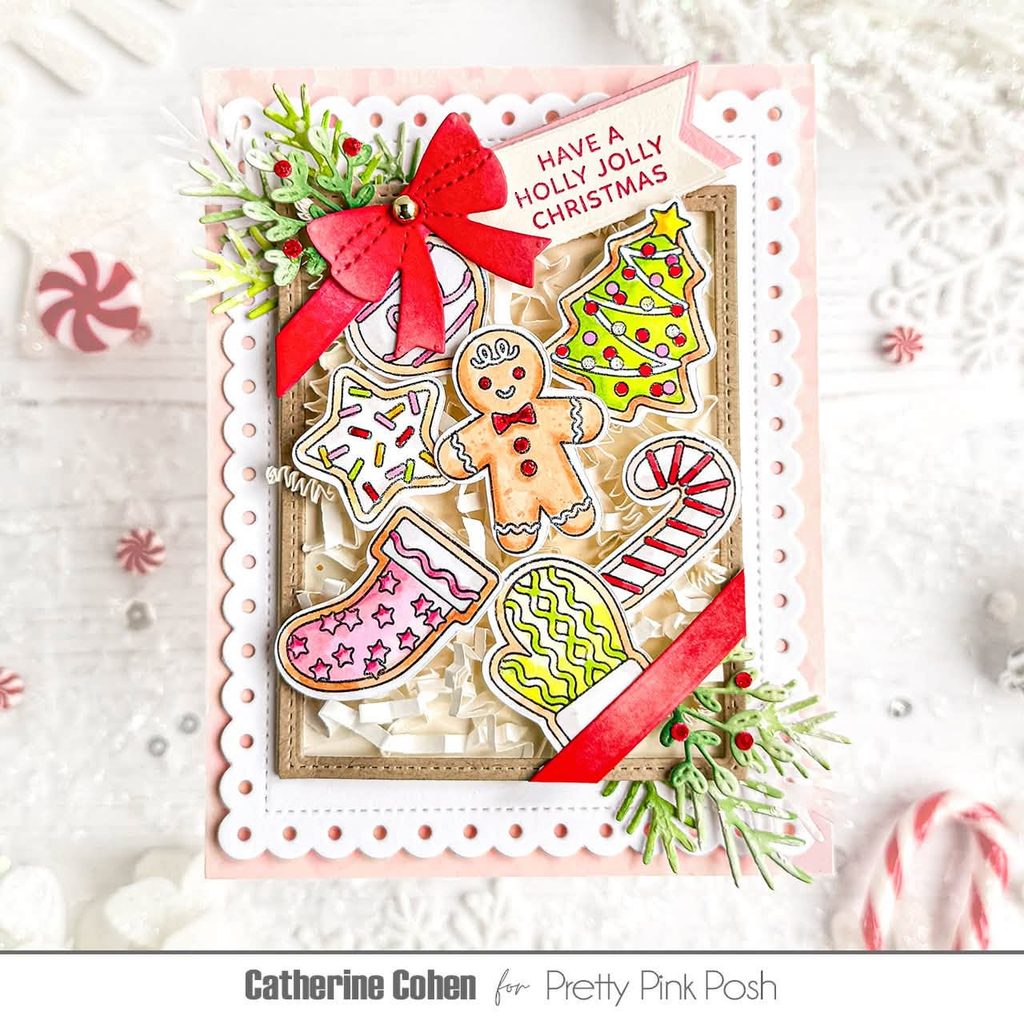
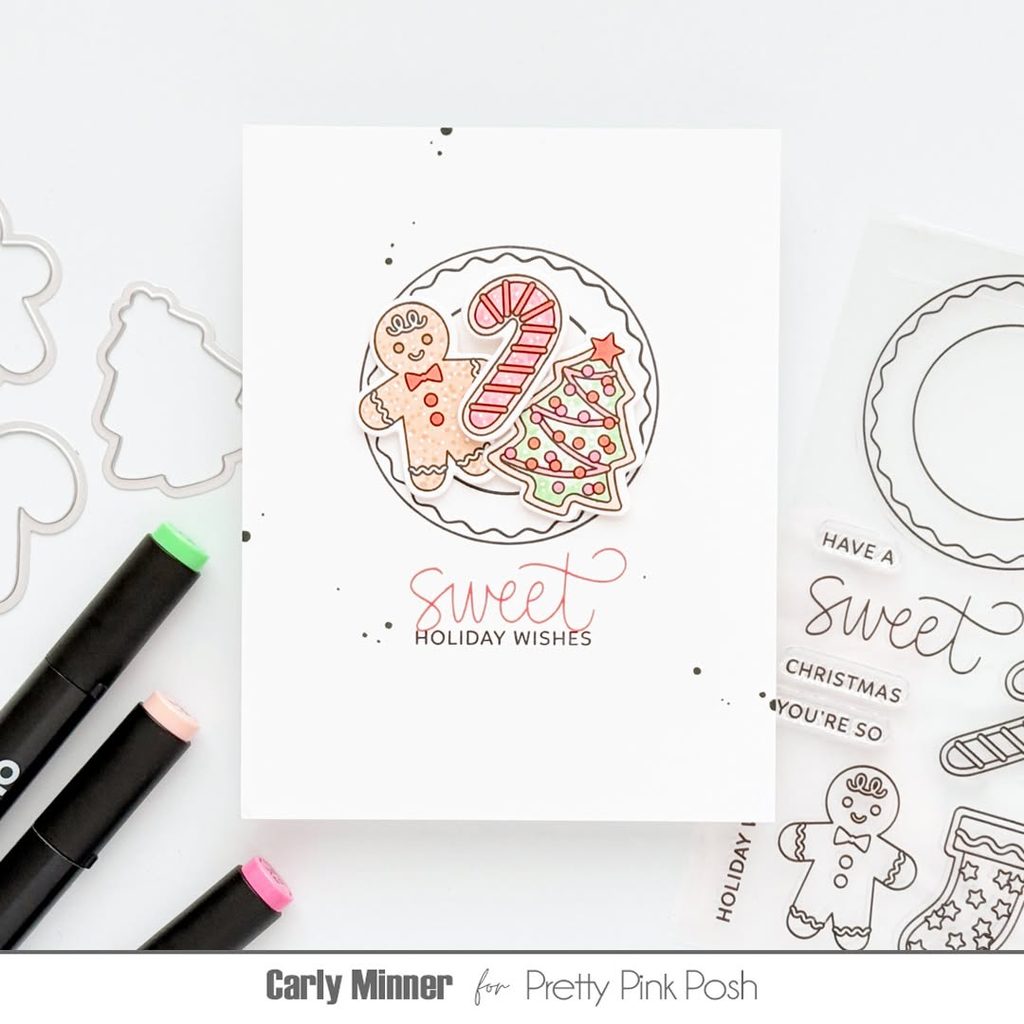
This was just a sneak peek of the some of the fun products in this October Release. Check out some of the inspiration from the design team using the new stamp sets…
Stop by tomorrow to see the full reveal of the new release!