
August Intro: Sneak Peek Day 3
Welcome to day 3 of sneak peeks for the August 6th release! From treat buckets to playful ghosts, caramel apples, and more, these seasonal designs are perfect for all your upcoming Halloween projects! This release includes five stamp sets, four coordinating dies, twelve standalone dies, four stencils, and four embellishments.
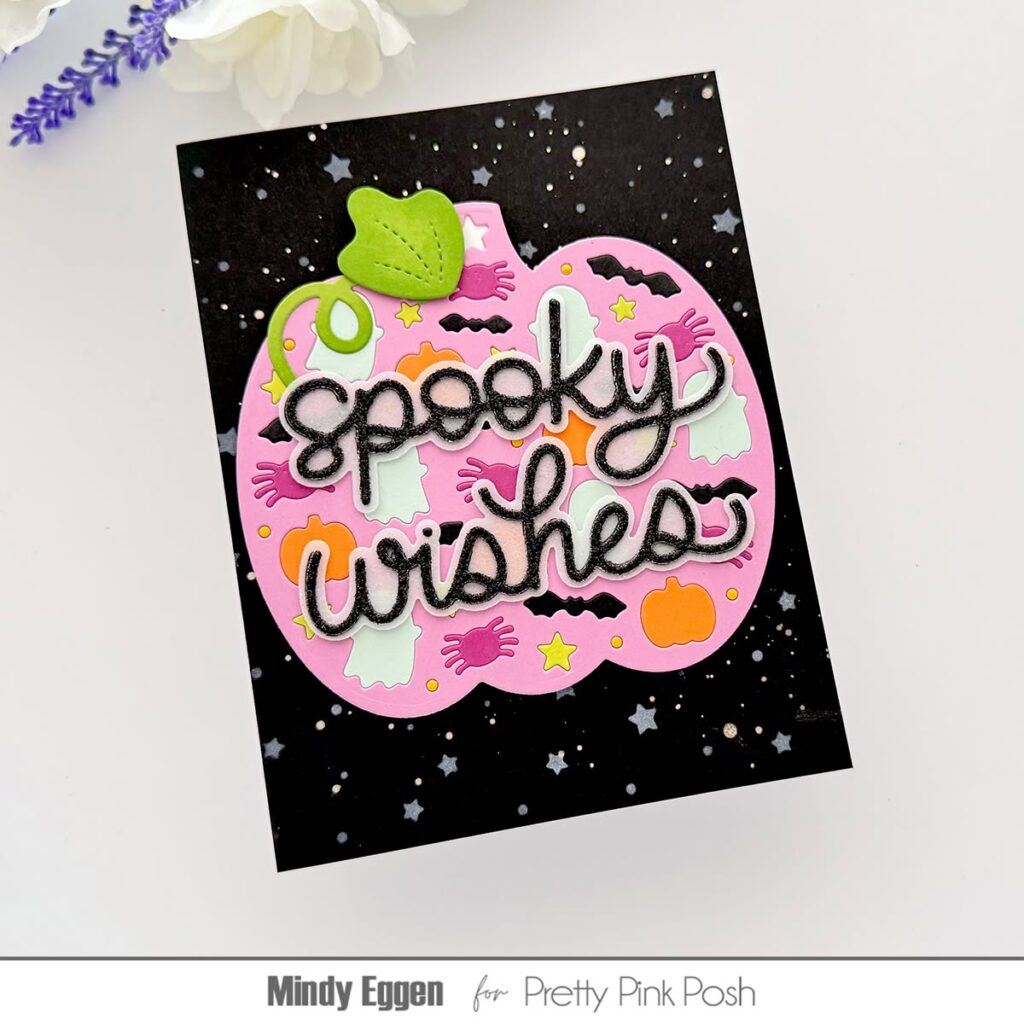
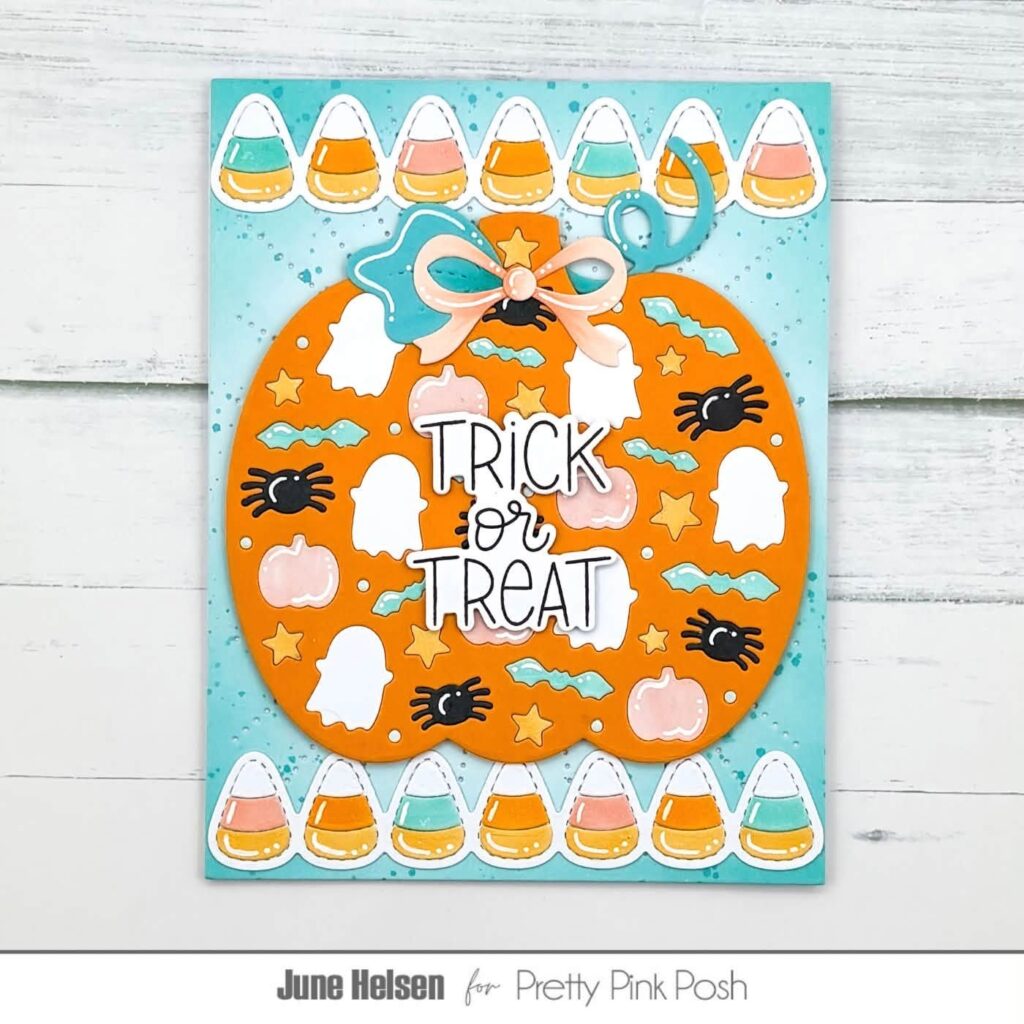
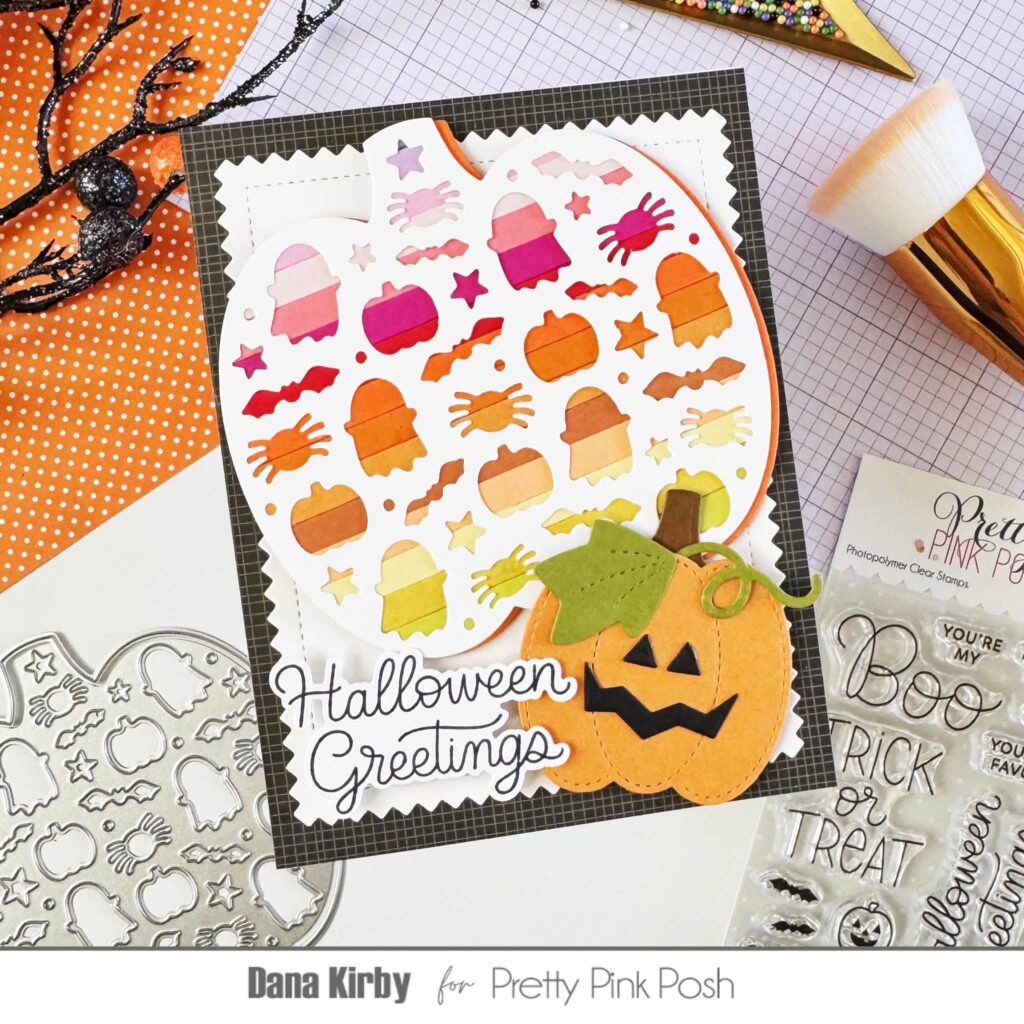
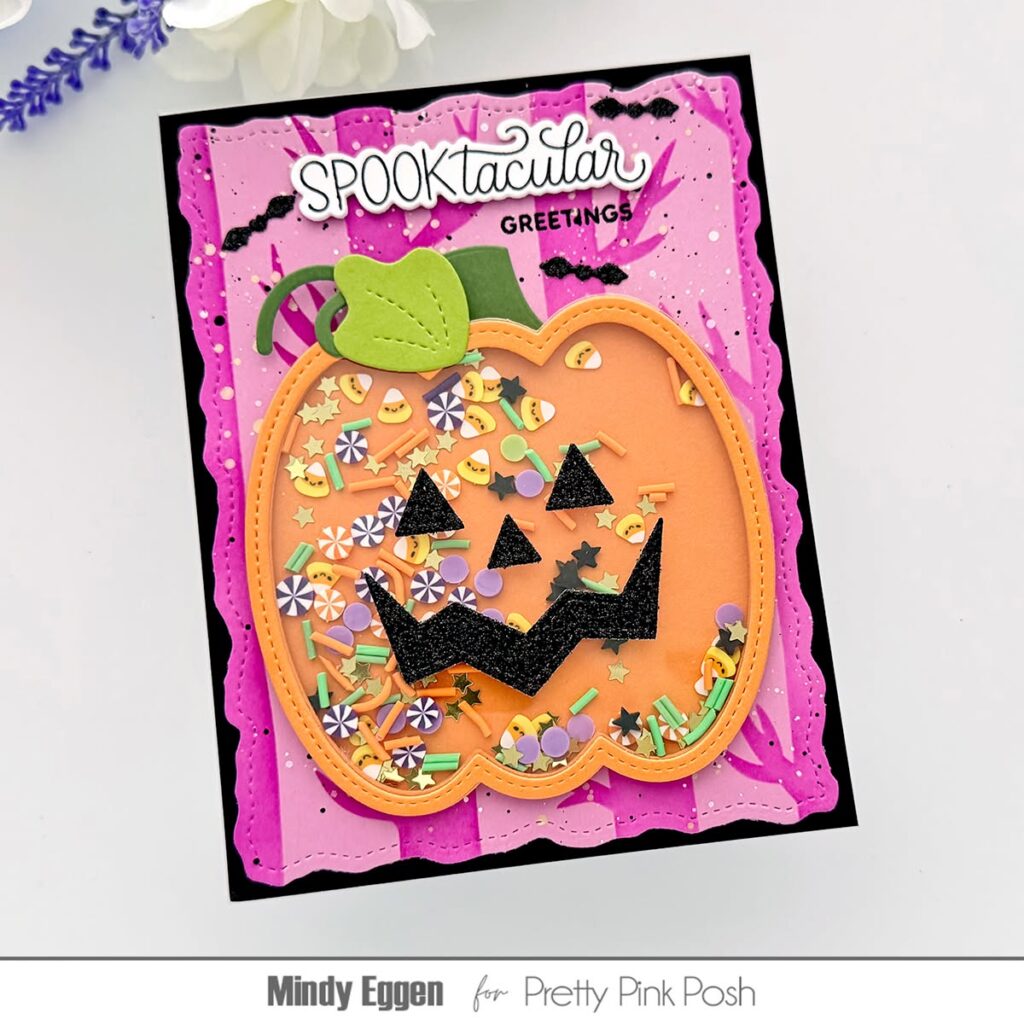
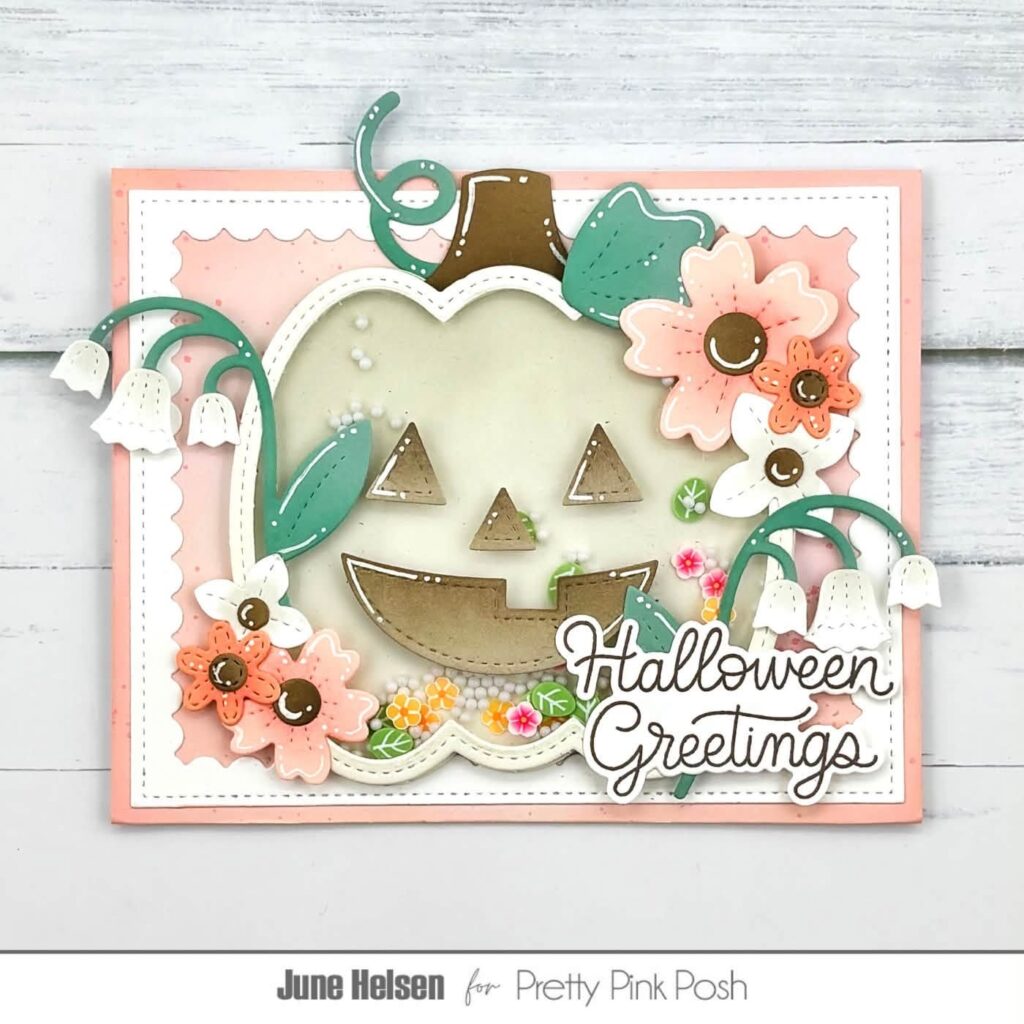
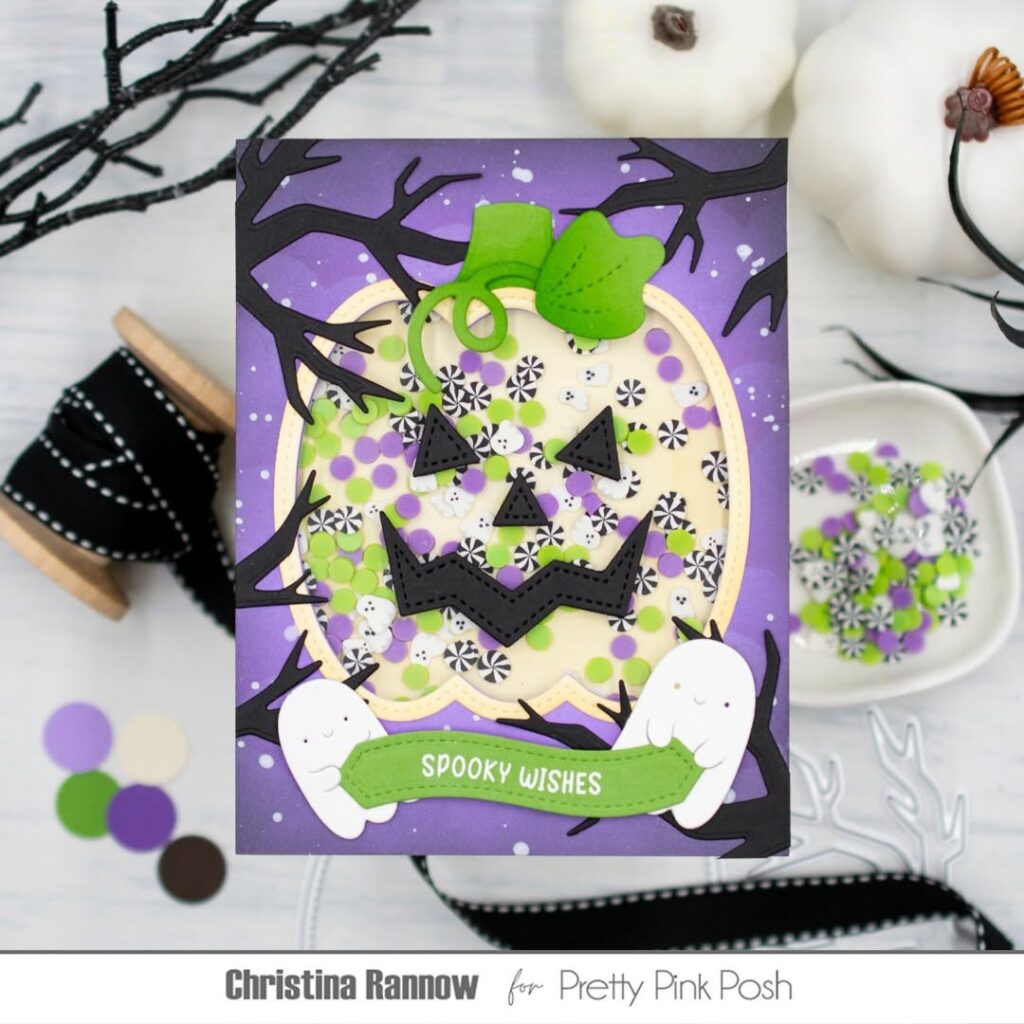
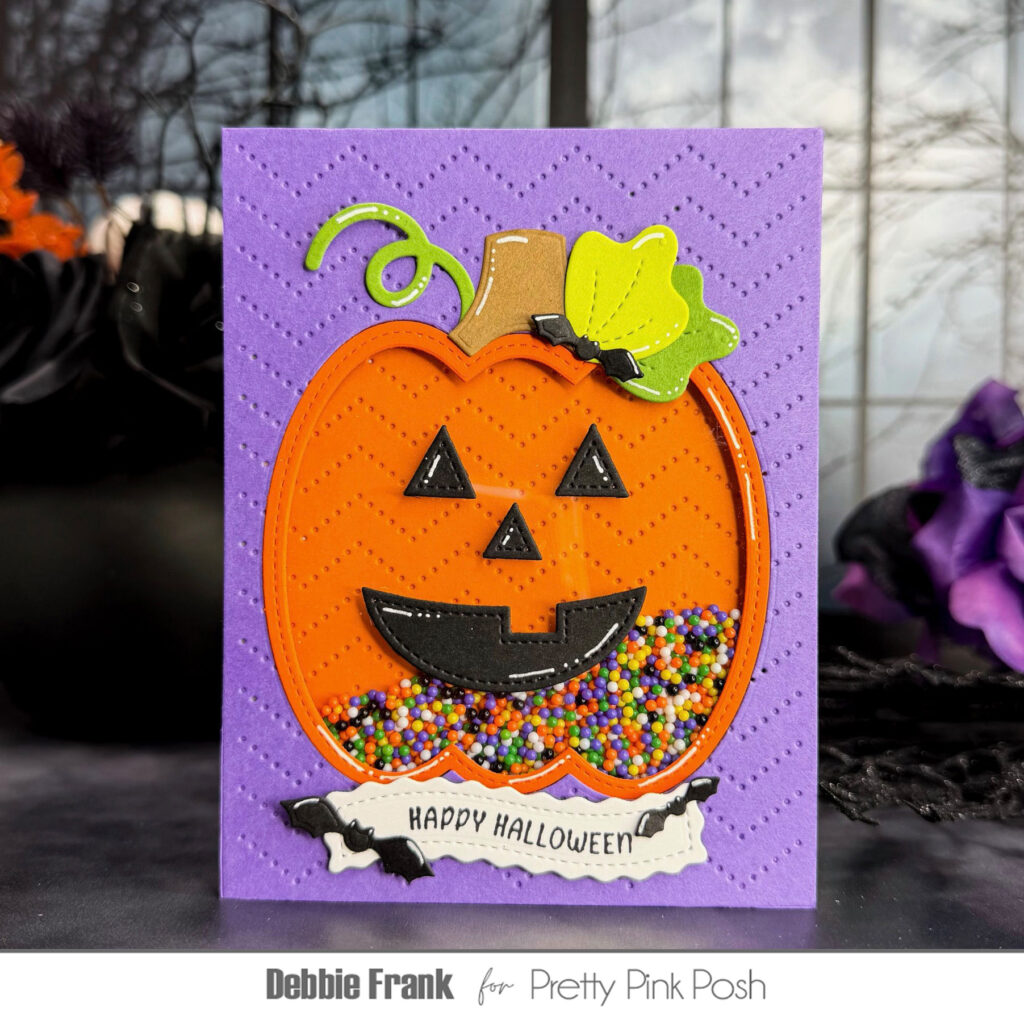
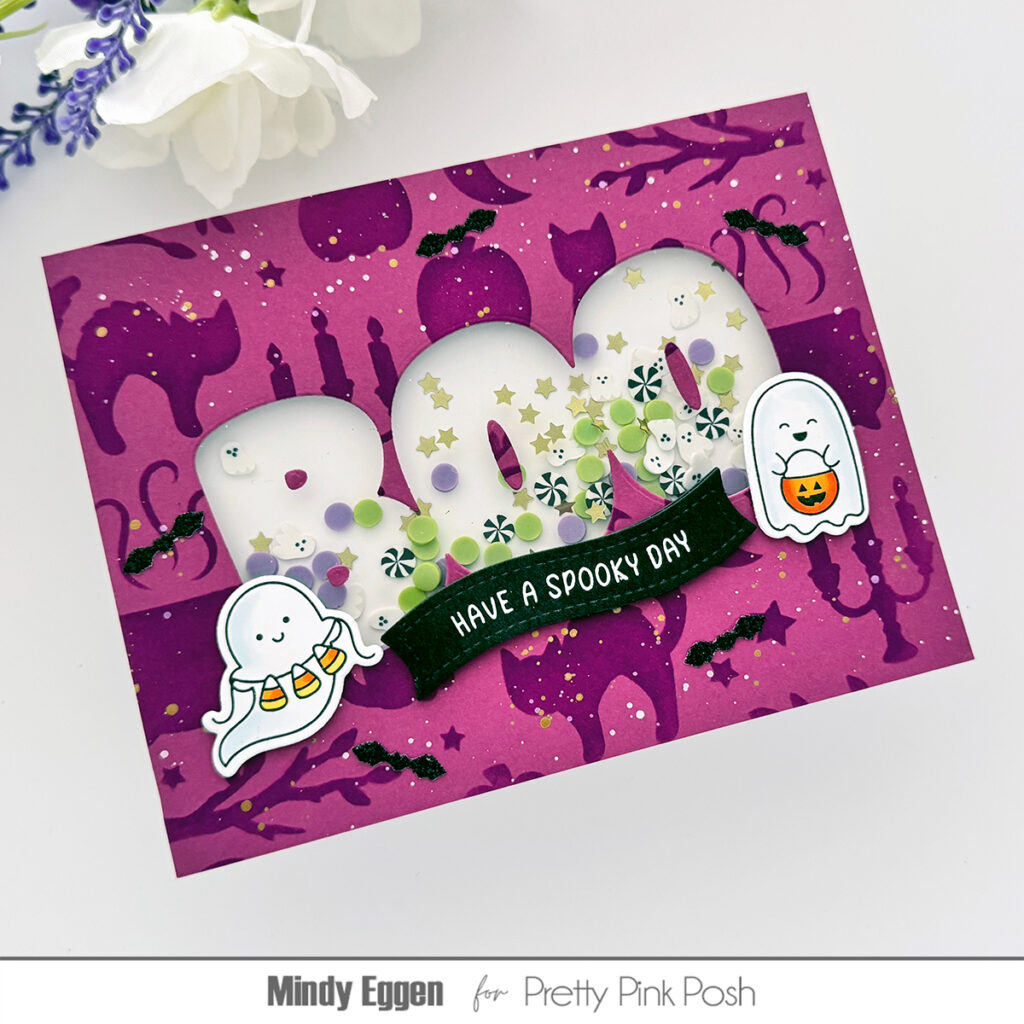
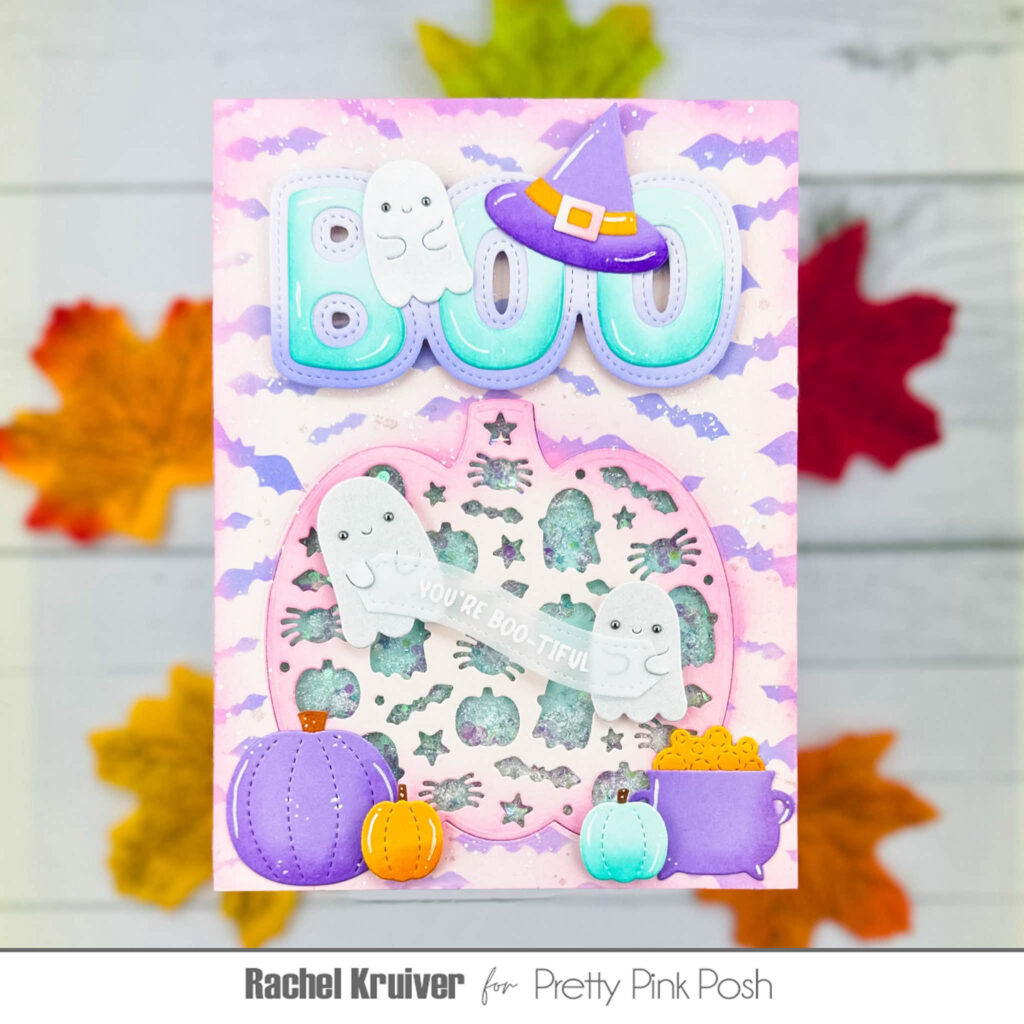
Today we’ll be taking a look at three of the new standalone die sets: Pumpkin Face Shaker, Decorative Pumpkin and Boo Word Shaker.
Watch the video above I Watch the video in HD on YouTube
Hello, crafty friends!! Brenda here with you today! I’m super excited to be sharing sneak peeks of the new August release! This release is packed with lots of Halloween and fall goodness!! I’m sharing sneak peeks of the Decorative Pumpkin Die, Pumpkin Face Shaker Dies and the Boo Word Shaker Die Set! You’ll also see a peek of a few other sets that are making their debut, as well!
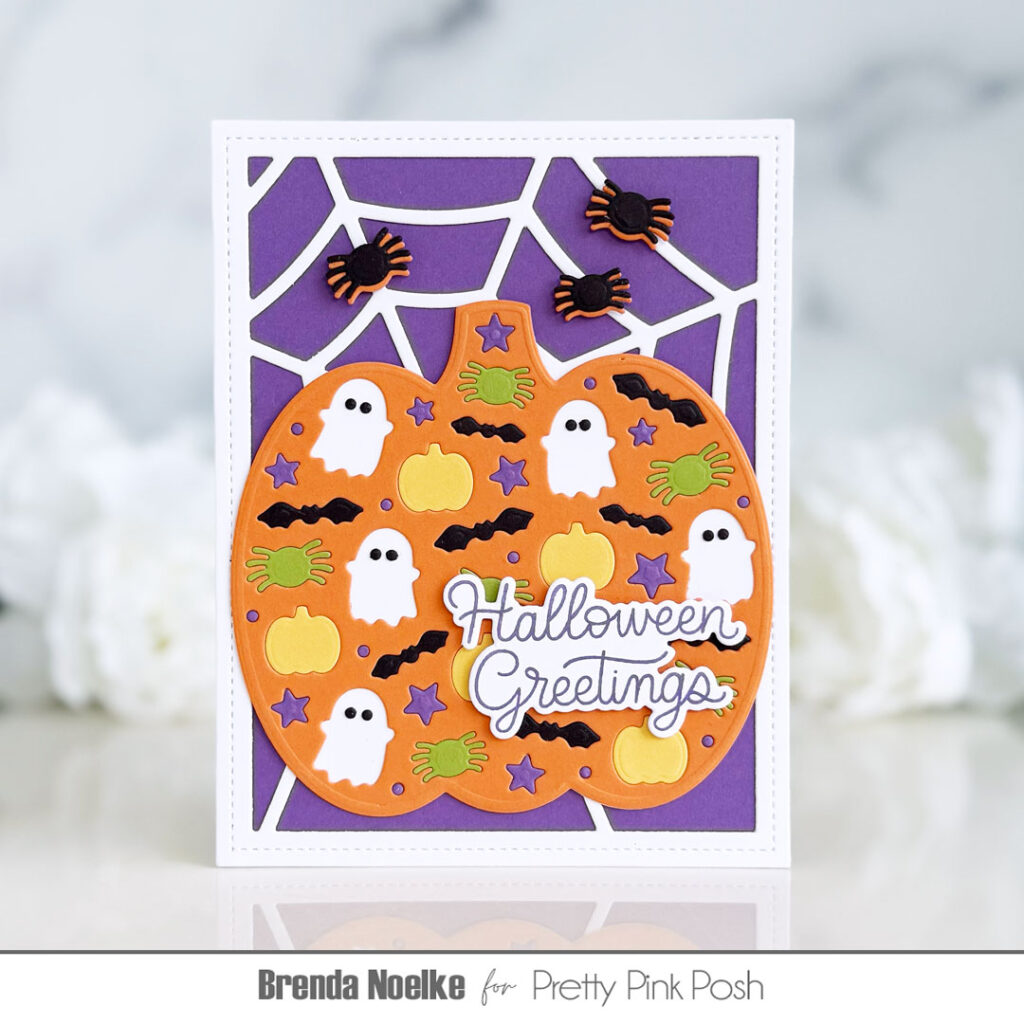
My first card features the Decorative Pumpkin Die, a sentiment from the Boo Greetings Stamps & Dies and the previously released Spider Web Cover Plate Die!
I started by die-cutting the Spider Web Cover Plate from white cardstock and layering over a panel of purple cardstock.
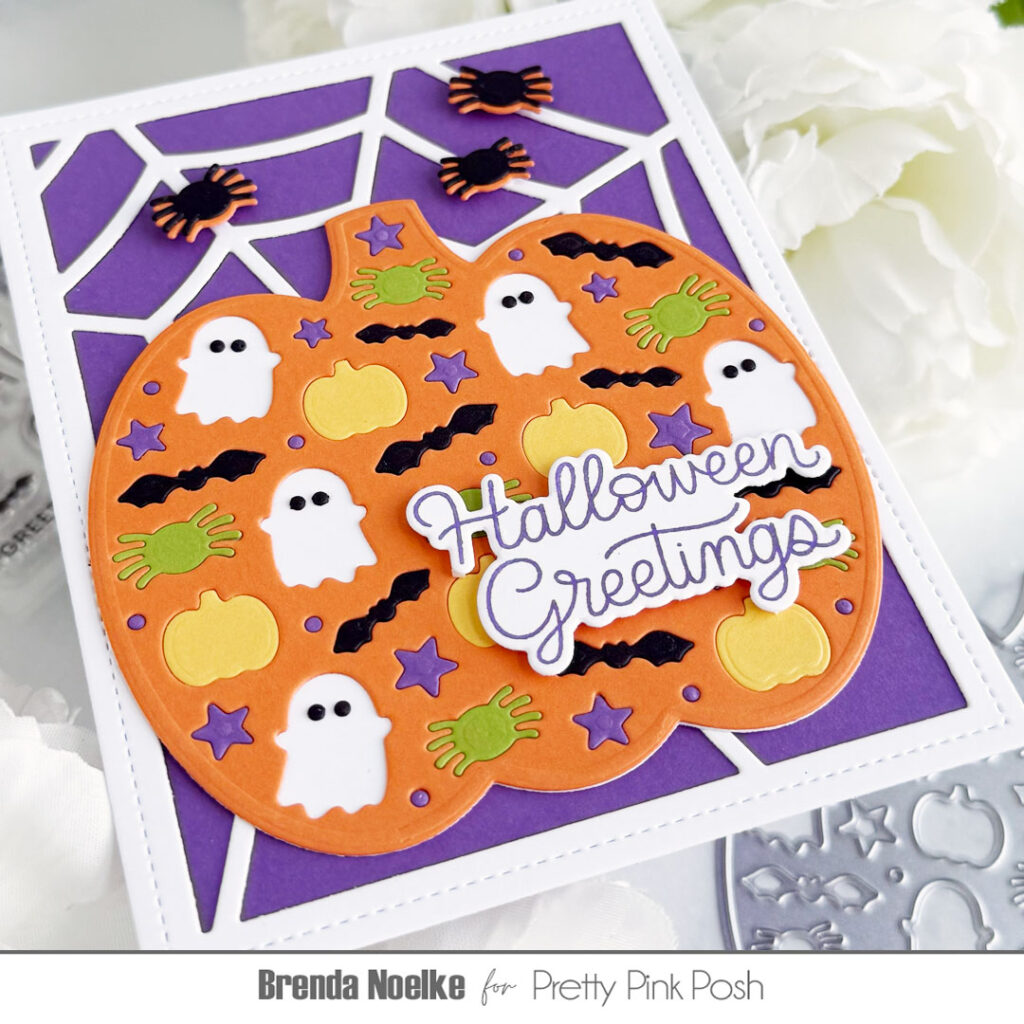
Next, I die-cut the Decorative Pumpkin Die from orange, yellow, green and purple cardstock. The outline in the set was cut from white cardstock. I adhered the orange die-cut layer to the white background and inlaid the other colors into the openings. I added the black dots to the ghost’s eyes, then adhered the pumpkin to the bottom of the panel with liquid glue.
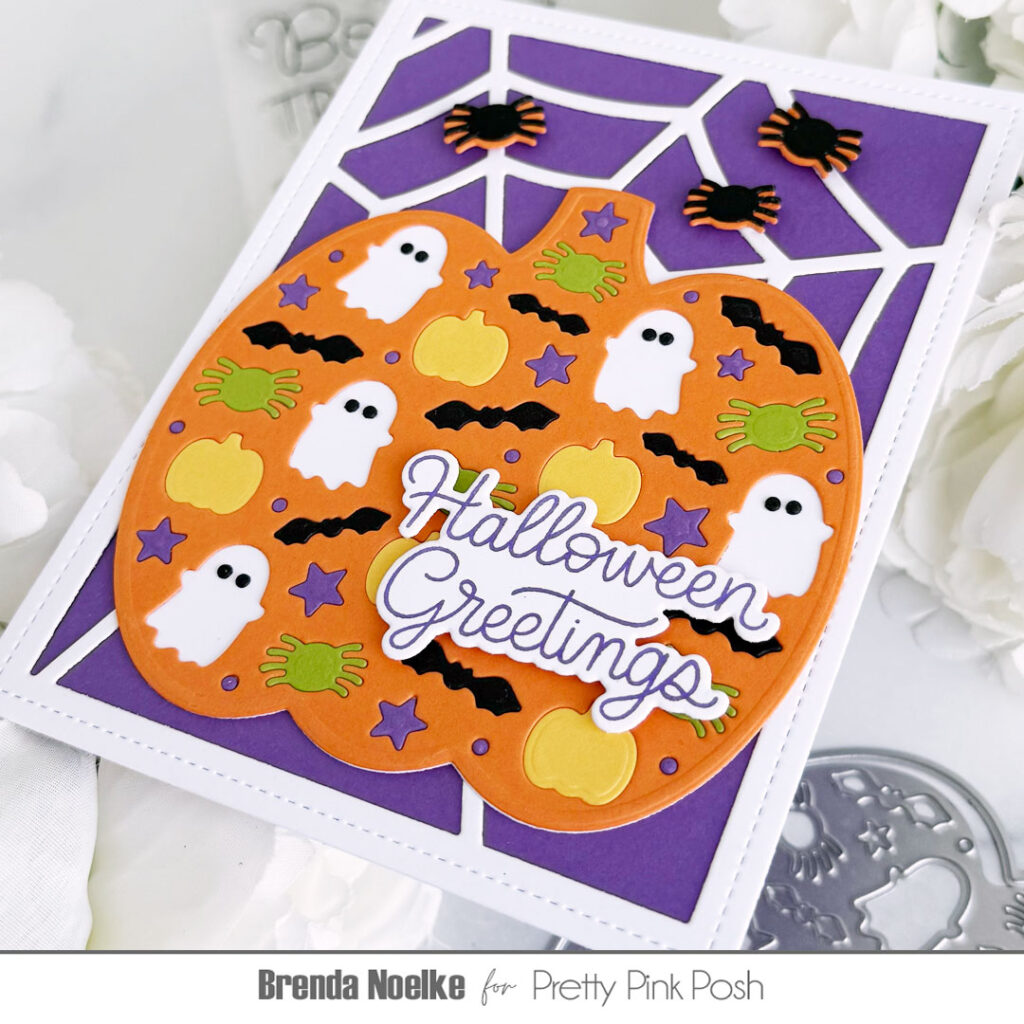
The sentiment, from the Boo Greetings Stamp Set, was stamped onto white cardstock with purple dye ink. It was cut out with the Coordinating Die and popped up with foam squares. I adhered the black and orange spiders together, slightly offset, then popped those up with foam squares, as well.
My second card features the Pumpkin Face Shaker Die Set, Halloween Banner Greetings, Banner Greetings 4 and the Clouds Stencil!
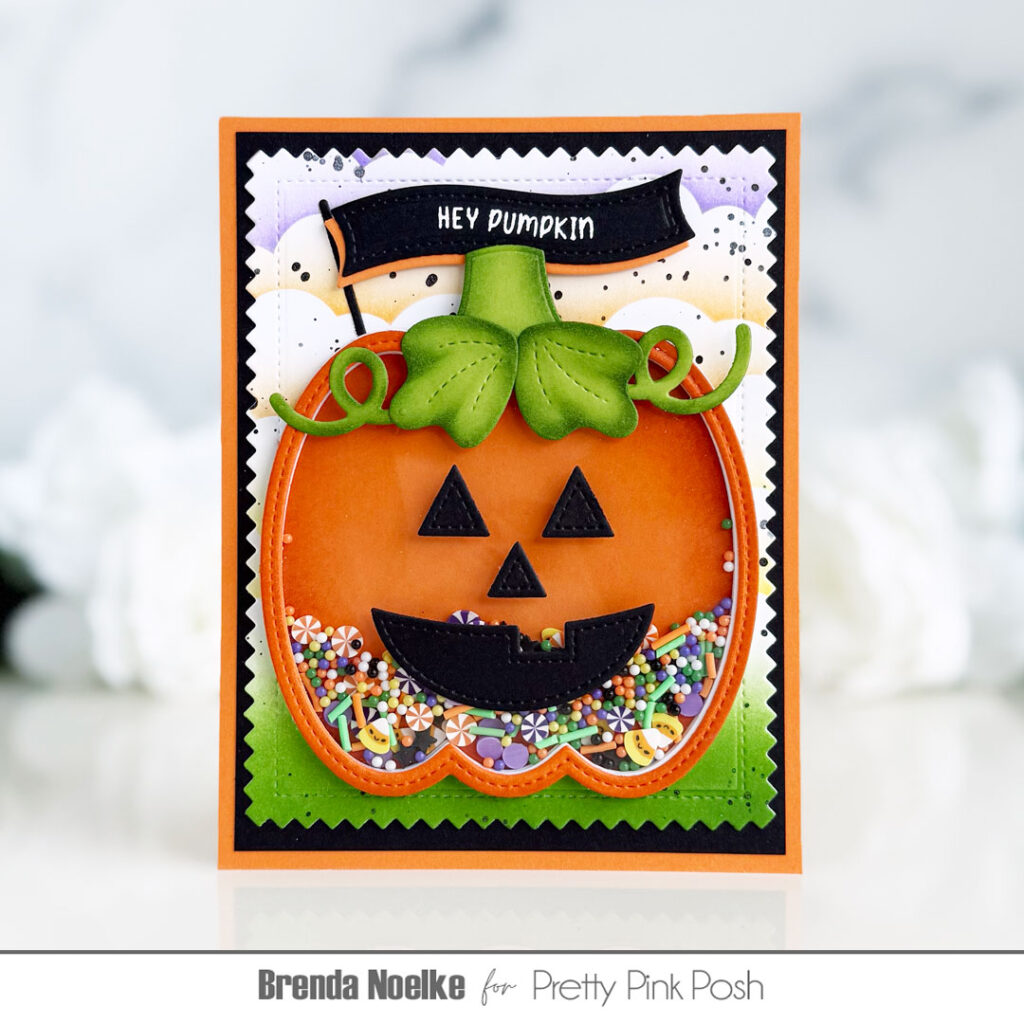
I began by stenciling the Clouds Stencil onto a panel of white cardstock with Mustard Seed, Carved Pumpkin and Wilted Violet Distress Inks. I blended Mowed Lawn Distress Ink along the bottom of the panel, then die-cut it with the largest die in the Pinking Rectangles Die Set. It was splattered with diluted black dye ink, and once the ink was dry, adhered to panels of black and orange cardstock.
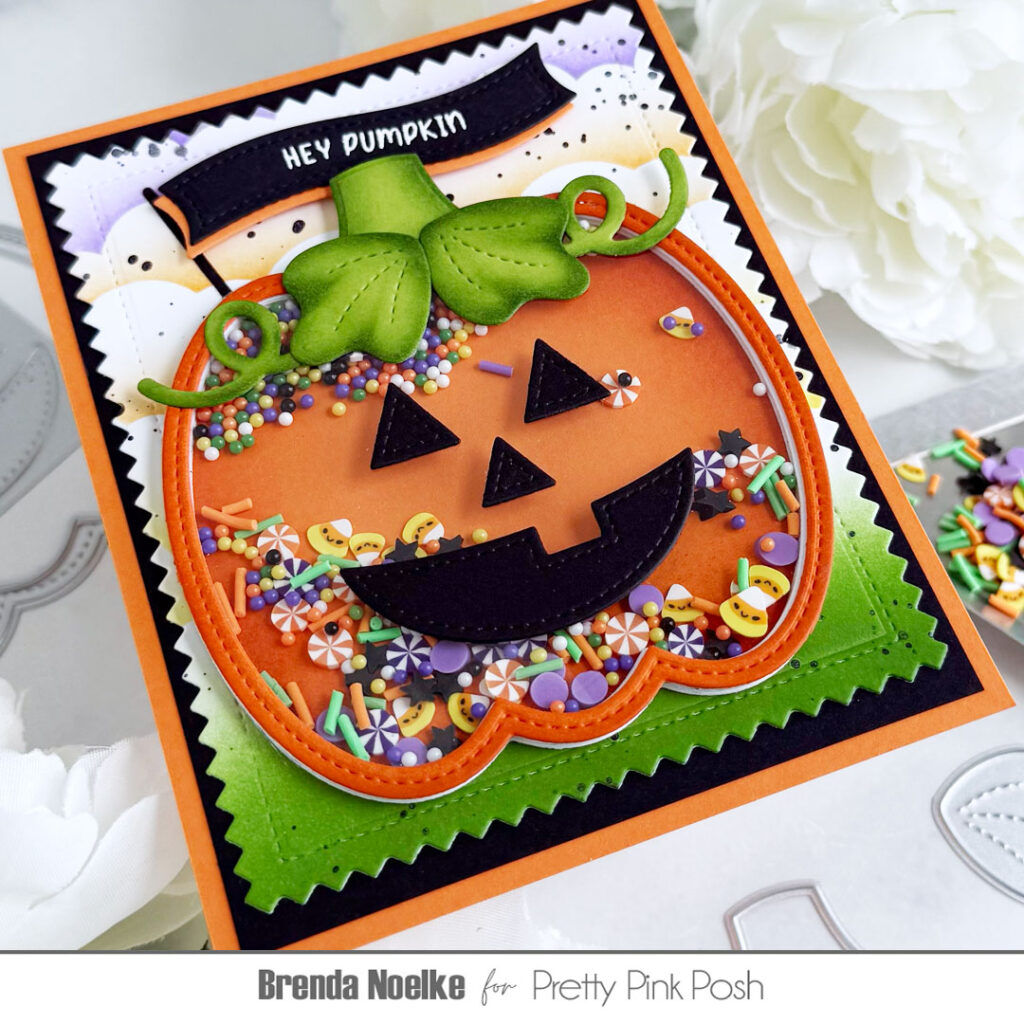
I created the shaker element with the Pumpkin Face Shaker Die Set. I taped the two pumpkin dies together and die-cut it once from orange cardstock and several times from heavyweight white cardstock. The solid layer was cut from orange cardstock and acetate, then stem and leaves from green cardstock and the face from black cardstock. I used Rusty Hinge and Rustic Wilderness Distress Inks to add shading to the die-cuts, then adhered all the pieces together, adding Candy Corn Carnival Mix and Halloween Fun Shaker Beads for the shaker bits. It was adhered to the background with liquid glue.
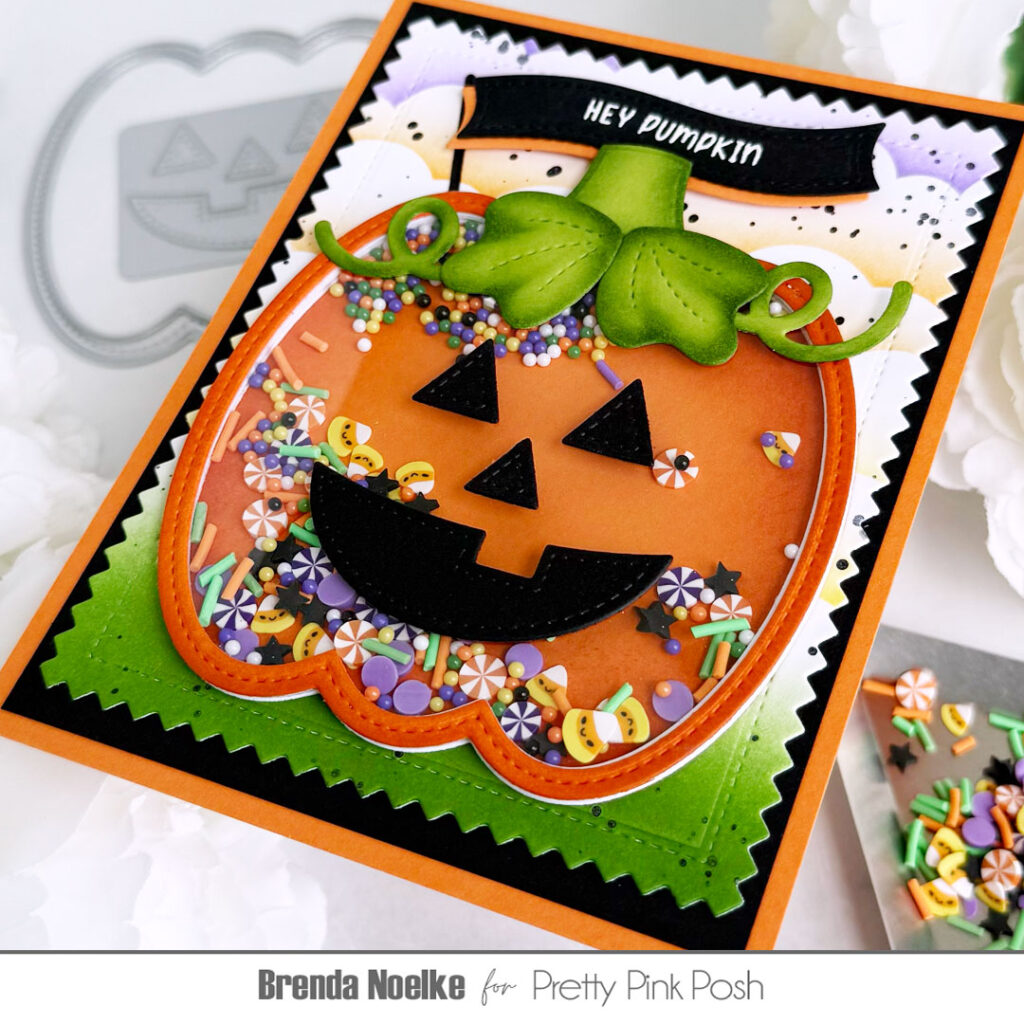
The sentiment, from the Halloween Banner Greetings Stamp Set, was white heat embossed onto black cardstock and cut out with a die in the Banner Greetings 4 Die Set, along with another layer from orange cardstock. The stick for the “flag” was cut from black cardstock using a die in the Summer Drink Shaker Die Set. It was adhered with liquid glue and the flag layers were adhered slightly offset, then it was popped up with foam squares.
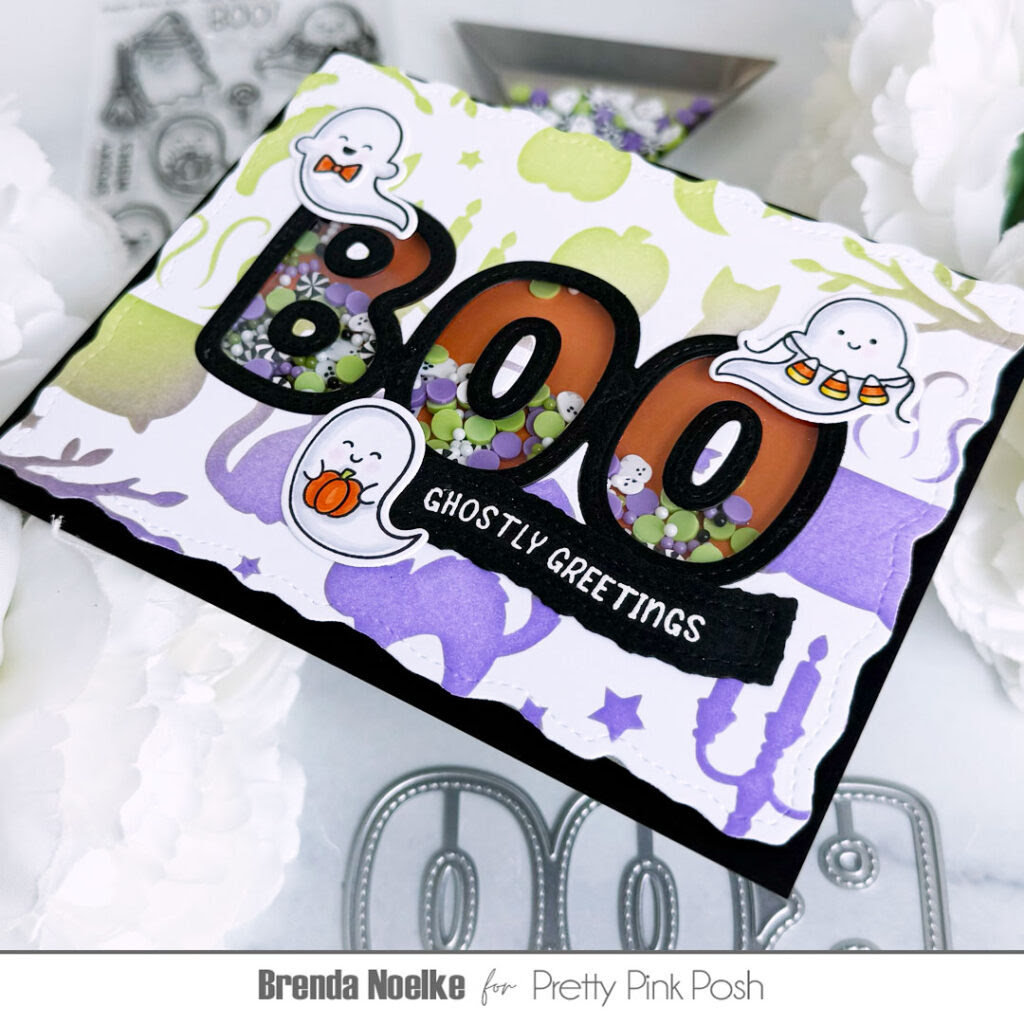
My third and final card features the Boo Word Die Set, Mini Ghosts Stamps & Coordinating Dies, Halloween Silhouettes Background Stencil, Halloween Banner Greetings Stamps and Banner Greetings 4 Die Set!
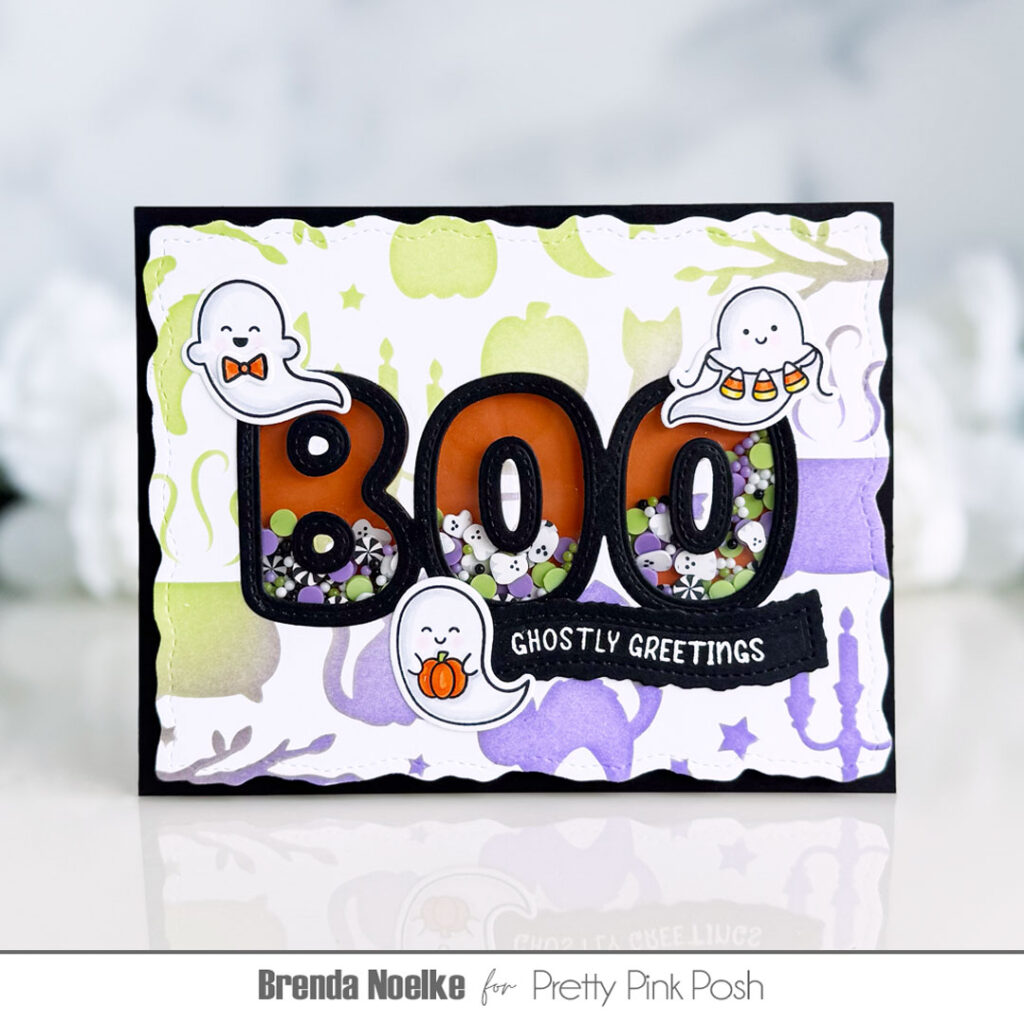
I started by stenciling the Halloween Silhouettes Background Stencil onto a panel of white cardstock with Twisted Citron and Wilted Violet Distress Inks. It was die-cut with the largest die in the Stitched Torn Rectangles Die Set. The largest die in the Boo Word Die Set was cut from the background (be sure to hang onto the middle pieces of the letters). A piece of acetate was adhered behind the opening and I doubled up foam tape and filled the shaker with Boo Crew Mix and Potion Pop Shaker Beads before adhering a piece of orange cardstock to the back. It was then adhered to A2 panel of black cardstock.
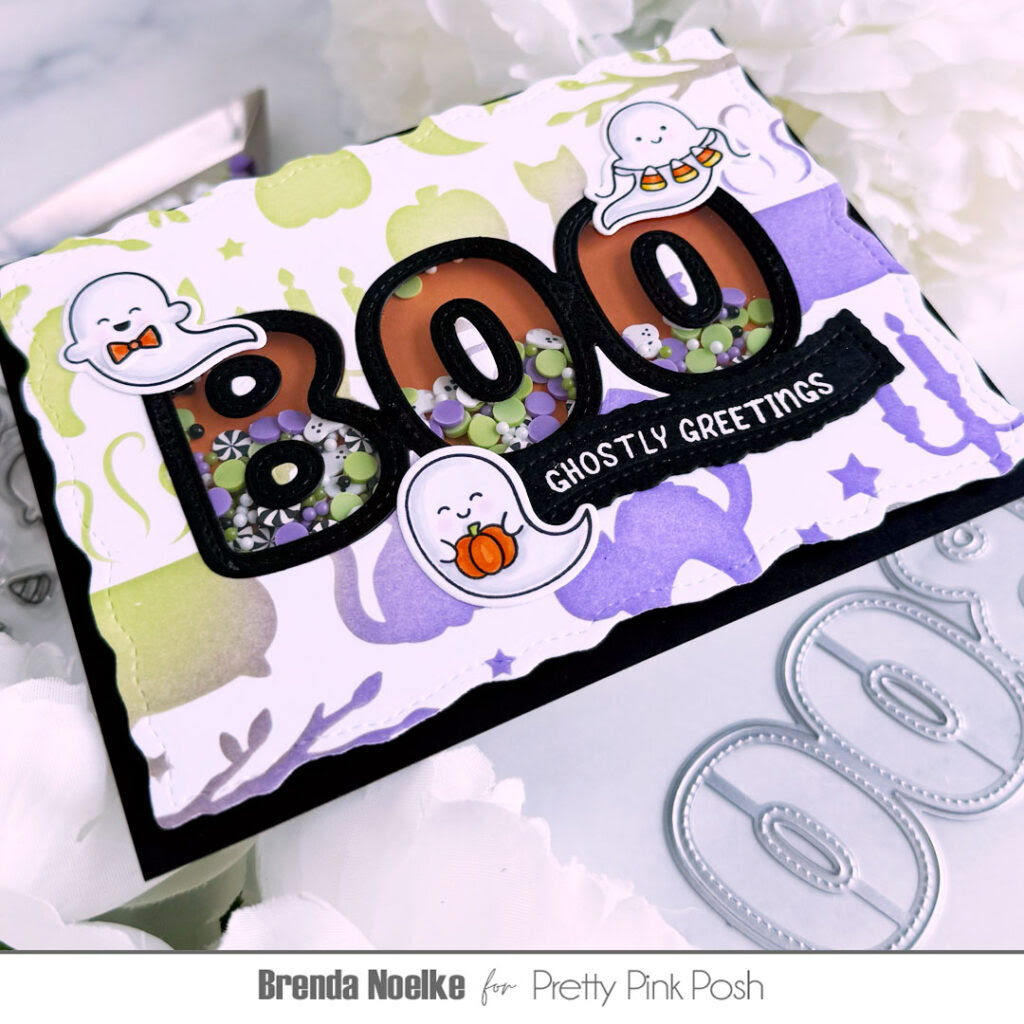
The Boo Word Shaker Dies were taped together and cut from black cardstock to create the outline, then it was adhered to the opening over the acetate. The images from the Mini Ghosts Stamp Set were stamped with Copic-friendly black ink, colored with Copic markers and cut out with the Coordinating Dies. The sentiment, from the Halloween Banner Greetings Stamp Set, was white heat embossed onto black cardstock and cut out with a die from the Banner Greetings 4 Die Set! The ghosts and banner were adhered with liquid glue and this card was finished.
Here is more inspiration from the rest of the team…
Thank you so much for checking out the sneak peek inspiration. Come back tomorrow for more sneak peeks!
Love all the shakers and the adorable mini ghosts! Loads of fun!
Wow these dies are blowing me away!! Love the boo shaker!!
That boo shaker is adorable!!! Loving all the sneak peeks.