
Ink Blended Hibiscus Flowers
Aloha! Christina here to share a vibrant floral card design showcasing the new Hibiscus Flowers Dies. These ink-blended beauties are easy to create and make the perfect focal point for your card design. I combined them with a big, bold greeting, the Large Summer Shadow Die, and to contrast the scripty text and the organic shapes of the flowers, I gave them a geometric background using the Checkered Pierced Plate. Check out my supply list and then I’ll walk you through the steps to create this vibrant floral card.

Hibiscus Flowers Dies
Large Summer Shadow Dies
Happy Summer Stamp Set
Checkered Pierced Plate
Rounded Stitched Rectangle Dies
4mm Clear Droplets
My first step was to create the vibrant ink-blended flowers that are my focal point. I started by ink-blending Distress Inks onto a white cardstock panel. I chose Kitsch Flamingo, Picked Raspberry, Carved Pumpkin, Squeezed Lemonade, and Mustard Seed, blending them across the entire panel before spattering the panel with not only more ink but also plain water too. This gave the ink-blending some texture and interest. Then I die-cut the flowers and the flower centers from the ink-blended panel, positioning the dies on the areas that I liked the best.
I used the same process for the leaves of the flowers, choosing Mowed Lawn, Twisted Citron and Pine Needles Distress Inks for the ink-blending.
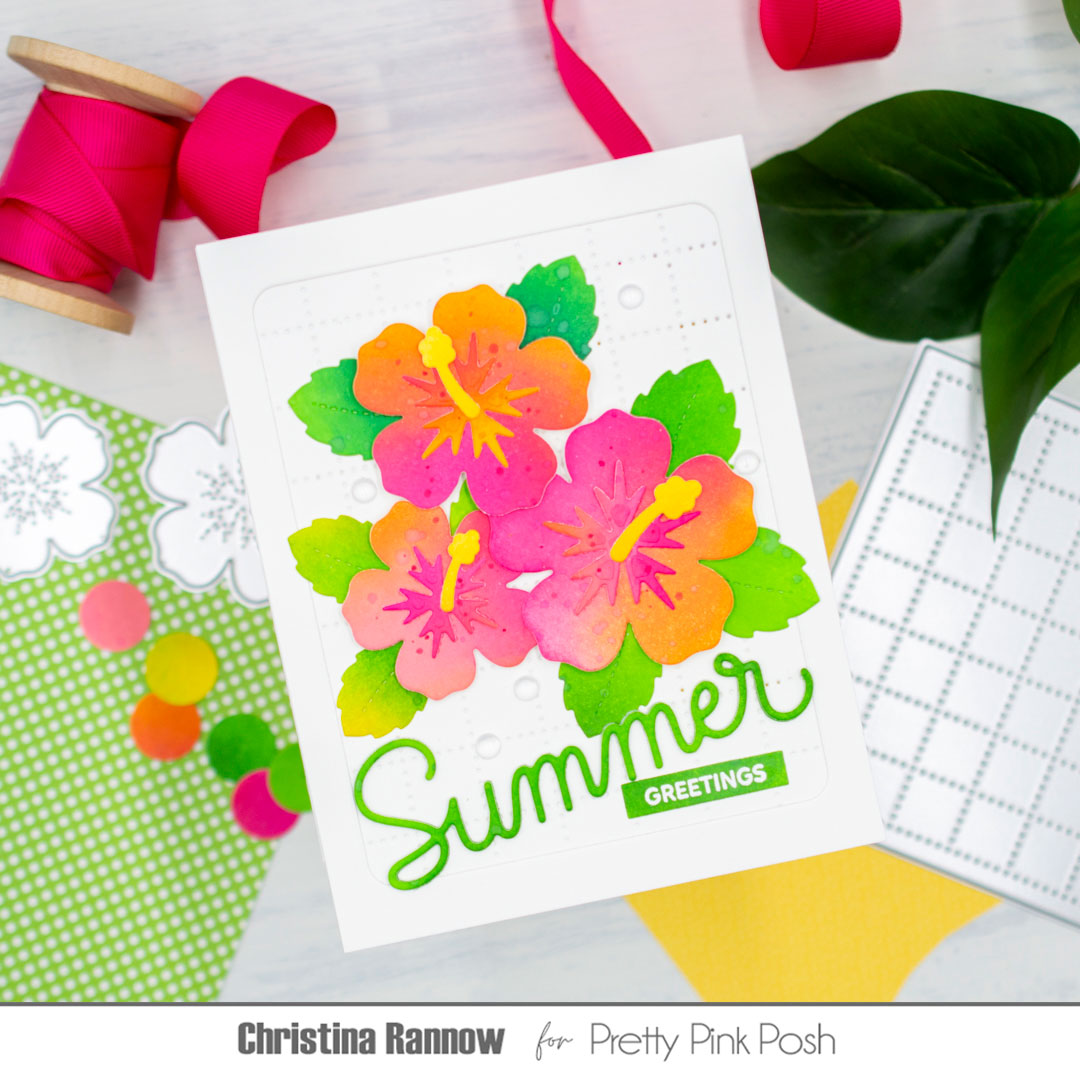
My next step was to assemble the die-cuts and arrange them on a white Checkered Pierced background panel. I used foam squares to attach the flowers and tucked the leaves underneath, securing them with glue. I decided to frame up my design and used the largest Rounded Stitched Rectangle to die-cut a white cardstock panel and used the negative space as the frame.
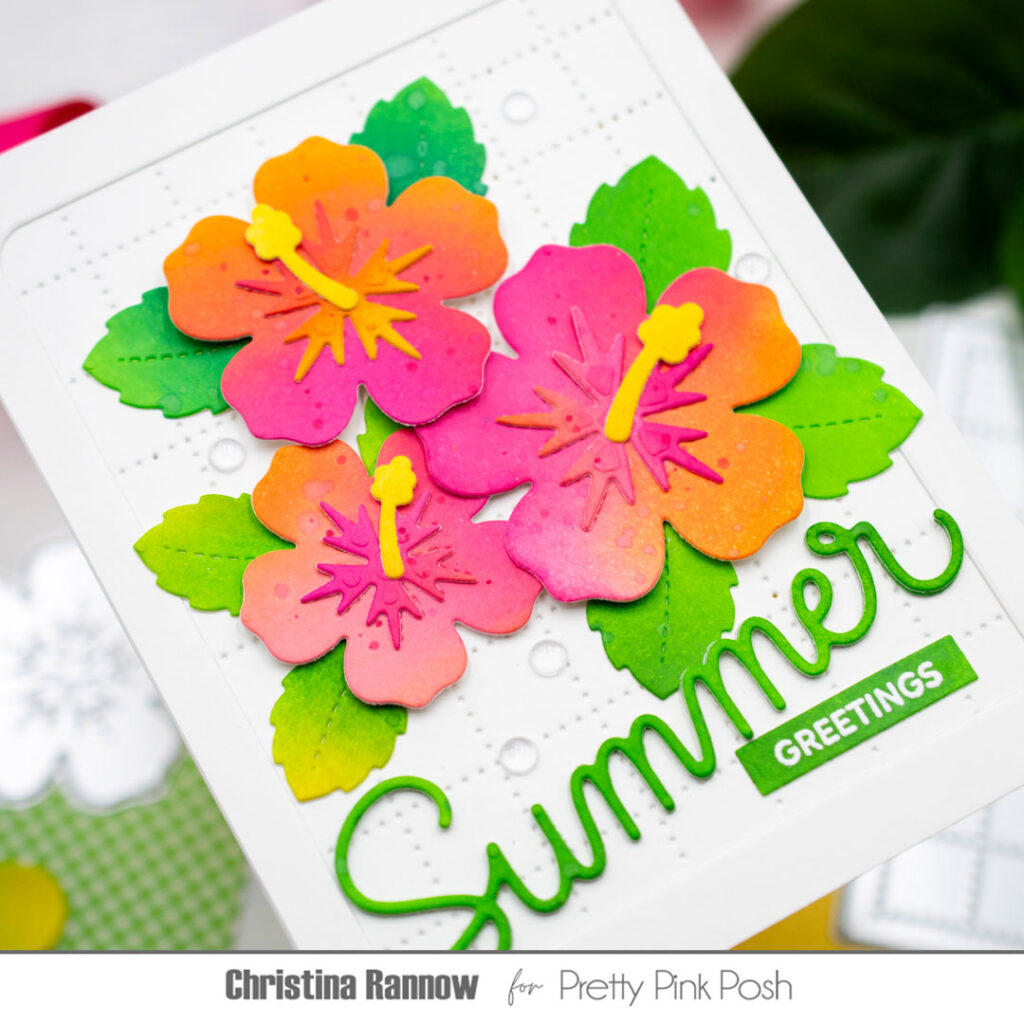
To finish things up, I used the leftover green ink-blended cardstock panel to die-cut the word “summer” and heat-emboss the word “greetings” with white embossing powder before die-cutting it with a sentiment strip. I combined them on my card front and added some 4 mm Clear Droplets for embellishment. Finally, I popped the card front onto a top-fold card base.
Thank you so much for reading and I hope you’re inspired to do some ink-blending of your own! See you again soon!
Hibiscus are my fav flowers bc of how colorful they are! This is such a great die set!! I can make so many different color papers and just cut all the flowers!! 🌺 🌺 🌺 Amazing!!