
Colorful Present Shaker
Hi crafty people! It’s Rachel here today with a bug-tastic shaker party card. I always love a shaker card; it is one of my favorite types of cards. Today I mixed and matched some products from the May 2026 release with older products. Mixing and matching my Pretty Pink Posh products is always so fun!
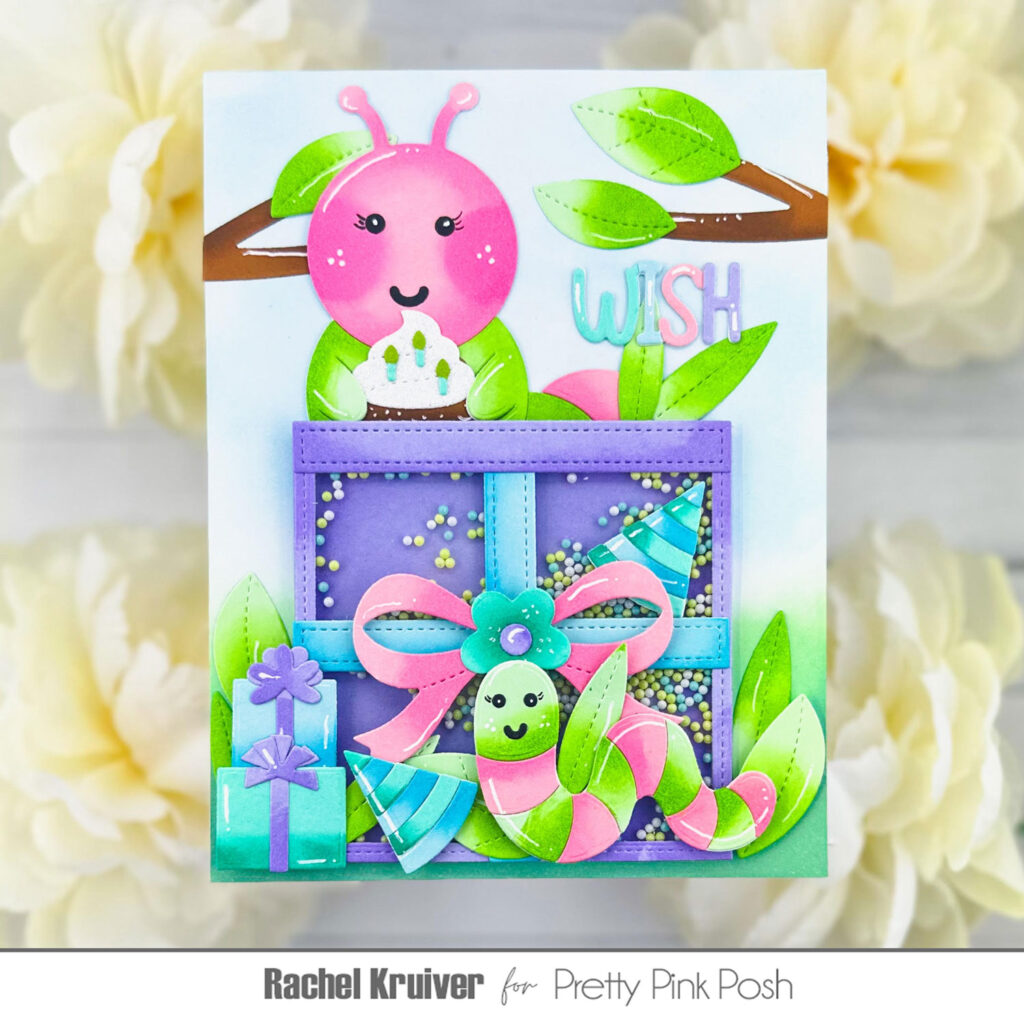
Let’s start with creating our card base. I cut a piece of white paper to 6 1/2 x 5 inches. I needed a larger size to fit all my elements onto the card. Part of the bottom I ink blended in green, and the top in a light blue.
Then I started working on my present shaker by die-cutting all the elements from pastel colors. I used the Present Shaker Die. The acetate I attached to the backside of the frame and adhered to the details while my shaker was still flat. After that, I went around my purple base piece from the present die with thin foam strips. Filled it up with the Spring Breeze Shaker Beads and put my frame on top.
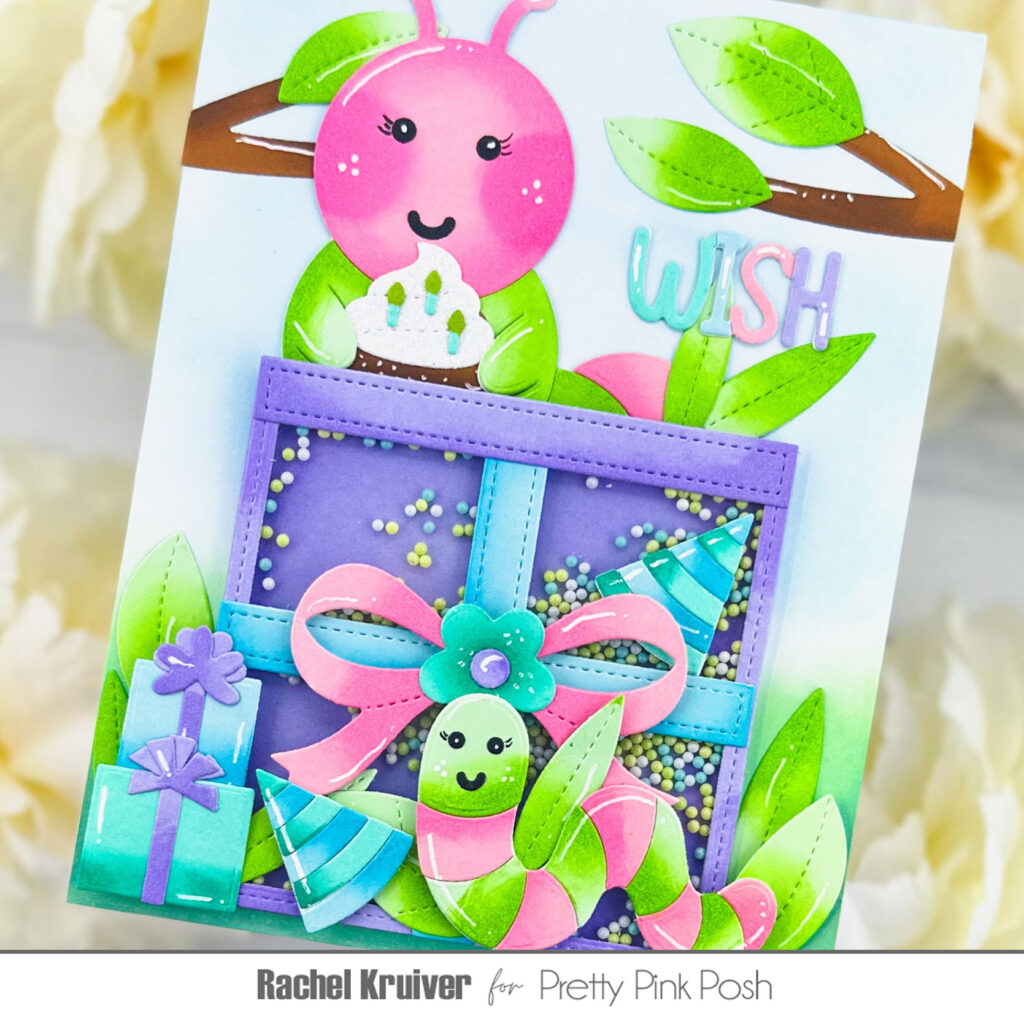
I die-cut all the elements I wanted to use to create my bugtastic party. I chose Stitched Bugs Die, Caterpillar Holder Die, Everyday Branches Die and the Birthday Holder Additions Die. Add ink blending around the edges to create shading. Assembled all of them and started laying it out on my card base. I like to do this before going in with adhesive because you can still play around with the position of all your die cuts.
For my sentiment “Wish” from the Birthday Holder Additions die, I thought it would be fun to die-cut it out of the colors I used on my card. So, I die-cut it 5 times, four times out of the colors I used on my card and once out of white to layer my colored letters on. I used my small scissors to cut each letter out of a different color, then used liquid glue to attach them to my white cut cardstock.
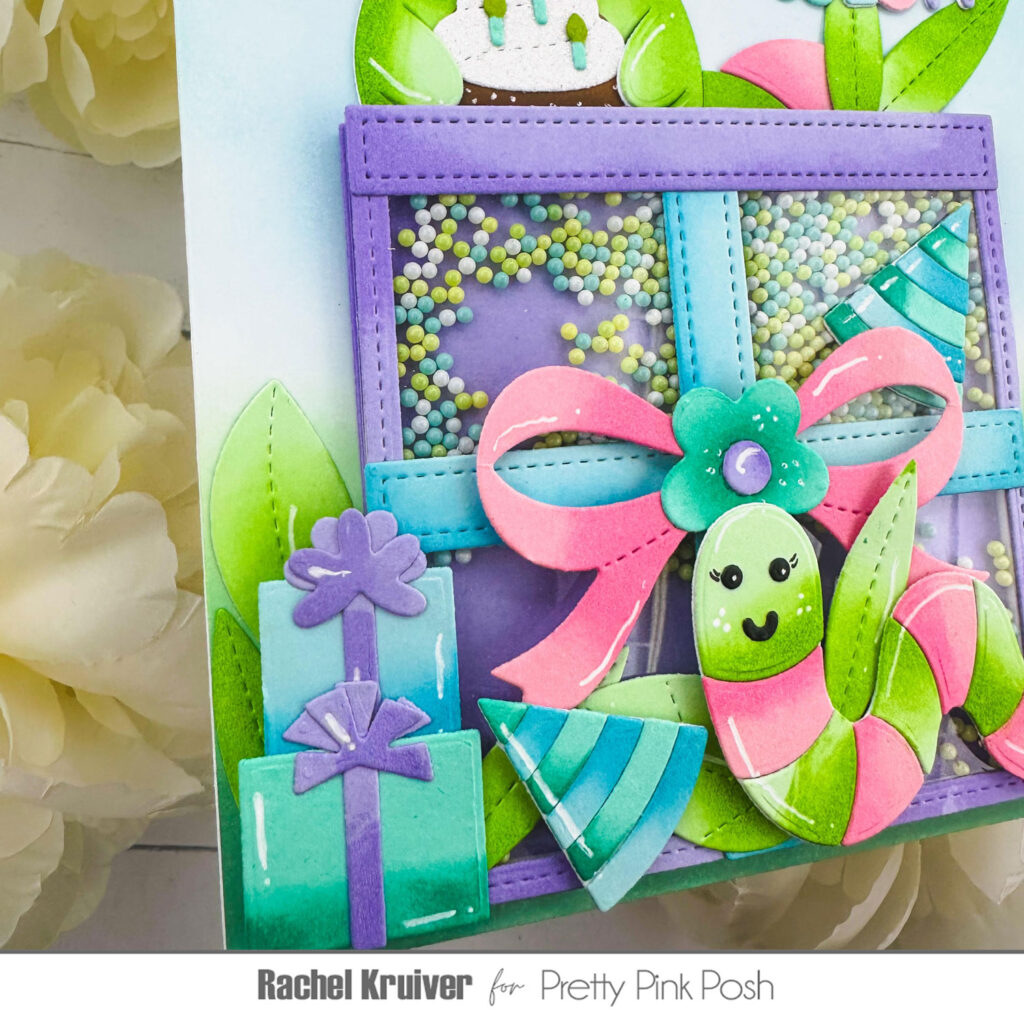
Then it was time to assemble my card; I used a combination of liquid glue and foam tape for this. I always like to have different heights on my cards. Especially when working with a shaker. So, I can have some elements of the same height as my shaker piece.
Thank you for taking the time to read my blog post. I hope you like these treat boxes and are inspired to make your own. Mix and match your products to decorate them.
Don’t forget to follow me on Instagram @cards.byrachel for more crafting inspiration.
such a cute colorful card!