
January Intro: Decorative Shamrock + Horseshoe Shaker + Lucky Holder Additions + Shamrock Border
Welcome to the Day 3 sneak peeks of our January 5th release. Today we’ll be taking a look at the Decorative Shamrock, Horseshoe Shaker, Lucky Holder Additions and Shamrock Border die sets.
Watch the video above I Watch the video in HD on YouTube
Hi friends! Christina here, and I’m excited to share with you a couple of St. Patrick’s Day-themed sneak peeks! My first card features the new Decorative Shamrock die, which has so many creative possibilities, including inlaying each little shamrock with fun patterned papers like I did here. My second card is a bright multicolored shaker featuring the new Horseshoe Shaker and Layered Lucky Items Stencil. We have tons of lucky inspiration to share with you today, so let’s get started!
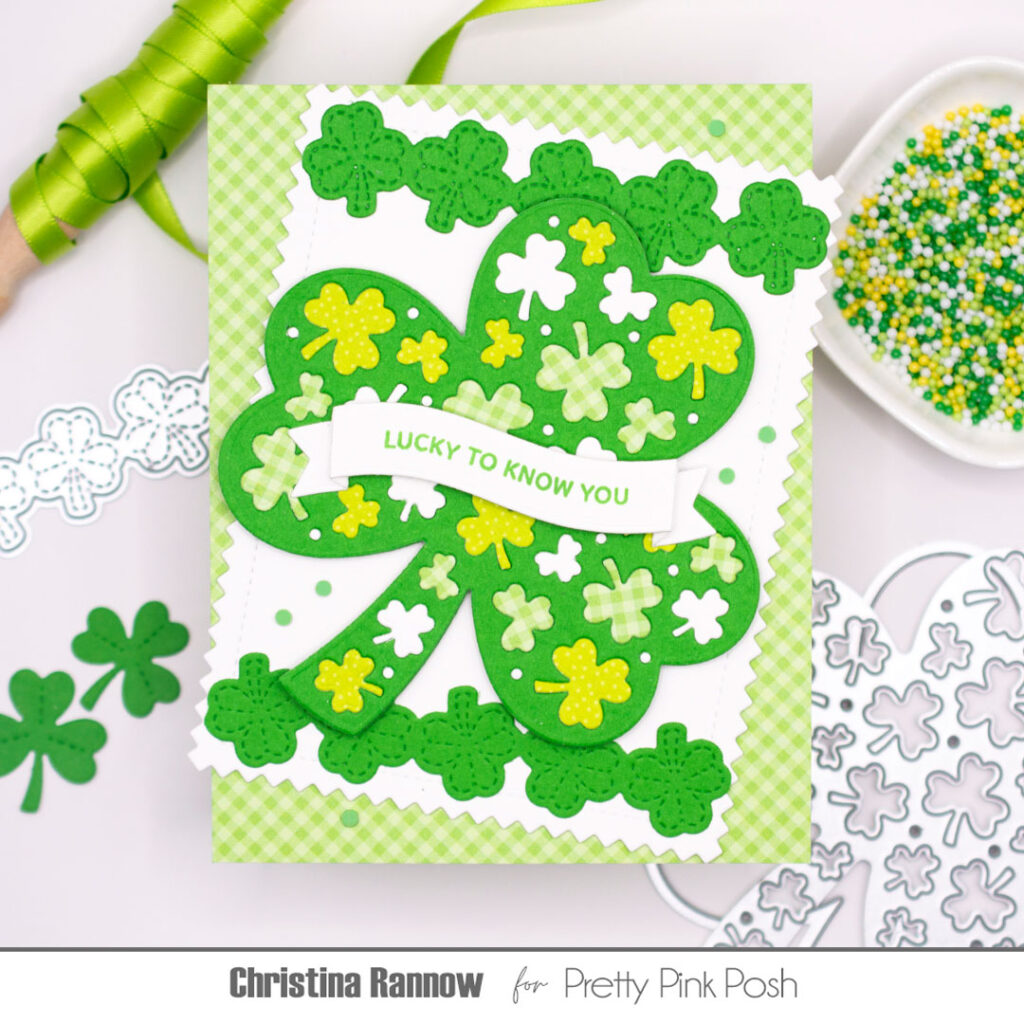
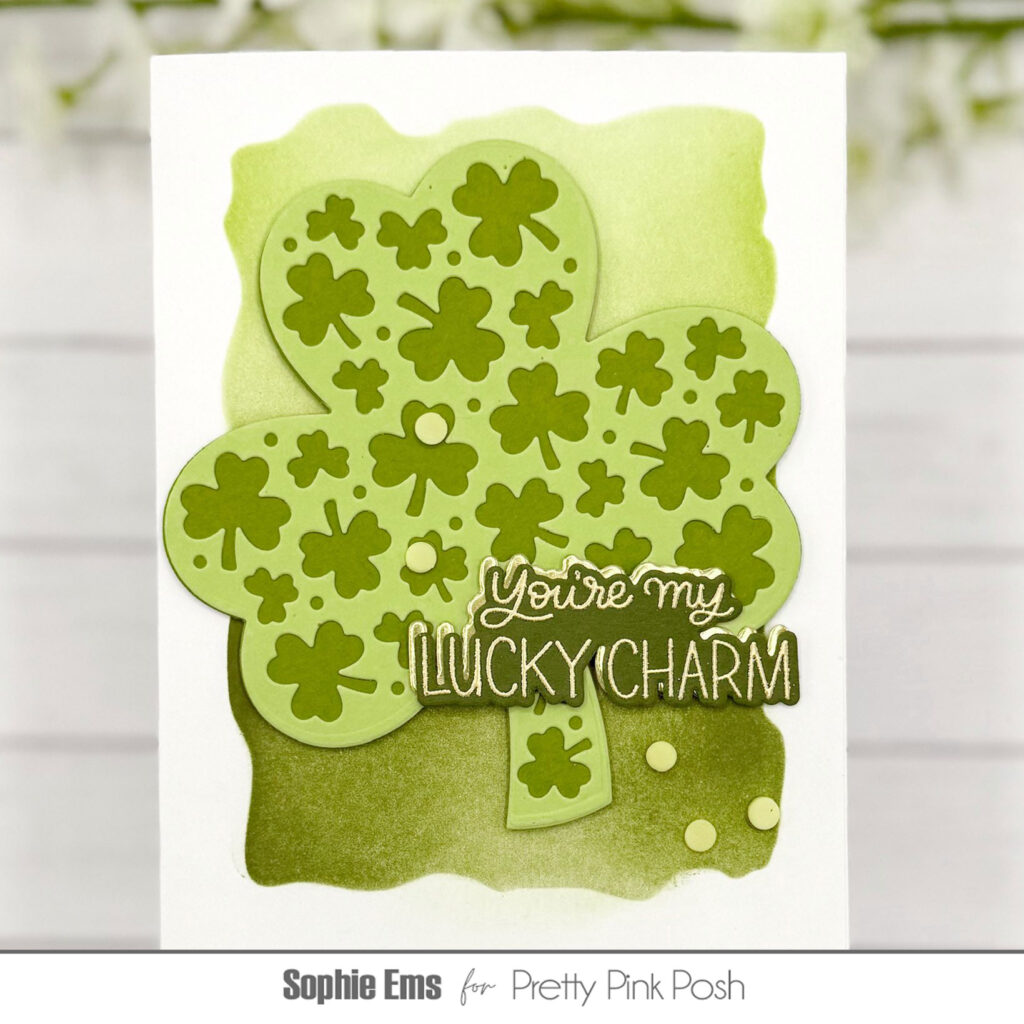
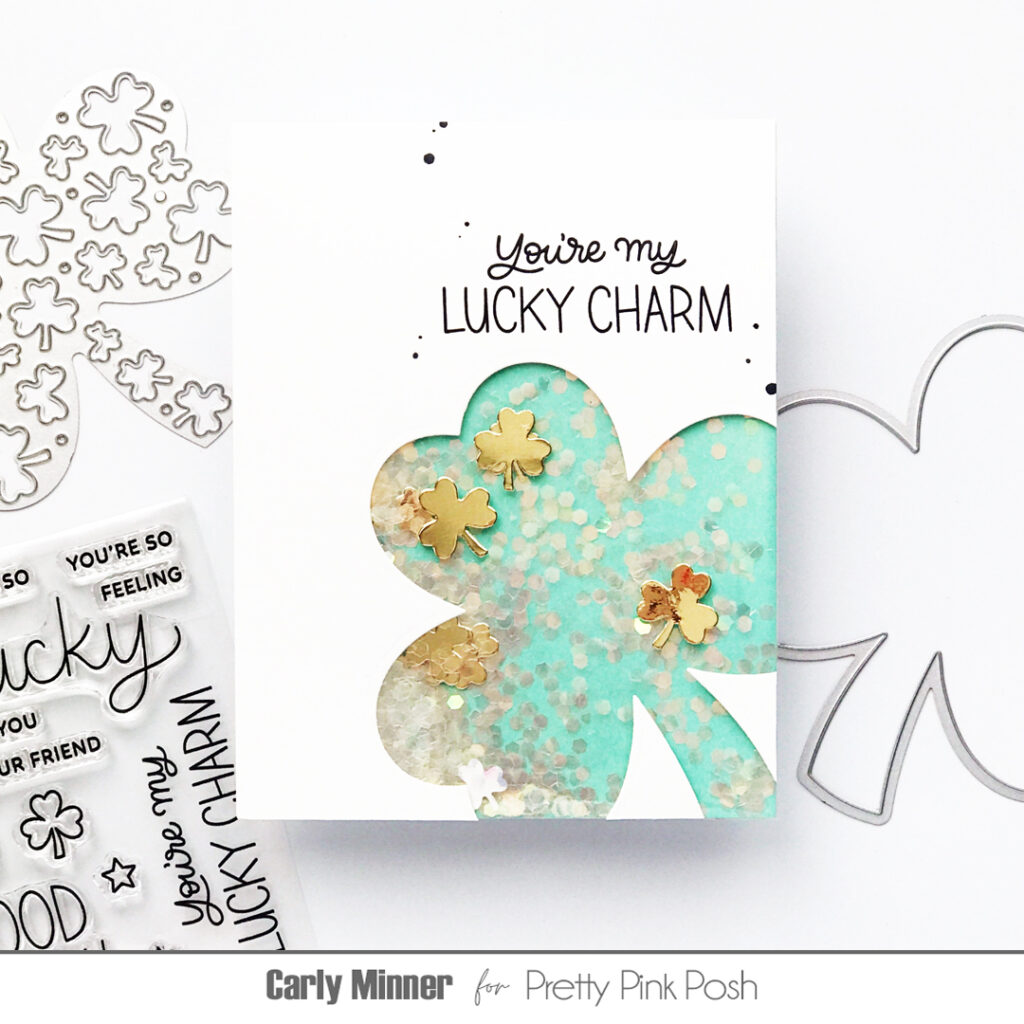
For the Decorative Shamrock card, my first step was to create the focal point by die-cutting the shamrock multiple times so I could inlay each little shamrock. I chose a cilantro green cardstock for the main body and inlaid the shamrocks with white cardstock and two green patterned papers. I love the monochromatic color palette I chose for the shamrock, but wouldn’t it be so pretty in rainbow colors? That might be my next project!

Next, for my background panel, I die-cut one of the new Pinking Rectangles from white cardstock and layered it, slightly askew, onto a green patterned paper panel. I added a fun Shamrock Border die-cut from more cilantro green cardstock to the top and bottom of the pinking rectangle and then attached the decorative shamrock in the center with thin foam squares.
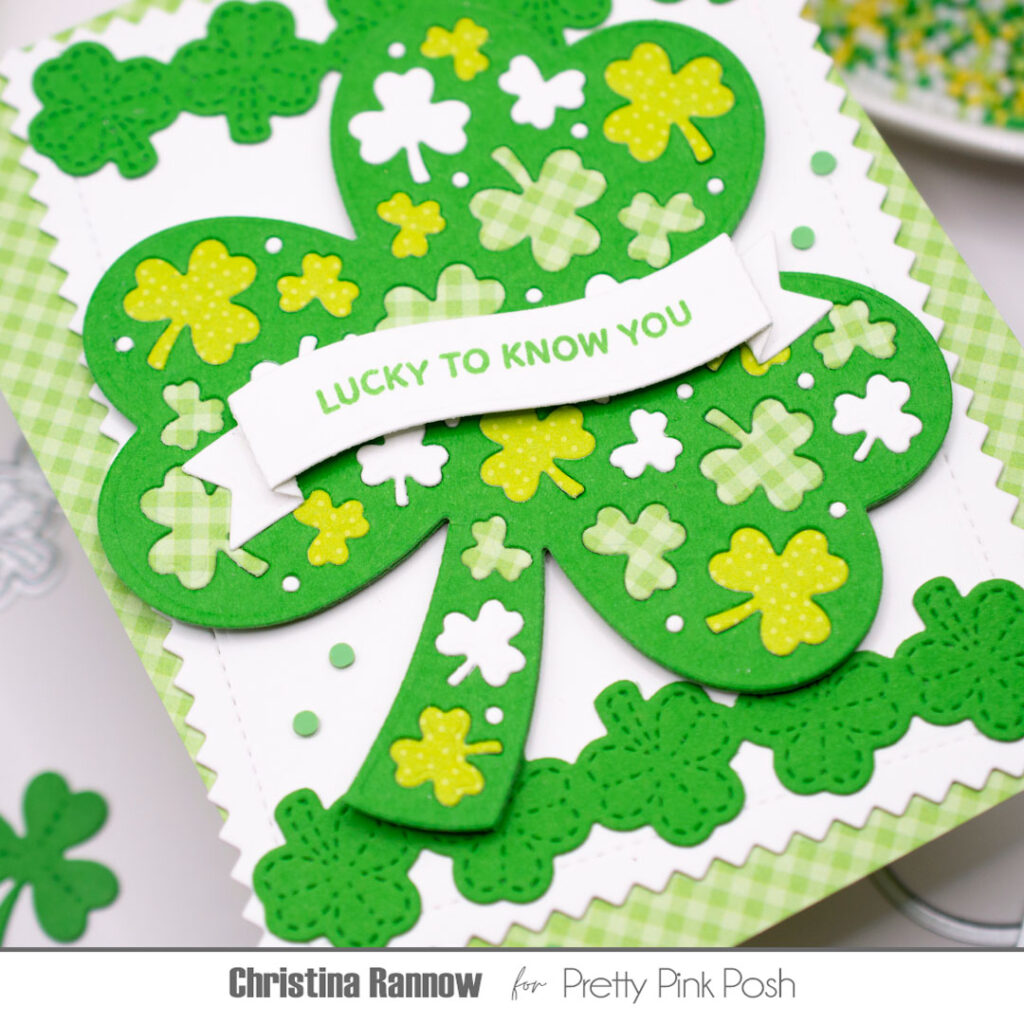
Now it was time for the finishing touches. First I stamped a sentiment with green ink on one of the new dimensional banners from the Banner Greetings 2 die set. I combined two sentiment strips to create my sentiment, one from the new Lucky To Know Stamp set and one from the new Lucky Animals stamp set. Then I attached this across the decorative shamrock and finished by adding just a few small green clay confetti pieces from the Bright Rainbow Clay Confetti Mix.
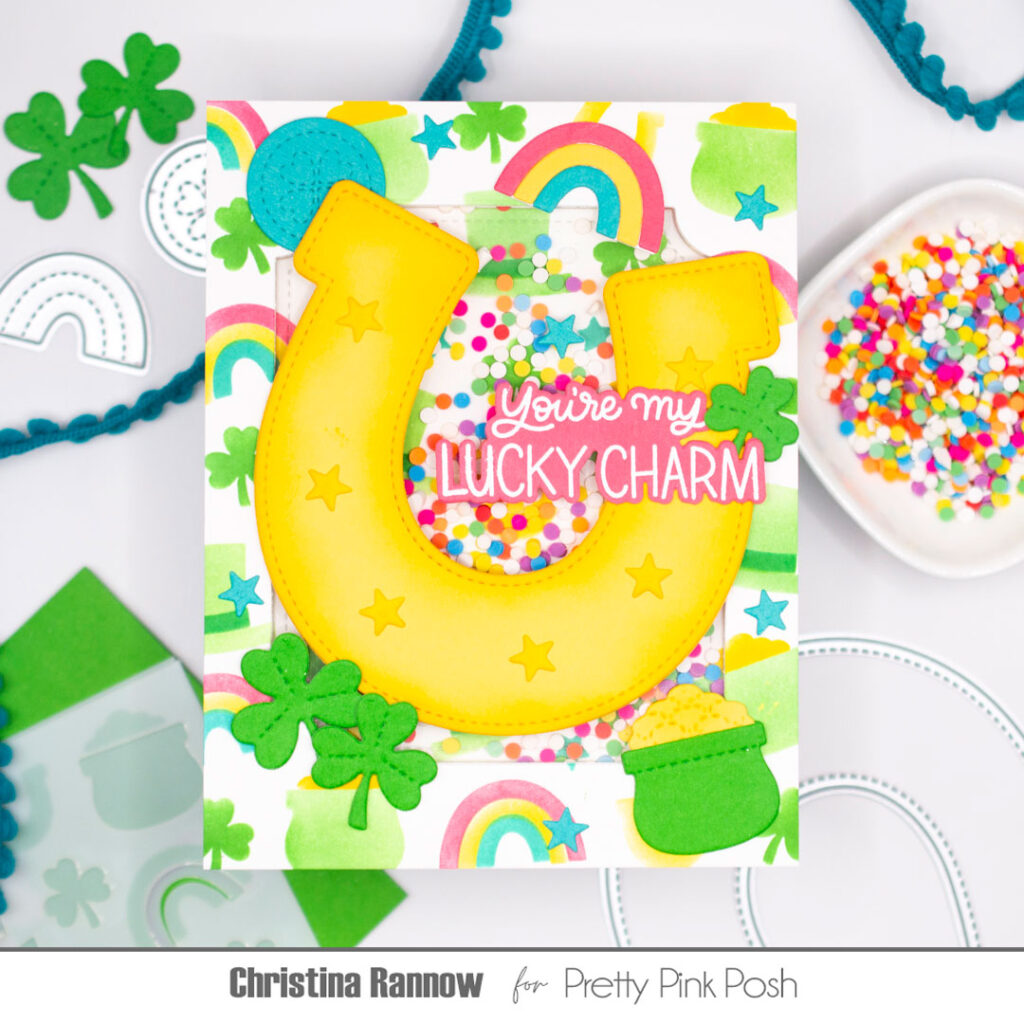
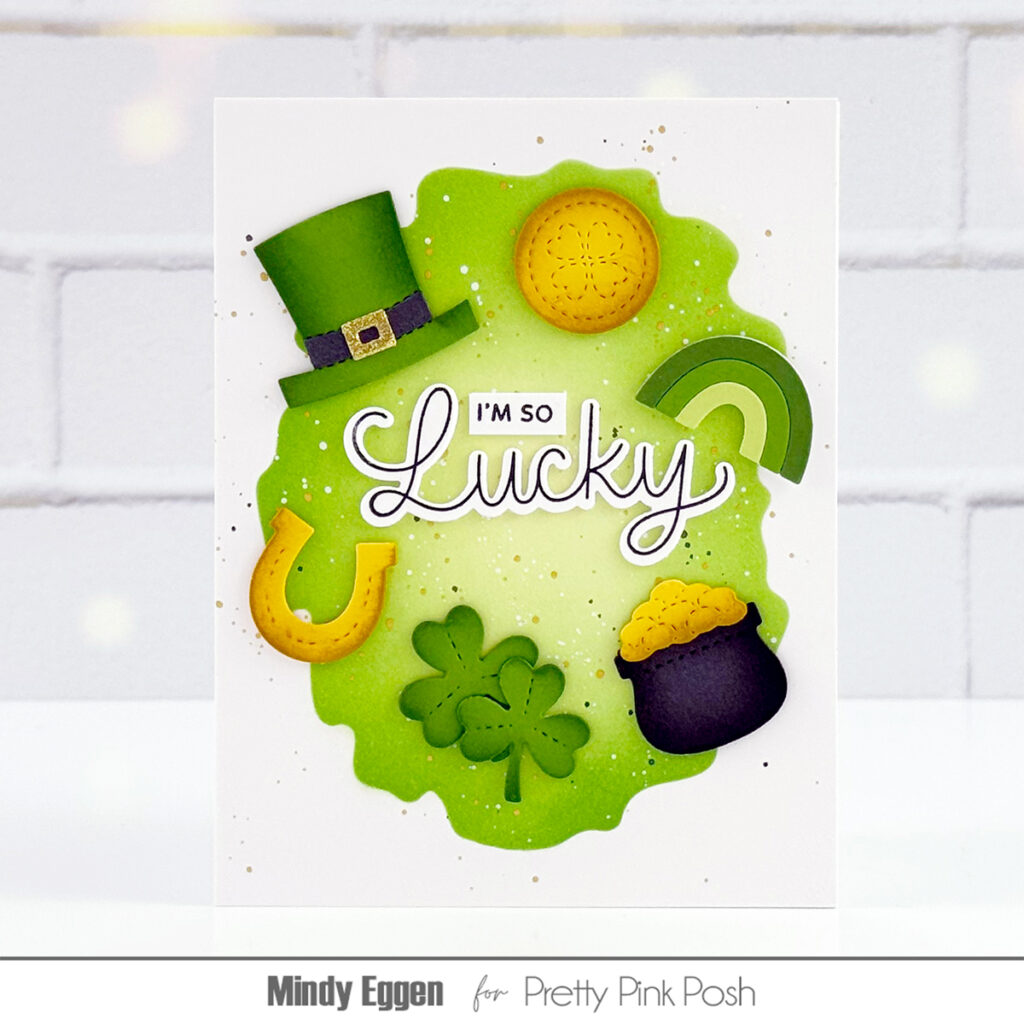
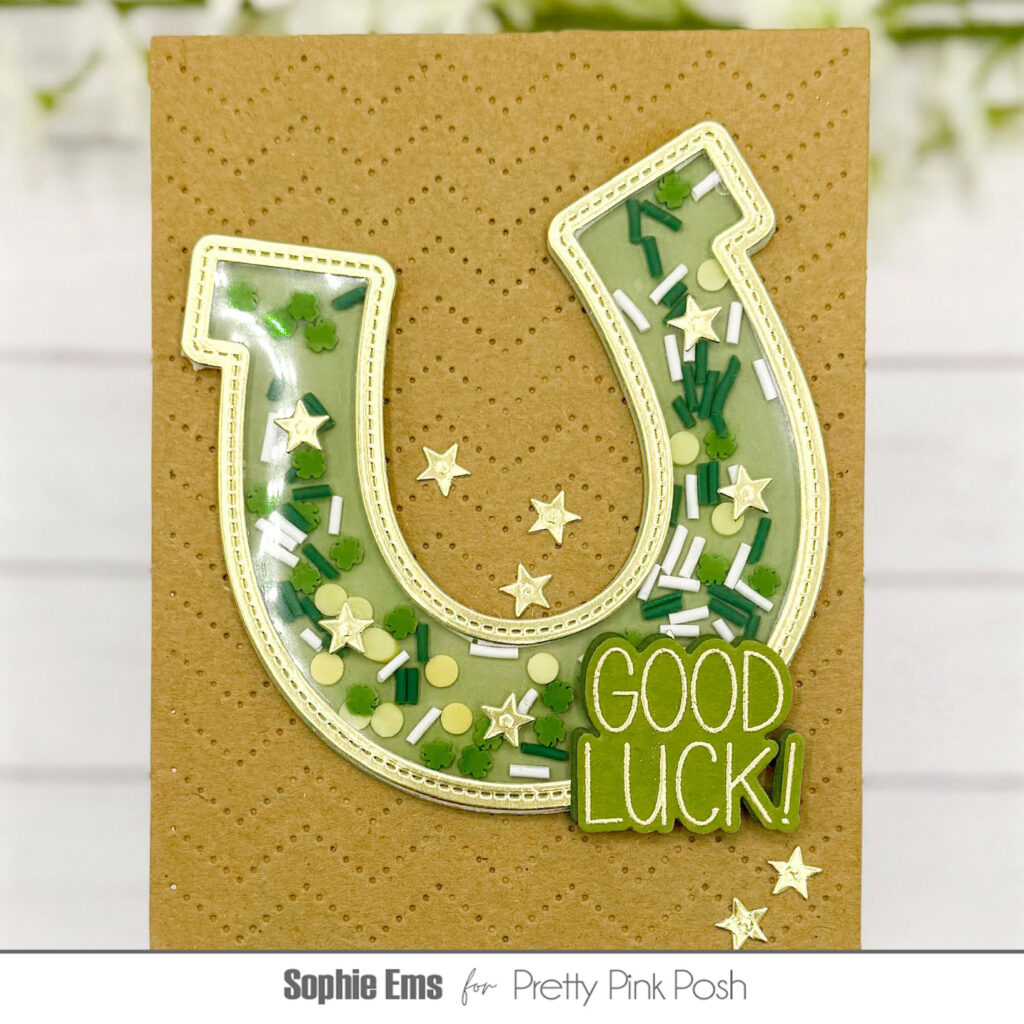
For the Horseshoe Shaker card, I started by creating the shaker element. First I stenciled the Layered Lucky Items on a white cardstock panel with a rainbow of ink colors. Then I die-cut a Notched Rectangle from the center of the panel to create the window and frame for the shaker. And I attached the stenciled notched rectangle to the center of a white cardstock panel to be the background of the shaker window.
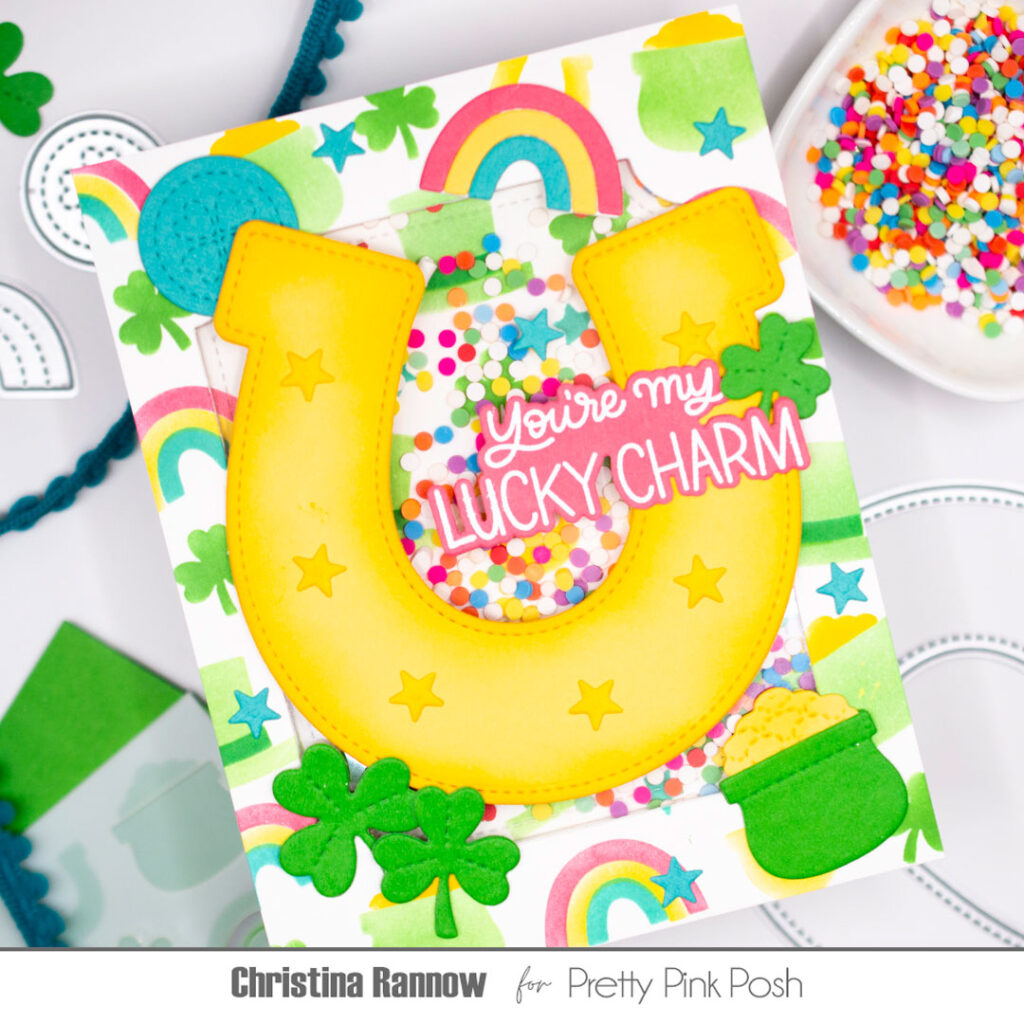
Next I attached a piece of acetate behind the window opening with double-sided tape and added foam tape to the back of the stenciled frame around the window, creating a well for the Bright Rainbow Confetti. Then I placed the background panel onto the foam tape, and the shaker element was done!
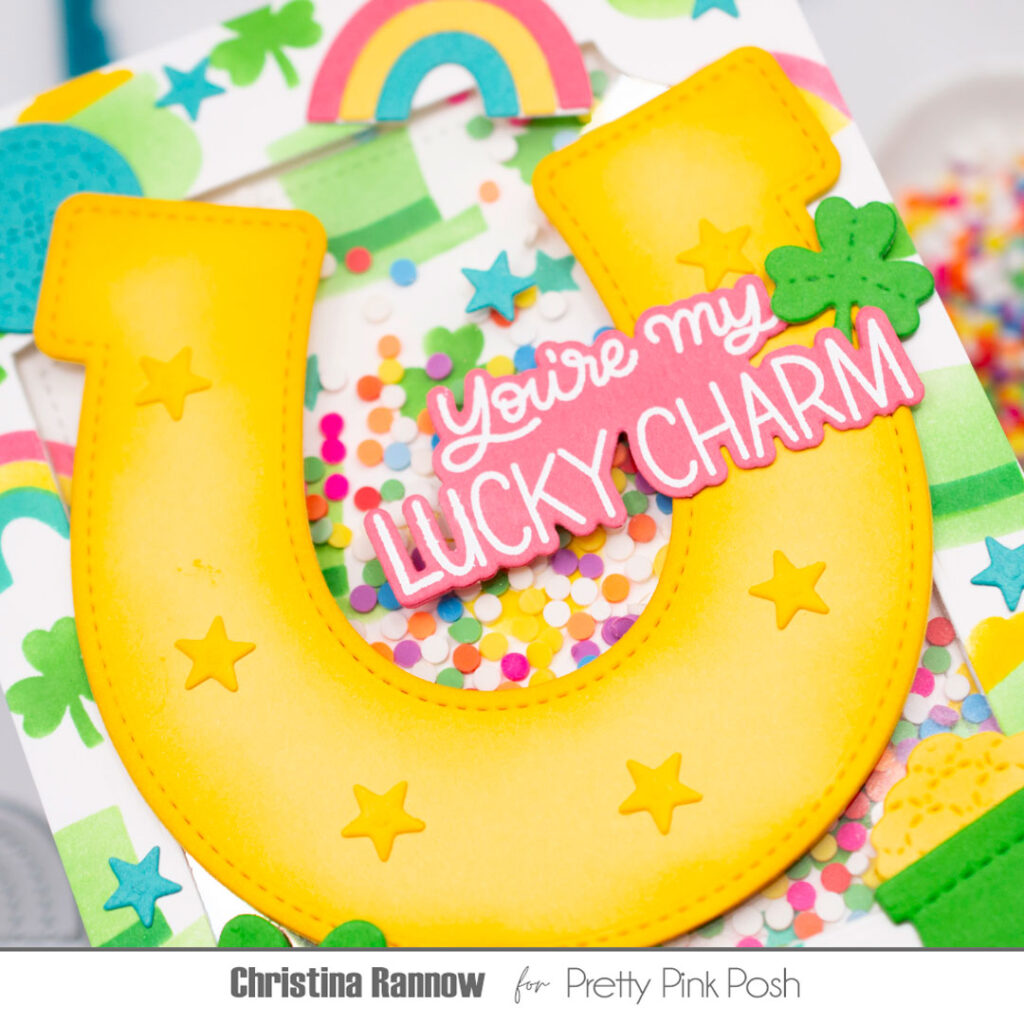
With the shaker element done, I moved on to die-cutting the remaining elements from colored cardstock. I used the big Horseshoe Shaker diecut as my focal point and ink blended the edges for a little dimension. I surrounded it with fun die-cut charms from the new Lucky Holder Addition Die set and finished things up with a heat-embossed sentiment from the new Lucky To Know You Stamp Set.
Below you’ll find even more lucky inspiration from the design team!

Be sure to swing by tomorrow for even more inspiration with this fun, new collection.
Irish girl here! I LOVE the new shamrock die!
WOW! All of these cards are so pretty and fun. Each card shows the different ways these products can be used. So much inspiration and I love the Horseshoe Shaker Card because it made me think of Lucky Charms. So vibrant!
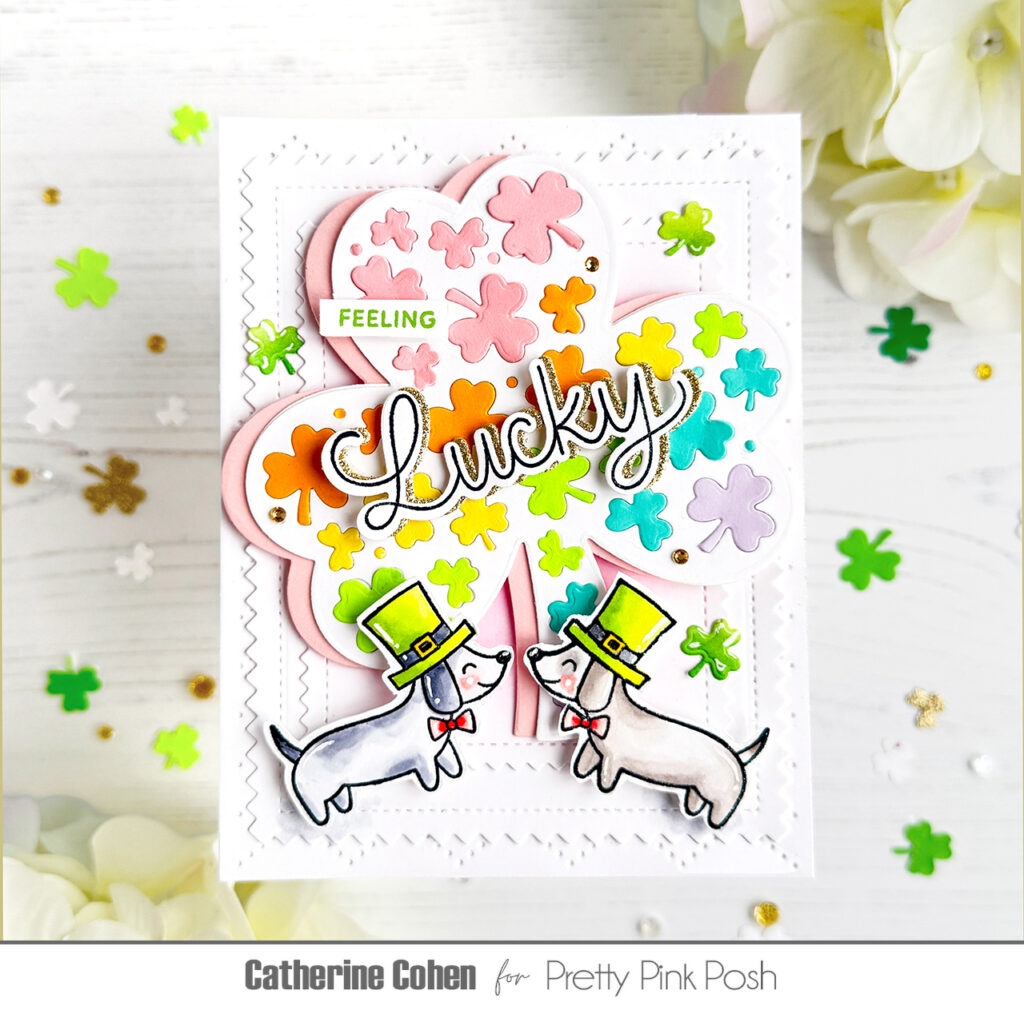
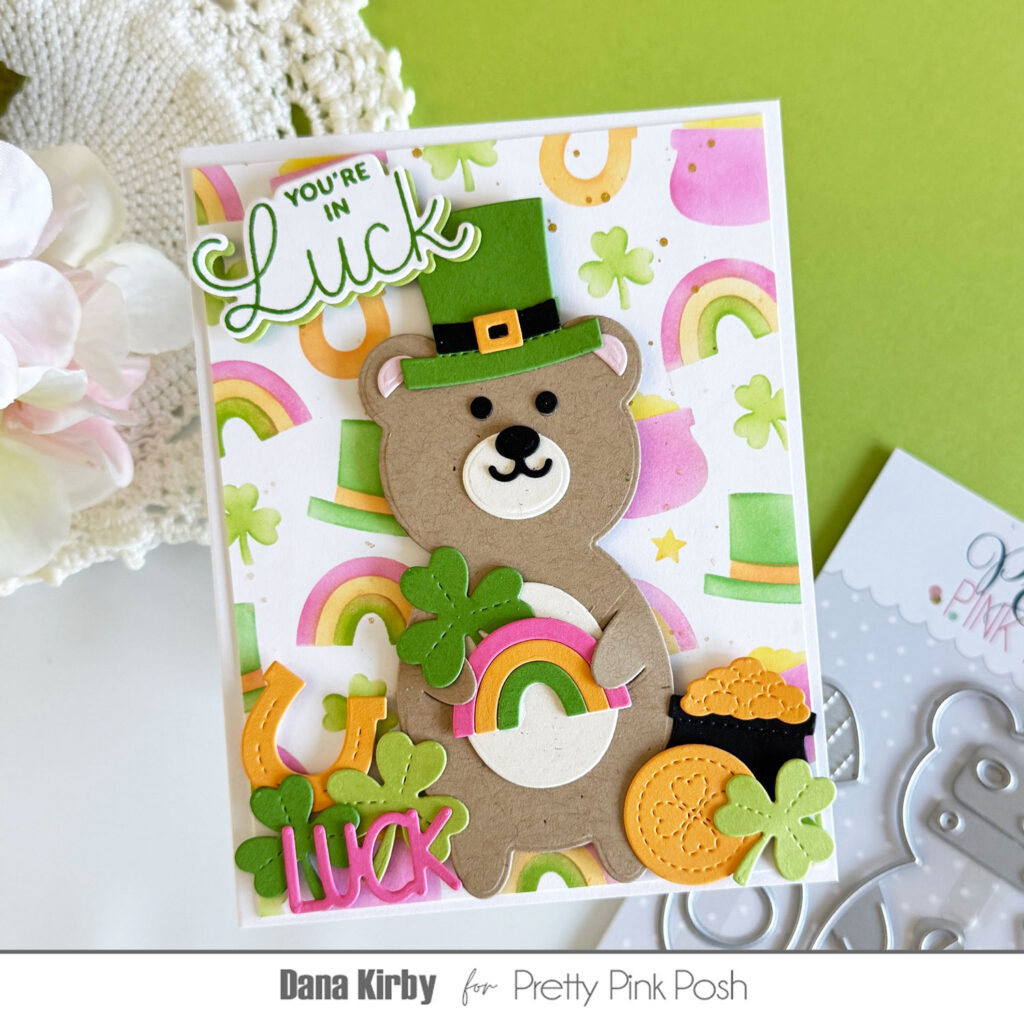
Such fun designs for celebrating St. Patrick’s Day! I love the adorable bear holder card and all the shamrocks!
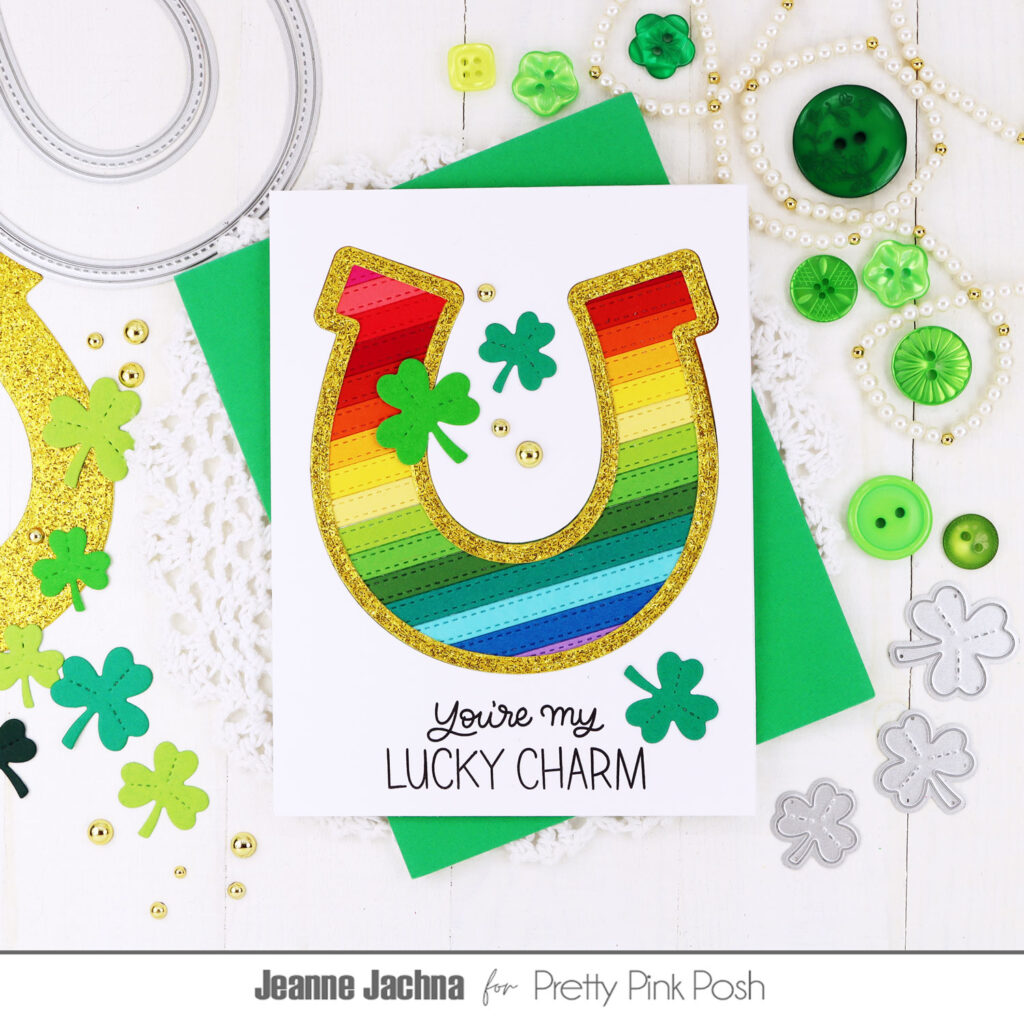
These are terrific samples! I especially love Jeanne’s. Wow, your DT is incredible!