
Ink Distressed Galaxy
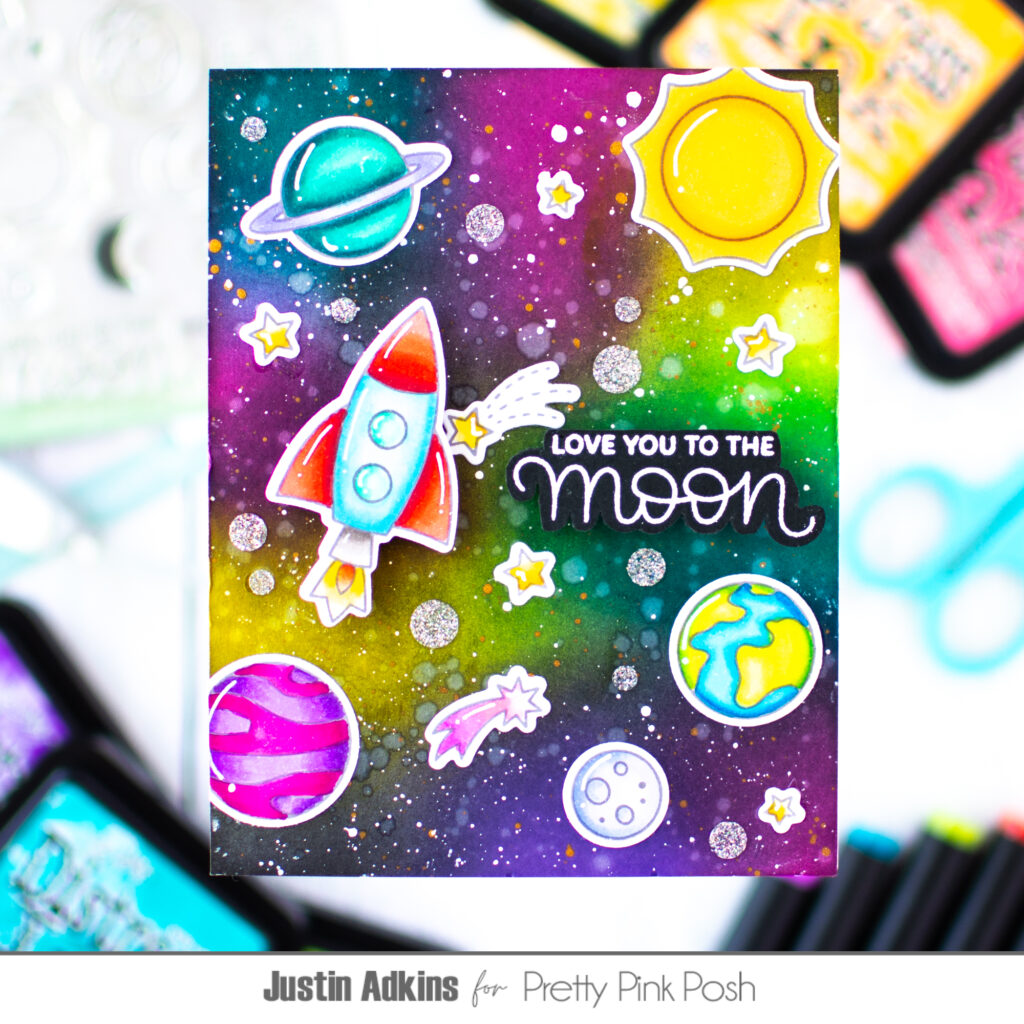
Hey friends! Justin here, and I am providing some out of this world colorful inspiration using the Outer Space stamp set and coordinating dies! I decided to focus on almost all of the images provided in the Outer Space stamp set, color them up with my Olo Markers, and see what sort of scene card I could come up with!
Below is a list of Pretty Pink Posh Products used to create this card:
Outer Space Stamp Set
Outer Space Coordinating Die Set
Other Key Products Used:
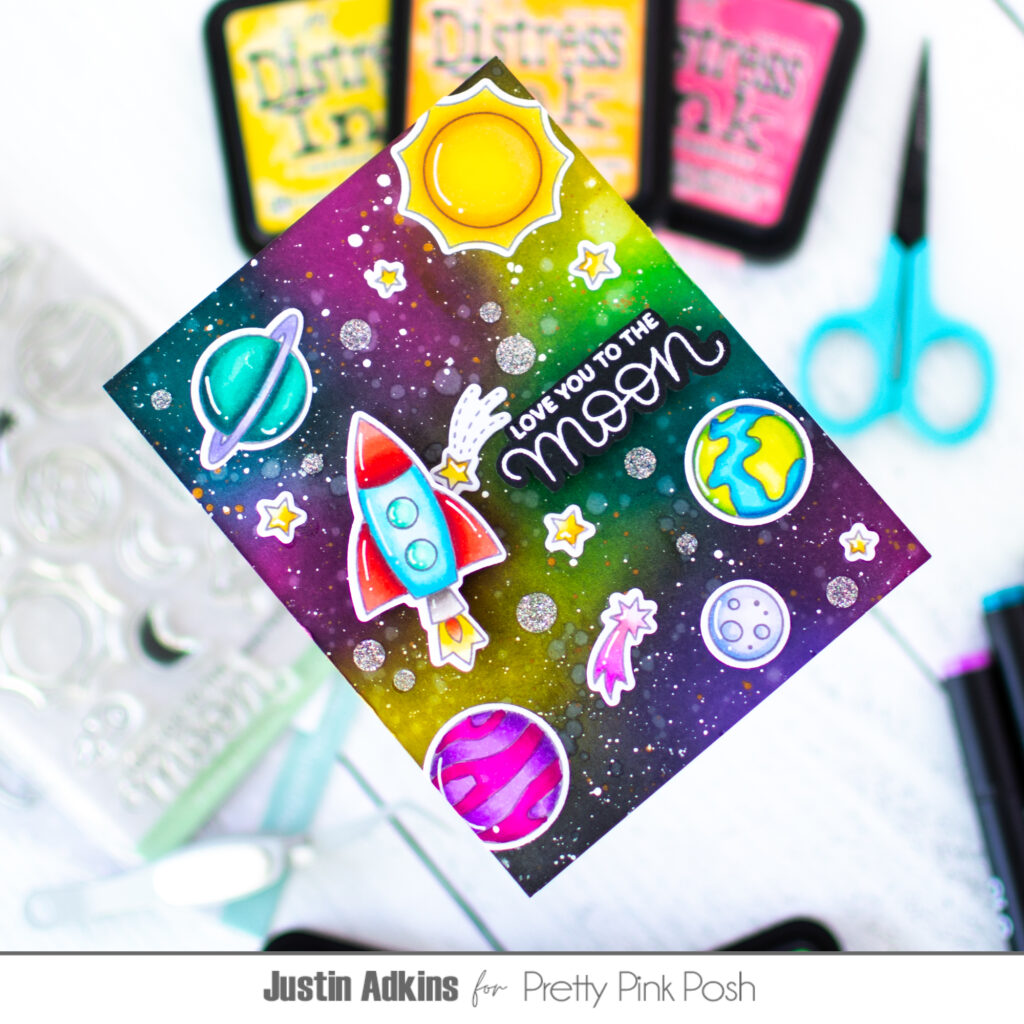
Olo Markers, Picket Raspberry Distress Ink, Mustard Seed Distress Ink, Twisted Citrón Distress Ink, Peacock Feathers Distress Ink, Wilted Violet Distress Ink, Black Soot Distress Ink, Copic White Acrylic Paint, Liquid Snowflake Paper Splatter, Black Cardstock, White Cardstock
I always start my cards that use colored images by actually coloring up the images and cutting them out. This helps me get an idea of what sort of color scheme I am going for, and I often find this being the most time consuming portion of the card making process as well. It’s nice to get it out of the way first!
One of my favorite techniques is ink blending galaxies, and it’s really a lot easier than you’d think! It’s all about layering dye inks next to each other, and being sure to include a black dye ink in your palette! Blending up a galaxy sorta looks… awful, for lack of a better term, at first. Your colors will look sorta muted, maybe a bit muddy. You also will feel like you notice harsh blending lines between your colors that will make you want to crumple your paper up and walk away. This is definitely a “trust the process” technique. I always start by laying down my non-black ink colors first, and leaving areas of the paper un-inked. Then, I go in with my black dye ink, and blend wherever you can still see white paper. Finally, I go back in with my non-black inks and re-blend the areas where they are already on the paper, as this gives a good blend and saturation.
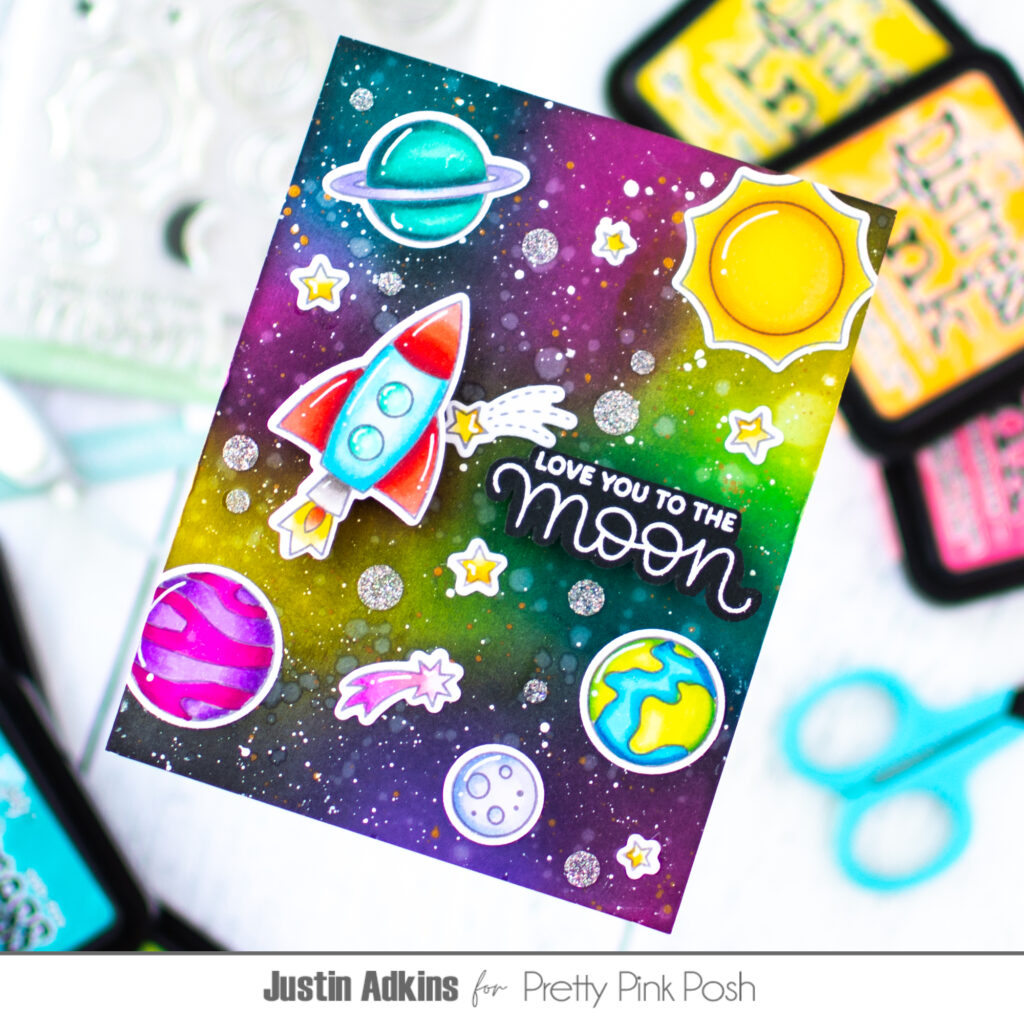
Splatters and bleach spots are SO important when working with your galaxy backgrounds too! I highly recommend using dye inks that are water reactive, as you can splatter a bit of water when you’re done and get some perfect bleach spots. I also recommend splattering at least white acrylic paint and a metallic medium of choice on your background as well, to give the illusion of a star filled galaxy.
For my sentiment, I stamped it out in embossing ink on black cardstock, embossed it in white powder, and then fussy cut it out. I used foam tape behind it to give it a little lift.
Then, using a combination of foam tape and just liquid adhesive, I adhered all of my colored up elements to my card. A good tip to keep in mind is that if you accidentally created any sort of smudges or imperfections during your background creation process, covering them up with your colored images is a fantastic way to never have to worry about them again!
I adhered my entire panel to an A2-size card base, and finished off by adhering a few sparkle adhesives!
Thank you so much for stopping by the Pretty Pink Posh Blog today! I hope this fun card provides you with some truly extraterrestrial fun ideas for your next Pretty Pink Posh project!
Happy Crafting!
Justin
So beautifully done, Justin!! Love your bg and these adorable rocket, planets and stars!!!
Great card!