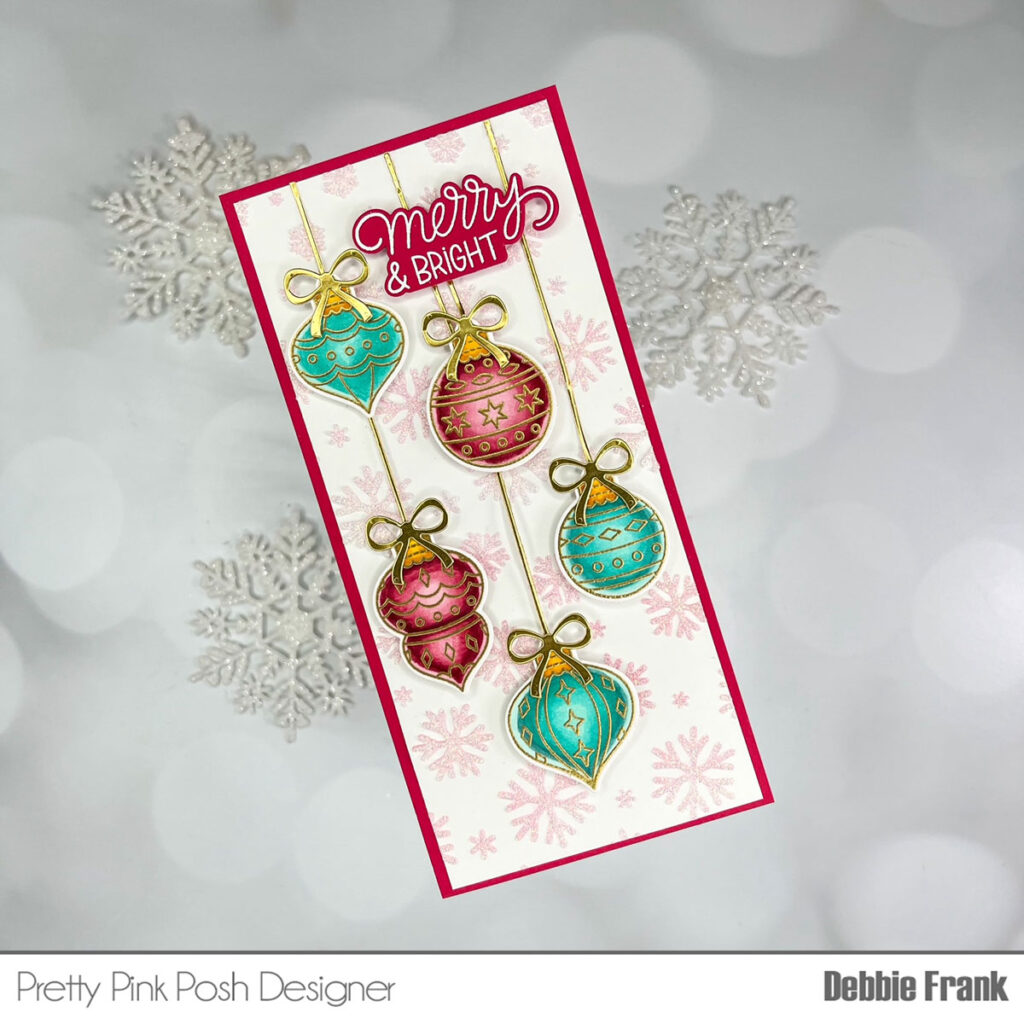
Slimline Holiday Ornaments
Hi crafty friends, Debbie here on the blog today. Who doesn’t love a beautiful winter release packed with fun ornaments, snowflakes, and shaker dies! I am sharing the new Holiday Ornaments stamp set from the Winter Release.

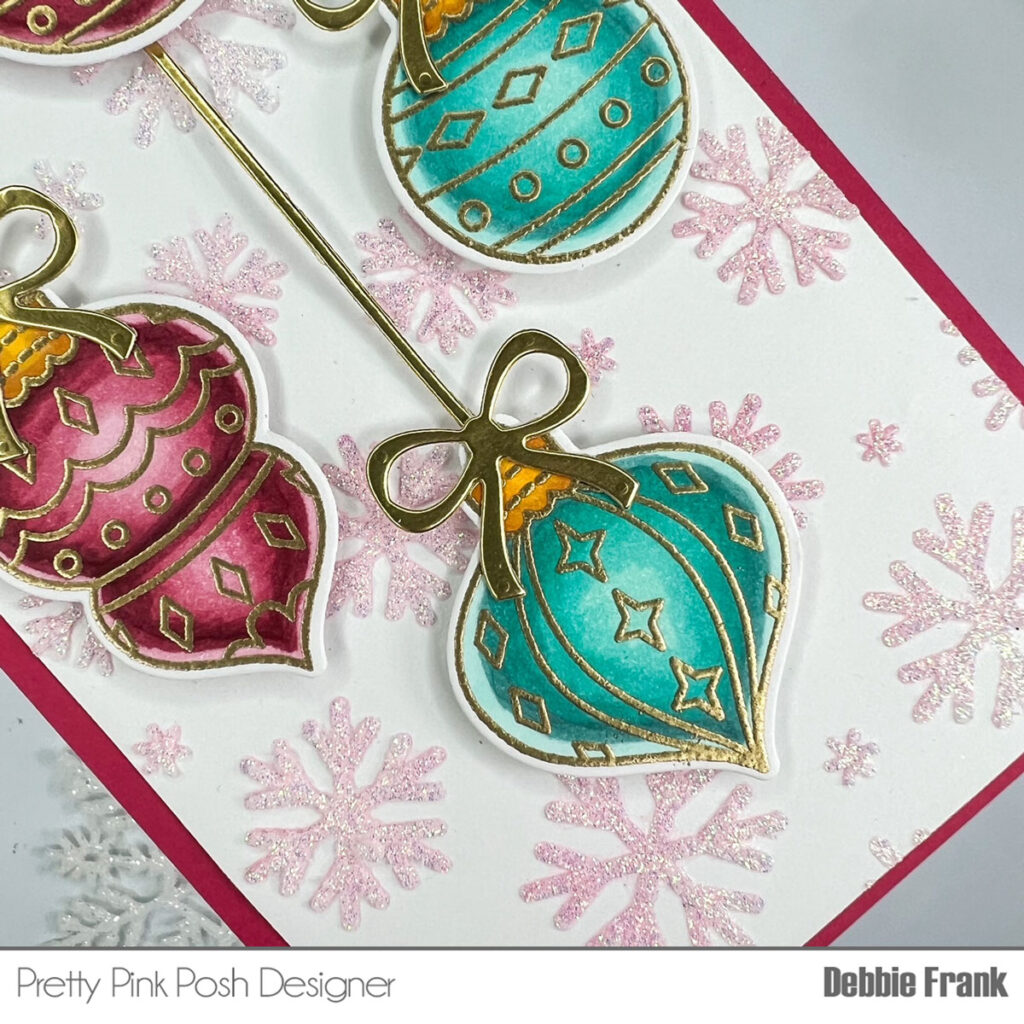
I always like to start off with my background, making it a slimline. First I cut a panel 4 X 8.5 inches to then later trim down. Placing the Cascading Snowflakes Stencil over the panel vertical. Ink blended on a light pink ink, slide it down and blended on the lower portion of the panel. Mask off if need to have a clean snowflake panel. I then layered back over the pink snowflakes and add a clear glitter paste, let dry. Then go over the bottom snowflakes. Make sure to clean the stencil right after removing it, the paste will dry on it.

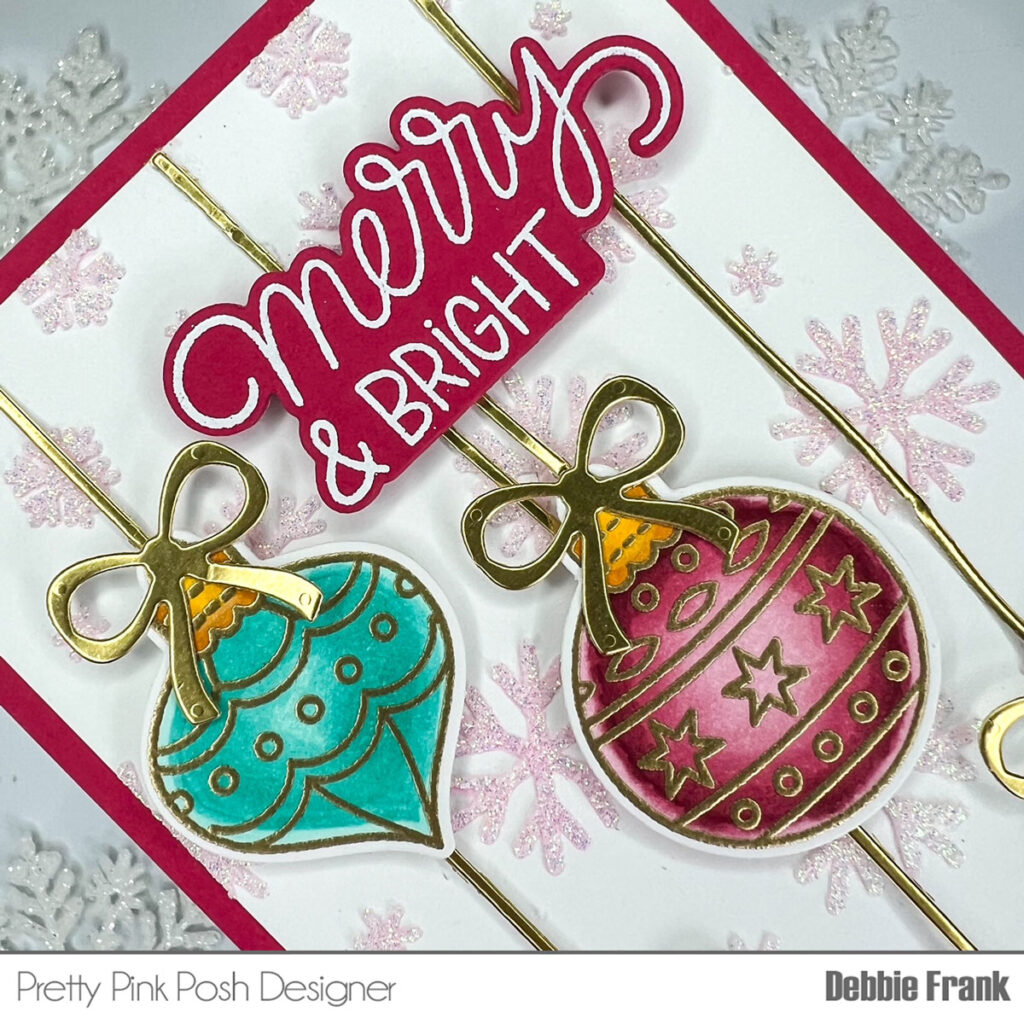
While the panel is drying, stamp out the images from the Holiday Ornaments with a no line ink or a very light ink that is Copic friendly. Leaving the stamps in the Misti, I Copic colored them in with red, pinks, teals and a yellow gold. Then placed the images back into my Misti, added anti-static powder,stamped with VeraMark Ink. Heat embossed with gold embossing powder. Then with the Holiday Ornaments coordinating Dies cut them out.

Knowing I was going to have them hanging I needed a string and bows. So from gold card stock I used the Beautiful Bows Dies and Simple Strips Dies. With liquid glue adhere to the ornaments and add foam to the back of the ornaments. The last thing I need was a sentiment, I then white heat embossed Merry and Bright from Winter Greetings. Die cut the sentiment out with the Coordinating Dies. Attaching it with foam squares and adding the panel to a card base.
Thanks for stopping by and stay crafty my friends!

Such an elegant card 🤩 i especially like the gold embossing!