
Spring Theme Week: Day 5
**All items in the Spring section are 15% off during theme week**
Hello everyone, it’s June here and today I’m back on the blog with some card inspiration!
When I’m not feeling very inspired I always start off my cards the same way: I stamp some images I want to use, make a cluster in the center of my card and blend a cute stenciled background to go with it. And somehow, that simple formula always results in my favorite cards. It can actually be that simple! But sometimes I feel like I need to mix it up a bit and that’s exactly what I tried for today’s card.
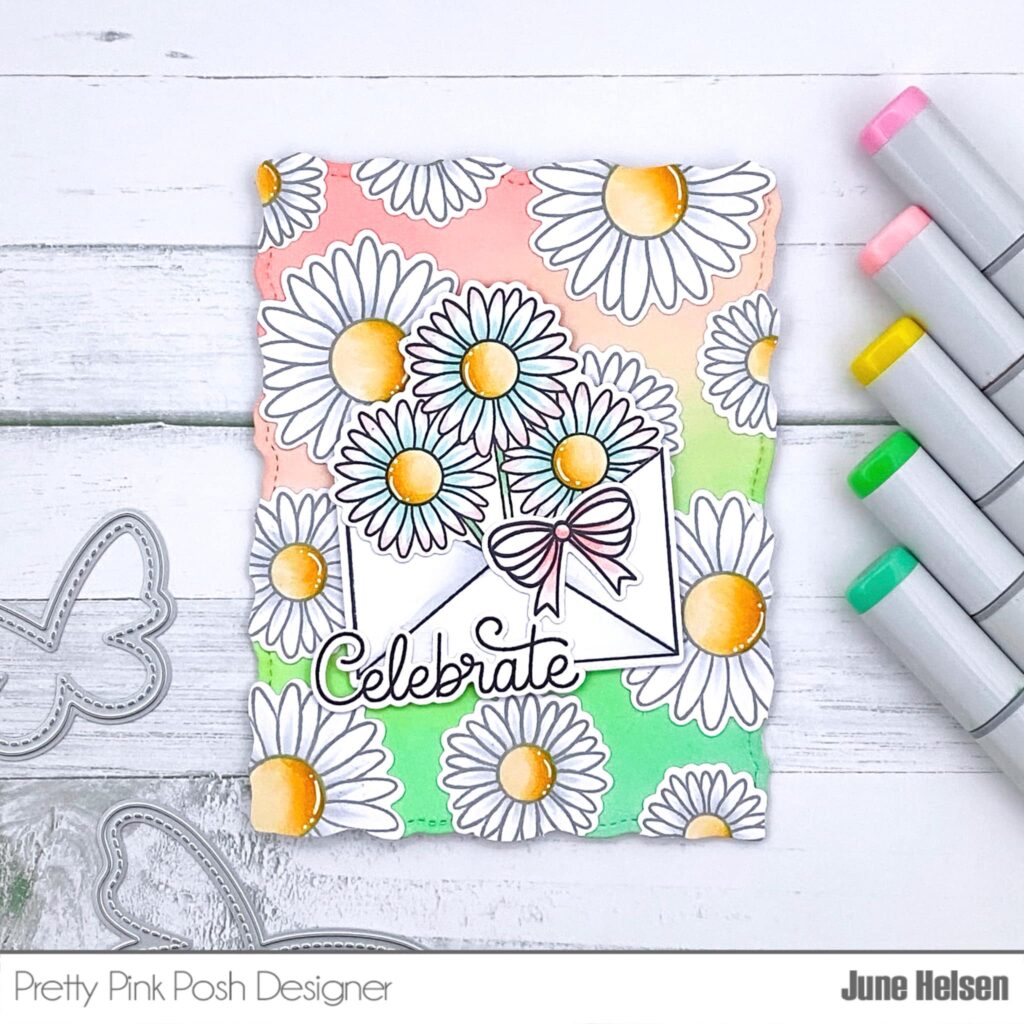
Instead of creating my own pattern paper with a stencil, I used stamps. The different sizes of flowers in the Daisies stamp set gave me the idea to create my own floral pattern to match my center image. To make sure it didn’t distract too much from the focal point, I stamped them in light grey ink and kept my colors quite neutral.
Instead of going for a single layer background and masking off my flowers, I stamped them onto a another piece of paper and cut them out. This gave me the ability to play around with the placement of my daisies before committing.
I cut out a panel with the largest of the Stitched Torn Rectangles and blended a background with Distress Oxides in the colors Worn Lipstick, Tattered Rose, Cracked Pistachio and Salvaged Patina. I adhered my daisies in a pattern I liked and cut off the overhangs.
Now onto the center images! The bouquet of Daisies was my favorite stamp of the entire release I think, but since I already used it I wanted to switch it up a bit. Instead of putting the flowers in a mason jar like I did with my previous card, I did some fussy cutting and put my bouquet inside an envelope. Pretty Pink Posh has released a couple of envelope sets, and any of them would work for this because I cut out all the images that were originally inside the envelope. (I personally went with my favorite, the Fall Envelopes  )
)
To add some interest, I also stamped the bow that’s included in the set. I colored my images in colors that would compliment my background, but were still subtle.
I stamped all of the images with a black ink so they would really stand out against the background. I also adhered them with foam tape for the same reason.
To finish off my card, I added a simple ‘Celebrate’ sentiment from the Birthday Scripts stamp set and tadaaa!
I hope this post inspired you to create some fun backgrounds for your next cards! I think this technique would look amazing with so many images. I can’t wait to stretch my stash and try this with more of my stamps!
I’ll be back later this month with more spring inspiration! See you soon!
This is GORGEOUS! Love the color wash behind the daisies!!
Lori S in PA
Daises galore! Love it 😍