Rainbow Tree
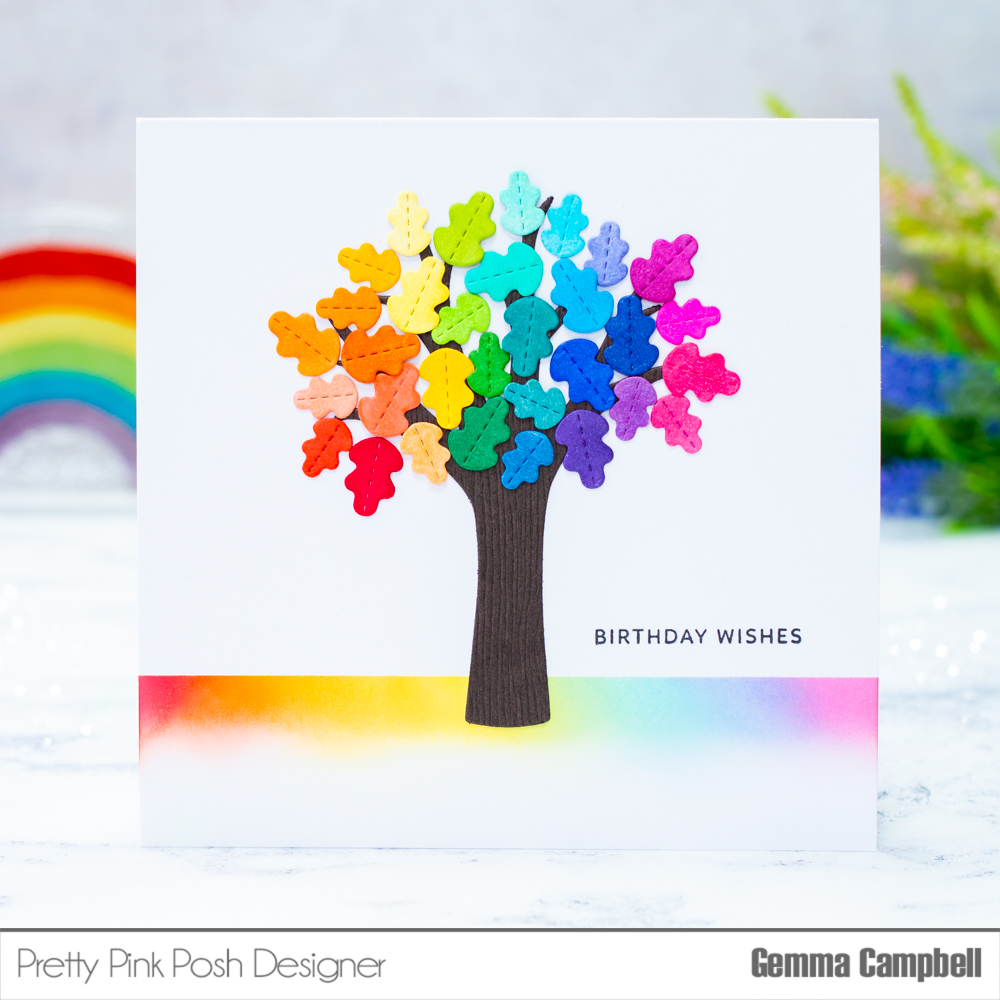
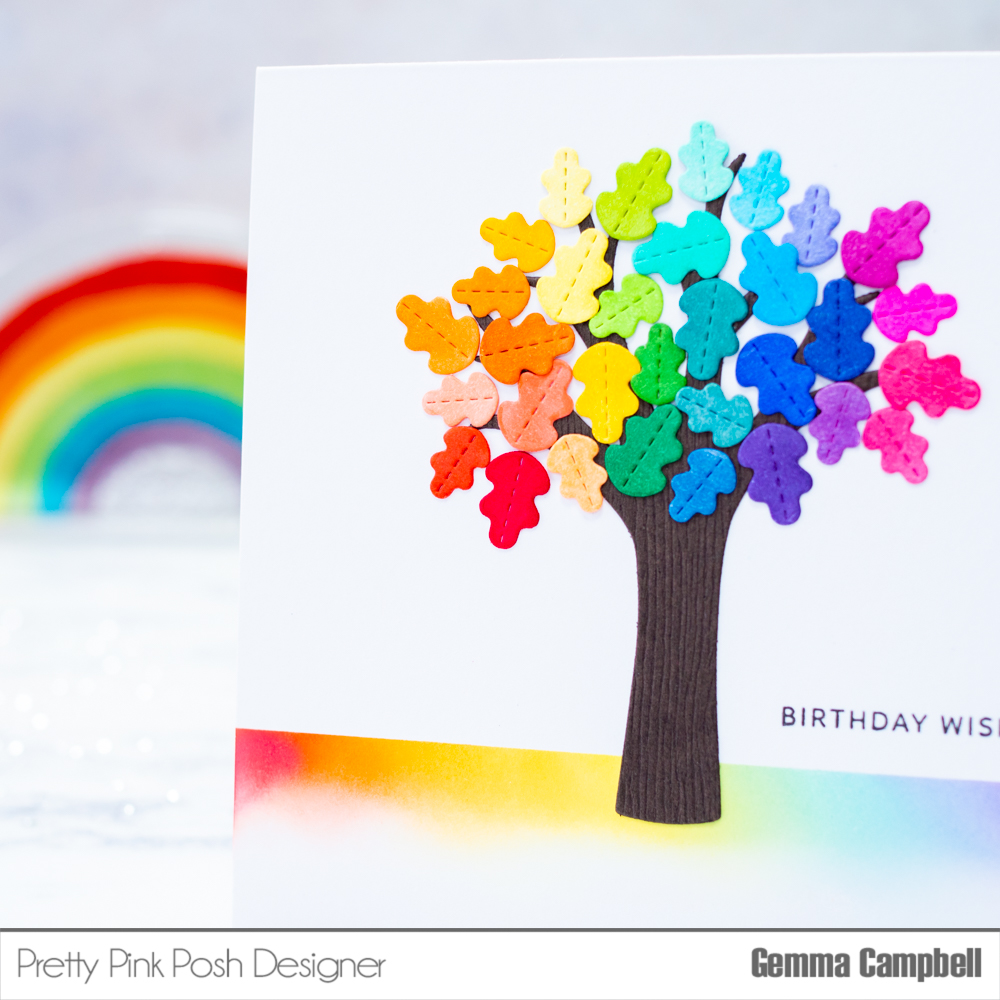
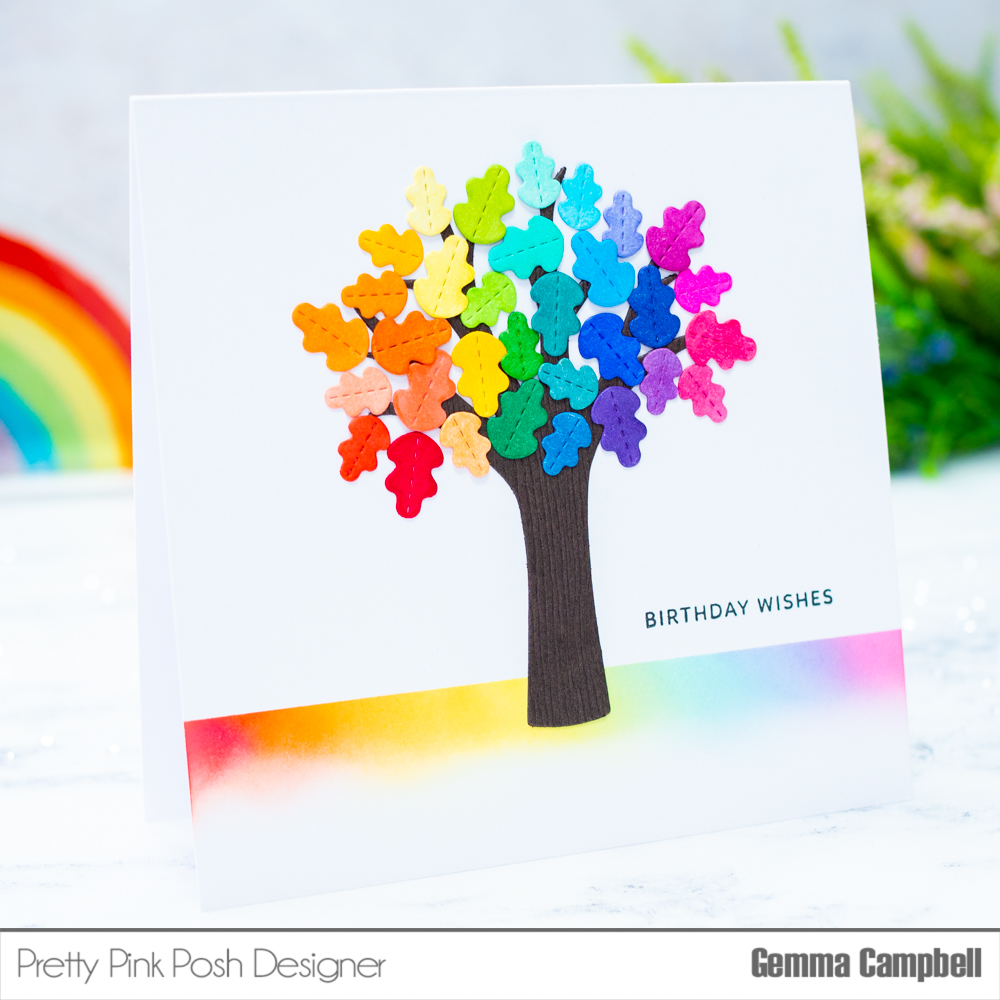
Hello, Gemma here today with a fun rainbow tree card to share. I used the new Fall Tree die set to create my project. I began by die cutting the trunk portion of the tree from some dark brown woodgrain card.

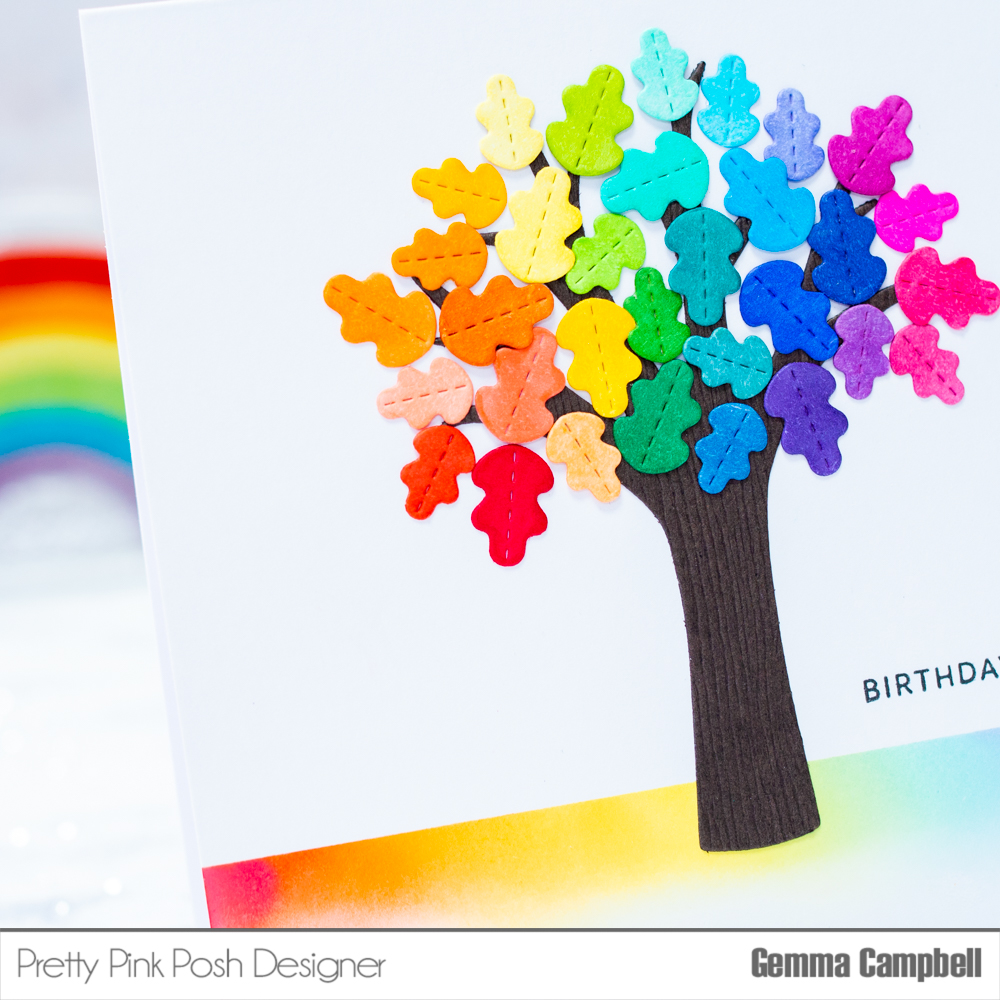
I then die cut lots of leaves from white card. The leaves portion is one die, but die cuts out 4 different styles of leaves in 2 sizes. This gives lots of options for changing the look of your tree. I’ve chosen just one of the styles of leaves for my card today.

Using copic markers, I coloured the leaves in a rainbow of colours. I found this easier than looking for different colours of card stock and it gave me a wider range of tones within the rainbow. For those interested, I used the following markers, but you could use any markers you have on hand:
Reds: R29 R24 R22 R20 Oranges: YR18 YR15 YR02 YR00 Yellows: Y17 Y13 Y15 Y11 Greens: G17 G07 YG25 YG05 Turquoise: BG49 BG72 BG13 BG11 Blues: B66 B34 B04 B01 Purples: BV04 BV02 V17 V15 Pinks: RV66 RV34 RV25 RV04

Next, I worked on my card base. On a 5.25″ card base, I used a low tack tape to mask an area. I then blended distress oxide inks in the following colours: Abandoned Coral, Squeezed Lemonade, Tumbled Glass, Shaded Lilac, Kitsch Flamingo. Carefully removing the tape reveals a nice crisp rainbow line across the card.

I used liquid glue to adhere the tree, followed by the rainbow leaves. I finished by adding a birthday greeting from the Simple Sentiments stamp set.
Thank you for stopping by, I hope this card inspired you!

Sweet rainbow tree!! Such great inspiration!
Wow, colorful tree I love it!