
Easy Balloon Watercolor Background + Video
Hello friends! It’s Channin here and I’m so thrilled to be guesting here at Pretty Pink Posh! Today I’m sharing a fun and colorful card featuring several products from the birthday release. In the video I also demonstrate an easy watercoloring technique that creates vibrant splashy background perfect for a birthday card!
Watch the video above I Watch the video in HD on YouTube
To create this card I first stamped a 5 1/4” x 6 1/2” panel of bristol paper repeatedly with the balloon and string stamps from the Balloon Alphabet Stamp Set in Versafine Onyx Black Ink. I then poured black embossing powder over the images and then heat set them with my heat tool. Next, I colored the balloons with a rainbow array of Tombow Dual Brush Pens (703, 885, 933, 055, 173, 373). After I had colored the balloons I then taped the panel down onto scrap of chipboard with painters tape and then spritzed the panel with water. Next, with a rocket air blaster I blew the activated ink around the panel to color in some of the open areas of the panel. When I had moved enough ink around and liked my results I then put the panel aside to dry.
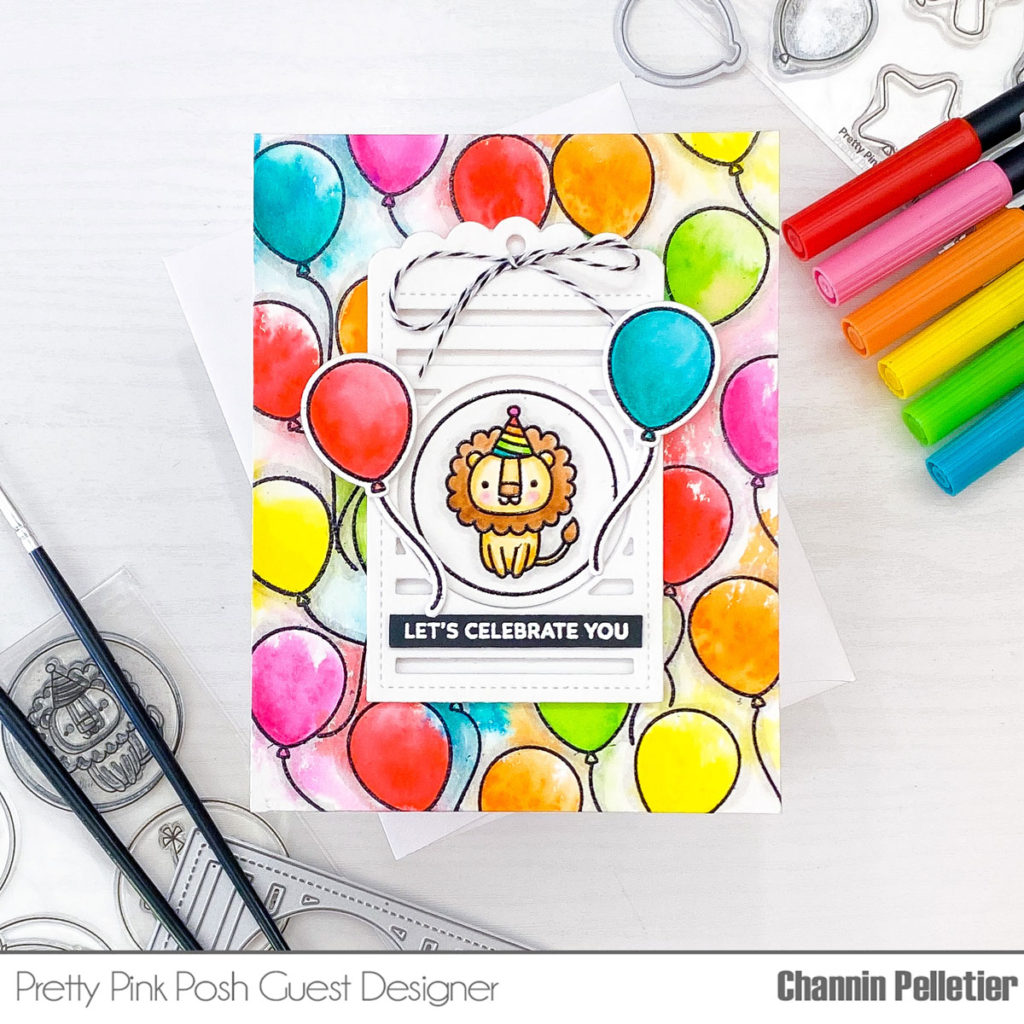
Next, I die cut a tag using the Birthday Circles coordinating dies out of bristol paper. I then stamped and black heat-embossed the lion from the Birthday Circles stamp set onto the circle diecut from the tag. I also stamped and black heat embossed a couple more balloons and balloon strings onto bristol paper. I then watercolored the images using the same rainbow array of Tombow Dual Brush Pens and couple more colors (993 & 947). When I had finished coloring the images I then die cut the balloons and balloon strings out with the coordinating dies.
Next, I created a backing for my tag by tracing around it onto a scrap of white cardstock and then fussy cutting it out. I then adhered the diecut tag on top of its backing with foam adhesive strips and then glued the lion circle inside. I then adhered a tiny black and white twine bow to the top of the tag. Next, I stamped and white heat-embossed a sentiment from the Build a Cupcake stamp set onto black cardstock. I then trimmed the sentiment down to a strip and then adhered two stacked strips of black cardstock to the back to add dimension.
Now that the watercolored panel had dried completely I then trimmed it down to an A2 panel and adhered it onto the front of an A2 top-folding white card base. I then adhered the tag and sentiment to the card front. Next, I adhered the balloons and balloon strings together and then adhered them to the card front with foam adhesive. Lastly, I finished the card by adding shadows around the balloons and lion with a gray (N89) Tombow Dual Brush Pen.
I hope you enjoyed my card and video. Thank you so much for stopping by!
Cutest card ever and I loved the video!