
Birthday Wreath
Hello friends, it’s Leica here. There is a new addition to the Pretty Pink Posh wreath sets! Today, I am sharing the Birthday Wreath stamp set with you all. I’ve never made a shaker card with any of the wreath stamps, so I thought I’d try it out and it turned out so cute.
**The new release has been selling like hotcakes! For the first time ever, we are offering pre-orders on some of the sold out items. You can find all of those products HERE. **

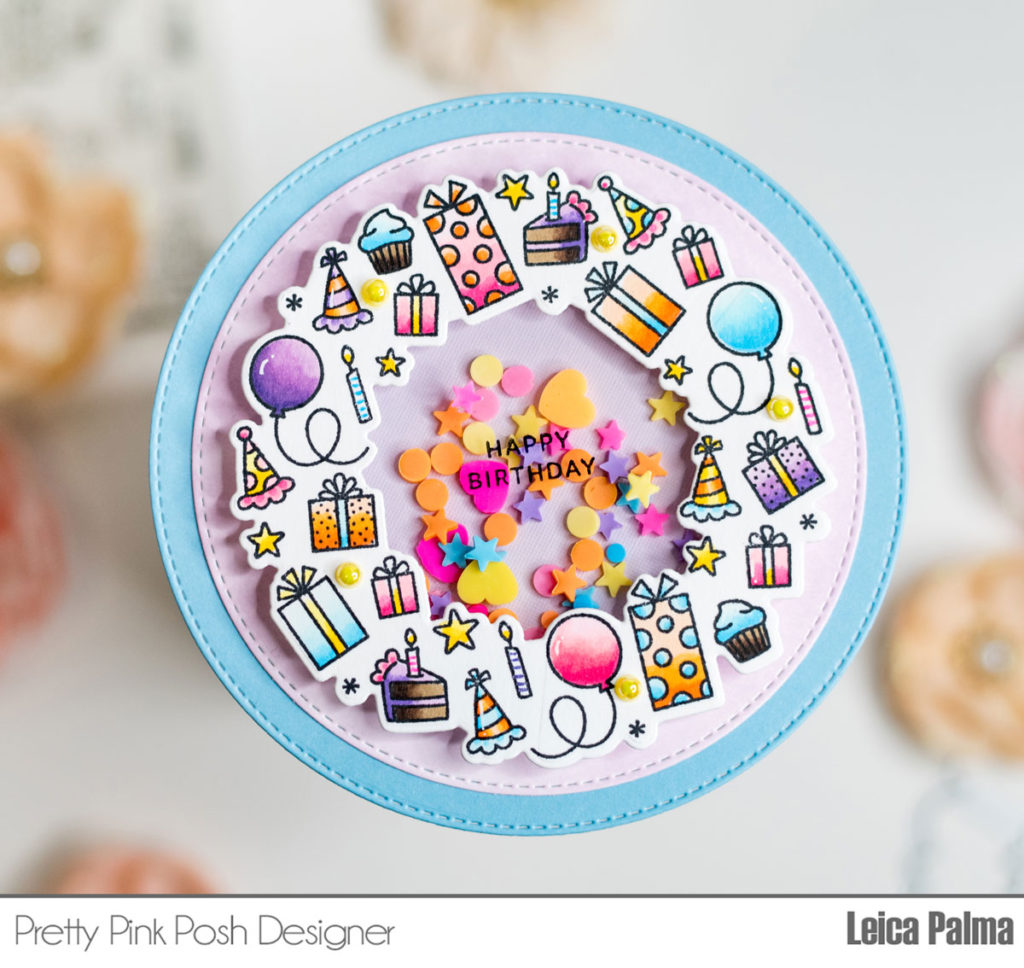
Let’s get started! I first cut a 4″ circle in lilac cardstock and layered it with a 4.5″ circle in blue cardstock. I then stamped the wreath onto white cardstock, colored it with Copic markers, and cut with the coordinating die. I used B02/00/000, E44/43, RV25/23/21, V17/15/12, Y18/15/11, and YR07/02/00. I adhered a sheet of acetate onto the back of the wreath and stamped the happy birthday sentiment with Stazon ink. To make a well for the shaker, I added foam tape around the wreath. I used the Piñata Party Mix for the shaker elements.
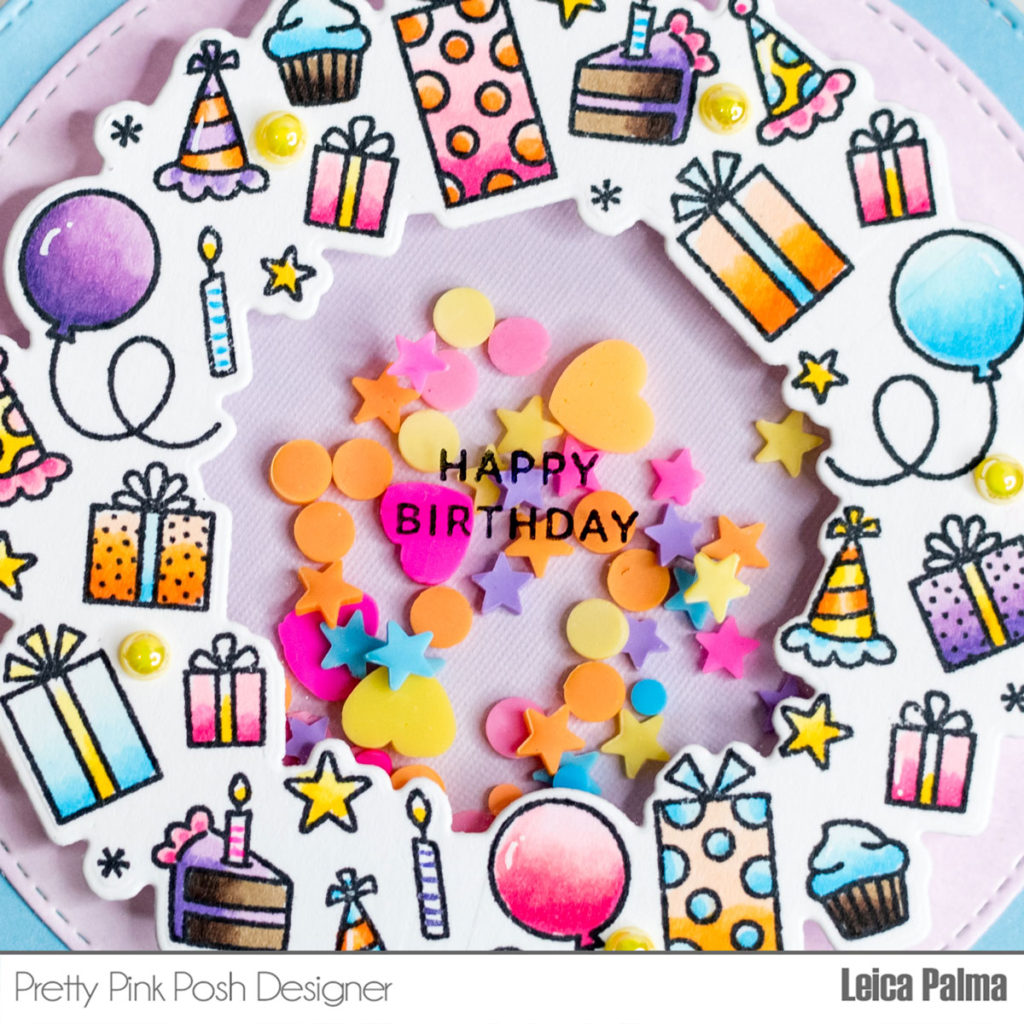
This confetti mix was my color palette inspiration for my card. I wanted to add some of the new pearls, so I adhered Sunshine pearls on the wreath using liquid glue. Lastly, I adhered the panel onto a 4.5″ circle card base.
That’s all for this super fun shaker card. I hope that you’ll try to make shaker cards with any of the wreath sets. Happy crafting!