
Trick or Treat Cards
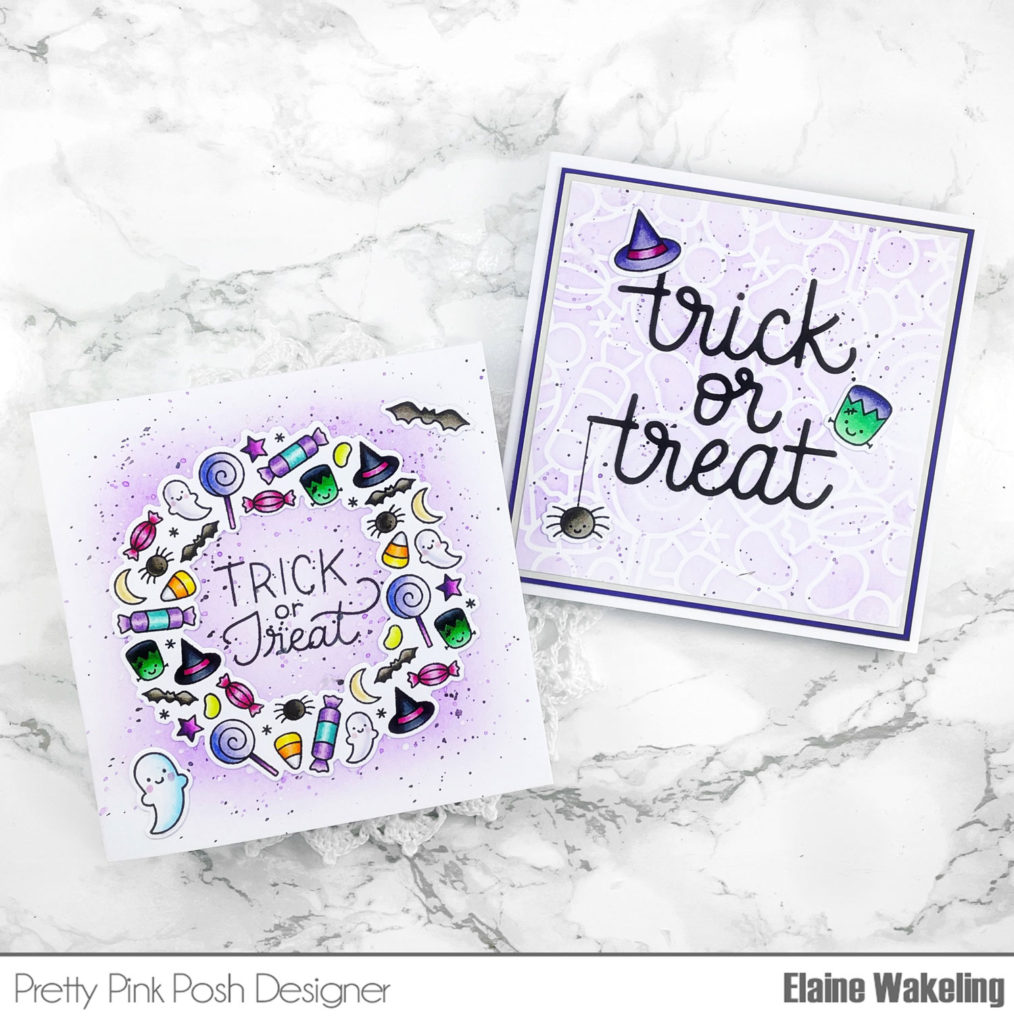
Hello there crafty friends! Elaine here today to share a couple of simple cards ideas using some Halloween products! I couldn’t wait to use the Halloween Wreath stamp set; I just love everything about it plus all the little extra stamps included in the set.
I stamped the wreath image and lots of the additional stamps that come in the set on to copic friendly cardstock with a copic friendly ink. I then used my copic markers to colour all the images. Here are all the markers I used:
Hat: C10, C7, C5, RV66, RV63
Candy corn: YR07, YR04, YR02, Y17, Y15, Y13
Candy 1: RV66, RV63
Candy 2: V17, V15, V12, BG15, BG11
Candy lolly: BV11, BV01, BV000, V09, V06
Frankenstein: C10, C7, C5, G28, G07, G03
Ghost: BV01, BV00, BV000, RV52
Spider: W8, W6, W4
Bat: W8, W6, W4
Jelly Bean: YG23, YG01
Star: V09, V06, V04
Moon: YR24, Y13, Y11
Large ghost: B01, B00, B000, RV52
I used the Halloween Wreath coordinating die to cut out all my images.
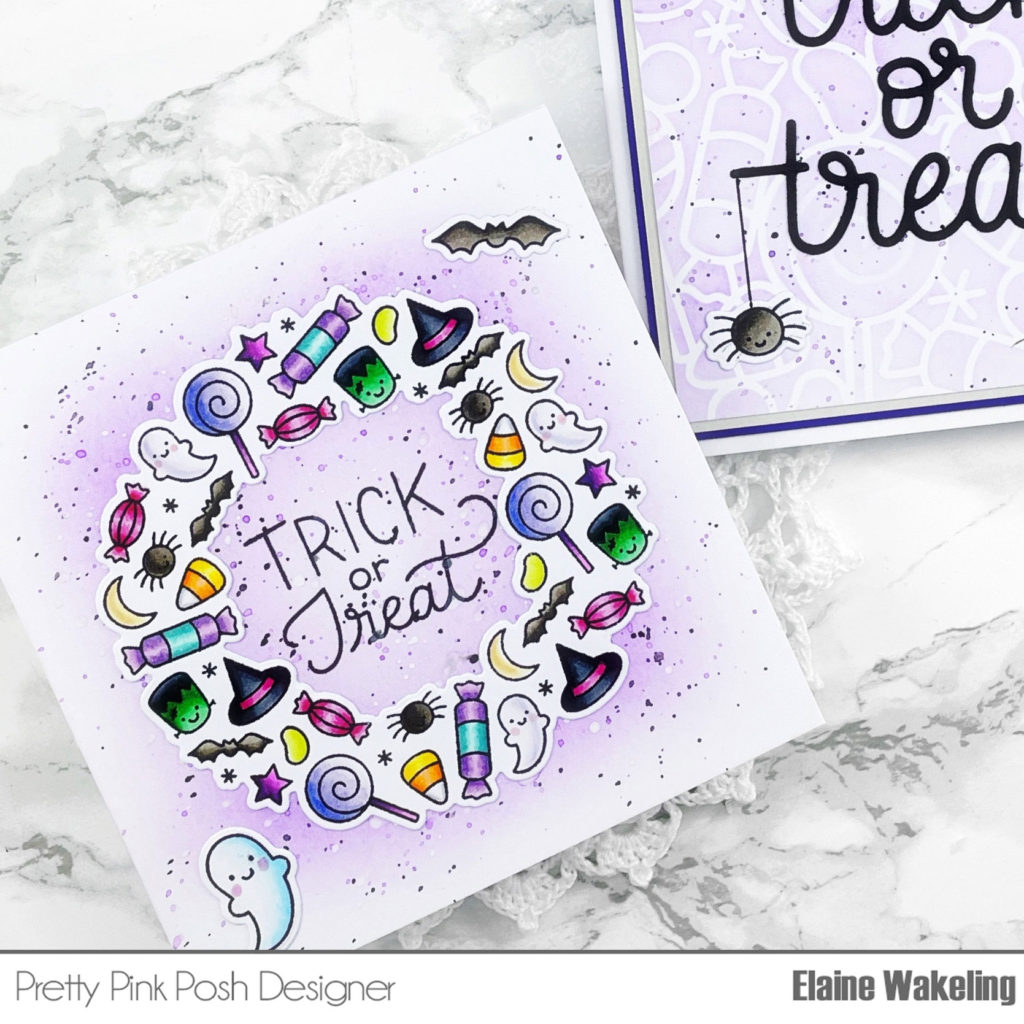
For both card designs I used white card bases with a 4 ½” x 4½” front. For the card with the wreath, I used a medium sized blending brush along with Distress Ink in Wilted Violet to slowly build up colour in a circle to create a halo background for the wreath to sit on. I used the wreath to help me build up the intensity to ensure there was enough colour showing. I added a few Wilted Violet ink splatters as well as some black splatters to help add more interest to the background.
Using the Trick or Treat sentiment from the Halloween Wreath set, I stamped it in the centre of the card front with a black pigment ink. The last thing to do was adhere the wreath, bat, and ghost and that finished up the first card!
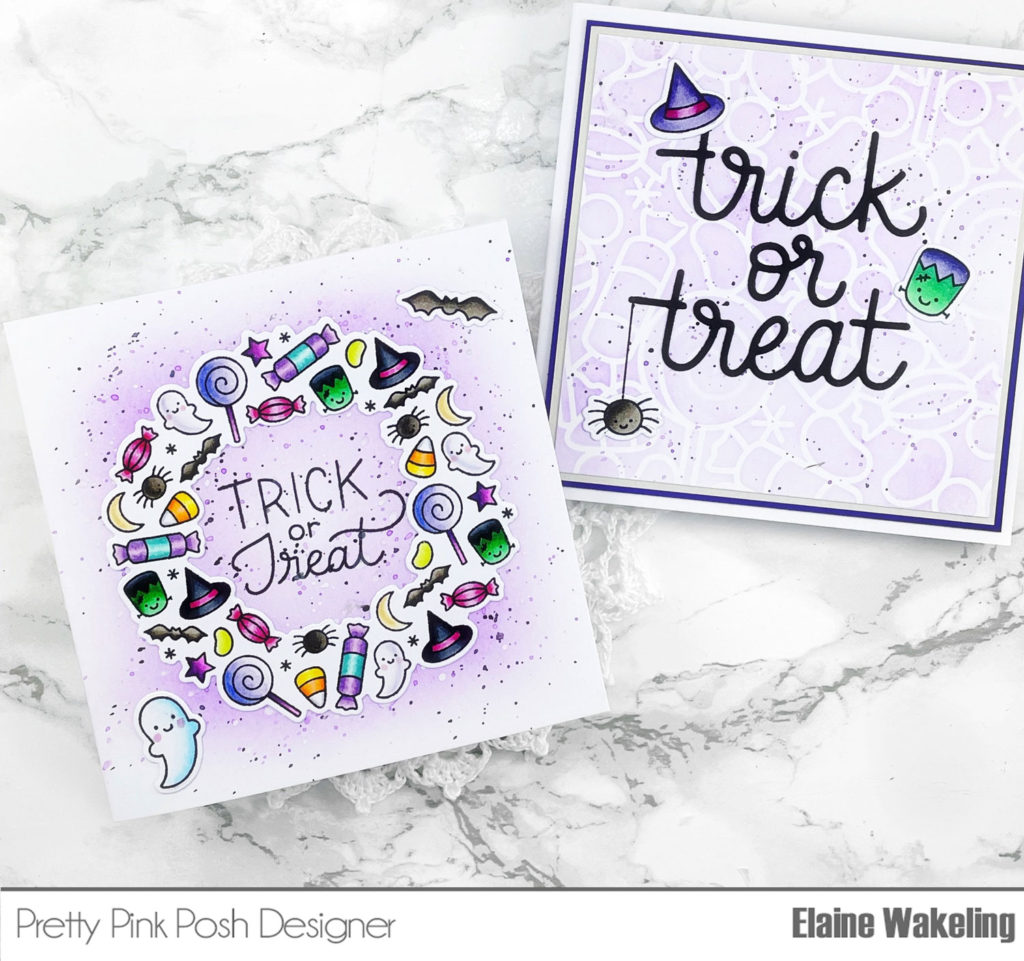
For the second card I used some temporary spray adhesive on the back the Candy Background stencil and secured it over some smooth heavyweight white card. I gently blended some Distress Ink in Wilted Violet over the stencil to create a fun subtle background. After removing the stencil, I splattered on some watered down Wilted Violet and Black Soot Distress Ink with a tiny paint brush and cut the stencilled panel to 3 7/8“ x 3 7/8”. Next, I cut the Trick or Treat Script die from black card stock and secured it to the front of the panel with liquid adhesive. Using some of the little extra stamps I coloured I secured a few of them on the front of the card. To create the spider thread, I drew a line with a ruler and fine tip permanent marker, I love how cute Mr Spider looks hanging off the letter ‘t’!
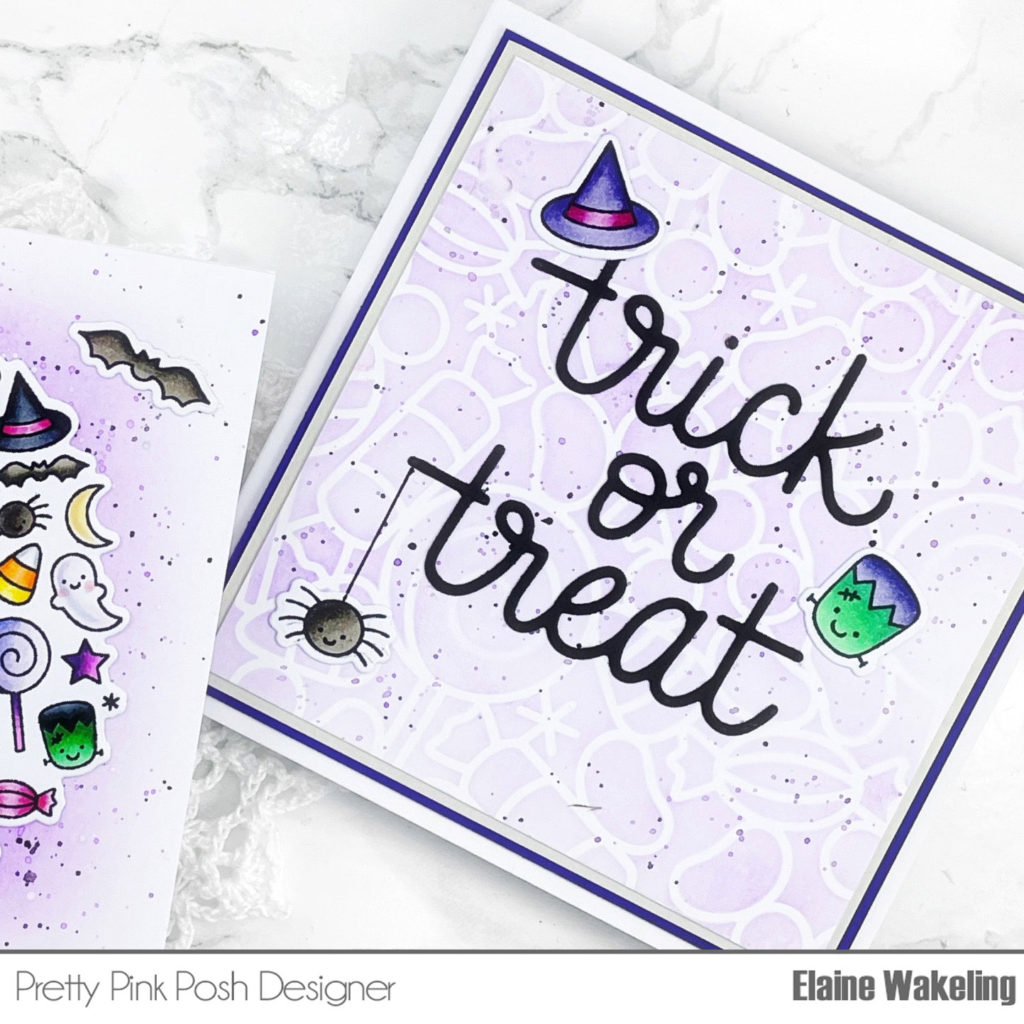
I matted my stencilled panel on to a light grey card panel measuring 4 1/8” x 4 1/8” and layered it on top of a purple panel measuring 4 ¼” x 4 ¼”. Finally, the whole panel was secured to the front of the white card base.
Thank you so much for joining me today, I hope you enjoyed these cards using some of the Halloween products!
xx Elaine xx
These are both SOOOOO CUTE!!!! I love the stenciling and the wreath!
Beautiful, cute, pretty ,spooky but not scary. I have most of these you’ve used so may try similar & see how it looks. Have a good all Hallows eve .